
Introduction
This manual provides comprehensive instructions for the installation and operation of your Kyglaring LED Lighting Kit, specifically designed for the Executor Super Star Destroyer 75356 model. Please read through all steps carefully before beginning the installation to ensure proper setup and functionality. This kit is intended to enhance your model with dynamic lighting effects and does not include the building block set itself.
What's in the Box
Your Kyglaring LED Lighting Kit includes the following components:
- LED light set with various light types and wires.
- USB power cable.
- Battery box (batteries not included).
- IR switch for controlling lights.
- Detailed instruction manual (this document).

Image: Contents of the Kyglaring LED Lighting Kit, showing packaged light components, a user manual, and a battery box.
Specifications
| Feature | Detail |
|---|---|
| Brand Name | Kyglaring |
| Model Name | Executor Super Star Destroyer |
| Model Number | 75356 |
| Edition | Standard Version |
| Power Supply | 5V (USB cable and battery box included, 3*AAA batteries excluded) |
| Special Features | Tail light flame jumping effect, IR switch control |
| Material Type | Plastic |
Setup and Installation
Follow these steps to install your Kyglaring LED Lighting Kit. It is recommended to watch the full installation video for a visual guide.
1. Component Check and Testing
Before starting, verify all components are present and functional. Each bag is labeled with a number indicating its contents. Test each light component by connecting it to the power source (USB cable or battery box) to ensure it lights up properly.
Video: Detailed installation instructions for the Kyglaring LED Lighting Kit for the Lego 75356 Executor Super Star Destroyer. This video guides you through checking components, connecting wires, and integrating the lights into your model.
Power Supply Options: The kit can be powered by a power bank, wall charger, USB socket, or a battery box (requires 3*AAA batteries, not included). Ensure the output voltage is less than 6V.
2. Integrating Lights into the Model
Carefully follow the visual instructions in the video and images to integrate the LED lights into your Executor Super Star Destroyer model. The wires are designed to be thin and can be hidden between bricks for a seamless look.
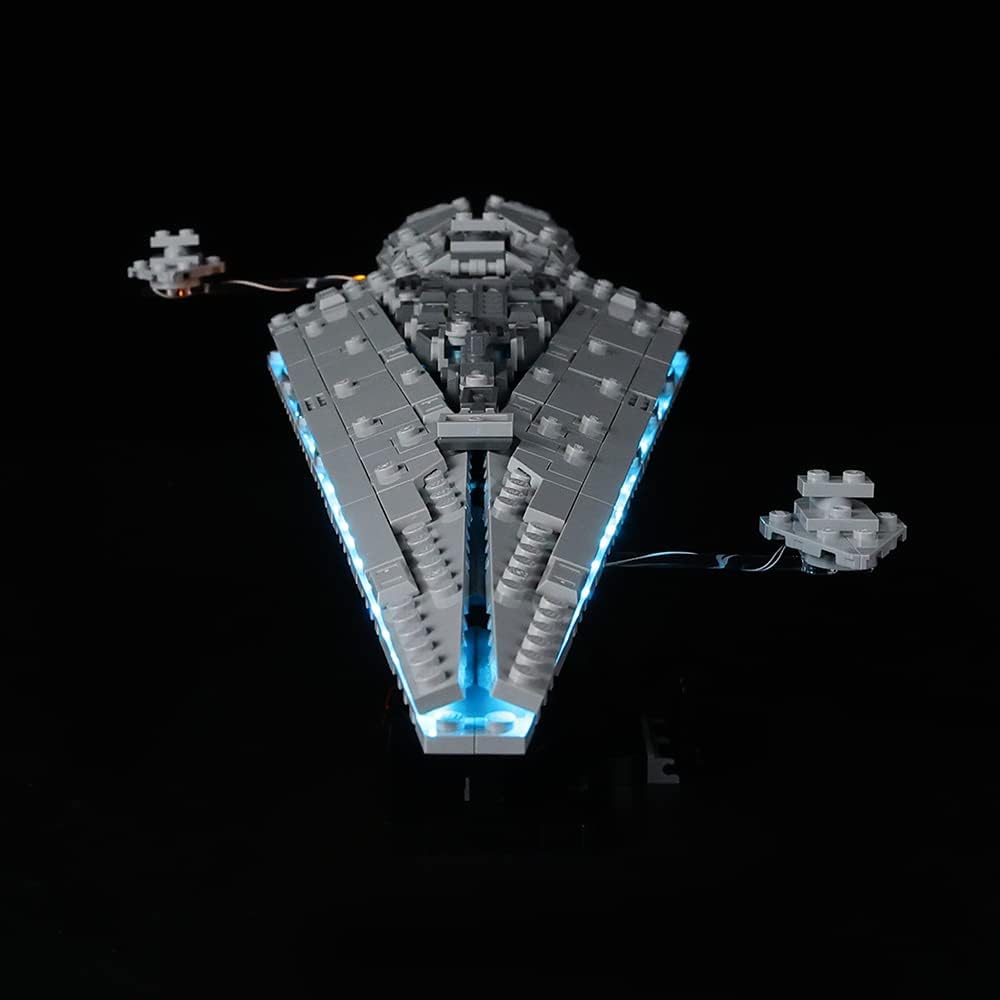
Image: The front section of the Executor Super Star Destroyer model with blue LED lights installed, highlighting the intricate details of the model's design.

Image: The rear engine section of the Executor Super Star Destroyer model, illuminated with warm orange LED lights, simulating engine thrust.
Important: Do not pull the wires too hard to avoid damage. Ensure wires are neatly tucked away to prevent interference with brick connections.
Operating Instructions
The Standard Version of this lighting kit features a tail light with a built-in flame jumping effect and an IR switch for control. The IR switch allows you to turn the lights on and off by interacting with an infrared sensor, which can be installed in a customizable location on your model.

Image: The Executor Super Star Destroyer model with its LED lights activated, highlighting the IR switch component used for controlling the lighting effects.
To activate or deactivate the lights, simply wave your hand or an object over the IR sensor. Experiment with the placement of the IR sensor to find the most convenient and discreet location for your display.
Maintenance
To ensure the longevity and optimal performance of your Kyglaring LED Lighting Kit, please observe the following maintenance guidelines:
- Gentle Handling: The light wires are delicate. Avoid excessive pulling or bending during installation and handling.
- Power Source: Always use a stable 5V power source. Disconnect power when not in use for extended periods.
- Cleaning: Use a soft, dry cloth to gently clean the LED components and wires. Avoid using liquids or abrasive cleaners.
- Storage: If disassembling the kit, store components carefully in their original packaging or a protective container to prevent tangling or damage.
Troubleshooting
If you encounter any issues with your lighting kit, please refer to the following common problems and solutions:
- Lights Not Turning On:
- Check if the power source is properly connected and functional.
- Ensure batteries (if using a battery box) are correctly inserted and have sufficient charge.
- Verify all wire connections to the expansion board are secure, especially the small golden wires.
- Flickering Lights:
- Inspect wire connections for looseness.
- Ensure the power source is stable and providing consistent voltage.
- IR Switch Not Responding:
- Confirm the IR sensor is not obstructed.
- Ensure the IR switch is correctly connected to the power and light components.
If problems persist, please contact Kyglaring customer support for assistance.
Warranty and Support
Kyglaring is committed to providing high-quality products. If you have any questions, concerns, or require technical support regarding your LED Lighting Kit, please do not hesitate to contact us. Our customer service team is available to assist you.
You can reach us through the seller contact options on the platform where you purchased the product or visit the official Kyglaring store for more information.
