
Eclipse DC92
Dooya DC92 - 5-Channel Wireless Remote Control User Manual
Model: DC92 | Brand: Eclipse
1. Introduction
This manual provides instructions for the proper use, setup, and maintenance of your Dooya DC92 5-Channel Wireless Remote Control. This remote is designed to operate full cassette awnings and is compatible exclusively with Dooya brand products. Please read this manual thoroughly before operating the device to ensure safe and efficient use.

Image 1.1: Front view of the Dooya DC92 remote control.
2. Safety Information
- Keep the remote control away from water and high humidity.
- Do not expose the device to direct sunlight or extreme temperatures.
- Do not attempt to disassemble or repair the remote control yourself. Refer to qualified personnel for service.
- Keep batteries out of reach of children. If swallowed, seek immediate medical attention.
- Dispose of used batteries according to local regulations.
3. Package Contents
Verify that all items are present in the package:
- 1 x Dooya DC92 5-Channel Wireless Remote Control
- 1 x Wall Mount Bracket
- Mounting Screws and Wall Anchors
- 1 x CR2450 3VDC Button Cell Battery (may be pre-installed)

Image 3.1: The Dooya DC92 remote control shown with its wall mount bracket, screws, and wall anchors.
4. Setup
4.1 Battery Installation
The Dooya DC92 remote control is powered by a CR2450 3VDC button cell battery. If the battery is not pre-installed or needs replacement, follow these steps:
- Locate the battery compartment cover on the back of the remote control.
- Use a small screwdriver or coin to gently pry open the cover.
- Insert the CR2450 battery with the positive (+) side facing upwards, ensuring it is securely seated.
- Replace the battery compartment cover, ensuring it clicks into place.
4.2 Wall Mount Installation
To conveniently store your remote control, you can install the included wall mount bracket:
- Choose a suitable location on a wall, ensuring it is within easy reach and away from direct sunlight or heat sources.
- Hold the wall mount bracket against the wall at the desired height and mark the positions for the screw holes using a pencil.
- Drill pilot holes at the marked positions. If drilling into drywall, insert the provided wall anchors.
- Align the bracket with the holes and secure it to the wall using the provided screws.
- Slide the remote control into the mounted bracket.
4.3 Pairing with Awnings
The Dooya DC92 remote control needs to be paired with your Dooya awnings before use. The specific pairing procedure may vary slightly depending on your awning model. Please refer to your awning's instruction manual for detailed pairing steps. Generally, the process involves:
- Putting the awning motor into programming mode (often by pressing a button on the motor or cycling power).
- Pressing a specific button or sequence of buttons on the DC92 remote control to send the pairing signal.
- Confirming successful pairing (e.g., the awning jogs slightly).
Ensure the remote is set to the correct channel before initiating the pairing process for each awning.
5. Operating Instructions
The Dooya DC92 remote control features intuitive buttons for controlling your awnings. It can control up to 5 separate awnings or groups of awnings.
5.1 Button Functions
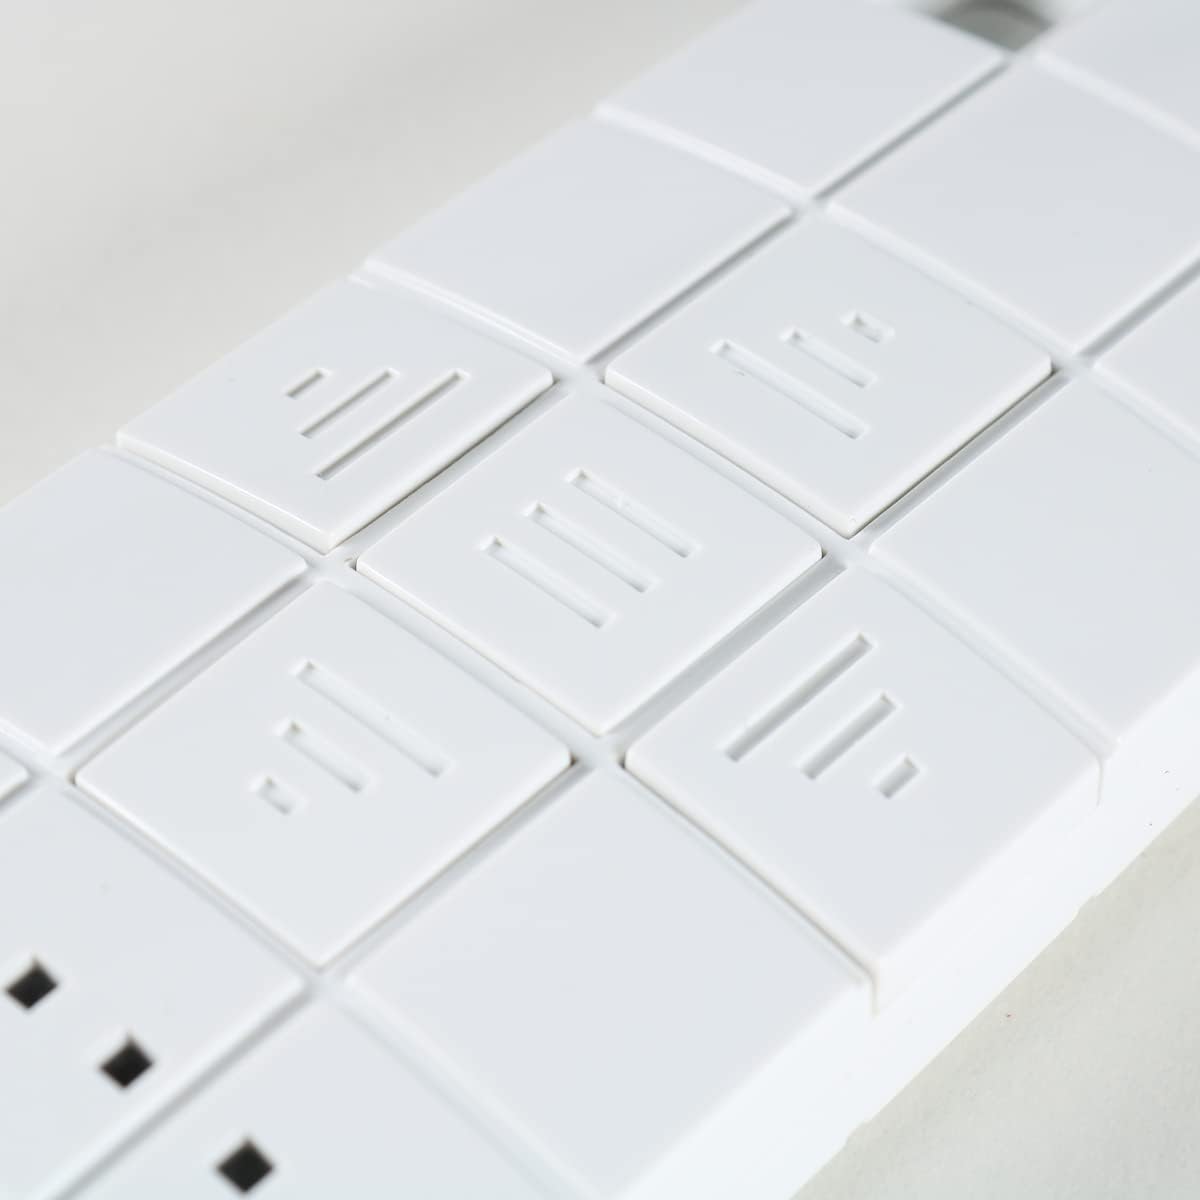
Image 5.1: Close-up view of the control buttons on the Dooya DC92 remote.
| Button Icon | Function | Description |
|---|---|---|
| ▲ (Up Arrow / Three Lines pointing up) | UP / OPEN | Extends the awning or moves it upwards. |
| ■ (Square / Three horizontal lines) | STOP / MY | Stops the awning at its current position. Can also be used to set a "My" preferred intermediate position (refer to awning manual for details). |
| ▼ (Down Arrow / Three lines pointing down) | DOWN / CLOSE | Retracts the awning or moves it downwards. |
| ■■■ (Three small squares) | CHANNEL SELECTION | Press to cycle through channels 1-5. The active channel is indicated by the illuminated LED(s) above these buttons. |
5.2 Channel Selection
The DC92 remote has 5 channels, allowing you to control up to 5 individual awnings or groups of awnings. The active channel is indicated by the small LED lights above the channel selection buttons.

Image 5.2: Close-up view showing the "DOOYA" branding and the channel indicator LEDs.
- Press the channel selection button (three small squares) repeatedly to cycle through channels 1 to 5.
- Observe the illuminated LED(s) to identify the currently selected channel.
- Once the desired channel is selected, use the UP, STOP, or DOWN buttons to control the corresponding awning.
6. Maintenance
- Cleaning: Wipe the remote control with a soft, dry cloth. Do not use abrasive cleaners or solvents.
- Battery Replacement: Replace the CR2450 battery when the remote's range decreases or the indicator lights dim. Refer to Section 4.1 for battery installation instructions.
- Storage: When not in use for extended periods, store the remote in a cool, dry place.
7. Troubleshooting
| Problem | Possible Cause | Solution |
|---|---|---|
| Remote not responding. | Dead or low battery. Remote not paired with awning. Incorrect channel selected. | Replace the CR2450 battery. Refer to Section 4.3 for pairing instructions. Ensure the correct channel is selected (check LED indicators). |
| Short operating range. | Low battery. Obstructions between remote and awning. Radio interference. | Replace the CR2450 battery. Ensure a clear line of sight. Move away from other electronic devices that may cause interference. |
| Awning moves erratically. | Interference. Awning motor issue. | Try operating from a different location. Consult your awning's manual or a qualified technician. |
8. Specifications
- Model: DC92
- Brand: Dooya (Compatible only with Dooya products)
- Channels: 5 (controls up to 5 separate awnings)
- Frequency: 433.05 - 434.79 MHz
- Power Supply: 1 x CR2450 3VDC Button Cell Battery
9. Warranty and Support
For warranty information and technical support, please contact the seller or manufacturer directly. Keep your purchase receipt as proof of purchase. Do not attempt to repair the device yourself, as this may void the warranty.
Related documentsDC92


Ask a question about this manual
Ask about setup, troubleshooting, compatibility, parts, safety, or missing instructions. Manuals+ will review the question and use this page’s manual context to help answer it.