
JIFAR H6
JIFAR HD Projector User Manual
Model: H6
1. Introduction
Thank you for purchasing the JIFAR HD Projector. This manual provides detailed instructions for setting up, operating, and maintaining your projector to ensure optimal performance and longevity. Please read this manual thoroughly before using the product and keep it for future reference.
2. Safety Information
To prevent fire, electric shock, or injury, please observe the following safety precautions:
- Do not block the ventilation openings. Ensure adequate airflow around the projector.
- Do not look directly into the projector lens when the lamp is on. The bright light can cause eye damage.
- Do not place the projector on an unstable surface.
- Do not expose the projector to rain or moisture.
- Use only the power adapter supplied with the projector.
- Unplug the projector during lightning storms or when unused for long periods.
- Do not attempt to repair the projector yourself. Refer all servicing to qualified personnel.
3. What's in the Box
Verify that all items are present in your package:
- JIFAR HD Projector (Model H6)
- Projector Carrying Backpack
- USB Cable
- HDMI Cable
- VGA Cable
- Power Cable
- Remote Control (with batteries)
- User Manual

Image: JIFAR HD Projector with its included carrying backpack, showcasing its portability and accessories.
4. Product Overview
4.1 Projector Components
Familiarize yourself with the main parts of your JIFAR HD Projector.
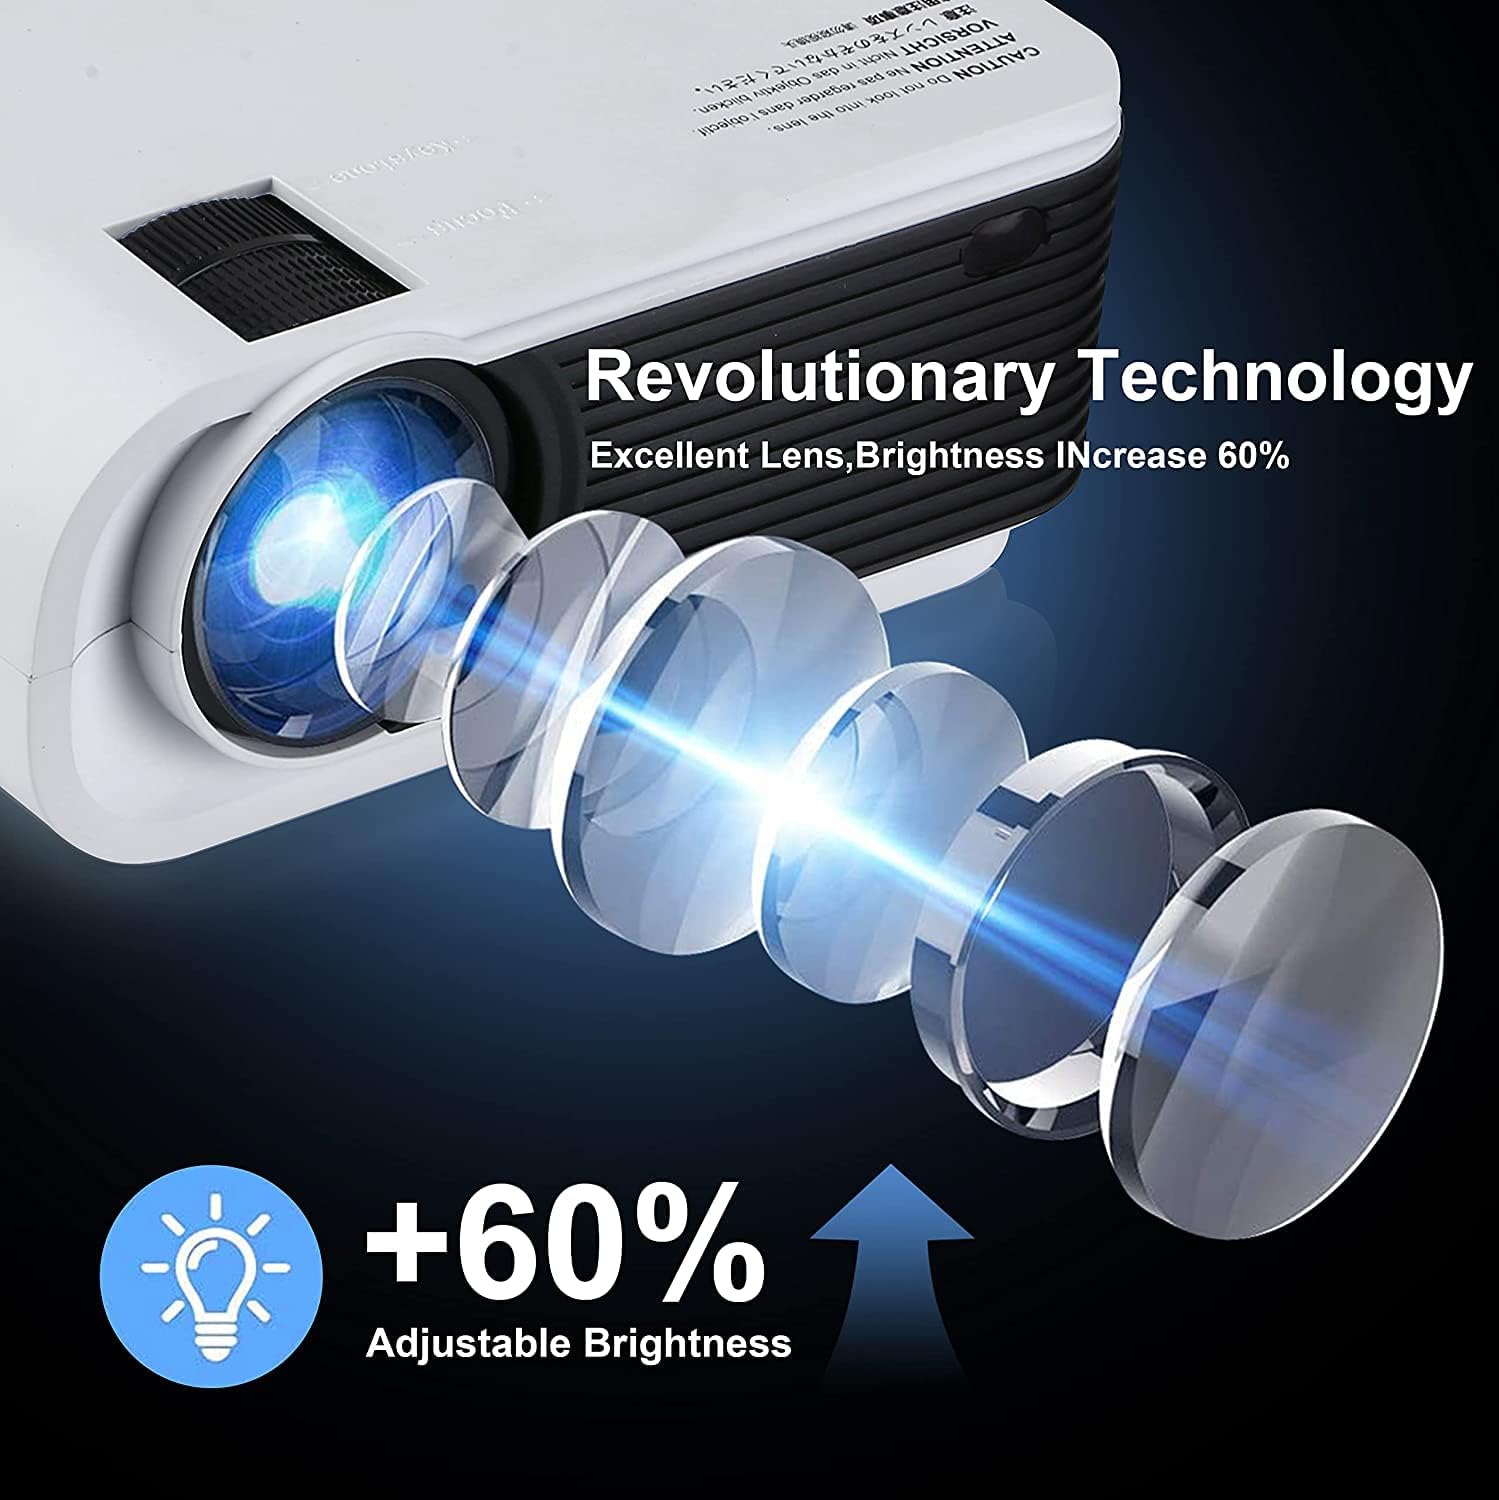
Image: Side view of the projector highlighting the lens and adjustment controls.
- Lens: Projects the image onto the screen.
- Focus Ring: Adjusts image clarity.
- Keystone Correction: Corrects trapezoidal image distortion.
- Ventilation Openings: For heat dissipation. Do not block.
- Control Panel: Manual buttons for navigation and settings.
4.2 Input/Output Ports
The projector is equipped with various ports for connecting different devices.

Image: Rear view of the projector displaying its comprehensive set of input/output ports.
- HDMI Ports: Connect devices like TV sticks, laptops, game consoles.
- USB Ports: Connect USB drives for media playback.
- VGA Port: Connect older computers or laptops.
- AV Port: Connect legacy video devices.
- Audio Out (3.5mm): Connect external speakers or headphones.
- SD Card Slot: For direct media playback from SD cards.
5. Setup
5.1 Placement and Screen Size
Place the projector on a stable, flat surface or mount it securely. The optimal projection distance varies based on desired screen size. The projector supports a 40-inch to 450-inch display.
| Screen Size (inches) | Projection Distance (feet) |
|---|---|
| 40 | 4.5 - 5.5 |
| 100 | 10 - 12 |
| 150 | 15 - 18 |
| 200 | 20 - 24 |
| 450 | 40 - 45 |
Note: These are approximate values. Adjust as needed for your environment.
5.2 Power Connection
- Connect the power cable to the projector's power input port.
- Plug the other end of the power cable into a power outlet.
- The power indicator light on the projector will illuminate.
5.3 Initial Setup: Focus and Keystone Correction
After powering on, adjust the image for clarity and shape.
- Focus Adjustment: Rotate the focus ring on the projector lens until the projected image appears sharp and clear.
- Keystone Correction: If the image appears trapezoidal (wider at the top or bottom), use the keystone correction dial or digital keystone setting in the menu to make the image rectangular. The projector supports 15° keystone correction.
6. Operating Instructions
6.1 Turning On/Off
- To Turn On: Press the power button on the projector or the remote control.
- To Turn Off: Press the power button again. Confirm shutdown if prompted.
6.2 Input Source Selection
To select the desired input source:
- Press the "Source" or "Input" button on the remote control or projector.
- Use the arrow keys to navigate through the input options (HDMI1, HDMI2, USB, VGA, AV, Screen Mirroring, etc.).
- Press "OK" or "Enter" to confirm your selection.
6.3 Connecting Devices
The projector supports various connectivity options:

Image: Illustration of multiple device connections to the projector, including smartphones, PCs, DVD players, and external audio devices.
6.3.1 HDMI Connection (TV Stick, Laptop, Game Console)
- Connect one end of the HDMI cable to your device and the other end to an HDMI port on the projector.
- Select the corresponding HDMI input source on the projector.
6.3.2 USB Connection (USB Drive)
- Insert your USB drive into the USB port on the projector.
- Select "USB" as the input source. The projector's media player interface will appear, allowing you to browse and play files.
6.3.3 VGA Connection (PC/Laptop)
- Connect the VGA cable from your computer to the VGA port on the projector.
- Select "VGA" as the input source.
6.3.4 AV Connection (Legacy Devices)
- Use the provided AV cable to connect your device (e.g., DVD player) to the AV port on the projector.
- Select "AV" as the input source.
6.4 WiFi Connection (2.4G/5G)
The projector supports dual-band WiFi for smooth online streaming and screen mirroring.

Image: Visual comparison demonstrating the speed advantage of 5G WiFi over 2.4G WiFi for smoother streaming.
- Go to the projector's "Settings" menu.
- Select "Network" or "WiFi Settings".
- Turn on WiFi and select your desired 2.4G or 5G network from the list.
- Enter the WiFi password using the on-screen keyboard and confirm.
6.5 Bluetooth Connection
Connect Bluetooth headphones, speakers, or other audio devices.
- Go to the projector's "Settings" menu.
- Select "Bluetooth Settings".
- Turn on Bluetooth. The projector will scan for available devices.
- Select your Bluetooth device from the list and pair it.
6.6 Screen Mirroring (iOS & Android)
Mirror your smartphone or tablet screen wirelessly to the projector.

Image: Detailed steps for connecting an iOS device via screen mirroring to the projector.
For iOS Devices:
- Ensure your projector and iOS device are connected to the same WiFi network.
- On the projector, select "Screen Mirroring" as the input source.
- On your iOS device, open Control Center and tap "Screen Mirroring" (or "AirPlay Mirroring").
- Select the projector's name (e.g., "LZS-XXXXXX") from the list to connect.
For Android Devices:
- Ensure your projector and Android device are connected to the same WiFi network.
- On the projector, select "Screen Mirroring" as the input source.
- On your Android device, enable "Wireless Display", "Screen Cast", "Smart View", or similar function (name varies by device).
- Select the projector's name from the list to connect.
6.7 Zoom Function
Adjust the image size without moving the projector using the zoom function (50-100%).
- Access the "Picture" or "Display" settings in the projector menu.
- Locate the "Zoom" or "Digital Zoom" option.
- Adjust the percentage to decrease or increase the image size.
7. Maintenance
7.1 Cleaning
- Projector Lens: Use a professional lens cleaning cloth and cleaner. Avoid touching the lens directly.
- Projector Casing: Wipe with a soft, damp cloth. Do not use abrasive cleaners or solvents.
- Ventilation Ports: Use a soft brush or compressed air to remove dust from the vents regularly to prevent overheating.
7.2 Storage
- Store the projector in a cool, dry place away from direct sunlight and extreme temperatures.
- If storing for an extended period, place it in its original packaging or the provided carrying backpack to protect it from dust and impacts.
8. Troubleshooting
| Problem | Possible Cause | Solution |
|---|---|---|
| No image / No signal | Incorrect input source selected; Loose cable connection; Device not powered on. | Select the correct input source. Check all cable connections. Ensure the connected device is powered on. |
| Blurry image | Focus not adjusted; Keystone not corrected; Projector too close/far. | Adjust the focus ring. Use keystone correction. Adjust projection distance. |
| No sound | Volume too low; Muted; External audio device not connected/selected. | Increase volume. Unmute. Check external speaker connection or Bluetooth pairing. |
| Overheating / Shuts down automatically | Blocked ventilation; Prolonged use. | Ensure vents are clear. Allow projector to cool down. Operate in a well-ventilated area. |
| Screen mirroring issues | Not on same WiFi network; WiFi signal weak; Device compatibility. | Ensure both devices are on the same 2.4G or 5G WiFi network. Move closer to router. Check device's mirroring function. |
9. Specifications
| Feature | Detail |
|---|---|
| Brand | JIFAR |
| Model Number | H6 |
| Native Resolution | 1920x1080P (Full HD) |
| Supported Resolution | Up to 4K |
| Brightness | 12000 Lumens |
| Contrast Ratio | 6000:1 |
| Display Size | 40" - 450" |
| Aspect Ratio | 4:3 / 16:9 |
| Keystone Correction | 15° Manual |
| Zoom Function | 50-100% |
| WiFi Connectivity | 2.4G / 5G Dual-band |
| Bluetooth | 5.1 Bi-directional |
| Speakers | 10W Hi-Fi Stereo |
| Input Ports | HDMI, USB, VGA, AV, SD Card |
| Output Ports | 3.5mm Audio Out |
| Product Dimensions | 21.8 x 16.5 x 8.12 inches |
| Item Weight | 4.64 pounds |
10. Warranty and Support
JIFAR products come with a standard manufacturer's warranty. Please refer to the warranty card included in your package for specific terms and conditions. For technical support, troubleshooting assistance, or warranty claims, please contact JIFAR customer service through the following channels:
- Email: Refer to your product packaging or warranty card for the support email address.
- Website: Visit the official JIFAR website for FAQs and support resources.
- Amazon Store: You can also reach out via the JIFAR Store on Amazon.
Please have your model number (H6) and purchase information ready when contacting support.
Ask a question about this manual
Ask about setup, troubleshooting, compatibility, parts, safety, or missing instructions. Manuals+ will review the question and use this page’s manual context to help answer it.