
1. Product Overview
The Goshyda AKP-P200 is a versatile emergency device designed for automotive use. It functions as a portable car jump starter, a 120 PSI tire inflator, and an emergency power bank. This device is suitable for 12V vehicles, including cars (up to 7.0L gasoline or 6.5L diesel engines), motorcycles, ATVs, UTVs, lawnmowers, and snowmobiles.
Key features include a 1200A peak current for reliable jump-starting, an integrated air compressor with an LCD screen for accurate tire pressure readings, and USB/USB-C ports for charging various electronic devices.
2. Safety Information
Read all safety warnings and instructions before using this product. Failure to follow the warnings and instructions may result in electric shock, fire, and/or serious injury.
- Do not jump-start a frozen battery.
- Do not use the jump starter if the battery clamps or cables are damaged.
- Do not connect the positive (+) and negative (-) clamps together.
- Do not expose the product to rain or wet conditions.
- Do not operate the inflator continuously for more than 10 minutes to prevent overheating. Allow it to cool down for 10 minutes before resuming use.
- Keep out of reach of children.
- Ensure proper ventilation during use and charging.
- This device includes built-in protection against reverse connection, overcurrent, overload, overvoltage, overcharge, overdischarge, and short-circuits. However, always follow connection procedures carefully.
3. Package Contents
Verify that all items are present in the package:
- 1 x Goshyda AKP-P200 Emergency Car Power Bank
- 1 x Smart Jumper Cable with Clamps
- 1 x Power Line (Charging Cable)
- 3 x Inflatable Needles (Nozzles)
- 1 x Storage Bag
- 1 x User Manual

Figure 3.1: Contents of the Goshyda AKP-P200 package.

Figure 3.2: The included storage bag for the device and accessories.
4. Setup
4.1 Initial Charging
Before first use, fully charge the AKP-P200 unit. Connect the provided power line to the device's charging port and plug it into a suitable power source. The LCD screen will indicate the charging status. A full charge is recommended for optimal performance.
4.2 Attaching Jumper Cables
The smart jumper cable connects to the dedicated jump-start port on the AKP-P200 unit. Ensure a firm connection. The clamps are color-coded: red for positive (+) and black for negative (-).

Figure 4.1: Jump starter unit with connected smart jumper cables.
4.3 Attaching Inflator Hose and Nozzles
The inflator hose connects to the air outlet port on the AKP-P200. Select the appropriate inflatable needle (nozzle) for your item (e.g., car tire, bicycle tire, sports ball) and screw it onto the end of the inflator hose.

Figure 4.2: Various inflator needles included with the device.
5. Operating Instructions
5.1 Jump Starting a Vehicle
- Ensure the AKP-P200 is fully charged.
- Connect the smart jumper cable to the jump starter unit.
- Connect the red positive (+) clamp to the positive (+) terminal of the vehicle's battery.
- Connect the black negative (-) clamp to the negative (-) terminal of the vehicle's battery or a solid, unpainted metal part of the vehicle's chassis.
- Once connected, the smart cable's indicator light will show readiness.
- Start the vehicle's engine. If it doesn't start immediately, wait 30 seconds and try again. Do not crank for more than 3 seconds per attempt.
- Once the vehicle starts, immediately disconnect the black negative (-) clamp first, then the red positive (+) clamp.
- Disconnect the smart jumper cable from the AKP-P200 unit.

Figure 5.1: Connecting the jump starter to a vehicle battery.
5.2 Using the Tire Inflator
- Connect the inflator hose to the AKP-P200 unit and attach the appropriate nozzle.
- Connect the nozzle to the tire valve or item to be inflated.
- The LCD screen will display the current pressure.
- Use the '+' and '-' buttons to set the desired pressure.
- Press the power button to start inflation. The inflator will automatically stop once the preset pressure is reached.
- Disconnect the nozzle from the item and then the hose from the AKP-P200.

Figure 5.2: Using the tire inflator function with the digital display.
5.3 Using as a Power Bank
The AKP-P200 features USB and USB-C ports for charging electronic devices.
- Connect your device's charging cable to one of the USB or USB-C ports on the AKP-P200.
- The AKP-P200 will automatically begin charging your device.
- Monitor your device's charging status.
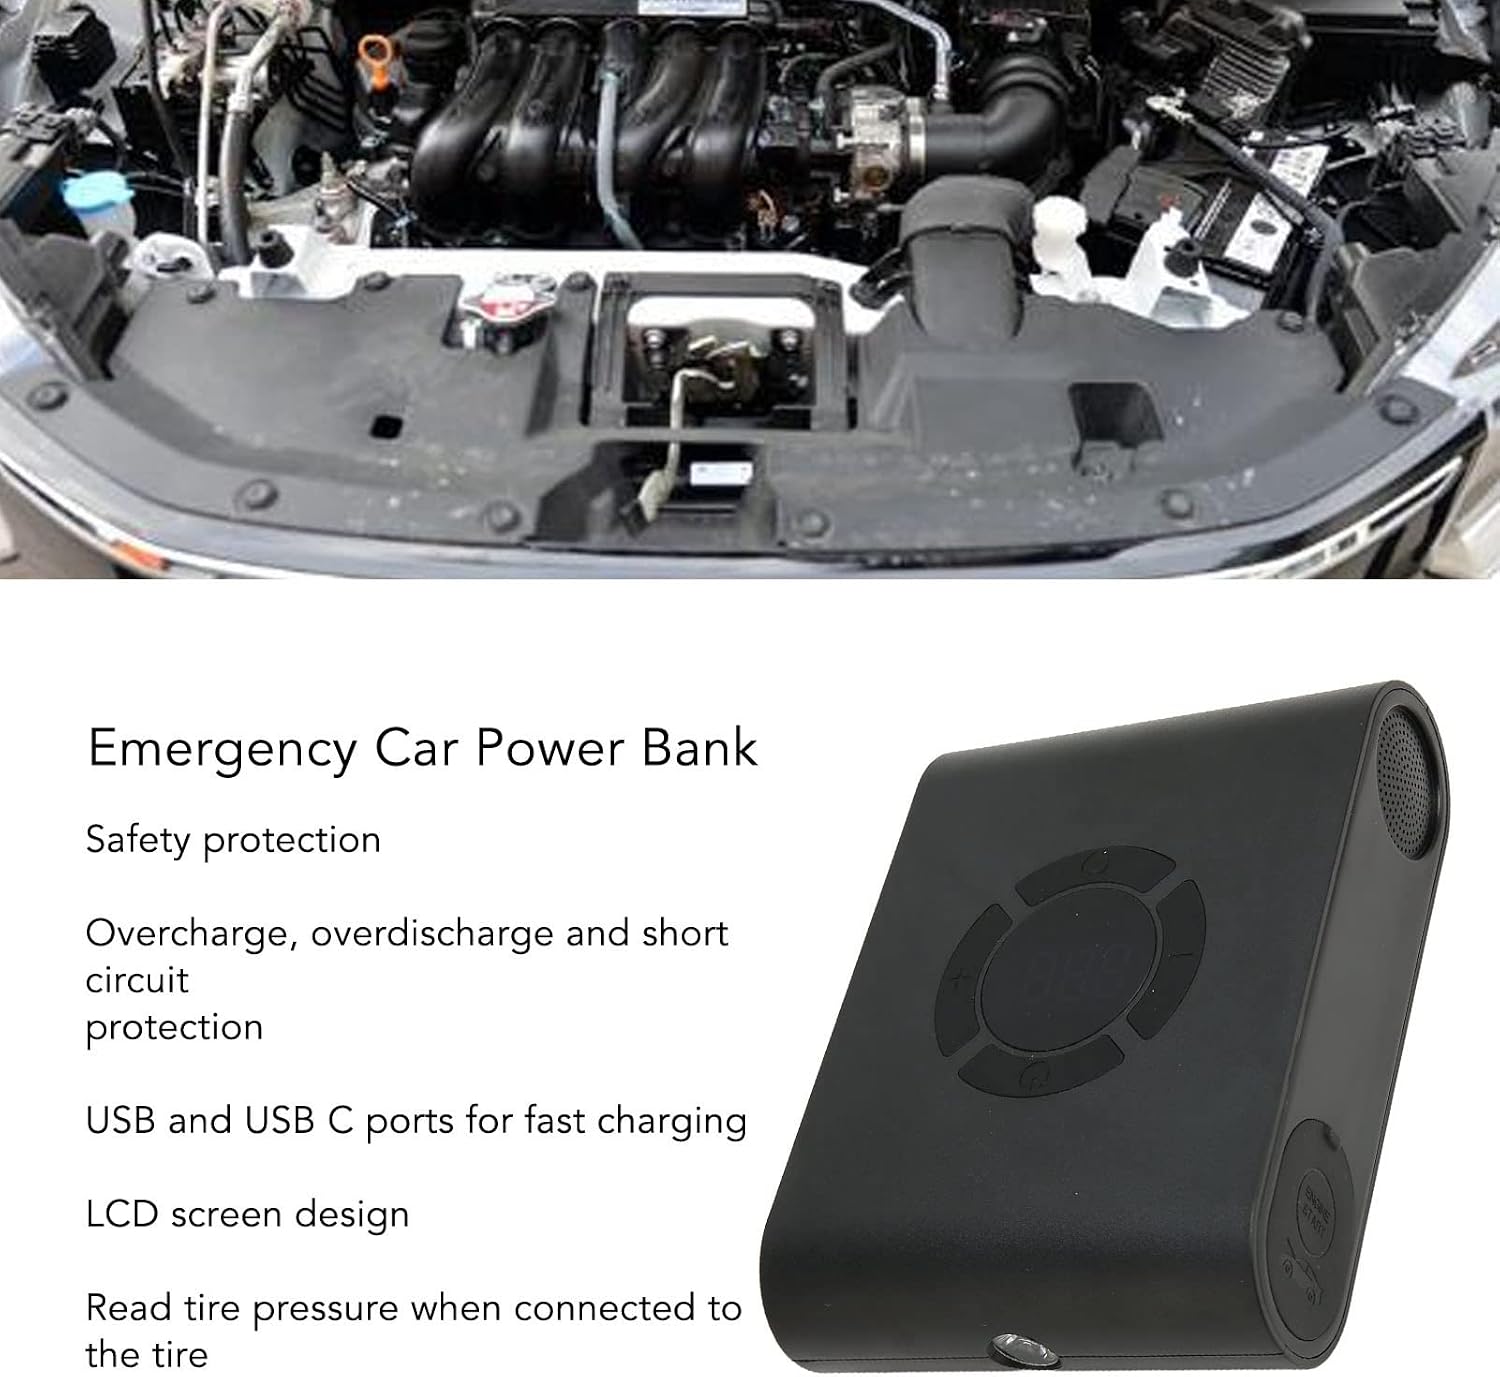
Figure 5.3: Overview of the Emergency Car Power Bank features.
6. Maintenance
6.1 Charging
Recharge the AKP-P200 after each use, especially after jump-starting a vehicle. For optimal battery life, charge the unit every 3-6 months if not used regularly.
6.2 Cleaning and Storage
Wipe the unit with a dry, soft cloth. Do not use harsh chemicals or abrasive cleaners. Store the device in its carrying bag in a cool, dry place, away from direct sunlight and extreme temperatures.
7. Troubleshooting
- Device not turning on: Ensure the unit is charged. If not, charge it fully.
- Vehicle not starting: Check that the jumper cables are securely connected to both the jump starter and the vehicle battery terminals. Ensure the battery terminals are clean. The vehicle battery might be severely discharged or faulty.
- Inflator not working: Check that the hose is securely connected and the nozzle is properly attached to the item. Ensure the desired pressure is set.
- Inaccurate tire pressure reading: Ensure the nozzle is firmly connected to the tire valve.
- Device overheating: Stop use immediately and allow the unit to cool down. Do not operate the inflator continuously for extended periods.
8. Specifications
| Feature | Specification |
|---|---|
| Model | AKP-P200 |
| Battery Type | Built-in 12,000 mAh Lithium Battery |
| Start Output | 12 V |
| Starting Current | 600 A |
| Peak Current | 1200 A |
| Charging Ports | USB and USB-C |
| Inflation Pressure | Up to 120 PSI |
| Application | 12V vehicles (up to 7.0L gasoline or 6.5L diesel) |
9. Warranty and Support
9.1 Warranty Information
This product is covered by a standard manufacturer's warranty against defects in materials and workmanship. Please refer to your purchase documentation for specific warranty terms and duration. Keep your proof of purchase for warranty claims.
9.2 Customer Support
For technical assistance, troubleshooting, or warranty inquiries, please contact Goshyda customer support through the retailer where the product was purchased or visit the official Goshyda website for contact information.