

1. Introduction
This manual provides essential information for setting up, operating, and maintaining your Acuvar 4K/6K 64MP Video Camera Camcorder. Please read it thoroughly before use to ensure optimal performance and longevity of your device.
The Acuvar 4K/6K 64MP Video Camera Camcorder is designed for content creators, vloggers, and filmmakers, offering stunning 6K Ultra HD video at 60FPS and 64MP photos. It features 18X digital zoom, auto-focus, Wi-Fi connectivity, and webcam functionality, making it a versatile tool for various recording needs.
2. What's in the Box
Your Acuvar 4K/6K 64MP Video Camera Camcorder Elite Kit includes the following items:
- Acuvar 64MP Digital Video Camera (Camcorder)
- External Shotgun Microphone
- 2 x 64GB SD Cards
- 2 x 4500mAh Rechargeable Lithium Batteries
- 50" Tripod
- LED Fill Light
- USB Card Reader
- Camera Case
- Dual Battery Charger
- Lens Cleaning Pen
- Memory Card Reader Case
- Camera Lens Blower
- User Manual
- Handheld Stabilizer
- Cleaning Cloth
- 2.4G Wireless Remote Control
- HDMI Cable

The Acuvar 4K/6K 64MP Video Camera Camcorder Elite Kit, showcasing the camcorder, external microphone, LED light, tripod, batteries, SD cards, and various accessories.

The compact and durable camera bag, measuring 10 inches (L) x 7 inches (H) x 6 inches (W), designed for easy portability and protection of your camcorder and accessories.
3. Setup
3.1 Battery Installation & Charging
Insert the provided 4500mAh Lithium-Ion batteries into the battery compartment located at the rear of the camcorder. Ensure correct polarity. Use the dual battery charger to fully charge both batteries before first use. The red LED indicates charging, and the blue LED indicates a full charge.

The Acuvar 4K/6K 64MP Video Camera Camcorder highlighting its 4500mAh removable battery pack and the 4-inch 270° rotatable touch screen.

The dual battery charger with Micro USB and Type-C USB inputs, showing the red LED power indicator for charging and the blue LED for a full charge.
3.2 SD Card Installation
Locate the SD card slot, typically near the battery compartment or on the side of the camcorder. Insert one of the provided 64GB SD cards until it clicks into place. Ensure the card is inserted correctly to avoid damage.
3.3 Attaching Accessories (Microphone, LED Light, Handle, Tripod)
The camcorder features a hot shoe mount on top for attaching the external microphone and LED fill light. The handheld stabilizer can be attached to the bottom of the camcorder for improved stability. The 50" tripod can be attached via the standard tripod mount on the bottom of the camcorder.

The Acuvar 4K/6K 64MP Video Camera Camcorder securely mounted on its 50-inch tripod, illustrating the removable top plate for quick release and easy-open clasps for leg extension and neck extension.

The Acuvar 6K 64MP Video Camera Camcorder fully assembled with its external microphone, LED light, and handheld stabilizer, ready for professional-level shooting.
4. Operating the Camera
4.1 Power On/Off & Screen Navigation
Open the LCD screen to power on the camcorder. The screen will display a "Welcome" message. Use the physical buttons (MENU/Wi-Fi, OK, UP, DOWN, POWER/DOWN) or the 4.0'' touch screen for navigation. Close the LCD screen to power off the camcorder.
4.2 Video Recording & Photo Capture
The camcorder supports various video resolutions including 6K 30fps, 2.7K 30fps, 1080P 60fps, and 720P 120fps. Photo resolution is up to 64MP. Press the record button to start/stop video recording. Use the dedicated photo button to capture still images.
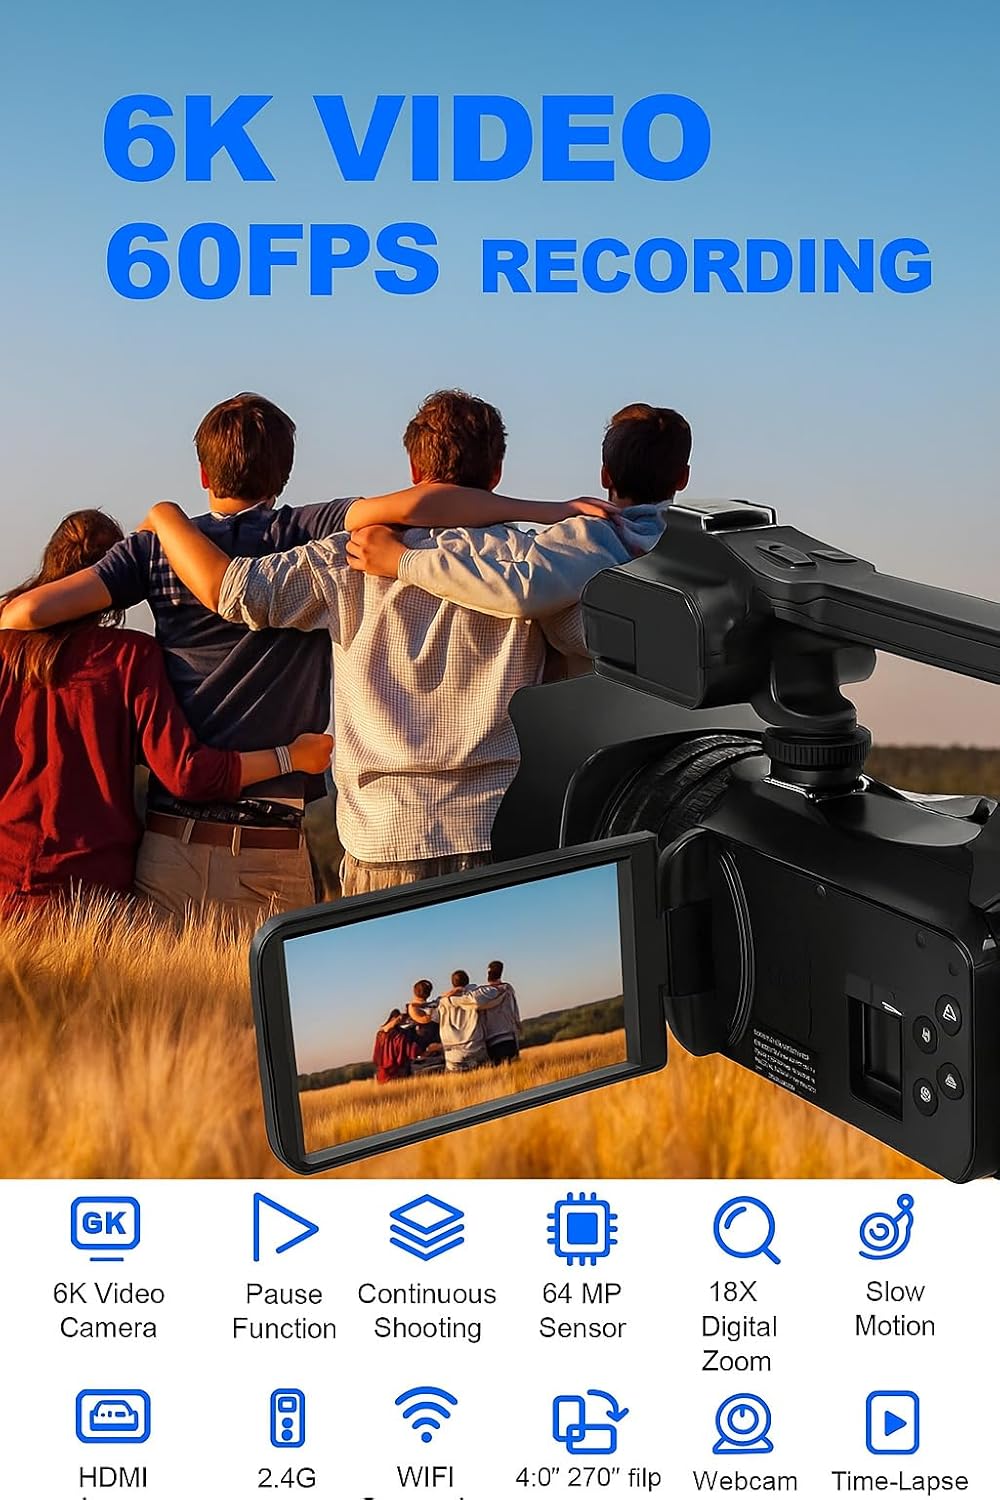
The Acuvar 4K/6K 64MP Video Camera Camcorder in action, capturing 6K video at 60 frames per second, with icons highlighting its features like pause shooting, continuous shooting, 64MP sensor, 18X digital zoom, and slow motion.

Various shooting modes available on the Acuvar 4K/6K 64MP Video Camera Camcorder, including self-timer, in-video pause, Wi-Fi remote view, charge and record, flip screen selfie, and burst photo mode.
4.3 Zoom & Auto Focus
Utilize the 18X digital zoom to get closer to your subjects. The camcorder features a smart auto-focus function with a shooting distance from 3.94 inches to infinity, ensuring clear and sharp footage.

The Acuvar 4K/6K 64MP Video Camera Camcorder demonstrating its 18X digital zoom capability, showing progressive zoom levels from 3X to 18X.
4.4 Webcam Mode & HDMI Output
Connect the camcorder to your computer via USB to use it as a webcam for live streaming or video calls. Use the included HDMI cable to connect the camcorder to a TV for high-definition playback of your footage.

The Acuvar 4K/6K 64MP Video Camera Camcorder demonstrating its live stream and webcam mode functionality when connected to a laptop, and direct HDMI playback to a television.
4.5 Wi-Fi Connection & Remote Control
Connect the camcorder to your mobile device via Wi-Fi using the "XDV PRO" app. This allows remote control of the camera, browsing albums, and transferring files. The included 2.4G wireless remote control provides hands-free operation up to 65ft.

The Acuvar 6K 64MP Video Camera Camcorder demonstrating its wireless 2.4G remote and Wi-Fi connection capabilities, allowing remote control and live view via a smartphone app.
4.6 Microphone & LED Light Settings
The external shotgun microphone features adjustable audio levels (-10dB to +20dB) to reduce wind and background noise. The built-in LED fill light ensures clear footage in low-light conditions.
Official seller video demonstrating the Acuvar 4K 64MP Camcorder's features and accessories, including microphone and light operation.
5. Maintenance
To ensure the longevity and optimal performance of your Acuvar camcorder, follow these maintenance guidelines:
- Cleaning: Use the provided lens cleaning pen and cloth to gently clean the lens and screen. Avoid abrasive materials or harsh chemicals.
- Storage: Store the camcorder in its protective case in a cool, dry place away from direct sunlight and extreme temperatures.
- Battery Care: Fully charge batteries before extended storage. If storing for long periods, periodically charge them to maintain battery health.
- Software Updates: Check the Acuvar website or app for any available firmware updates to ensure your camcorder has the latest features and bug fixes.
6. Troubleshooting
If you encounter any issues with your Acuvar camcorder, refer to the following common troubleshooting tips:
- Camera Not Powering On: Ensure batteries are fully charged and correctly inserted. Try using the second battery.
- SD Card Not Detected: Ensure the SD card is properly inserted. Try reformatting the SD card (this will erase all data).
- Poor Video/Photo Quality: Check lighting conditions and adjust LED light if necessary. Ensure lens is clean. Verify resolution settings are optimal.
- Wi-Fi Connection Issues: Ensure the Wi-Fi function is enabled on the camcorder and your mobile device. Restart both devices and try connecting again.
- No Audio Recording: Ensure the external microphone is properly connected and powered on (if applicable). Check microphone sensitivity settings.
- Screen Malfunction: If the screen turns green or displays abnormal images, try restarting the camera. If the issue persists, contact customer support.
7. Specifications
| Feature | Specification |
|---|---|
| Brand | Acuvar |
| Model Number | 4K 64MP |
| Video Resolution | 6K 30fps / 2.7K 30fps / 1080P 60fps / 720P 120fps |
| Photo Resolution | 64M |
| Digital Zoom | 18X |
| Display Screen | 4.0'' Touch Screen, 270° Rotation |
| Battery Capacity | 4500mAh (approx. 3 hours continuous recording) |
| File Format (Image) | JPEG |
| File Format (Video) | MP4 |
| Connectivity | Wi-Fi, USB, HDMI |
| Special Features | Auto Focus, Night Vision, Built-in LED Fill Light, 2.4G Remote Control, Webcam Mode, Slow Motion, Time-Lapse, Burst Photo, Self-Timer, Record while Charging |
8. Warranty and Support
Acuvar products are designed for reliable performance. For warranty information, technical support, or service inquiries, please refer to the contact details provided in your product packaging or visit the official Acuvar website. Keep your purchase receipt as proof of purchase for warranty claims.