
Introduction
This instruction manual provides essential information for the safe and effective use and replacement of your GOOTOP 15W U-Tube Replacement Bulb. This bulb is specifically designed for various bug zapper models, ensuring continued pest control for your outdoor spaces.

A clear view of the GOOTOP 15W U-tube replacement bulb, highlighting its 4-pin base and compact design.
Compatibility
The GOOTOP 15W Replacement Bulb is suitable for the following bug zapper models:
- Zap T6 Pro
- K15
- T9
- X3
- K15 ZAP Pro
- JY-02
Please measure your original tube size before purchasing to ensure proper fit.

An image showcasing several bug zapper models, including Zap T6 Pro, K15 ZAP Pro, Zap X3 Pro, JY-02, and T9, all compatible with this replacement bulb.
Specifications
| Feature | Detail |
|---|---|
| Brand | GOOTOP |
| Wattage | 15 Watts |
| Bulb Type | U-Tube, UVA 365nm |
| Bulb Base | 4-Pin Base |
| Dimensions (L x W x H) | 7.75" x 1.77" x 0.9" |
| Usage Environment | Outdoor Suitable |
| Power Source | AC (100-240V, 50-60Hz) |
| Item Weight | 3.2 ounces |

This image provides the precise dimensions of the replacement bulb, showing a length of 7.75 inches and a width of 1.85 inches, crucial for ensuring compatibility.
Installation & Setup
Safety First: Always ensure the bug zapper is unplugged and completely powered off before attempting any bulb replacement.
- Prepare the Zapper: Turn off and unplug your bug zapper from the power source. Allow the unit to cool down if it has been recently in use.
- Access the Bulb: Locate the access point for the bulb, typically at the bottom of the bug zapper. This may involve rotating a tray or unscrewing a cover.
- Remove the Old Bulb: Gently pull the old bulb straight out from its 4-pin socket. The bulb is held in place by these pins. Dispose of the old bulb responsibly.
- Insert the New Bulb: Align the 4 pins of the new GOOTOP replacement bulb with the corresponding sockets in the bug zapper. Gently push the bulb straight in until it is securely seated.
- Secure the Zapper: Replace any covers or trays that were removed to access the bulb, ensuring they are securely fastened.
- Test the Zapper: Plug the bug zapper back into a power source and turn it on to confirm the new bulb is functioning correctly.

A visual guide detailing the four steps to replace the bug zapper bulb: rotating the tray, unscrewing the bottom, replacing the bulb, and restoring the components.
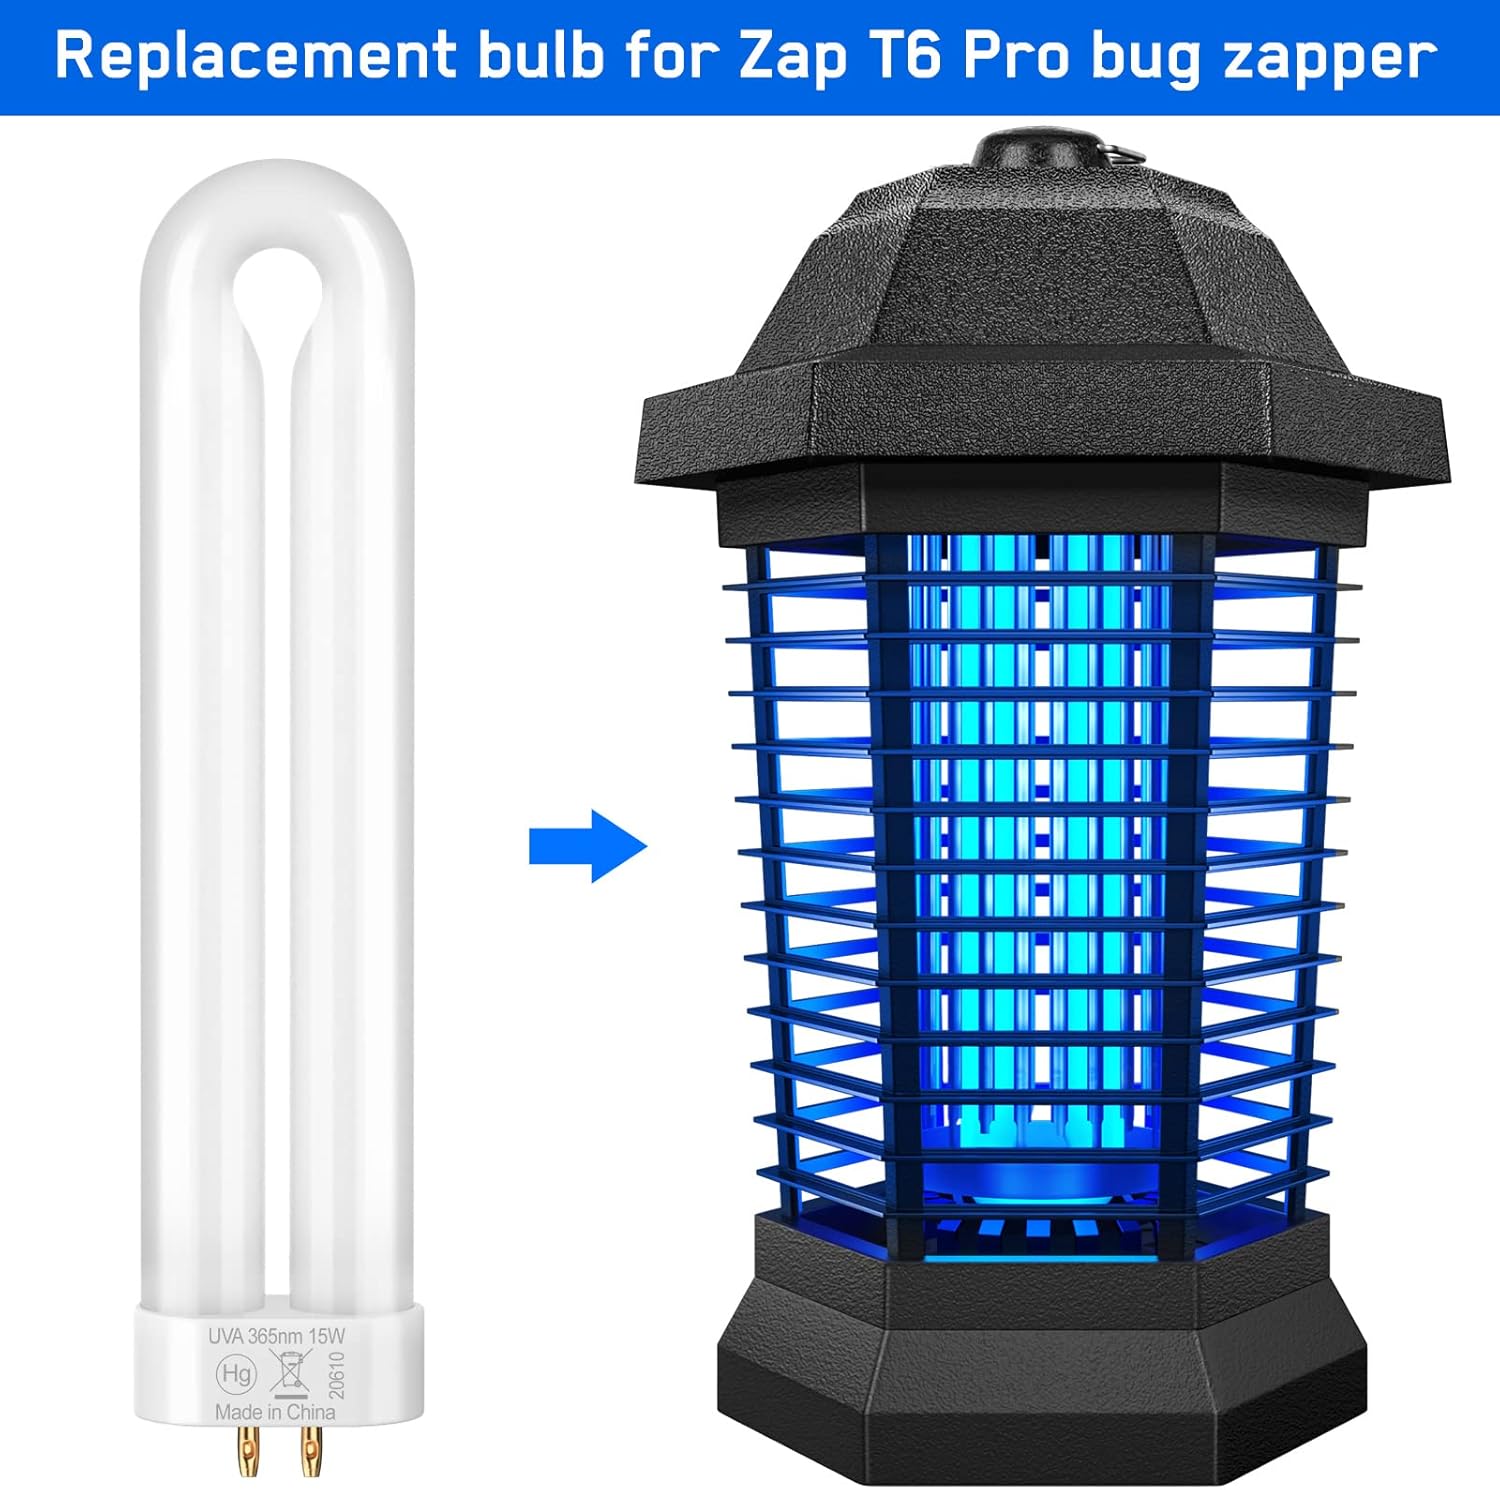
This image illustrates the GOOTOP replacement bulb positioned alongside a compatible bug zapper, demonstrating its intended use and scale.
Operating Instructions
Once the replacement bulb is installed, the bug zapper will operate as designed. Ensure the zapper is placed in an optimal location for attracting and eliminating flying insects, typically in a dark area away from competing light sources.
- For outdoor use only.
- Keep out of reach of children and pets.
- Do not touch the internal grid while the unit is powered on.
Maintenance
To ensure the longevity and effectiveness of your bug zapper and its new bulb:
- Regular Cleaning: Periodically clean the insect collection tray and the internal grid of the bug zapper. Always unplug the unit before cleaning.
- Bulb Lifespan: UV bulbs typically have a lifespan of approximately 3,000 hours of use. Replace the bulb annually or when you notice a decrease in its effectiveness, even if it still lights up.
- Storage: If storing the bug zapper for an extended period, remove the bulb and store it in a cool, dry place to preserve its lifespan.
Troubleshooting
If your bug zapper is not functioning after replacing the bulb, consider the following:
- Bulb Not Lighting Up:
- Ensure the bulb is fully seated in its socket. Gently push it in firmly.
- Check if the bug zapper is properly plugged into a working power outlet.
- Verify that the power switch on the bug zapper is in the "ON" position.
- If you have a spare bulb, try installing it to rule out a defective new bulb.
- Reduced Effectiveness:
- The bulb may be nearing the end of its effective lifespan, even if it still glows. UV light output diminishes over time.
- Ensure the bug zapper's grid is clean and free of insect debris.
- Relocate the zapper to a darker area where it can be the primary light source for insects.
Warranty & Support
For any questions, concerns, or support regarding your GOOTOP 15W Replacement Bulb, please feel free to contact GOOTOP customer service. Refer to your original bug zapper manual for specific warranty information related to the zapper unit itself.
Contact information can typically be found on the product packaging or the official GOOTOP website.