
TAXNELE TXM302
TAXNELE TXM302 Digital Electric Meter Instruction Manual
Model: TXM302
1. Introduction
This manual provides essential information for the safe and efficient operation of your TAXNELE TXM302 Digital Electric Meter. This three-phase four-wire energy meter is designed for direct and accurate measurement of active energy consumption. It features high reliability, compact size, lightweight design, and advanced technology, conforming to IEC62053 international standards for grade 1 or level 2 single-phase energy meters. Please read this manual thoroughly before installation and use.
Safety Information
- Installation and maintenance should only be performed by qualified personnel.
- Ensure power is disconnected before any wiring or installation procedures.
- Observe all local electrical codes and safety regulations.
- Do not operate the meter if it appears damaged.
2. Product Overview
The TAXNELE TXM302 is a digital electric meter designed for accurate energy measurement. Key components include the LCD display, power indicators, pulse indicator, and wiring terminals.

Figure 2.1: Product Appearance and Labeled Components
This image displays the front view of the TAXNELE TXM302 Digital Electric Meter, highlighting its main components. These include the wiring terminals (protected by an ABS case), the LCD screen with backlight, the accuracy class 1.0 label, L1, L2, and L3 power indicators, and the pulse indicator.
Key Features:
- Precise Measurement: Displays power supply status (L1, L2, L3), pulse signal (400imp/kWh), and 7-digit background lighting LCD (6+1 digit display up to 999999.9 kWh). Accuracy class: 1.
- Performance Stability: Features good anti-electromagnetic interference, low power consumption, high precision, high overload capacity, high stability, and anti-electricity theft design for long life.
- Auto Save: Meter readings are preserved even during power outages.
- Easy to Use: Simple installation on a 35mm DIN rail. LCD backlit display ensures clear data readability even in low light conditions.
- Durable Construction: The shell is made of PC flame retardant material with high fire resistance and insulation.
3. Specifications
Detailed technical specifications for the TAXNELE TXM302 Digital Electric Meter are provided below.

Figure 3.1: Product Parameters
This image presents a table summarizing key product parameters for the TAXNELE TXM302, including product name, pulse rate, installation method, rated voltage, measurement accuracy, and maximum current.
| Parameter | Value |
|---|---|
| Product Name | 3 Phase 4 Wire Energy Meter |
| Reference Voltage | 3 X 220/380(V), 3 X 230/400(V) |
| Reference Current | 3 X 10(100A) |
| Accuracy Level | 1.0 |
| Rated Frequency | 50-60Hz |
| Constant Pulse | 400imp / kWh |
| Display | LCD 6 + 1 (with backlight) |
| Power Consumption | ≤2W, 10VA |
| Starting Current | 0.004Ib |
| Operating Temperature | -20 ~ 55°C |
| Storage Temperature | -25 ~ 70°C |
| Operating Voltage | 0.9-1.1 Rated Voltage |
| Utmost Voltage | 0.8-1.15 Rated Voltage |
| Average Humidity Value of Year | ≤75% |
| Type | Three Phase Four Wire Electronic Type |
| Installation Method | 35mm DIN standard guide rail installation |
| Dimensions (Approx.) | 10.0 X 7.6 X 6.5 cm (3.97 X 2.99 X 2.55 in) |
| Item Weight | 360 g |
| Model Number | TXM302 |
| Manufacturer | TAXNELE |
| Country of Origin | China |

Figure 3.2: Product Dimensions
This diagram illustrates the physical dimensions of the TAXNELE TXM302 Digital Electric Meter, showing its length (100mm), width (76mm), and depth (65mm), along with a side view indicating a height of 45mm from the DIN rail.
4. Setup and Installation
The TAXNELE TXM302 meter is designed for easy installation on a standard 35mm DIN rail. Ensure all power is disconnected before proceeding with installation.
4.1 DIN Rail Assembly
The meter is suitable for household use and can be mounted directly onto a 35mm DIN rail within an electrical enclosure.

Figure 4.1: DIN Rail Assembly
This image shows the TAXNELE TXM302 Digital Electric Meter installed on a 35mm DIN rail, demonstrating its compact fit within a typical electrical distribution box.
4.2 Wiring Instructions
The meter supports two common wiring modes: "Up IN Down Out" and "Up Out Down In". Both configurations are acceptable. Always ensure correct phase (L1, L2, L3) and neutral (N) connections.

Figure 4.2: Wiring Modes
This image illustrates two acceptable wiring configurations for the meter: 'Up IN Down Out' where power enters from the top terminals and exits from the bottom, and 'Up Out Down In' where power enters from the bottom and exits from the top. Both diagrams show connections for L1, L2, L3, and Neutral, along with the pulse output terminals.
The meter's shell is constructed from PC flame retardant material, offering high fire resistance and insulation for enhanced safety.
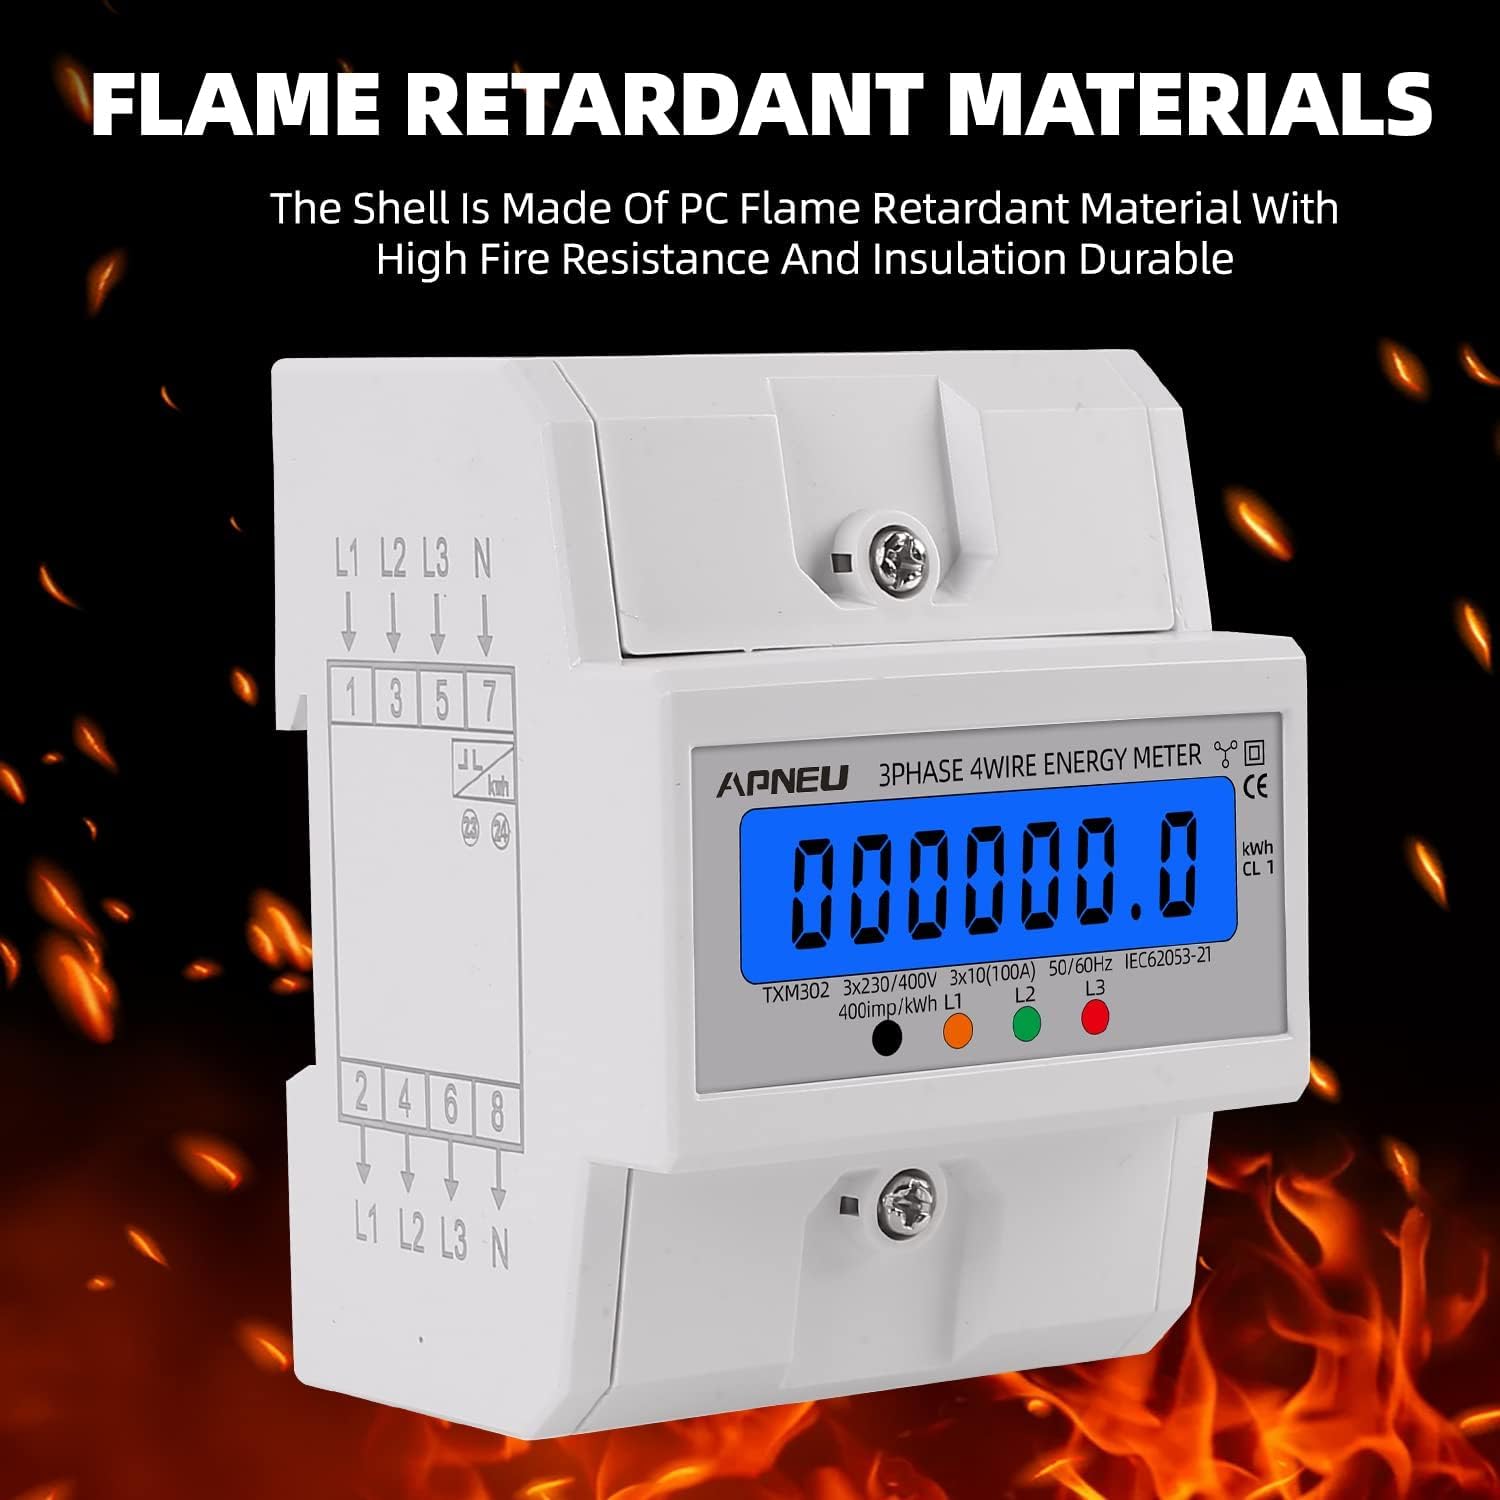
Figure 4.3: Flame Retardant Materials
This image emphasizes the use of PC flame retardant material in the meter's construction, ensuring high fire resistance and insulation properties.
5. Operation
5.1 Power-On and Display
Once correctly wired and powered, the meter's LCD will illuminate, displaying the current energy consumption. The 6+1 digit display (999999.9 kWh) provides accurate readings. The backlight ensures clear visibility even in dark environments.

Figure 5.1: Easy to Read Display
This image demonstrates the meter's LCD display with its clear, backlit digits, making real-time power readings easily visible under various lighting conditions.
5.2 Reading the Meter
- LCD Display: The primary display shows the total accumulated energy consumption in kilowatt-hours (kWh). The format is 6 digits before the decimal point and 1 digit after (e.g., 999999.9 kWh).
- Power Indicators (L1, L2, L3): These LEDs indicate the presence of power on each respective phase.
- Pulse Indicator: The pulse LED flashes at a rate of 400 impulses per kilowatt-hour (400imp/kWh), indicating active energy measurement. A faster flash rate signifies higher power consumption.
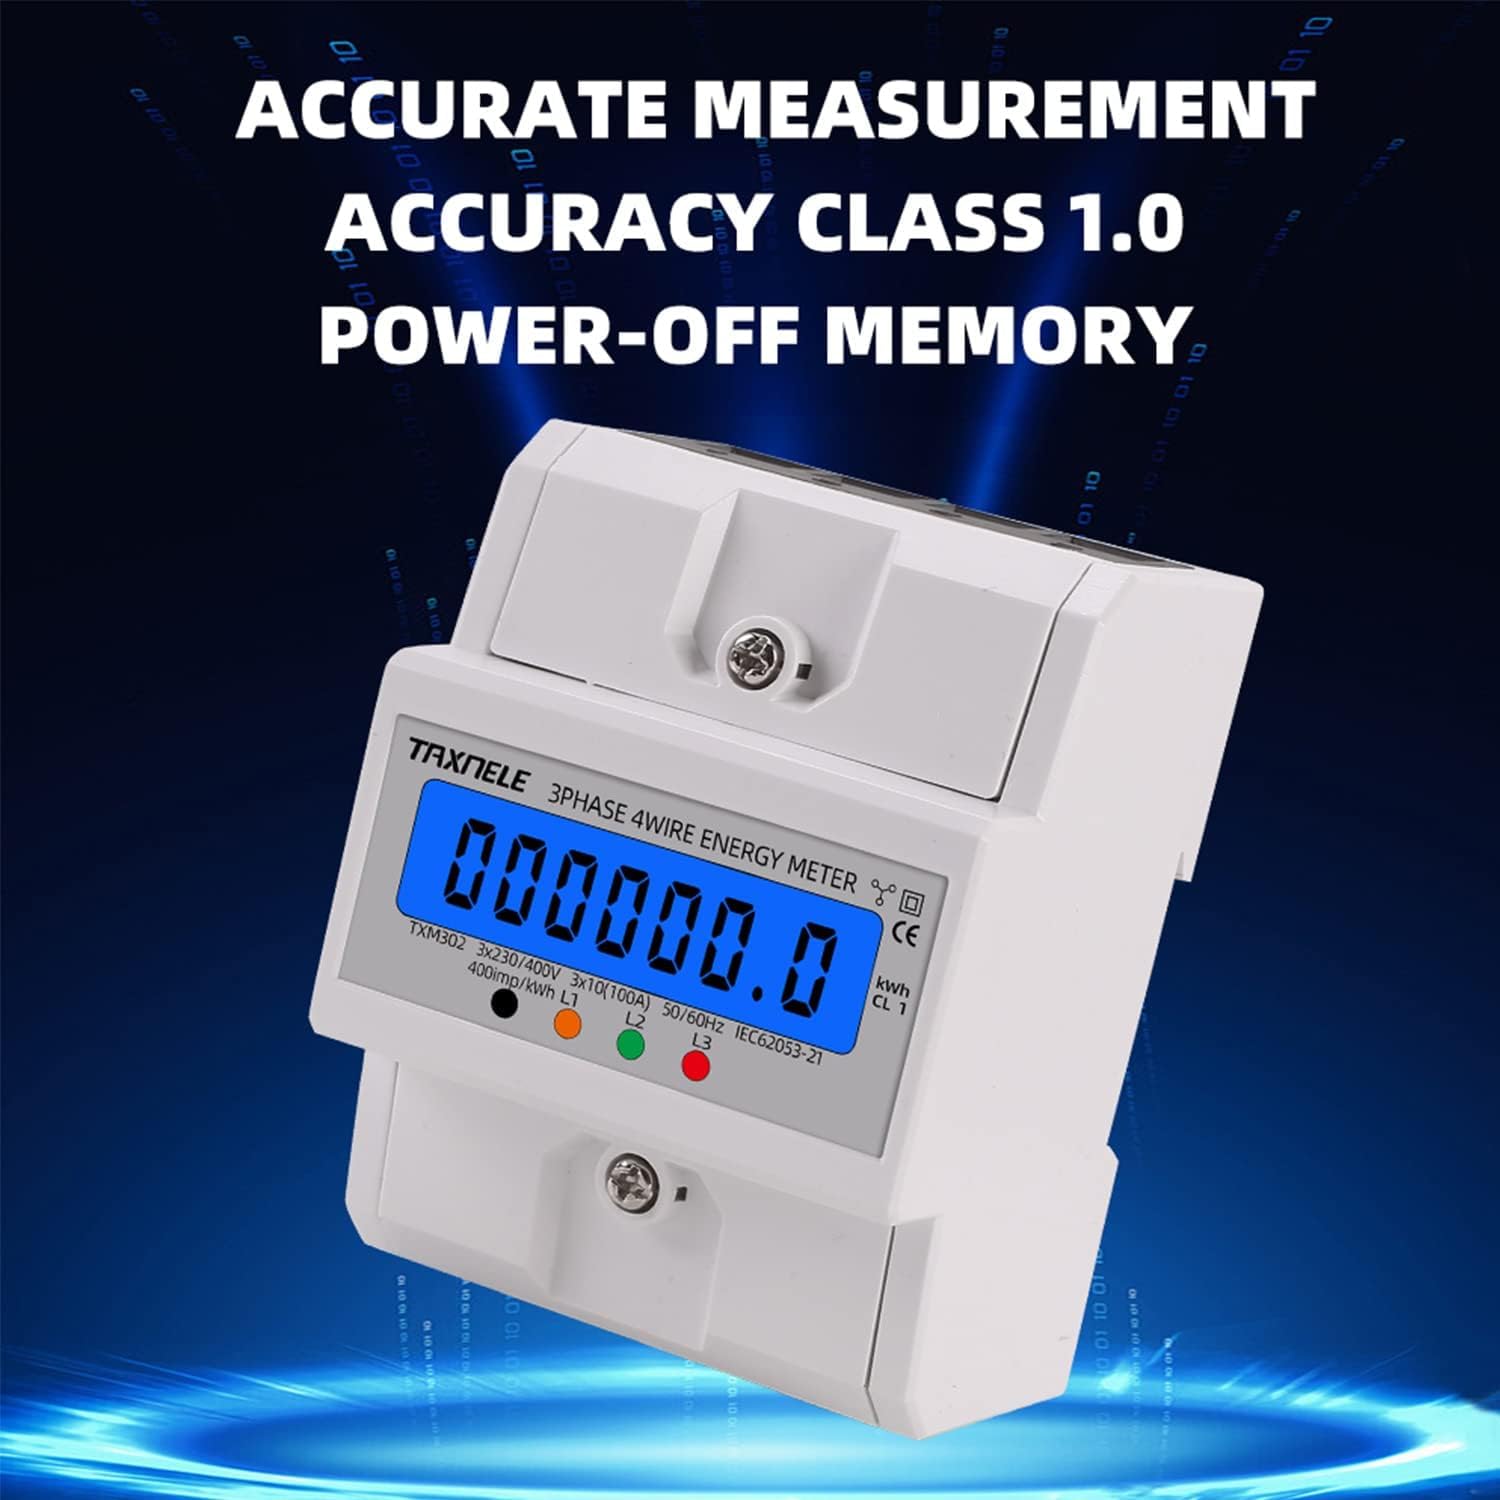
Figure 5.2: Accurate Measurement and Power-Off Memory
This image highlights the meter's accuracy class 1.0 and its ability to retain meter readings even after a power outage, ensuring data integrity.
5.3 Power-Off Memory
The meter is equipped with an auto-save function, ensuring that all recorded energy consumption data is preserved even in the event of a power outage. No manual intervention is required to save data.
6. Maintenance
- Cleaning: Use a soft, dry cloth to clean the meter's exterior. Do not use abrasive cleaners or solvents.
- Inspection: Periodically inspect the wiring connections to ensure they are secure and free from corrosion.
- No User-Serviceable Parts: The meter contains no user-serviceable parts. Do not attempt to open or repair the unit, as this will void the warranty and may pose a safety hazard.
- Environmental Conditions: Ensure the meter operates within the specified operating temperature and humidity ranges to maintain optimal performance and longevity.
7. Troubleshooting
If you encounter issues with your TAXNELE TXM302 meter, refer to the following common troubleshooting steps:
| Problem | Possible Cause | Solution |
|---|---|---|
| Meter display is blank | No power supply; Loose wiring connection; Internal fault. | Check power supply to the meter. Verify all wiring connections are secure. If problem persists, contact qualified personnel. |
| Pulse LED not flashing | No load connected; Incorrect wiring; Meter fault. | Ensure there is an active load. Re-check wiring according to diagrams. If problem persists, contact qualified personnel. |
| Inaccurate readings | Incorrect wiring; External interference; Meter fault. | Verify wiring. Ensure meter is not exposed to strong electromagnetic fields. If problem persists, contact qualified personnel. |
For issues not listed above or if solutions do not resolve the problem, please contact a qualified electrician or the product support team.
8. Warranty and Support
For warranty information, please refer to the documentation provided at the time of purchase or contact your retailer. For technical support, please reach out to the manufacturer or your supplier.
Ask a question about this manual
Ask about setup, troubleshooting, compatibility, parts, safety, or missing instructions. Manuals+ will review the question and use this page’s manual context to help answer it.