Introduction
Thank you for choosing the QZT Digital Voice Recorder V61-2. This manual provides essential information for the proper operation, maintenance, and troubleshooting of your device. Please read it thoroughly before use to ensure optimal performance and longevity of the product.
Product Overview
The QZT Digital Voice Recorder V61-2 is a compact and versatile recording device designed for various applications, including lectures, meetings, interviews, and personal notes. It features high-quality audio recording, noise cancellation, and a user-friendly interface.
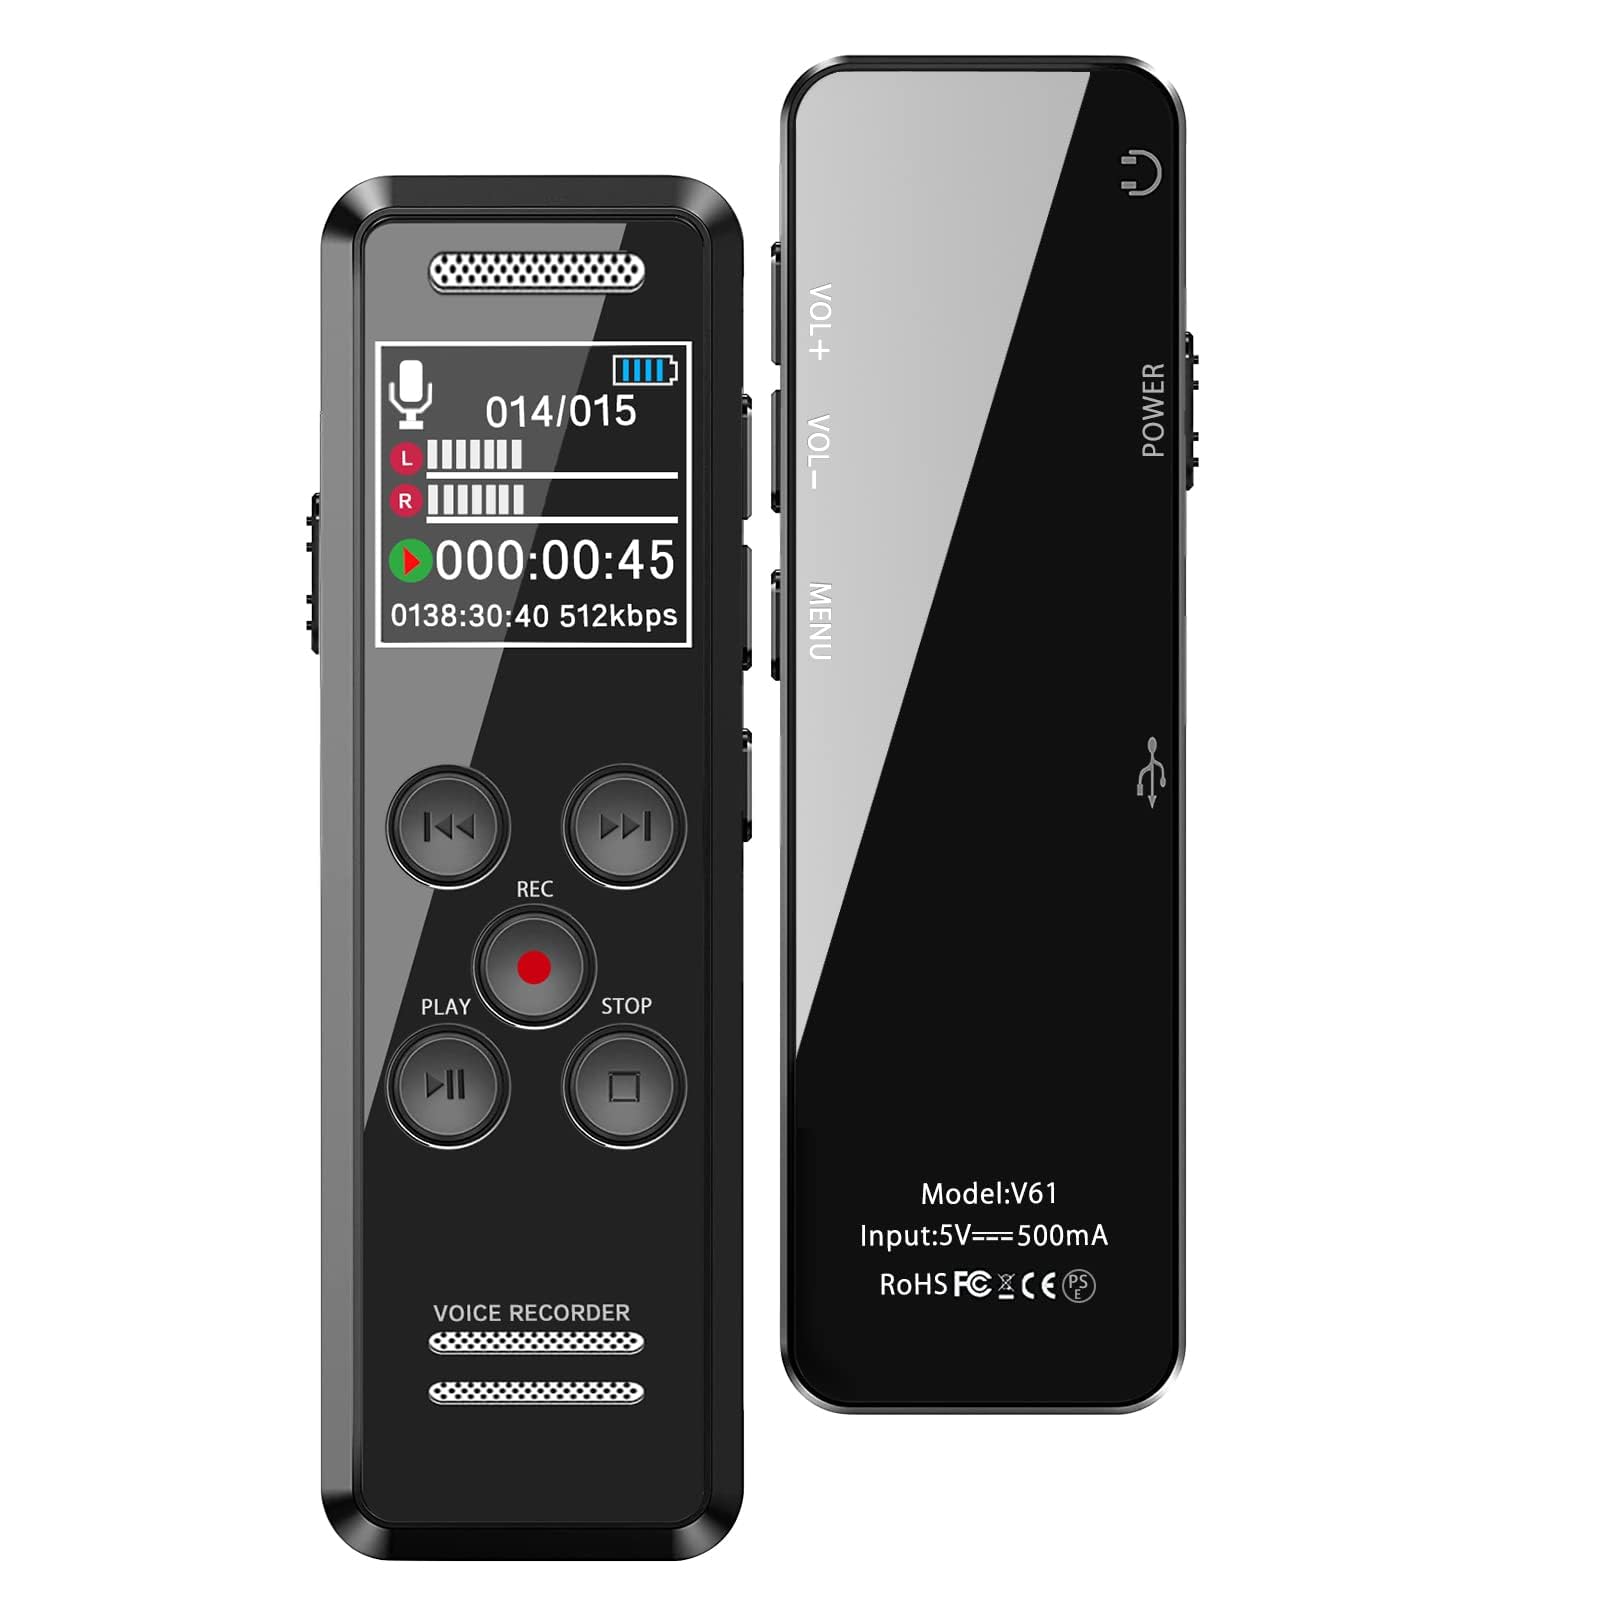
Image: The QZT Digital Voice Recorder V61-2 showcasing its main features and compact design.
Package Contents
Please check the packaging for a complete list of items. Typically, the package includes:
- QZT Digital Voice Recorder V61-2
- USB Data Cable (Type-C)
- User Manual
Device Layout
Familiarize yourself with the buttons and ports on your device:
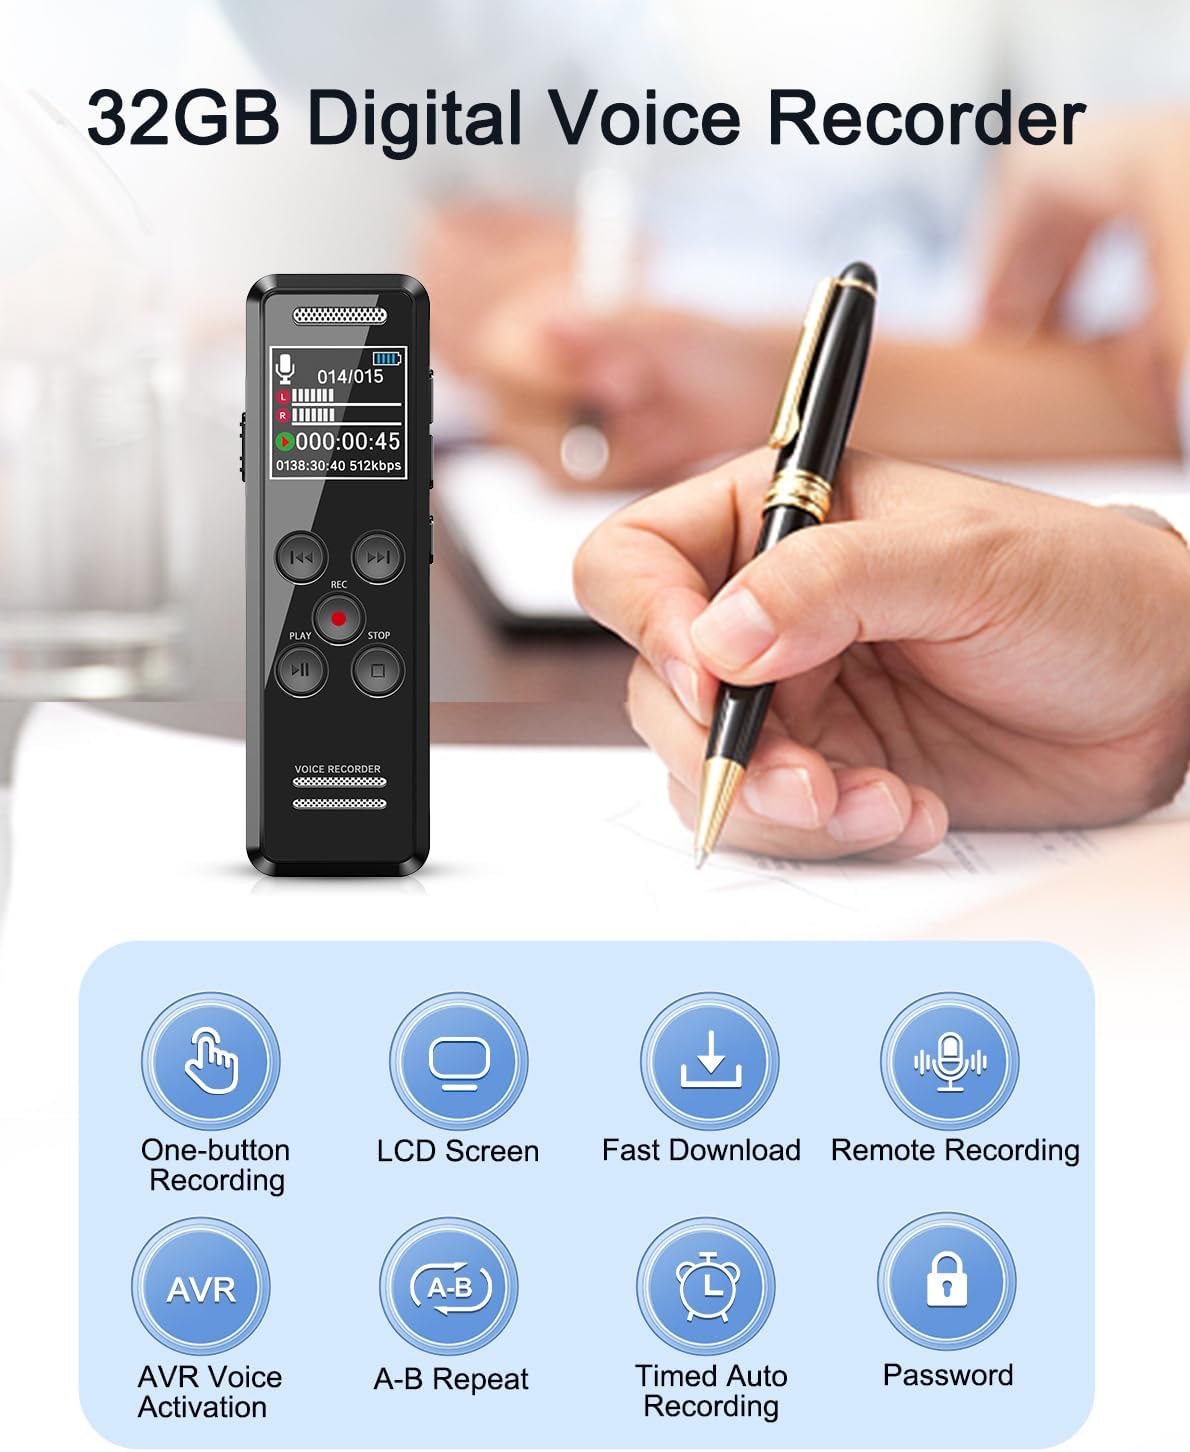
Image: Front view of the recorder, highlighting the LCD screen and control buttons.
- LCD Screen: Displays recording status, time, file name, and battery level.
- REC Button: Short press to start recording.
- Play/Pause Button: To play or pause recordings.
- Stop Button: To stop recording or playback.
- Volume Buttons (VOL+/VOL-): Adjust playback volume.
- Menu Button: Access device settings.
- Power Button: Turn the device on/off.
- USB-C Port: For charging and data transfer.
- Headphone Jack (3.5mm): For audio output.
- Microphone: Built-in high-sensitivity omnidirectional microphone.
Setup
1. Charging the Device
Before first use, fully charge the voice recorder. Connect the supplied USB-C cable to the device and a power source (e.g., computer USB port or a USB wall adapter). The battery indicator on the LCD screen will show charging status.

Image: Connecting the recorder for charging and data transfer.
2. Initial Power On
Press and hold the Power button for a few seconds until the LCD screen lights up. The device will boot up and display the main interface.
Operating Instructions
1. One-Button Recording
To start recording, simply short press the REC button. The device will begin recording immediately. To stop and save the recording, press the STOP button.
2. AVR (Voice Activated Recording)
The AVR function allows the recorder to automatically start recording when sound is detected and pause when silence occurs, saving storage space. To activate AVR:
- Navigate to the settings menu using the Menu button.
- Select 'AVR Mode' or 'Voice Activated Recording'.
- Choose your desired sensitivity level.
- Exit the menu. The device will now record only when sound is present.

Image: How AVR (Voice Activated Recording) works, showing sound detection thresholds.
3. Playback
To play a recorded file:
- From the main screen, use the navigation buttons to select the desired recording.
- Press the Play/Pause button to start playback.
- Adjust the volume using the VOL+ and VOL- buttons.
- Press the Stop button to end playback.
4. File Management and Transfer
You can easily transfer recorded files to your computer or smartphone.
Transfer to Computer:
Connect the recorder to your computer using the provided USB-C cable. The device will appear as a removable disk. You can then drag and drop files to and from the recorder.
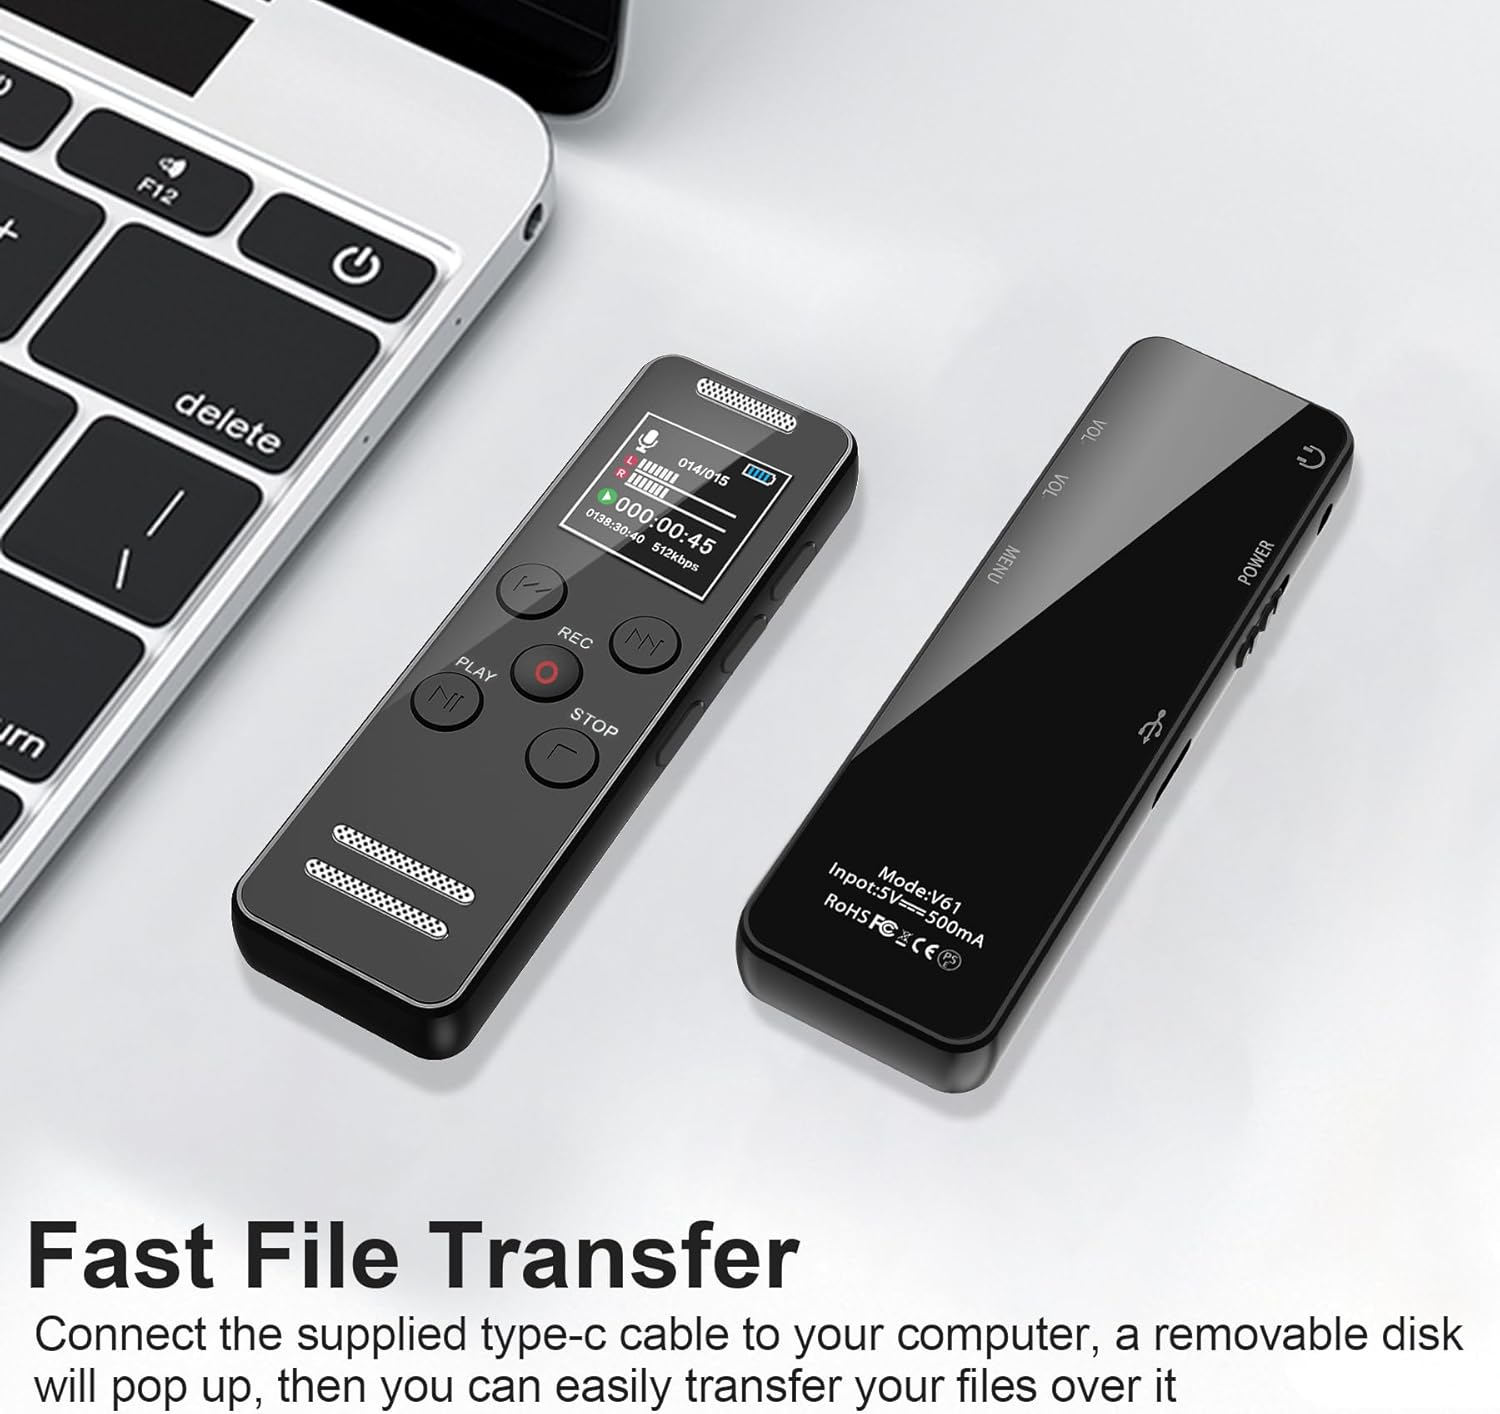
Image: Fast file transfer from the recorder to a computer.
Transfer to Smartphone (OTG):
Using an OTG adapter (not included), you can connect the recorder directly to your Android or iPhone for file transfer.
5. Password Protection
To protect your recordings, you can set a password for the device:
- Go to the settings menu.
- Select 'Password Setting'.
- Follow the on-screen prompts to set your desired password.
6. MP3 Player Function
The device can also function as an MP3 player. Transfer MP3 or WAV music files to the recorder's memory. Connect headphones to the 3.5mm jack for private listening or use the built-in speaker.

Image: Using the recorder as an MP3 player with headphones.
7. Timed Auto Recording
Set a specific time for the recorder to start and stop recording automatically. This feature is useful for scheduled events.
- Access the settings menu.
- Find 'Timed Recording' or 'Auto Record'.
- Set the start time, end time, and frequency (e.g., once, daily).
8. A-B Repeat
During playback, you can mark a starting point (A) and an ending point (B) to repeatedly play a specific segment of an audio file. This is useful for language learning or transcribing.
- During playback, press the 'A-B' button once to set point A.
- Press the 'A-B' button again to set point B. The segment between A and B will loop.
- Press 'A-B' a third time to exit repeat mode.
9. Noise Cancellation
The recorder features a high-sensitivity omnidirectional microphone and advanced noise cancellation technology to ensure clear audio capture even in noisy environments. This feature is typically active by default or can be adjusted in the settings.
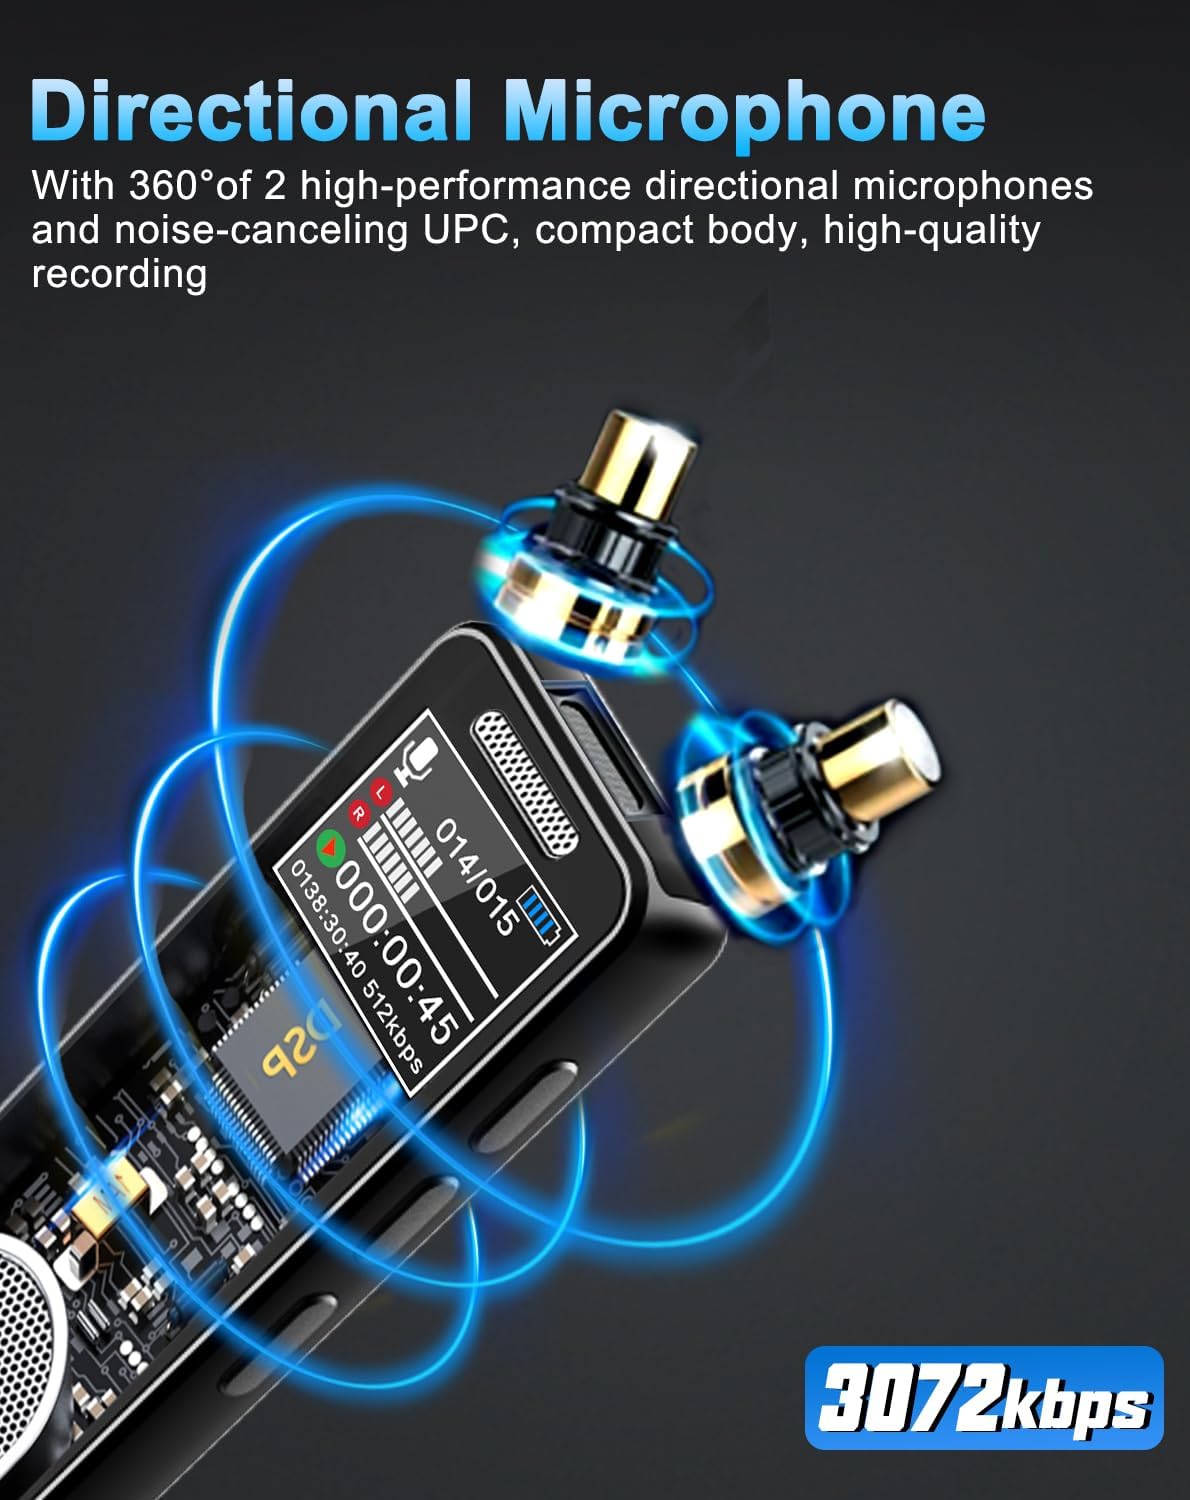
Image: The directional microphone and 3072kbps recording quality.
Maintenance
- Cleaning: Use a soft, dry cloth to clean the device. Avoid liquid cleaners or abrasive materials.
- Storage: Store the recorder in a cool, dry place away from direct sunlight, extreme temperatures, and humidity.
- Battery Care: To prolong battery life, avoid fully discharging the battery frequently. Charge it regularly, even if not in use for extended periods.
- Avoid Impact: Do not drop or subject the device to strong impacts, as this may damage internal components.
Troubleshooting
| Problem | Possible Cause | Solution |
|---|---|---|
| Device does not turn on. | Low battery; device frozen. | Charge the device for at least 30 minutes. If still unresponsive, try a hard reset (refer to manual for specific reset instructions if available, otherwise hold power button for 10-15 seconds). |
| Poor recording quality. | Microphone obstructed; too far from sound source; high background noise; incorrect settings. | Ensure microphone is clear. Place device closer to the sound source. Check noise cancellation settings. Record in a quieter environment. |
| Cannot transfer files to computer. | Faulty USB cable; incorrect connection; driver issue. | Try a different USB-C cable. Ensure the cable is securely connected to both the device and the computer. Try a different USB port on your computer. Restart both devices. |
| Recordings are not saving. | Memory full; device malfunction. | Check available memory space and delete unnecessary files. If the issue persists, contact customer support. |
Specifications
| Feature | Detail |
|---|---|
| Model Number | V61-2 |
| Memory Storage Capacity | 32GB |
| Recording Quality | Up to 3072kbps |
| Battery Type | Lithium Polymer |
| Battery Life (Recording) | Approx. 35 hours |
| Max Recording Time (32kbps) | Approx. 2276 hours |
| Display Screen Size | 1.5 inches |
| Hardware Interface | USB3.0 C |
| Headphone Jack | 3.5mm |
| Compatible Devices | MP3 Player |
| Media Format | MP3 Audio Clip |
| Item Weight | 180 grams |
| Product Dimensions | 9.4 x 2.5 x 1.1 cm |

Image: Physical dimensions and weight of the recorder.
Warranty and Support
This product comes with a standard manufacturer's warranty. For specific warranty details, please refer to the warranty card included in your package or contact the retailer. For technical support, troubleshooting assistance, or any inquiries regarding your QZT Digital Voice Recorder V61-2, please reach out to the customer service provided by your point of purchase.


