
Raddy PT-1
Raddy PT-1 Wireless Pool Thermometer User Manual
Model: PT-1
1. Introduction
The Raddy PT-1 Wireless Pool Thermometer is designed to provide accurate and convenient temperature readings for various water bodies. Its user-friendly design allows for easy monitoring of water temperature from a distance, ensuring optimal conditions for your pool, hot tub, pond, or aquarium. This manual provides detailed instructions for setting up, operating, and maintaining your PT-1 thermometer.

Figure 1: Raddy PT-1 Wireless Pool Thermometer with key features highlighted, including indoor and outdoor monitoring, Celsius/Fahrenheit switch, Max/Min records, and Hi/Low temperature alarm.
2. Safety Information
Please read and understand all safety instructions before using the Raddy PT-1 thermometer. Failure to follow these instructions may result in product damage or personal injury.
- Do not expose the display console to direct water immersion. The floating sensor is waterproof, but the indoor display console is not.
- Ensure batteries are inserted with correct polarity. Incorrect installation can damage the device.
- Do not mix old and new batteries, or different types of batteries.
- Keep the device out of reach of children.
- Do not attempt to disassemble or repair the device yourself. Contact customer support for assistance.
- Dispose of used batteries responsibly according to local regulations.
3. Package Contents
Verify that all items are present in the package:
- Wireless Pool Sensor (Floating Unit) x 1
- Display Console (Indoor Unit) x 1
- Wrench x 2 (for opening/closing the floating unit)
Note: 6 AAA batteries are required (not included).

Figure 2: The Raddy PT-1 Pool Thermometer package contents, including the floating sensor and the display console.
4. Product Overview
4.1 Floating Pool Sensor
- Temperature Sensor: Measures water temperature.
- Display: Small digital display for direct reading on the unit.
- Battery Compartment: Located at the bottom, secured with a double rubber gasket design for IPX7 waterproofing.
- Antenna: For wireless transmission to the display console.
4.2 Display Console
- LCD Display: Shows time, indoor temperature, outdoor (water) temperature, and Max/Min records.
- Buttons: For setting time, switching units (°F/°C), viewing Max/Min, and setting alarms.
- Kickstand/Wall Mount: For versatile placement.

Figure 3: The Raddy PT-1 display console, illustrating its versatile placement options including a kickstand for tabletop use and a slot for wall mounting.
5. Setup
5.1 Battery Installation
Install batteries into both the floating sensor and the display console.
- For the Floating Sensor:
- Remove the small key from the floating sensor.
- Align the wrench slot with the keyhole on the floating sensor's top and bottom lids.
- Use the provided wrenches to carefully unscrew and remove the upper and lower lids of the floating sensor.
- Insert 4 AAA batteries into the battery compartment, observing correct polarity (+/-).
- Carefully re-attach and tighten the lids using the wrenches, ensuring the double rubber gaskets are properly seated for a waterproof seal.
- Re-insert the small key.

Figure 4: Illustration of battery installation in the Raddy PT-1 floating sensor, showing the use of the provided wrenches to open the compartment and insert 4 AAA batteries.
For a visual guide on battery replacement, please refer to the official video below:
Video 1: How to replace the battery for PT-1 pool thermometer. This video demonstrates the step-by-step process of opening the floating sensor, replacing the batteries, and securely reassembling the unit to maintain its waterproof integrity.
- For the Display Console:
- Open the battery compartment cover on the back of the display console.
- Insert 2 AAA batteries, observing correct polarity (+/-).
- Close the battery compartment cover.
5.2 Initial Pairing and Placement
Once batteries are installed in both units, they should automatically pair. Place the floating sensor in the water (pool, hot tub, etc.) and position the display console indoors within the transmission range (up to 300ft in open areas).

Figure 5: The Raddy PT-1 system demonstrating its capability to monitor up to 8 locations simultaneously, with the floating sensor in a pool and the display console inside a house, also showing other potential sensor locations like aquariums and baby baths.
6. Operating Instructions
6.1 Reading Temperatures
The display console will show the current indoor temperature (from the console's built-in sensor) and the outdoor water temperature (from the floating sensor).
6.2 Switching Temperature Units (°F/°C)
Press the designated button (usually marked with °F/°C or SET) on the display console to toggle between Fahrenheit and Celsius temperature readings.
6.3 Max/Min Temperature Records
The device records the maximum and minimum temperatures measured. Press the "MIN/MAX" button to view these records. Press again to cycle through indoor Max, indoor Min, outdoor Max, and outdoor Min temperatures. To clear the records, press and hold the "MIN/MAX" button.
6.4 Setting High/Low Temperature Alarms
The PT-1 features a high/low temperature alarm. Refer to the detailed instructions in the full user manual (PDF link provided in product details) for setting specific alarm thresholds.
6.5 Versatile Usage
The Raddy PT-1 is suitable for a variety of applications beyond just swimming pools, including spas, hot tubs, ice baths, hot springs, fish tanks, and ponds.
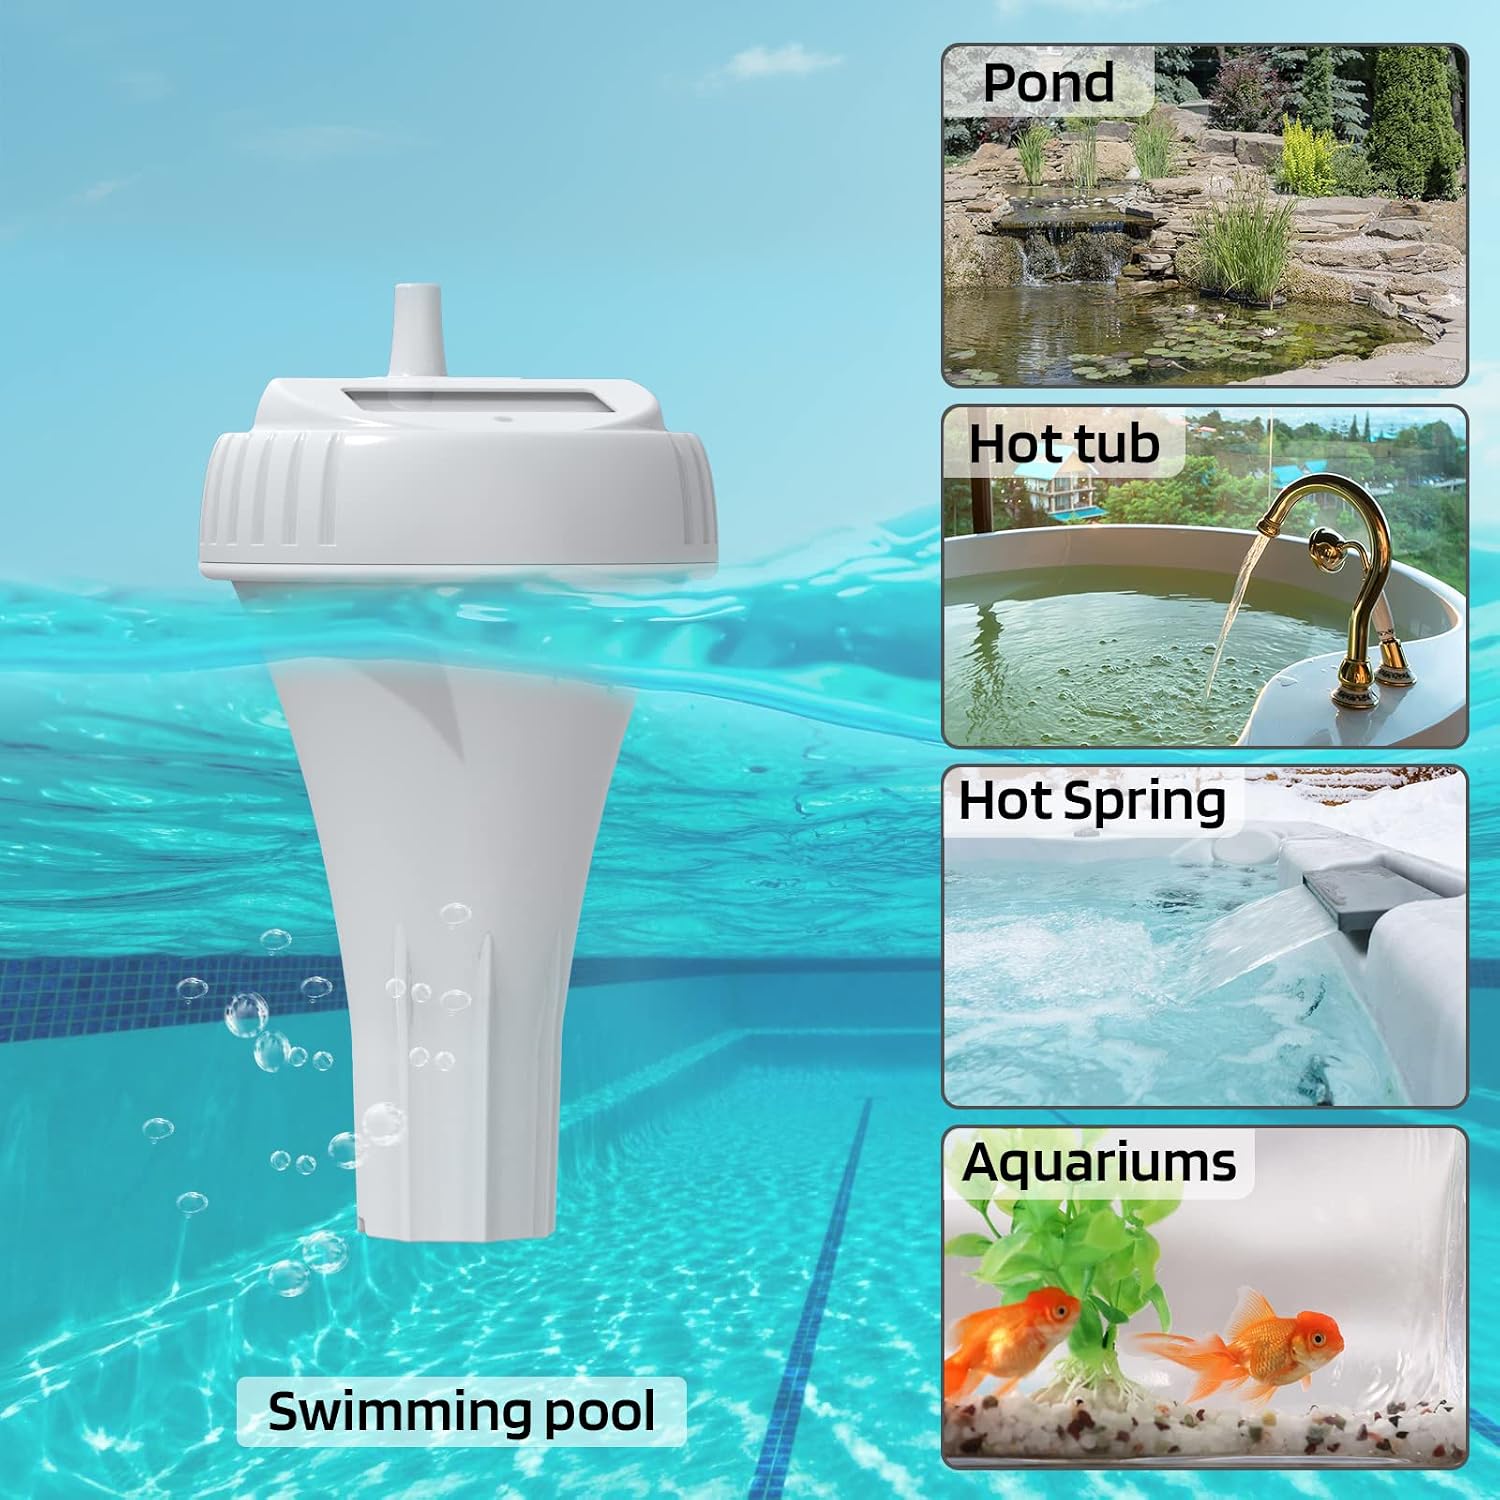
Figure 6: The Raddy PT-1 floating sensor depicted in various application settings, including a swimming pool, pond, hot tub, hot spring, and aquariums, highlighting its versatile usage.
7. Maintenance
7.1 Cleaning
Wipe both the floating sensor and the display console with a soft, damp cloth. Do not use abrasive cleaners or solvents. Ensure the display console remains dry.
7.2 Battery Replacement
Replace batteries in both units when the low battery indicator appears on the display console. For the floating sensor, follow the steps outlined in Section 5.1 Battery Installation. It is crucial to ensure the double rubber gaskets are clean and properly seated when reassembling the floating unit to maintain its IPX7 waterproof rating.

Figure 7: A detailed view of the Raddy PT-1 floating sensor highlighting its upgraded double rubber gaskets design, which provides IPX7 waterproofing for submersion up to 3.3 feet deep.
8. Troubleshooting
| Problem | Possible Cause | Solution |
|---|---|---|
| No temperature reading on display console (--.-) |
|
|
| Inaccurate temperature readings |
|
|
| Short battery life |
|
|
9. Specifications
- Model: PT-1
- Temperature Range: -40°F to 140°F (-40°C to 60°C)
- Accuracy: ±2°F (1°C)
- Wireless Transmission Range: Up to 300ft (in open area)
- Waterproof Rating (Floating Sensor): IPX7 (submersible up to 3.3ft)
- Power Source:
- Floating Sensor: 4 x AAA batteries (not included)
- Display Console: 2 x AAA batteries (not included)
- Material: Plastic
- Color: White
- Dimensions (Floating Sensor): Approximately 4.2" (W) x 6.9" (H)
- Dimensions (Display Console): Approximately 2.5" (W) x 4.3" (H)

Figure 8: Detailed dimensions of both the Raddy PT-1 floating sensor and the display console, along with the included wrenches and key.

Figure 9: The Raddy PT-1 highlighting its high accuracy sensor with an accuracy of ±2°F (1°C) and a wide temperature range of -40°F to 140°F (-40°C to 60°C).
10. Warranty & Support
Raddy products are designed for reliability and performance. For specific warranty details, please refer to the warranty card included with your product or visit the official Raddy website. If you encounter any issues or have questions regarding your Raddy PT-1 thermometer, please contact Raddy customer support for assistance.
Manufacturer: Raddy
Seller: Radioddity
For further assistance, you may also refer to the official User Manual (PDF) available via the product listing or by searching for "Raddy PT-1 User Manual" online.
Link to User Manual (PDF): Raddy PT-1 User Manual PDF
Related documentsPT-1


Ask a question about this manual
Ask about setup, troubleshooting, compatibility, parts, safety, or missing instructions. Manuals+ will review the question and use this page’s manual context to help answer it.