
MgaoLo h12
MgaoLo Kids Digital Camera User Manual
Model: h12
For ages 3-12 years old
Introduction
Thank you for choosing the MgaoLo Kids Digital Camera. This camera is designed to be a fun and educational toy for children aged 3-12, allowing them to explore photography and videography. It features a durable protective silicone cover, a high-definition digital sensor, and comes with a 32GB SD card to store countless memories. Please read this manual carefully to ensure proper use and maintenance of the camera.
What's in the Box
Upon opening your MgaoLo Kids Digital Camera package, you should find the following items:
- 1 x MgaoLo Kids Camera (with pre-installed 32GB Memory Card)
- 1 x USB Charging Cable (USB port, no charger included)
- 1 x Cartoon Protective Case (Panda Blue design)
- 1 x Card Reader
- 1 x Neck Hanging Lanyard
- 1 x User Manual (this document)

Image: The MgaoLo Kids Digital Camera in Panda Blue, showcasing the camera itself along with the USB charging cable, 32GB SD card, and card reader.
Product Overview and Controls
Familiarize yourself with the camera's components and controls for optimal use.

Image: A detailed diagram illustrating the various parts of the MgaoLo Kids Digital Camera, including the screen, control buttons, front and rear lenses, microphone, loudspeaker, USB port, reset button, and SD card slot. Dimensions and charging information are also shown.
Camera Components:
- Camera Lens: Front and rear lenses for capturing photos and videos.
- Display Screen: 2-inch color display for viewing images, videos, and navigating menus.
- Loudspeaker: For audio playback.
- Microphone: For recording audio with videos.
- USB Port: For charging and data transfer.
- SD Card Slot: For inserting the memory card.
- Reset Button: A small pinhole button for resetting the device if it becomes unresponsive.
Control Buttons:
- Power/Back Button: Turns the camera on/off and navigates back in menus.
- Video/Photo/Confirm Button: Switches between video and photo modes, and confirms selections.
- Up/Delete/Zoom Out Button: Navigates up in menus, deletes files, or zooms out.
- Down/Zoom In Button: Navigates down in menus or zooms in.
- Left Button: Navigates left in menus.
- Right Button: Navigates right in menus.
Setup
1. Initial Charging
Before first use, fully charge the camera. Connect the provided USB charging cable to the camera's USB port and to a USB power source (e.g., computer, USB wall adapter - not included). The charging time is approximately 1-1.5 hours. A full charge provides about 3 hours of working time.
2. Memory Card
The 32GB memory card is pre-installed in the camera. Ensure it is securely seated in the SD card slot before use. If you need to remove or insert the card, do so gently. Always power off the camera before removing the SD card to prevent data loss.
3. Attaching the Lanyard and Protective Case
For added protection and portability, attach the neck hanging lanyard to the camera's protective silicone case. Insert the camera into the cartoon protective case, ensuring a snug fit. The case helps protect the camera from accidental drops and bumps.
Operating Instructions
Power On/Off
Press and hold the Power/Back button to turn the camera on or off.
Navigating Menus
Use the Up, Down, Left, and Right buttons to navigate through the camera's menu options. Press the Video/Photo/Confirm button to select an option. Press the Power/Back button to return to the previous screen.
Taking Photos
- Turn on the camera.
- Ensure you are in photo mode. If not, press the Video/Photo/Confirm button to switch.
- Frame your shot using the display screen.
- Press the Video/Photo/Confirm button to take a picture.

Image: An illustration highlighting the multi-functional capabilities of the camera, including photo, video, zoom, and various playback options.
Recording Videos
- Turn on the camera.
- Press the Video/Photo/Confirm button to switch to video recording mode.
- Press the Video/Photo/Confirm button again to start recording. A timer will appear on the screen.
- Press the Video/Photo/Confirm button once more to stop recording.

Image: A visual representation of the camera's video recording function, showing children engaging with the device.
Using Front and Rear Lenses
The camera is equipped with both front and rear lenses, allowing for regular photos and selfies. Switch between the lenses using the appropriate menu option or button (refer to on-screen prompts).

Image: A depiction of the camera's dual lens system, showing how both the front and rear cameras can be used to capture images.
Digital Zoom
While in photo or video mode, use the Up/Delete/Zoom Out and Down/Zoom In buttons to adjust the digital zoom level (up to 8x).

Image: A small graphic demonstrating the 8x digital zoom feature.
Timed Shooting (Self-Timer)
Access the timed shooting option in the camera settings. You can set a delay of 2, 5, or 10 seconds before a photo is taken, allowing the user to get into position.

Image: A sequence of photos illustrating the timed shooting feature, showing children preparing for a picture with different delay settings.
Filters and Frames
Enhance your photos with various built-in filters (6 options) and fun frames (28 options). Navigate to the photo editing or effects menu to apply these features before or after taking a picture.

Image: A collage displaying the variety of filters and decorative frames that can be applied to photos taken with the camera.
Built-in Games
The camera includes three puzzle games for entertainment. Access them through the main menu.
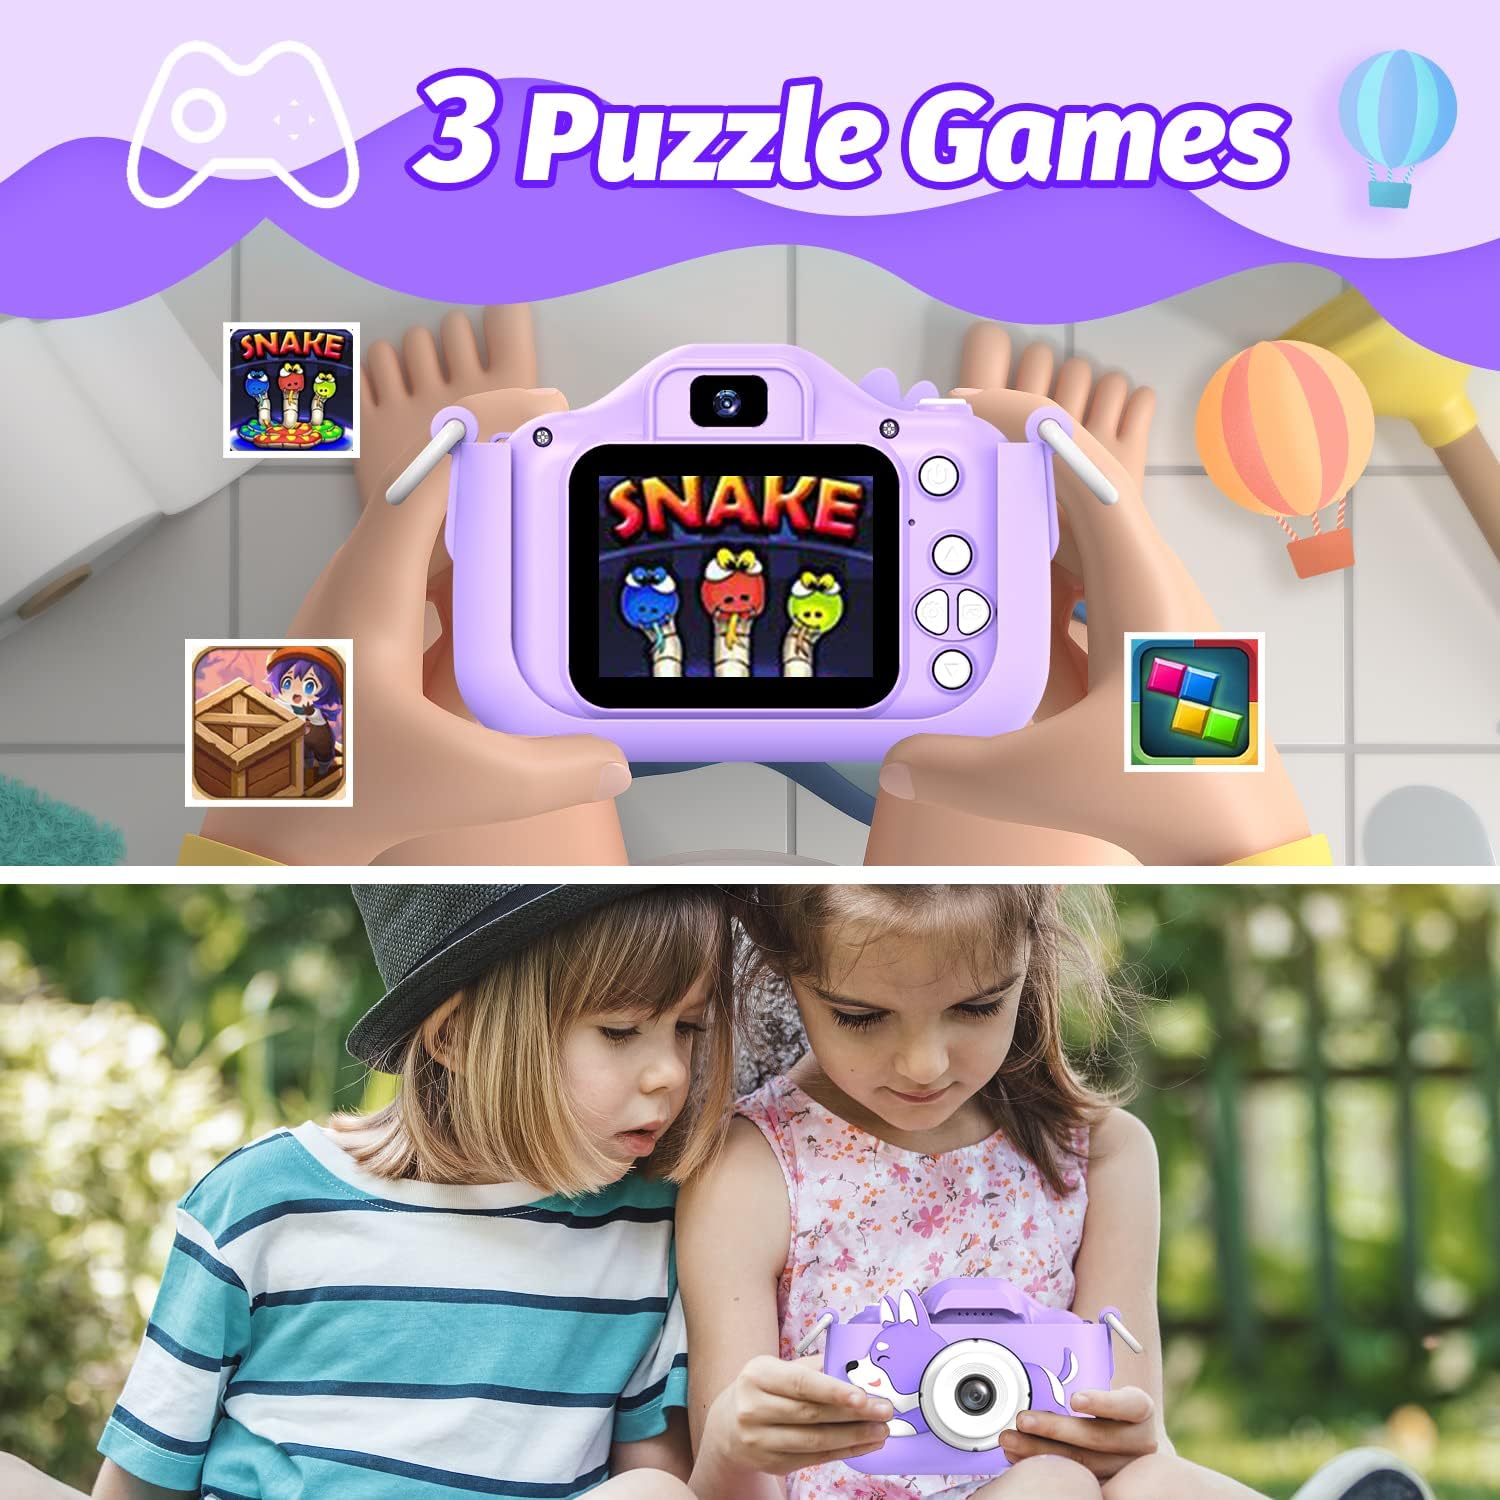
Image: The camera screen displaying one of the three built-in puzzle games, "Snake," with icons for the other two games visible.
Maintenance
Charging the Battery
To charge the camera, connect it to a USB power source using the provided USB cable. The battery indicator on the screen will show charging status. Ensure the camera is fully charged before extended use. The camera uses a Lithium Ion battery.
Care and Cleaning
- Keep the camera dry. It is not water resistant.
- Clean the camera body and screen with a soft, dry cloth.
- For the lens, use a specialized lens cleaning cloth to avoid scratches.
- Store the camera in a cool, dry place away from direct sunlight and extreme temperatures.
- The protective silicone cover can be removed for cleaning if necessary.
Troubleshooting
| Problem | Possible Cause | Solution |
|---|---|---|
| Camera does not turn on. | Low battery; improper operation. | Charge the camera fully. If unresponsive, locate the small reset button (often a pinhole) and press it with a thin object (like a paperclip) to restart the device. |
| Cannot take photos/videos. | Memory card full or not inserted correctly. | Check if the 32GB SD card is properly inserted. Transfer photos/videos to a computer to free up space if the card is full. |
| Poor image quality. | Dirty lens; insufficient lighting. | Clean the camera lens with a soft cloth. Ensure adequate lighting when taking pictures. |
| Camera freezes or becomes unresponsive. | Software glitch; improper operation. | Press the reset button with a thin object to restart the camera. |
Specifications
| Feature | Detail |
|---|---|
| Brand | MgaoLo |
| Model Name | h12 |
| Photo Resolution | Up to 48 MP |
| Video Resolution | 1080p (30 FPS) |
| Screen Size | 2 Inches |
| Memory Storage | 32 GB Micro SD Card (included) |
| Battery Type | Lithium Ion (rechargeable) |
| Connectivity | USB |
| Special Features | Front & Rear Lenses, 8x Digital Zoom, Timed Shooting, Filters, Frames, 3 Built-in Games, Audio Recording |
| Water Resistance | Not Water Resistant |
Warranty and Support
For any questions, concerns, or support needs regarding your MgaoLo Kids Digital Camera, please refer to the seller's contact information provided at the point of purchase. Keep your purchase receipt as proof of purchase for any warranty claims.
Important Safety Note: Children under three years old should use this product under parental supervision.
Ask a question about this manual
Ask about setup, troubleshooting, compatibility, parts, safety, or missing instructions. Manuals+ will review the question and use this page’s manual context to help answer it.