
TRIUMPHKEY 0193-1800
TRIUMPHKEY Height Adjustable Desk Instruction Manual
Model: 0193-1800
Brand: TRIUMPHKEY
1. Introduction
Thank you for choosing the TRIUMPHKEY Height Adjustable Desk. This manual provides essential information for the safe assembly, operation, and maintenance of your new desk. Please read these instructions carefully before use and retain them for future reference. This desk is designed to provide a versatile and ergonomic workspace, allowing you to switch between sitting and standing positions effortlessly.

Image 1.1: Overview of the TRIUMPHKEY Height Adjustable Desk in a typical setup.
2. Safety Information
- Weight Capacity: Do not exceed the maximum load capacity of 70 kg (154 lbs). Overloading can cause damage and pose a safety risk.
- Anti-Collision System: The desk is equipped with an anti-collision system. If the desk encounters an obstacle during height adjustment, it will stop and reverse slightly. Ensure the area around the desk is clear before adjusting the height.
- Children and Pets: Keep children and pets away from the desk during operation to prevent injury.
- Power Supply: Use only the provided power adapter. Ensure the power cord is not pinched or damaged.
- Liquid Spills: Avoid spilling liquids on the control panel or motor components. In case of a spill, immediately unplug the desk and allow it to dry completely before reconnecting.
- Assembly: Assemble the desk according to the instructions. Incorrect assembly can lead to instability and potential hazards.
- Rounded Corners: The desk features rounded corners to minimize injury from accidental bumps.

Image 2.1: Illustration of the desk's 70 kg weight capacity and robust leg design.
3. Package Contents
Please verify that all components are present before beginning assembly. If any parts are missing or damaged, contact customer support.
- Desk Frame (Legs and Crossbars)
- Tabletop Sections (Typically 3-4 sections for the 160x80cm model)
- Control Panel with USB Port
- Power Adapter and Cable
- Cable Management Tray
- Headphone Hooks (2 included)
- Assembly Hardware (Screws, Allen wrenches, etc.)
- Instruction Manual

Image 3.1: Exploded view of desk components for assembly.
4. Setup and Assembly
Assembly typically requires two people. Follow the numbered steps in the included assembly guide for detailed instructions. Here is a general overview:
- Unpack Components: Carefully remove all parts from the packaging and lay them out on a clean, soft surface to prevent scratches.
- Assemble Desk Frame: Attach the lifting columns to the feet, then connect the crossbars. Ensure all screws are tightened securely.
- Attach Tabletop Sections: The tabletop consists of multiple sections. Align these sections carefully and secure them to the desk frame using the provided hardware. Ensure the tabletop is flush and stable.
- Install Control Panel: Mount the control panel to the underside of the desk in the designated location.
- Connect Cables: Connect the motor cables and control panel cable to the main control box.
- Install Accessories: Attach the cable management tray and headphone hooks as desired.
- Power Connection: Connect the power adapter to the control box and then to a power outlet.

Image 4.1: Desk dimensions and illustration of the multi-part tabletop construction.
5. Operating Instructions
5.1 Control Panel Overview
The control panel features up/down buttons, three memory preset buttons (1, 2, 3), and a digital display. It also includes a USB-A charging port.

Image 5.1: The multifunctional control panel with memory presets and USB charging.
5.2 Height Adjustment
- Press and hold the Up (▲) button to raise the desk.
- Press and hold the Down (▼) button to lower the desk.
- Release the button to stop the desk at the desired height. The current height will be displayed on the digital screen.

Image 5.2: The desk's adjustable height range, from 72 cm to 118 cm.
5.3 Setting Memory Presets
The desk allows you to save three preferred heights for quick adjustment:
- Adjust the desk to your desired height using the Up/Down buttons.
- Press the M button (or similar memory set button, if present). The display may flash.
- Within a few seconds, press one of the number buttons (1, 2, or 3) to save the current height to that preset. The display will confirm the setting.
5.4 Using Memory Presets
To move the desk to a saved height, simply press the corresponding number button (1, 2, or 3). The desk will automatically move to the programmed height.
5.5 USB Charging Port
The integrated USB-A port on the control panel can be used to charge mobile phones and other electronic devices. Simply connect your device's USB cable to the port.
5.6 Sedentary Reminder
The desk features a sedentary reminder function to encourage movement. Refer to the detailed assembly guide for instructions on how to activate and customize this feature. When activated, the desk will prompt you to change positions after a set period.
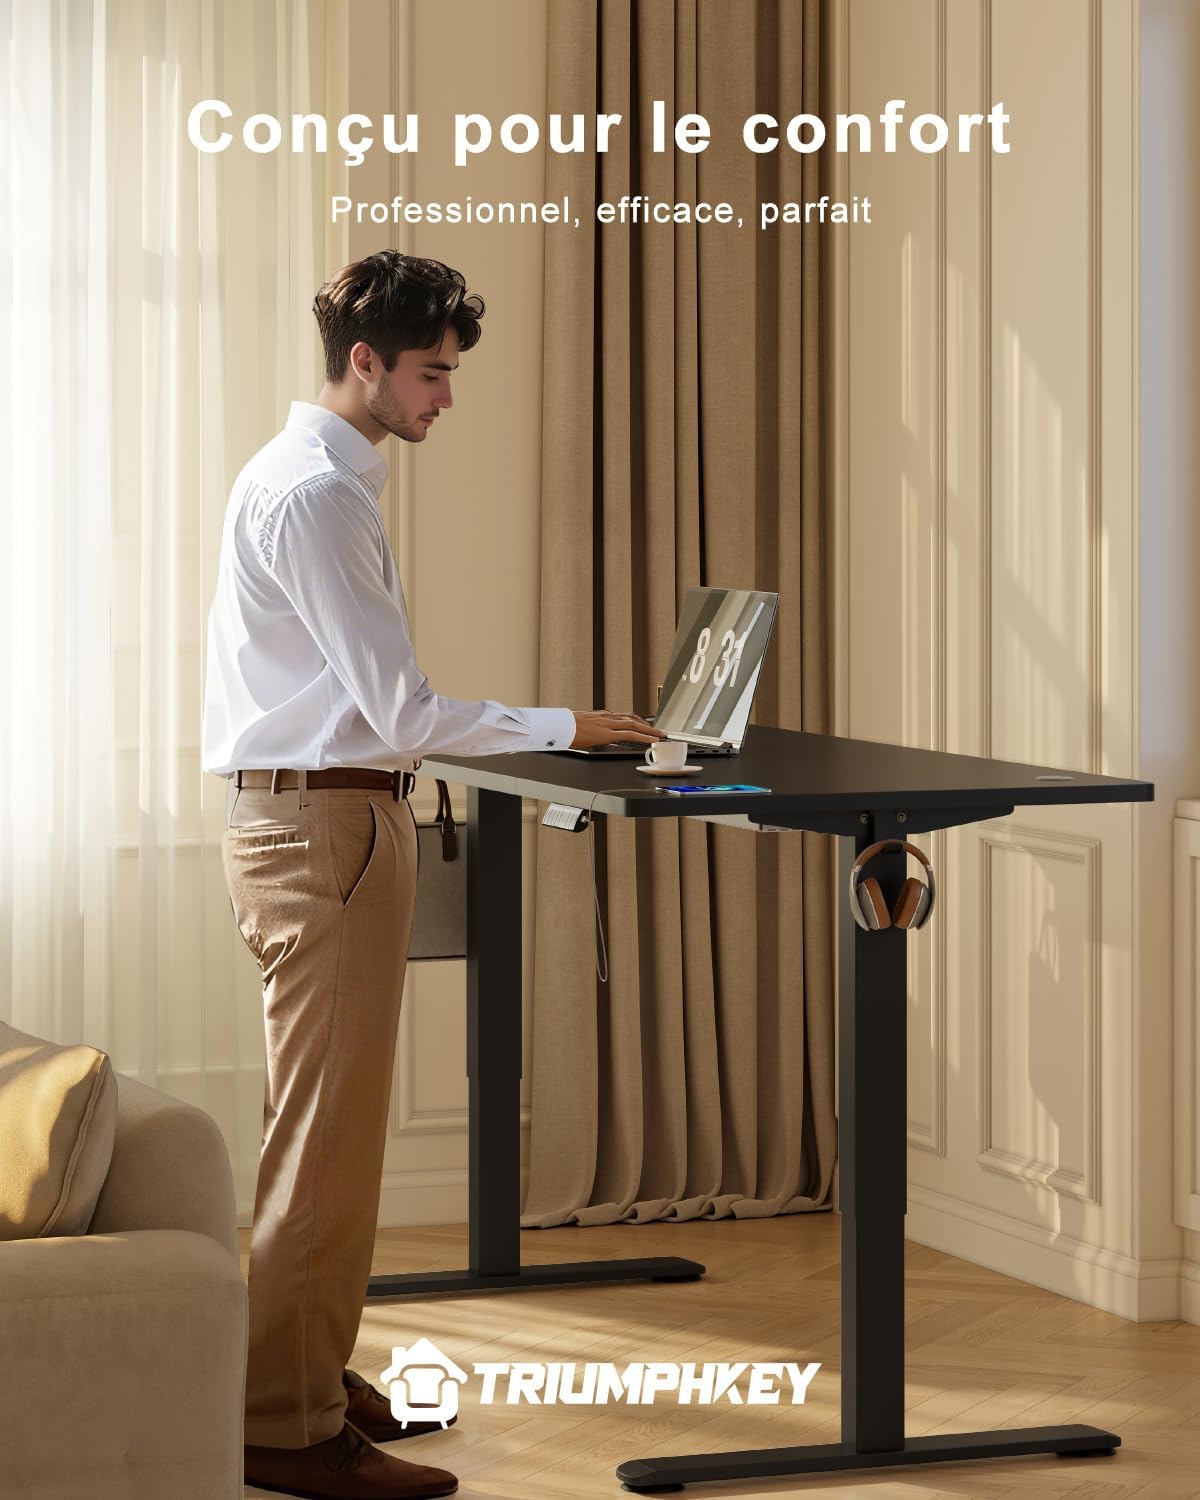
Image 5.3: Example of using the desk in a standing position.
6. Features
- Ergonomic Design: Promotes a healthier work environment by allowing seamless transitions between sitting and standing.
- Quiet Operation: Equipped with a powerful, silent motor operating at less than 50 dB, ensuring minimal disturbance.
- Robust Construction: Made with a durable alloy steel frame and an engineered wood tabletop, designed for stability and longevity.
- Cable Management: Includes a cable management tray and grommets to keep your workspace tidy and organized.
- Integrated Hooks: Convenient hooks are provided for hanging headphones or bags.
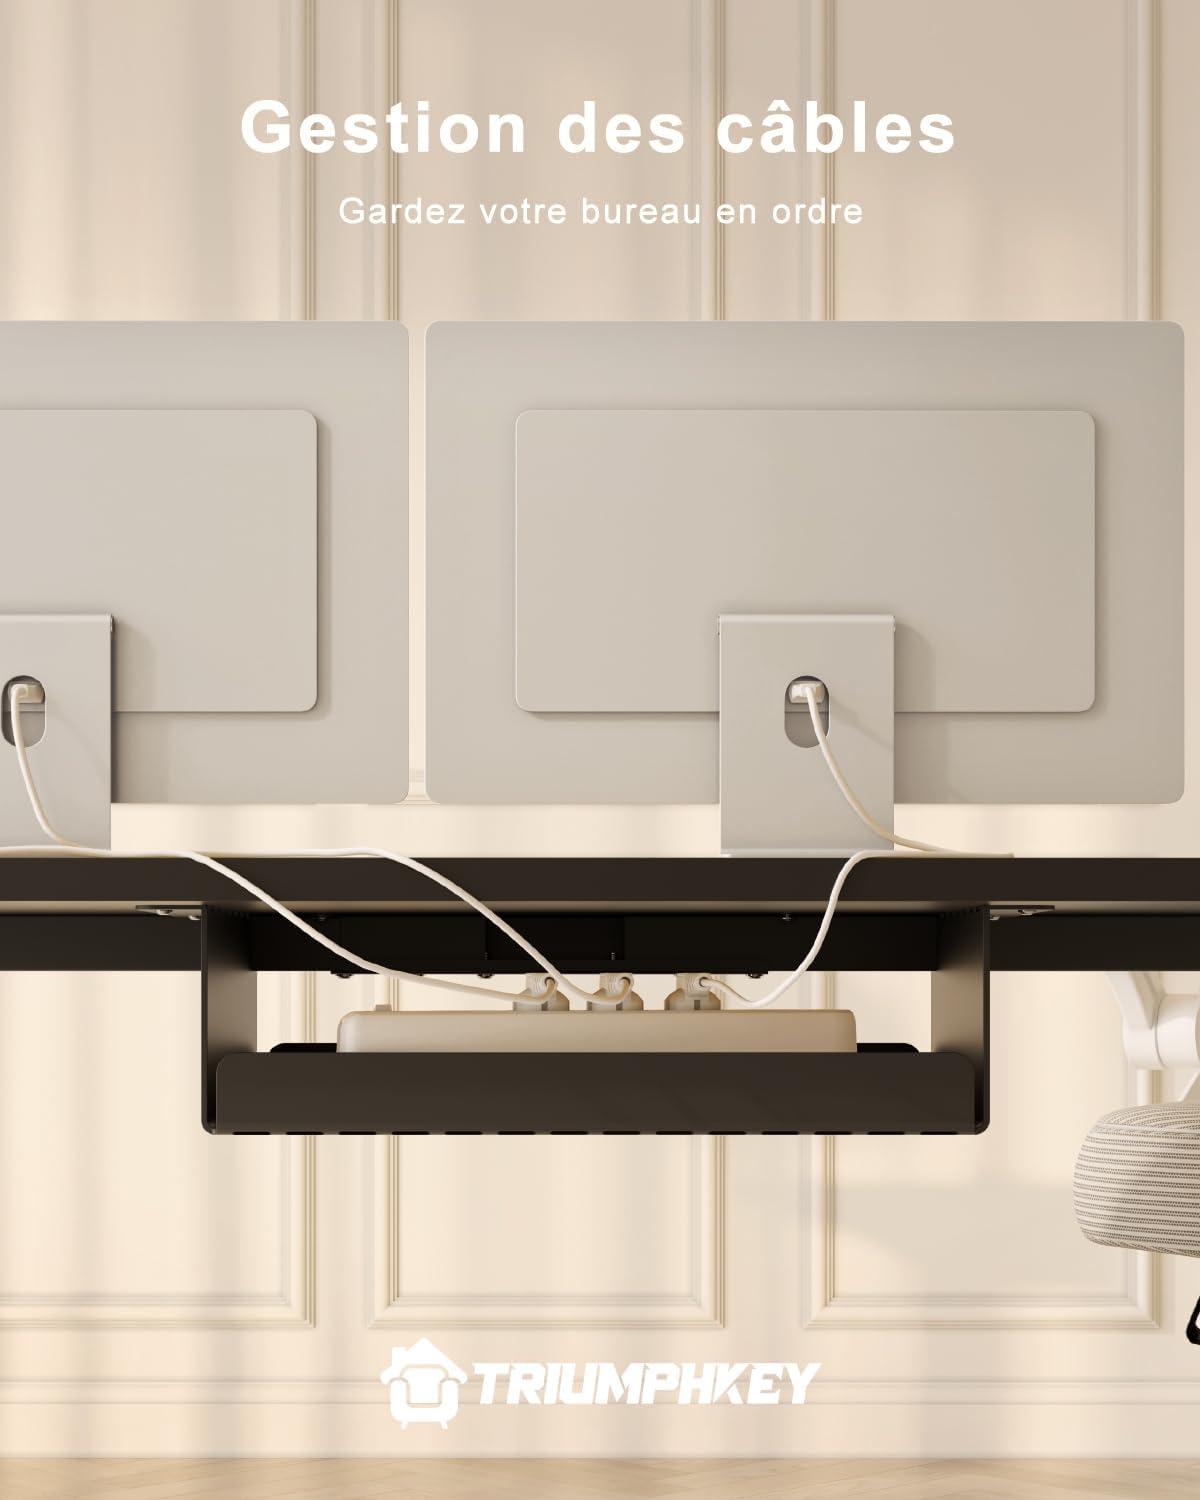
Image 6.1: Effective cable management system to maintain an organized workspace.
7. Maintenance
- Cleaning: Wipe the desk surface and frame with a soft, damp cloth. Avoid abrasive cleaners or harsh chemicals.
- Inspections: Periodically check all screws and connections to ensure they are tight. Retighten if necessary.
- Cable Care: Ensure all cables are free from kinks or damage. Use the cable management system to prevent strain.
8. Troubleshooting
| Problem | Possible Cause | Solution |
|---|---|---|
| Desk does not move. | Power cable disconnected; motor cable loose; overload. | Check all power and motor connections. Reduce weight on the desk. |
| Desk moves unevenly or makes unusual noise. | Loose connections; uneven weight distribution. | Check all assembly screws. Redistribute weight evenly on the tabletop. |
| Anti-collision system frequently activates. | Obstruction in the path; sensitivity setting too high. | Clear the area around the desk. Refer to the detailed manual for adjusting anti-collision sensitivity. |
| USB charging port not working. | Desk not powered; device not compatible. | Ensure the desk is powered on. Try a different device or cable. |
9. Specifications
- Brand: TRIUMPHKEY
- Model Number: 0193-1800
- Color: Black + Black
- Adjustable Height Range: 72 cm to 118 cm (28.3 inches to 46.5 inches)
- Tabletop Dimensions (L x W): 160 cm x 80 cm (63 inches x 31.5 inches)
- Material: Alloy Steel (Frame), Engineered Wood (Tabletop)
- Maximum Load Capacity: 70 kg (154 lbs)
- Motor Noise Level: < 50 dB
- Special Features: 3 Memory Presets, USB-A Charging Port, Anti-Collision System, Sedentary Reminder, Cable Management, Headphone Hooks, Rounded Corners
- Item Weight: Approximately 15.5 kg (34.2 lbs)
10. Warranty and Support
TRIUMPHKEY products are manufactured to high-quality standards. For warranty information, technical support, or to inquire about replacement parts, please contact TRIUMPHKEY customer service through your purchase platform or the official TRIUMPHKEY website. Please have your model number (0193-1800) and proof of purchase ready when contacting support.
Related documents0193-1800

Ask a question about this manual
Ask about setup, troubleshooting, compatibility, parts, safety, or missing instructions. Manuals+ will review the question and use this page’s manual context to help answer it.