
1. Introduction
This manual provides comprehensive instructions for the installation, operation, and maintenance of your REIGY 5MP WiFi Security Camera System. This system is designed to provide reliable and high-quality surveillance for your home or business, featuring 5MP resolution cameras, a 10-channel NVR with a pre-installed 2TB hard drive, and advanced features such as two-way audio, color night vision, and motion detection.
Please read this manual carefully before operating the system to ensure proper setup and optimal performance.
2. What's in the Box
Verify that all components listed below are included in your package:
- 1x 10-Channel Network Video Recorder (NVR) with 2TB Hard Drive Pre-installed
- 4x 1920P IP Pan-Tilt (PT) Cameras
- 4x 12V1A Power Supplies for Cameras
- 1x 12V2A Power Supply for NVR
- 1x Network Cable
- 1x USB Mouse
- 1x Extend Antenna
- 1x Instructions Manual (this document)
- Warning Stickers
- Screws and Waterproof Joints for installation

Figure 2.1: All components included in the REIGY 5MP WiFi Security Camera System package.
3. Product Features
- High-Resolution 5MP Cameras: Each camera provides a clear 2560x1920 pixel image, capturing fine details for effective surveillance.

Figure 3.1: Visual comparison of 5MP resolution with lower resolutions.
- Pan-Tilt (PT) Functionality: Cameras feature a 355° horizontal pan and 90° vertical tilt, allowing for extensive coverage of your monitored area.

Figure 3.2: Pan-Tilt control via mobile application.
- IP66 Weatherproof Rating: Designed for both indoor and outdoor use, the cameras are robust enough to withstand various weather conditions (operating temperature: -4°F to +140°F).
- Two-Way Audio: Built-in microphone and speaker allow for real-time communication through the camera.
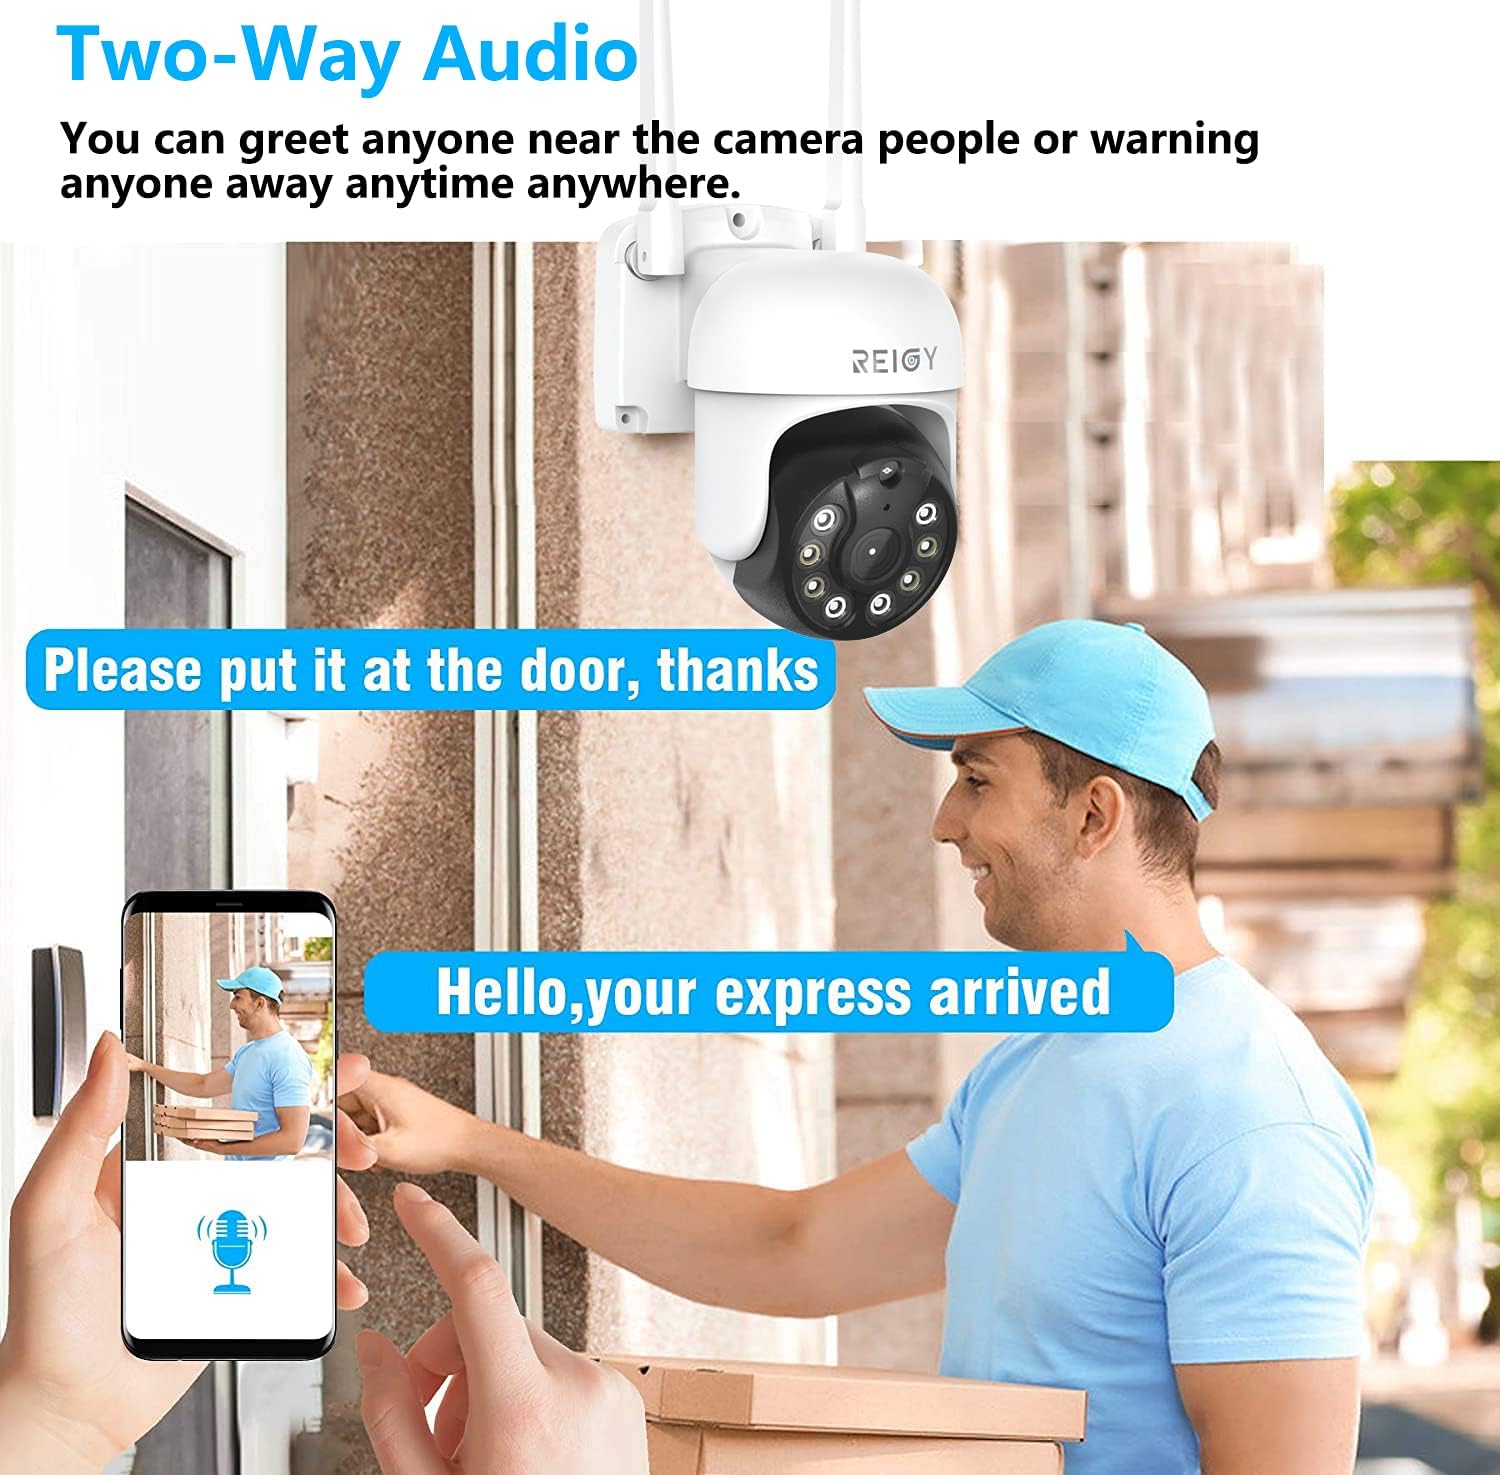
Figure 3.3: Using the two-way audio feature.
- Color Night Vision: Equipped with advanced low-light technology and LED lights, the cameras provide clear color images even in low-light conditions.

Figure 3.4: Day and Night Vision capabilities.
- Smart Motion Detection & Auto Tracking: The system can detect motion, send mobile alerts, and automatically track moving subjects. Sensitivity levels are adjustable.

Figure 3.5: Motion detection alerts on a mobile device.
- 10-Channel NVR with 2TB HDD: The NVR supports up to 10 cameras, with 4 included and the option to add 6 more REIGY cameras (compatible with B09PK8HDB7). The pre-installed 2TB hard drive provides ample storage for continuous recording.
- Remote Monitoring: Access live view and playback from anywhere using the dedicated mobile application (supports network cable and 2.4Ghz WiFi connection).

Figure 3.6: Overview of key camera features.
4. Setup Guide
4.1 NVR Initial Setup
- Connect NVR to Power: Plug the 12V2A power adapter into the NVR's power input and then into a power outlet.
- Connect to Monitor: Use an HDMI or VGA cable (not included) to connect the NVR to a monitor or TV.
- Connect Mouse: Plug the included USB mouse into a USB port on the NVR.
- Network Connection (Optional but Recommended): For remote viewing and system updates, connect the NVR to your router using the included Ethernet cable. The NVR also supports 2.4Ghz WiFi connection.
- Initial Configuration: Follow the on-screen setup wizard to configure basic settings such as language, time zone, and network settings. It is recommended to set a strong password for your NVR.
4.2 Camera Installation and Pairing
- Power Cameras: Connect each camera to its respective 12V1A power supply and plug into a power outlet.
- Automatic Pairing: The cameras are pre-paired with the NVR at the factory. Once powered on, they should automatically connect to the NVR. You will see the camera feeds appear on the connected monitor.
- Mounting Cameras: Choose suitable locations for your cameras, ensuring they have a clear field of view and are within range of your NVR's WiFi signal. Use the provided screws and waterproof joints for secure outdoor installation.
- Antenna Installation: Attach the extend antenna to the NVR for improved wireless range.
4.3 Mobile App Setup
- Download App: Scan the QR code on the NVR or in the Quick Guide to download the recommended mobile application (e.g., EseeCloud).
- Register Account: Create a new user account within the app.
- Add Device: In the app, select "Add Device" and scan the QR code displayed on the NVR's monitor or the NVR's label. Follow the prompts to add your security system.
- Remote Viewing: Once added, you can view live feeds, play back recordings, and control camera functions remotely from your smartphone.
5. Operating Instructions
5.1 Live View
After successful setup, the NVR will display live video feeds from all connected cameras on the monitor. On the mobile app, select the desired camera to view its live feed.
5.2 Playback
To review recorded footage:
- On NVR: Right-click on the NVR interface, select "Playback," choose the date and camera channel, then click to play.
- On Mobile App: Navigate to the playback section, select the camera and desired time frame to view recordings.
5.3 Motion Detection Settings
Configure motion detection to receive alerts and trigger recordings:
- Access the NVR's menu or the app's settings for motion detection.
- Adjust sensitivity (High/Medium/Low) to minimize false alarms.
- Define specific monitoring areas to exclude irrelevant zones.
- Enable humanoid tracking for automatic following of detected persons.
5.4 Two-Way Audio
To use the two-way audio feature via the mobile app:
- While viewing a live camera feed, tap the microphone icon.
- Speak into your phone's microphone. Your voice will be transmitted through the camera's speaker.
- Release the microphone icon to listen for responses from the camera's vicinity.
5.5 Pan-Tilt Control
Control the camera's direction using the mobile app:
- In the live view of a PT camera, locate the directional controls (usually an arrow pad or joystick icon).
- Tap and drag or use the arrows to adjust the camera's horizontal (pan) and vertical (tilt) position.
- Note: This camera model does not support digital zoom.
6. Maintenance
- Cleaning: Regularly clean the camera lenses with a soft, dry cloth to ensure clear image quality. Do not use harsh chemicals.
- Firmware Updates: Check the REIGY official website or the mobile app periodically for firmware updates to ensure optimal performance and security.
- Hard Drive Management: The 2TB hard drive will automatically overwrite the oldest footage when full. If you need to back up specific recordings, use the NVR's USB backup function.
- Power Supply Check: Ensure all power adapters are securely connected and free from damage.
7. Troubleshooting
| Problem | Possible Cause | Solution |
|---|---|---|
| No image on monitor/app | NVR/Camera not powered on; Loose cable connections; Network issue (for app); Camera out of NVR WiFi range. | Check power adapters and connections. Restart NVR and cameras. Verify network connection. Relocate camera closer to NVR or use a WiFi extender. |
| No recording | Hard drive full or faulty; Recording schedule not set; Motion detection not configured. | Check NVR hard drive status. Ensure recording schedule is active. Verify motion detection settings. |
| Poor image quality | Dirty lens; Insufficient lighting; Camera resolution settings. | Clean camera lens. Ensure adequate lighting for optimal night vision. Check camera resolution settings in NVR/app. |
| Cannot connect to mobile app | NVR not connected to internet; Incorrect device ID/password; App version outdated. | Ensure NVR has internet access (Ethernet or WiFi). Double-check device ID and password. Update the mobile app to the latest version. |
For further assistance, please refer to the contact information in the Warranty and Support section.
8. Specifications
| Feature | Detail |
|---|---|
| Brand | REIGY |
| Model Number | RG-210N-4119W |
| Connectivity Technology | Wired, Wireless (2.4Ghz WiFi) |
| Video Capture Resolution | 5MP (2560x1920) |
| Number of Channels | 10 (4 included, 6 expandable) |
| Memory Storage Capacity | 2 TB (NVR Hard Drive Pre-installed) |
| Special Features | App Control, Pan-Tilt, IP66 Waterproof, 2-Way Audio, Color Night Vision, Motion Detection, Auto Tracking |
| Operating Temperature | -4°F to +140°F (-20°C to +60°C) |
| Video Output | HDMI, VGA |
| Dimensions (NVR) | 21.26 x 14.57 x 13.39 inches |
| Item Weight | 8.07 pounds |
9. Warranty and Support
REIGY products are manufactured to high quality standards. For warranty information, technical support, or service inquiries, please refer to the contact details provided with your product packaging or visit the official REIGY website. Keep your purchase receipt as proof of purchase for warranty claims.
For common issues, please refer to the Troubleshooting section of this manual.