
1. Product Overview
This document provides instructions for the Hztyyier Needle Plate, a high-quality steel replacement component designed for S0230 serger sewing machines. This needle plate is engineered to ensure precise fabric guidance and consistent stitch formation during serging operations.
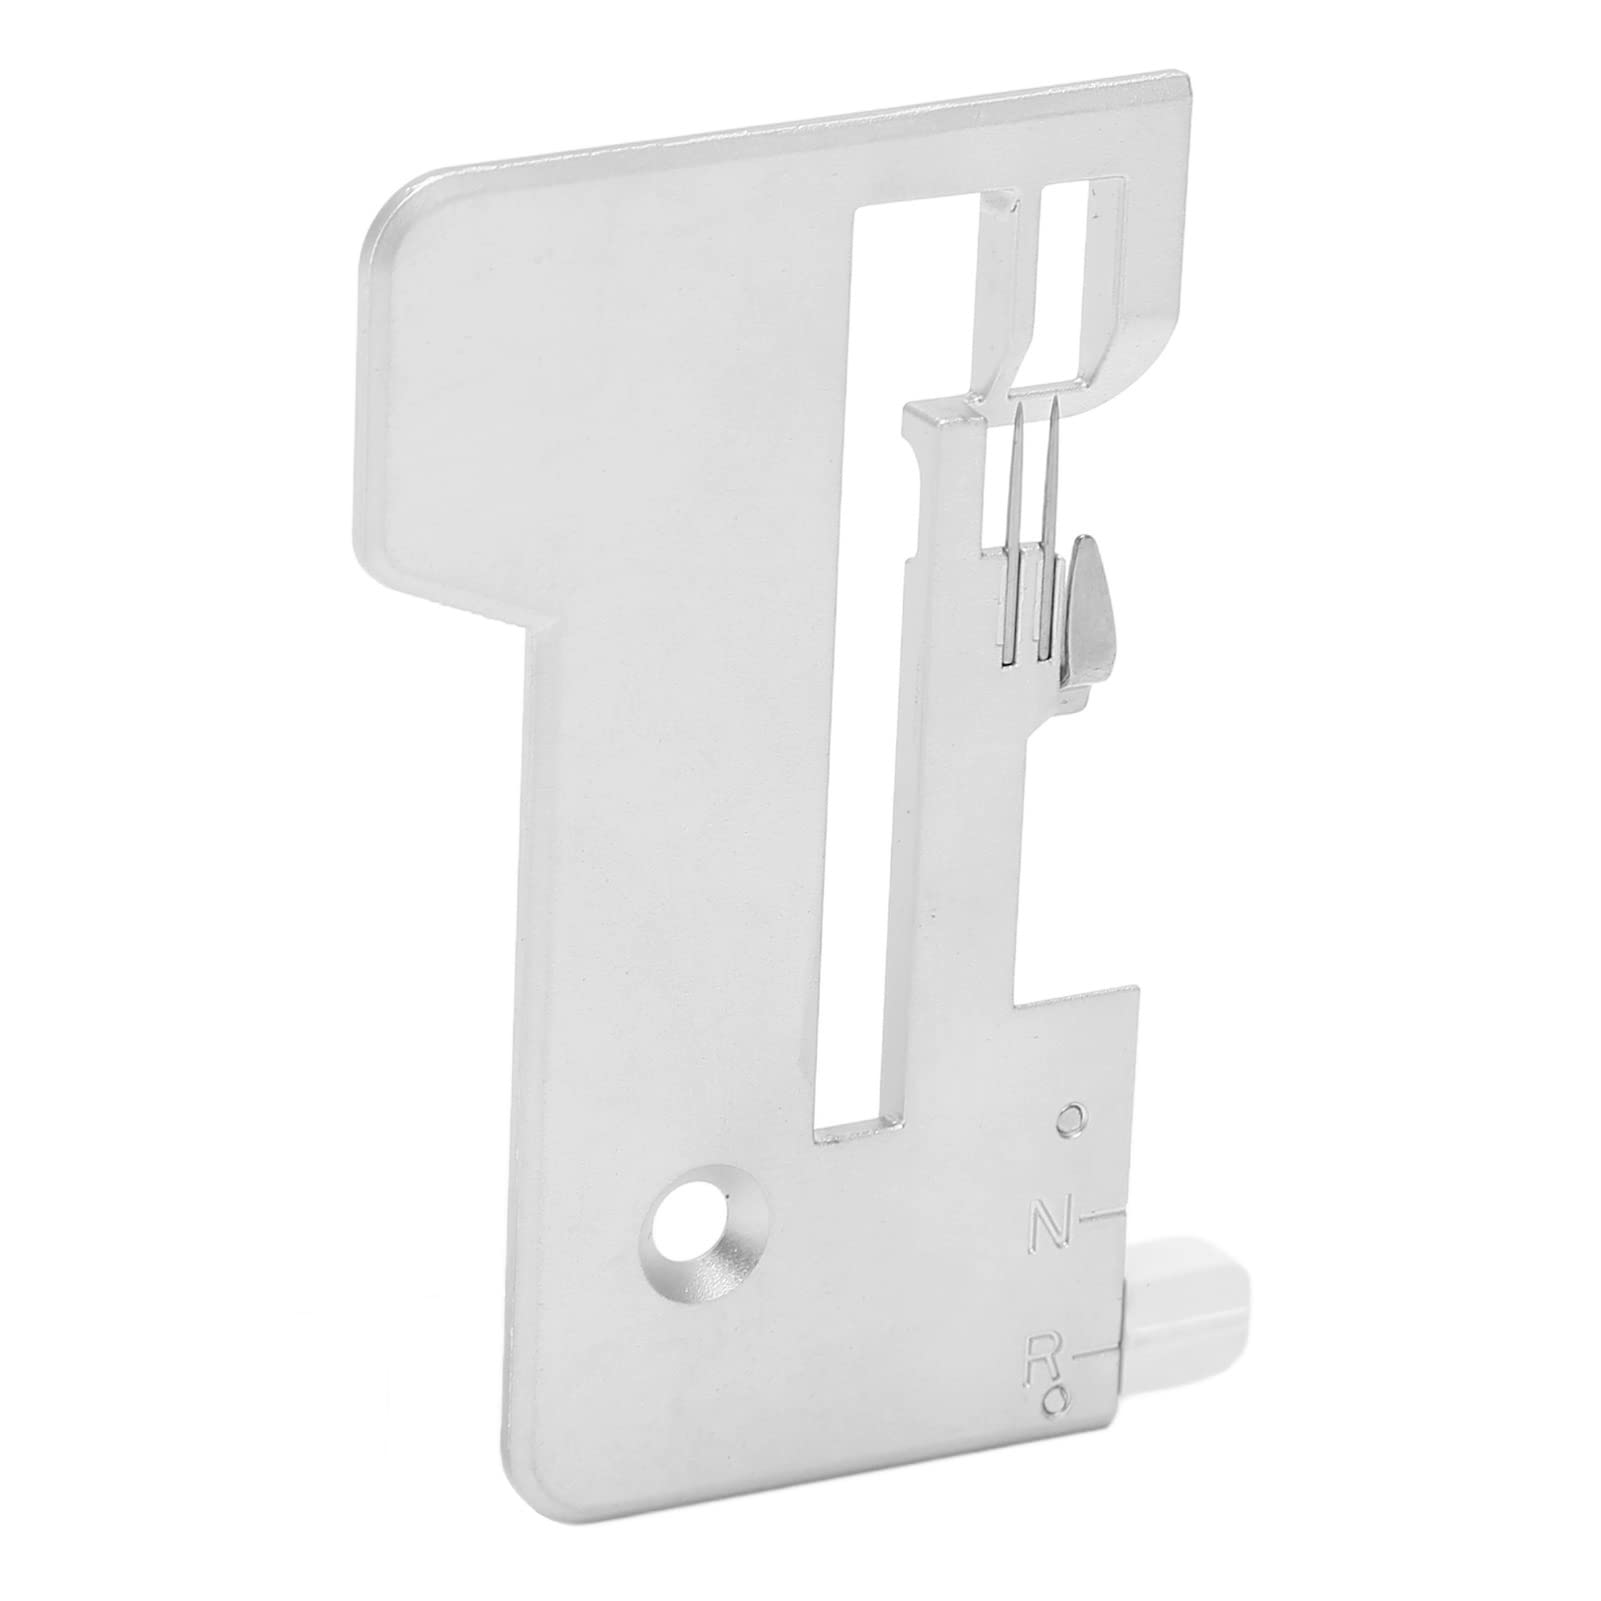
Image 1: Top-down view of the Hztyyier Needle Plate, showcasing its design and needle slots.
2. Compatibility
The Hztyyier Needle Plate (Model: Hztyyiers54bn7augp) is specifically designed as a direct replacement part for the S0230 serger sewing machine. Ensure your serger model is S0230 for proper fit and function.

Image 2: The needle plate shown alongside a compatible S0230 serger machine, illustrating its intended use.
3. Specifications
- Item Type: Sewing Needle Plate
- Material: Q235 Steel
- Product Size: Approximately 4.9 x 4.7 x 7.8 cm (1.93 x 1.85 x 3.07 inches)
- Item Weight: Approximately 1.06 ounces
Constructed from premium Q235 steel, this needle plate offers superior durability and resistance to corrosion and rust, ensuring a long service life.

Image 3: A diagram illustrating the precise dimensions of the needle plate for accurate measurement and fit.
4. Setup and Installation
This needle plate is designed for seamless integration with your S0230 serger. Follow these general steps for installation:
- Power Off: Always ensure your serger sewing machine is turned off and unplugged from the power source before beginning any installation or maintenance.
- Access Needle Plate Area: Open the necessary covers or lift the presser foot to gain access to the existing needle plate.
- Remove Old Needle Plate: Carefully unscrew and remove the worn or damaged original needle plate. Keep track of any screws or small parts.
- Position New Needle Plate: Place the Hztyyier Needle Plate into position, ensuring it aligns correctly with the screw holes and other components.
- Secure New Needle Plate: Fasten the new needle plate using the appropriate screws. Do not overtighten.
- Test: Once installed, manually turn the handwheel to ensure smooth needle movement and proper alignment before powering on the machine.

Image 4: The needle plate positioned near a sewing machine, indicating its role as a replacement part.
5. Operating Functionality
Once correctly installed, the Hztyyier Needle Plate performs several critical functions for your S0230 serger:
- Fabric Guidance: The elevated design of the plate helps to smoothly guide fabric under the needles, preventing snagging and ensuring even feeding.
- Thread Tension: It contributes to maintaining proper thread tension by providing a stable surface for the fabric and needle interaction.
- Stitch Formation: The precise engineering ensures correct needle alignment, which is crucial for consistent and high-quality stitch formation.
6. Maintenance
To ensure the longevity and optimal performance of your Hztyyier Needle Plate, consider the following maintenance tips:
- Regular Cleaning: Periodically clean the needle plate to remove lint, dust, and fabric fibers that can accumulate in the needle slots and feed dog area. Use a small brush or lint remover.
- Inspection: Regularly inspect the needle plate for any signs of wear, burrs, or damage that could affect fabric movement or needle performance. Replace if significant wear is observed.
- Avoid Harsh Chemicals: Do not use abrasive cleaners or harsh chemicals on the steel plate, as this could damage its finish or material integrity.
7. Troubleshooting
If you experience issues after installing the new needle plate, consider these points:
- Poor Stitch Quality: Ensure the needle plate is securely fastened and correctly aligned. Check for any obstructions in the needle slots. Verify that the needles themselves are correctly inserted and not bent.
- Fabric Snagging/Uneven Feeding: Confirm that the needle plate is free of lint and debris. Ensure the feed dogs are properly engaged and not obstructed. The smooth surface of this precision-engineered plate should facilitate smooth fabric movement.
- Needle Breakage: Incorrect needle plate installation or a bent needle can cause needle breakage. Re-check the installation and ensure needles are straight and properly seated. The precise structure and fine manufacturing process of this needle plate are designed to prevent such issues when correctly installed.

Image 5: Back view of the needle plate, illustrating the underside mechanism that interacts with the serger's components.
8. Warranty and Support
For information regarding warranty coverage or technical support, please refer to the documentation provided with your original purchase or contact Hztyyier customer service directly. Keep your purchase receipt as proof of purchase.