
1. Product Overview
The Polder Grill Partner Instant Read Thermometer is designed to provide quick and accurate temperature readings for various foods, especially during grilling. It features a foldable probe, preset temperature settings, a backlit display, and a built-in torch light for convenience.
- Instant Read: Provides rapid temperature measurements.
- 10-inch Foldable Probe: Ensures safe distance from heat and compact storage. The probe rotates 180 degrees for optimal viewing angles.
- 10 Preset Temperatures: Includes USDA recommended settings for various meat types and doneness levels, plus one customizable open setting.
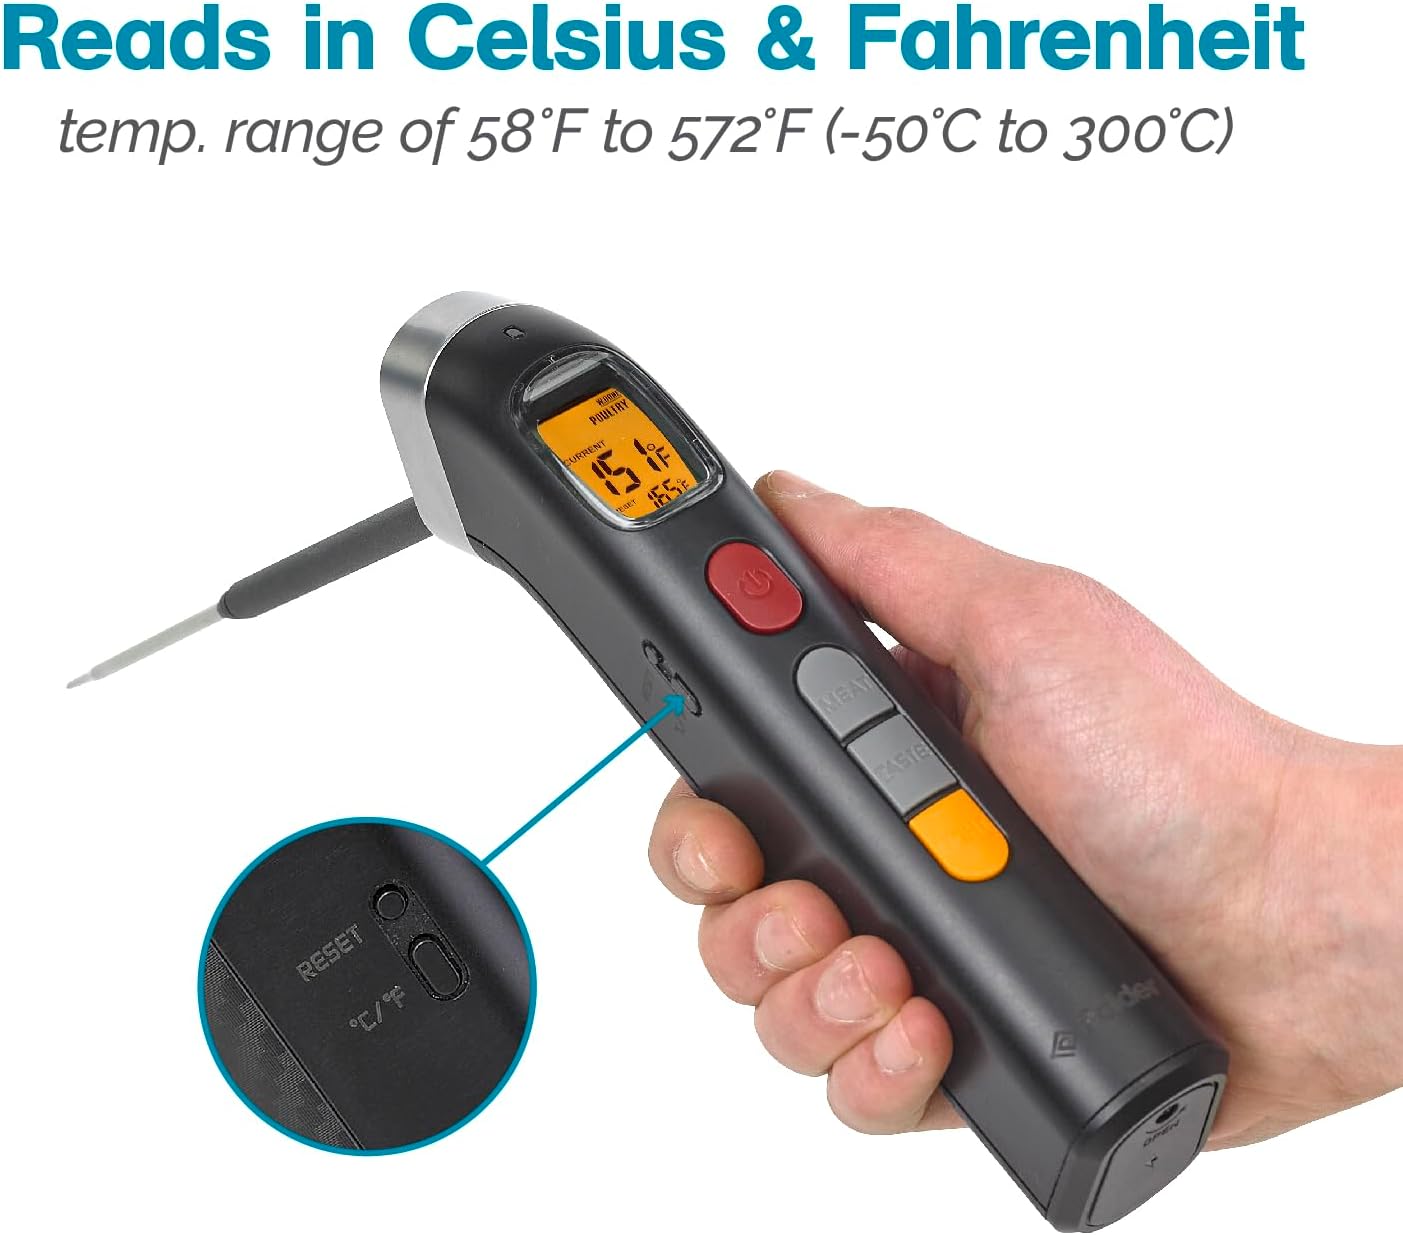
- Wide Temperature Range: Measures from -58°F to 572°F (-50°C to 300°C).
- Dual Unit Display: Readings available in both Celsius and Fahrenheit.
- Backlit Screen: Enhances visibility in low-light conditions.
- Built-in Torch Light: Aids in cooking and reading in dark environments.
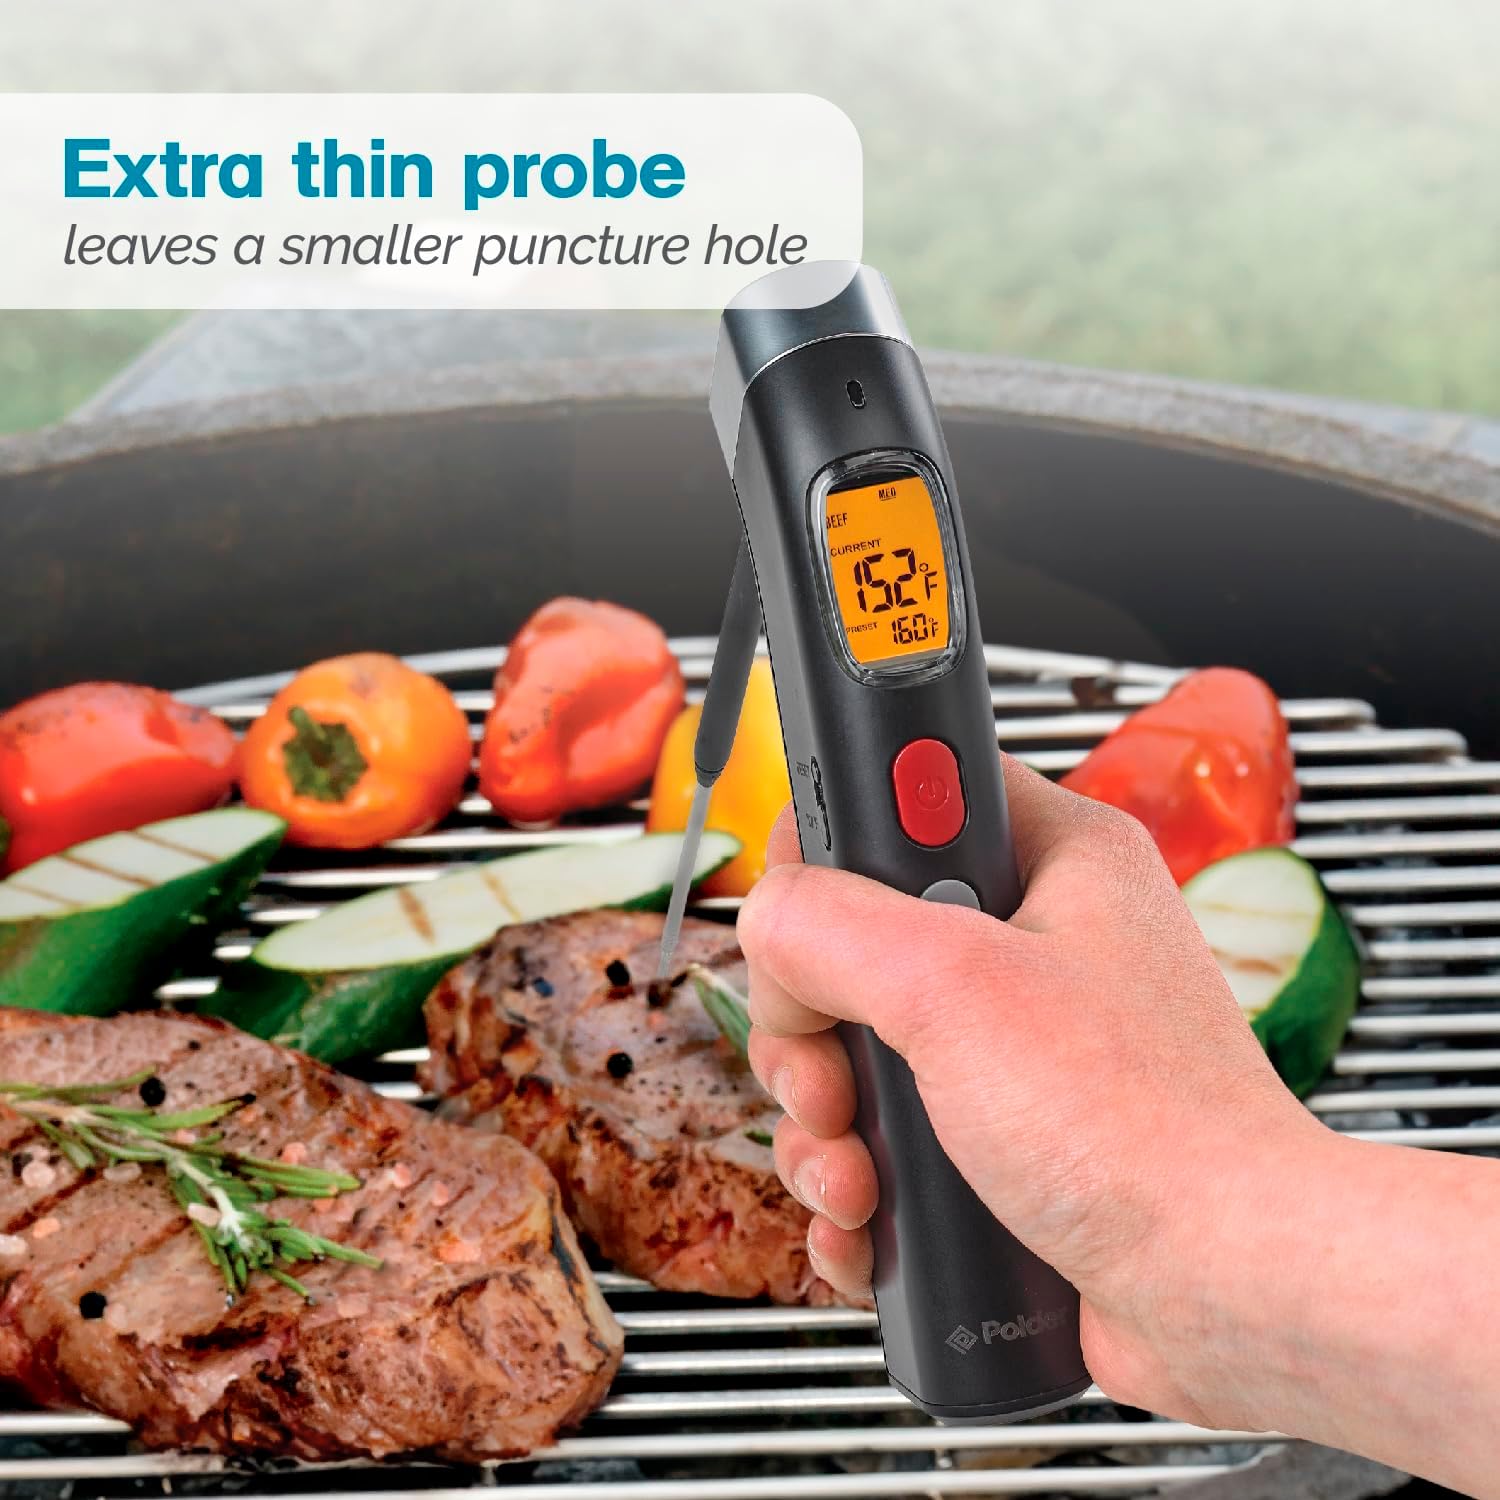
- Extra-Thin Probe Tip: Minimizes puncture marks in food.

2. Setup and Initial Use
2.1 Battery Installation
The thermometer requires two AAA batteries, which are included. To install or replace batteries:
- Locate the battery compartment cover on the back of the thermometer.
- Slide the cover open.
- Insert two AAA batteries, ensuring correct polarity (+/-).
- Close the battery compartment cover securely.
2.2 Power On/Off
Press the red power button (U) to turn the thermometer on or off.
2.3 Selecting Temperature Unit (°C/°F)
To switch between Celsius (°C) and Fahrenheit (°F):
- With the thermometer powered on, locate the '°C/°F' button on the side of the device.
- Press this button to toggle between the two temperature units. The display will update accordingly.
3. Operating Instructions
3.1 Extending and Positioning the Probe
The thermometer features a foldable probe for safety and storage. To use:
- Gently unfold the probe from its stored position until it locks into place.
- The probe can be rotated up to 180 degrees to achieve the best viewing angle for the display.

3.2 Taking a Temperature Reading
To measure the internal temperature of food:
- Insert the thin tip of the probe into the thickest part of the food, avoiding bone or gristle.
- Hold the probe in place until the temperature reading stabilizes on the backlit display. This typically takes a few seconds.
3.3 Using Preset Temperatures
The thermometer includes 10 preset temperature settings based on USDA recommendations for various meat types and doneness levels.
- Press the 'MEAT' button to cycle through different meat types (e.g., Beef, Veal, Lamb, Pork, Chicken, Fish).
- Once the desired meat type is selected, press the 'TASTE' button to cycle through doneness levels (e.g., Rare, Medium Rare, Medium, Well Done).
- The display will show the current temperature and the preset target temperature.

3.4 Custom Temperature Setting
For temperatures not covered by presets, an open setting is available:
- Cycle through the 'MEAT' settings until 'OPEN' is displayed.
- Use the 'TASTE' button to adjust the target temperature to your desired value.

3.5 Using the Torch Light
For cooking in low-light conditions, the thermometer includes a built-in torch light:
- Locate the torch light button on the side of the thermometer.
- Press the button to turn the torch light on or off.

4. Care and Maintenance
4.1 Cleaning
To ensure the longevity and accuracy of your thermometer:
- Wipe the probe with a damp cloth and mild soap after each use.
- Clean the body of the thermometer with a soft, damp cloth.
- Do not immerse the thermometer in water or place it in a dishwasher.
4.2 Storage
When not in use, fold the probe back into the thermometer body for safe and compact storage. This protects the probe tip and prevents accidental injury.

5. Troubleshooting
- Display is blank or dim:
Check battery installation and ensure batteries are not depleted. Replace AAA batteries if necessary. - Inaccurate temperature readings:
Ensure the probe is inserted into the thickest part of the food, away from bones. Allow sufficient time for the reading to stabilize. If issues persist, try replacing batteries. - Probe not folding/extending smoothly:
Ensure no debris is obstructing the hinge mechanism. Do not force the probe; if it is stiff, contact customer support. - Torch light not working:
Check battery level. If batteries are new and correctly installed, and the light still doesn't work, contact customer support.
6. Specifications
| Model Name | Grill Partner Instant Read Thermometer |
| Model Number | THM-490-95 |
| Brand | Polder |
| Temperature Range | -58°F to 572°F (-50°C to 300°C) |
| Probe Length | 10 inches |
| Response Time | Approximately 10 seconds |
| Power Source | 2 x AAA batteries (included) |
| Display Type | Digital, Backlit |
| Special Features | Foldable Probe, 10 Preset Temperatures, Built-in Torch Light, °C/°F Switch |
| Material | Plastic (Outer) |
| Item Weight | 13.7 ounces |
| UPC | 047188490957 |
7. Warranty and Support
7.1 Warranty Information
Polder products are designed for quality and durability. For specific warranty details regarding your Grill Partner Instant Read Thermometer, please refer to the packaging or contact Polder customer service directly. Polder aims for customer satisfaction.
7.2 Customer Support
If you have any questions, require assistance, or encounter issues not covered in this manual, please contact Polder customer support. Contact information can typically be found on the product packaging or the official Polder website.