
Cotwodfa S136 Pro
Cotwodfa S136 GPS Drone User Manual
Model: S136 Pro | Brand: Cotwodfa
1. Introduction
This manual provides detailed instructions for the safe and effective operation of your Cotwodfa S136 GPS Drone. Designed for adults and beginners, this drone features a 4K camera, optical flow positioning, 5G transmission, brushless motors, GPS auto return home, and intelligent follow me functions. Please read this manual thoroughly before first use to ensure proper setup and flight.

Figure 1: Cotwodfa S136 GPS Drone and included accessories.
2. Setup
- Unfold the UAV Arms: Carefully unfold all four arms of the drone until they lock into position.
- Insert the UAV Battery: Insert the fully charged smart battery into the designated compartment on the drone. Ensure it clicks securely into place.
- Turn on the Drone Switch: Press and hold the power button on the drone until the indicator lights illuminate.
- Place the UAV on a Horizontal Surface: Position the drone on a flat, level surface for initial calibration.
- Frequency Matching: Turn on the remote control. Move the left joystick (throttle) fully up and then fully down. The remote control will beep, indicating successful frequency matching.
- One-Button Calibration (Gyroscope): Press the one-button calibration button on the remote control. The drone's lights will flash rapidly and then become solid, indicating successful gyroscope calibration.
- Geomagnetic Calibration:
- Pick up the UAV and rotate it horizontally clockwise for three full turns.
- After hearing a sound, drop the drone. Then, pick it up again and rotate it vertically clockwise for three full turns, ensuring the machine head points downwards during rotation.
- Wait for GPS Positioning: For outdoor flight, wait for the drone to acquire sufficient GPS satellites. The GPS indicator light will turn solid when positioning is complete. (Note: GPS must be turned off for indoor flight to allow takeoff).
Video 1: S136 GPS Drone Operation Video. This video demonstrates the initial setup, calibration, and basic flight operations of the S136 drone.
3. Operating Instructions
3.1 Basic Flight Controls
- One-Button Unlocking & Takeoff: Press the one-button takeoff/landing button. The propellers will start spinning, and the drone will automatically ascend to a stable hover.
- Camera Control: Use the dedicated buttons on the remote control to adjust the camera angle (up/down).
- Ascent/Descent: Push the left joystick (throttle) up to ascend and down to descend.
- Forward/Backward: Push the right joystick up to fly forward and down to fly backward.
- Fly Left/Right (Sideways): Push the right joystick left to fly left and right to fly right.
- Left/Right Rotation: Push the left joystick (yaw) left to rotate the drone counter-clockwise and right to rotate clockwise.
- Speed Shift: Use the speed shift button on the remote control to cycle through different flight speeds (e.g., low, medium, high).
- One-Click Return: Press the one-click return button. The drone will automatically return to its takeoff point (requires successful GPS positioning).
3.2 Intelligent Flight Functions
- Optical Flow Positioning: Maintains high hover stability, making it easy for beginners to master.
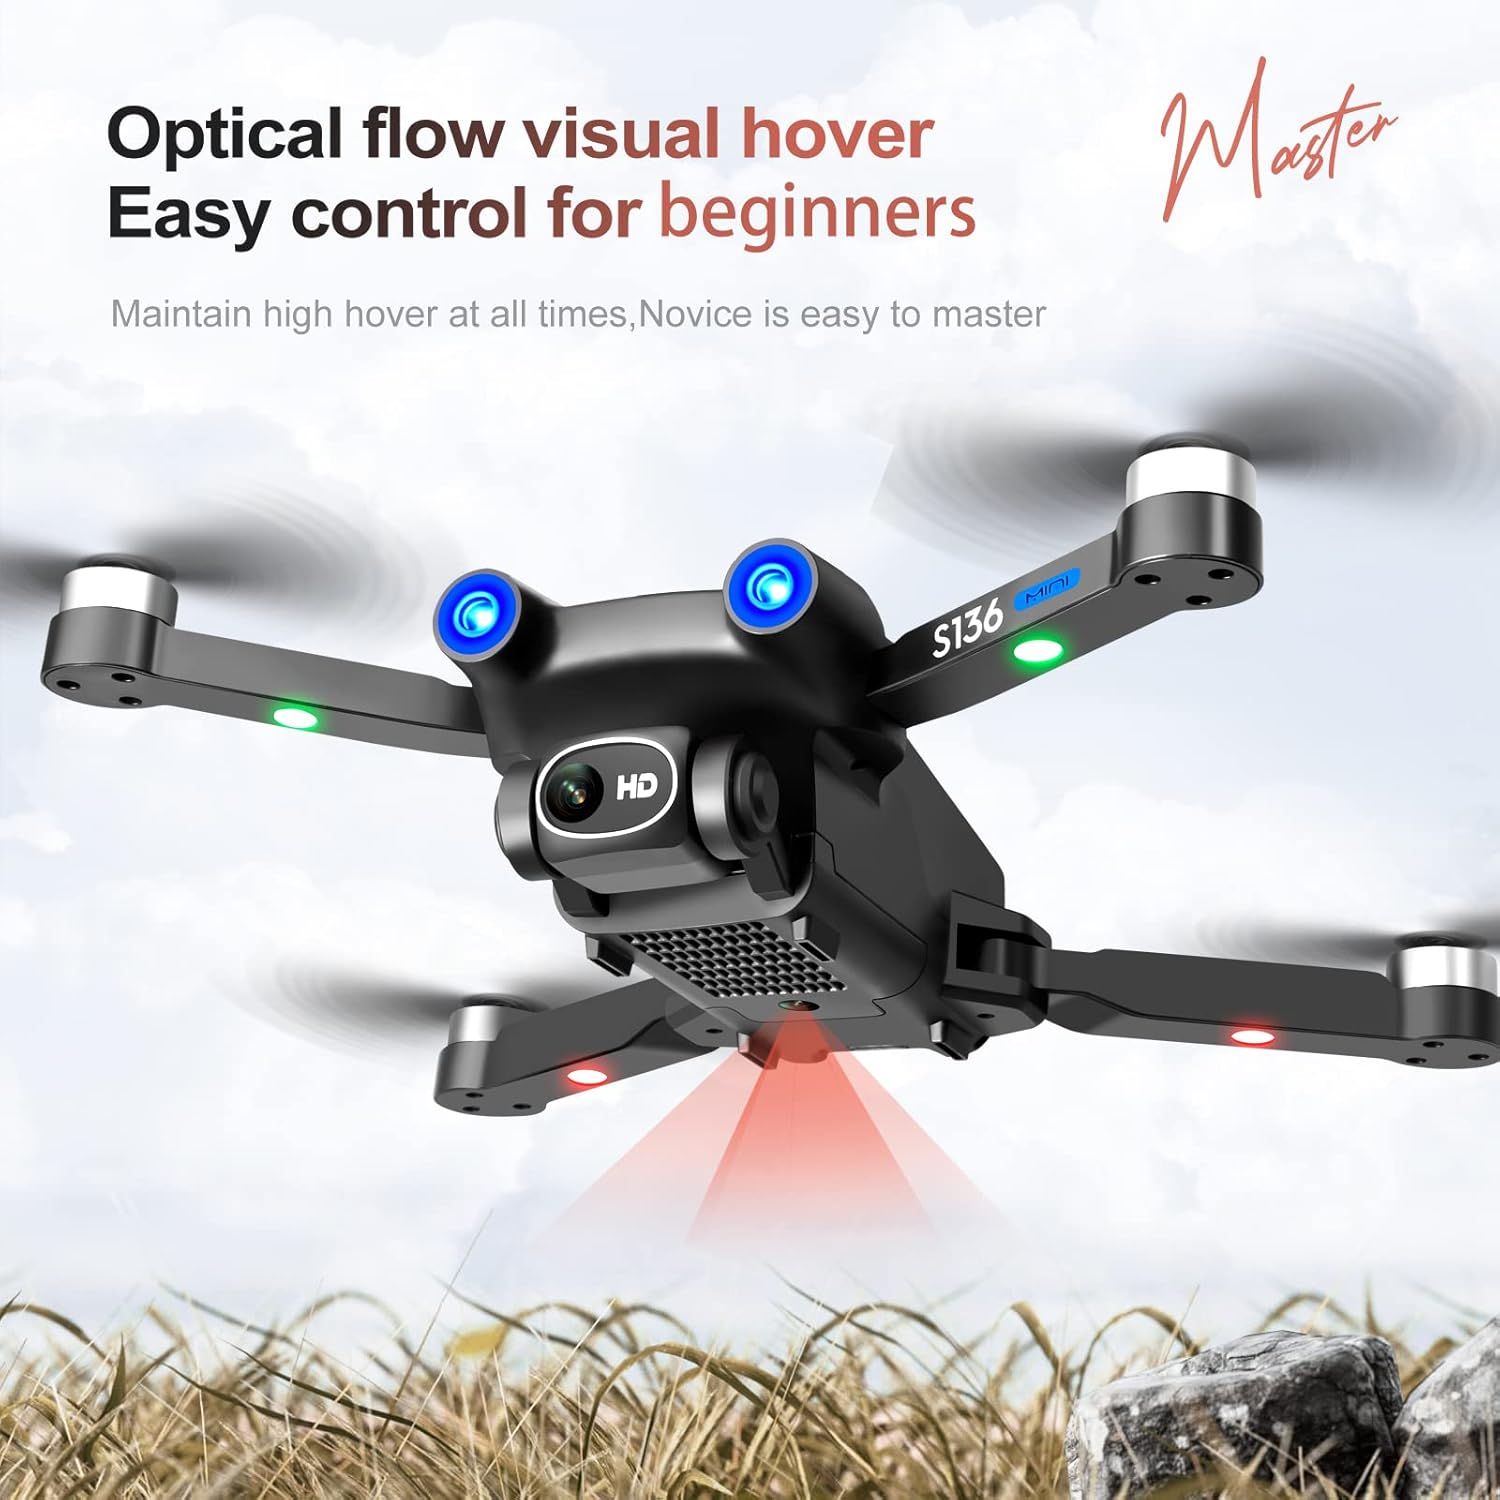
Figure 2: Optical Flow Visual Hover for stable flight.
- 4K UHD Camera with EIS: Captures high-definition images and videos with a 120° field of view and 90° electrically adjustable lens.

Figure 3: 4K UHD Camera with adjustable lens.
- GPS Positioning & Multifunctional Return: Features runaway return, low power return, overrange return, and one-click return to home.

Figure 4: GPS Positioning and Return Functions.
- Intelligent Follow Me: The drone can automatically follow a subject, recording moments hands-free.

Figure 5: Intelligent Follow Me function in action.
- Waypoint Flight & Headless Mode: Additional intelligent flight modes for enhanced control and experience.
3.3 App Connection
- Scan QR Code: Scan the QR code provided in the drone's packaging or manual to download the Rx Drone application.
- Download and Install: Install the corresponding version of the app for your phone model.
- Connect to Wi-Fi: Open your mobile phone's Wi-Fi settings and connect to the drone's Wi-Fi network (e.g., "HF GPS5G...").
- Open Rx Drone App: Launch the Rx Drone app to view the live feed from the drone's camera and access advanced flight features.
4. Maintenance
4.1 Battery Charging
- Drone Battery: Connect the drone battery to the provided charging cable and a suitable power supply. The red indicator light will turn off when the battery is fully charged.

Figure 6: Modular large battery for extended flight time.
- Remote Control Battery: Connect the remote control to its charging cable. The red indicator light will turn off when the remote control battery is fully charged.
4.2 Replacing UAV Blades
If a propeller blade is damaged, replace it with a new one from the spare parts. Ensure you use the correct blade type (A or B) for each motor.
- Distinguish Blades: Identify the A and B blades. The drone's arms are marked to indicate which blade type (A or B) should be installed on each motor.

Figure 7: Drone dimensions and blade type identification (A and B).
- Remove Screws: Use the provided screwdriver to carefully remove the small screw securing the damaged blade to the motor shaft.
- Replace Blade: Remove the old blade and place the new A or B blade onto the motor shaft, aligning the screw hole.
- Tighten Screws: Secure the new blade by tightening the screw. Do not overtighten.
5. Troubleshooting
- Drone does not take off or GPS functions are not working outdoors:
Ensure GPS is turned ON for outdoor flight. Perform gyroscope and geomagnetic calibration successfully. Wait for GPS positioning to complete (lights will turn solid). Insufficient GPS signal or improper calibration can prevent takeoff or GPS features from working.
- Drone does not take off indoors:
Ensure GPS is turned OFF for indoor flight. The drone relies on optical flow for indoor stability, and GPS interference can prevent takeoff.
- Difficulty syncing gyroscope or starting blades:
Repeat the frequency matching and one-button calibration steps carefully. Ensure the drone is on a perfectly horizontal surface during calibration. If issues persist, try restarting both the drone and remote control.
- Auto return to home, follow me, or GPS features are inaccurate/not working:
These features heavily rely on strong GPS signal and accurate calibration. Ensure you are flying in an open area with clear sky view. Re-perform geomagnetic calibration if necessary. Verify that the drone has acquired enough satellites for stable GPS lock.
- Poor image transmission or video quality:
Ensure your mobile phone is properly connected to the drone's 5G Wi-Fi network. Avoid areas with strong Wi-Fi interference. Check for any obstructions between the drone and your phone. Ensure the camera lens is clean.
6. Specifications
| Feature | Detail |
|---|---|
| Brand | Cotwodfa |
| Model Name | S136 |
| Manufacturer Part Number | S136 Pro |
| Special Features | Long Distance Control, Integrated GPS, First Person View (FPV), One Button Return |
| Age Range (Description) | Adult |
| Color | Dark Black |
| Video Capture Resolution | 4K |
| Connectivity Technology | Wi-Fi |
| Included Components | Battery, Handbag |
| Skill Level | Beginner |
| Item Weight | 168 Grams (5.9 ounces) |
| Battery Capacity | 2000 mAh |
| Control Type | Remote Control |
| Material | Plastic |
| Product Dimensions | 8"L x 7"W x 3"H |
7. Warranty and Support
7.1 Warranty Information
Specific warranty details are not provided in the product specifications. Please refer to the product packaging or contact Cotwodfa customer service for warranty terms and conditions.
7.2 Customer Support
For any questions or issues regarding your Cotwodfa S136 GPS Drone, please do not hesitate to contact our customer service team. We are committed to providing satisfactory resolutions to all your inquiries.
Contact information can typically be found on the product packaging or the official Cotwodfa website.
Ask a question about this manual
Ask about setup, troubleshooting, compatibility, parts, safety, or missing instructions. Manuals+ will review the question and use this page’s manual context to help answer it.