
1. Introduction
Thank you for choosing the RYOBI 18V ONE+ 3-in-1 Cordless Lawn Mower/Edger. This versatile tool is designed to efficiently maintain your green spaces, offering functions for mowing small lawns, trimming borders, and edging for neat finishes. Powered by the RYOBI 18V ONE+ Lithium+ battery system, it provides cordless convenience and compatibility with your existing RYOBI tools.
Please read this manual carefully before operating the tool to ensure safe and effective use. Keep this manual for future reference.
2. Safety Information
WARNING: Read all safety warnings and all instructions. Failure to follow the warnings and instructions may result in electric shock, fire and/or serious injury.
- Always wear eye protection, long pants, and sturdy footwear when operating the tool.
- Keep children, bystanders, and pets at a safe distance (at least 15 meters) from the operating area.
- Inspect the area before use and remove any objects that could be thrown by the cutting line.
- Do not operate the tool in wet conditions or rain.
- Ensure the battery is fully charged before use.
- Never operate the tool without the guard in place.
- Disconnect the battery pack before cleaning, servicing, or when not in use.
- Use only RYOBI recommended accessories and replacement parts.
3. Package Contents
Your RYOBI 18V ONE+ 3-in-1 tool package includes:
- RYOBI 18V ONE+ 3-in-1 Trimmer/Mower/Edger Unit
- 18V ONE+ 2.0Ah Lithium+ Battery
- 1.5A Fast Charger
- Mower Case/Base
- User Manual (this document)

Image: The RYOBI 18V ONE+ 3-in-1 Cordless Lawn Mower/Edger, shown with its detachable mower base, an 18V ONE+ 2.0Ah battery, and a charger.
4. Product Overview
Familiarize yourself with the components of your RYOBI 3-in-1 tool:
- Main Handle with Controls: Ergonomic GripZone™ micro-honeycomb handles for comfort and control.
- Adjustable Front Handle: For customized comfort and posture.
- Telescopic Tube: Allows for height adjustment to suit user's height.
- Motor Head: Contains the cutting mechanism.
- Cutting Head: Single-wire automatic head (φ 1.6 mm) with 3-position tilt.
- Guard: Protects against debris.
- Mower Case/Base: Detachable base with wheels for mowing function.
- Foot Control: Ergonomic control for quick function switching.
- Battery Port: For inserting the 18V ONE+ battery.

Image: Front view of the RYOBI 3-in-1 tool, highlighting its compact design and adjustable handle.

Image: Side view of the RYOBI 3-in-1 tool, showing the telescopic shaft and the mower base.
5. Setup
5.1 Battery Charging and Installation
The tool comes with an 18V ONE+ 2.0Ah Lithium+ battery and a 1.5A fast charger.
- Connect the charger to a power outlet.
- Slide the battery pack onto the charger until it clicks into place. The charger indicator light will show charging status.
- A full charge takes approximately 80 minutes.
- Once charged, remove the battery from the charger.
- To install the battery into the tool, align the battery with the battery port on the tool and slide it in until it clicks securely.
- To remove, press the battery release latch and pull the battery out.
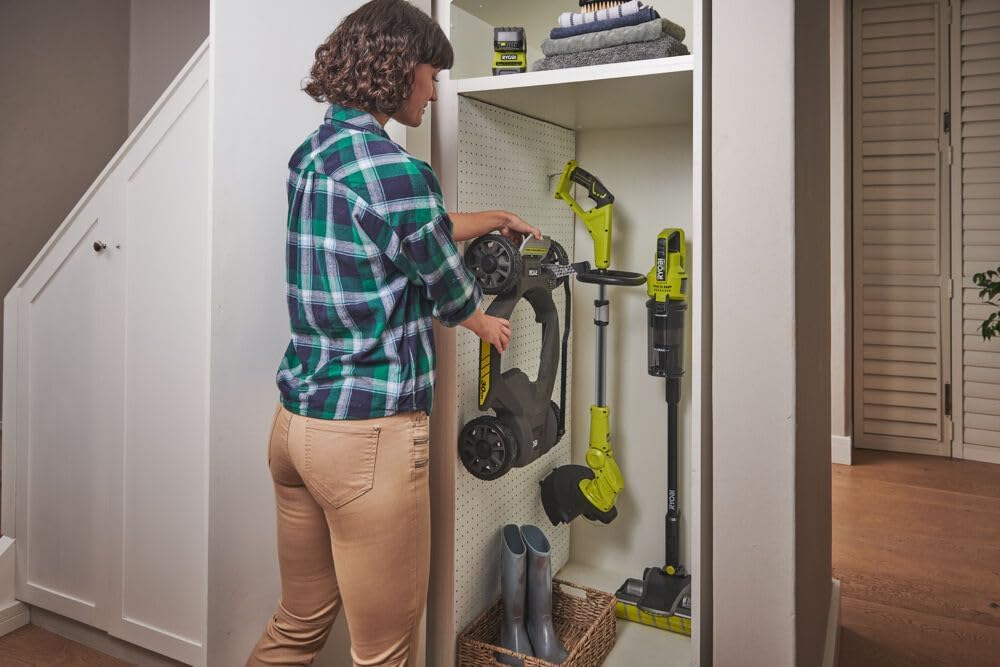
Image: Close-up of the RYOBI 18V ONE+ 2.0Ah Lithium+ Battery, ready for charging or installation.
5.2 Assembly (Attaching Mower Case)
The mower case transforms your trimmer into a compact lawn mower.
- Ensure the tool is turned off and the battery is removed.
- Align the trimmer head with the opening in the mower case.
- Gently push the trimmer head into the mower case until it securely locks into place.
- To detach, press the release button(s) on the mower case and pull the trimmer head out.

Image: A user's foot demonstrating the ergonomic foot control on the mower base, used to switch between functions.
5.3 Adjustments
- Handle and Telescopic Tube: The Vertebrae™ design allows for easy adjustment of the front handle and telescopic tube. Loosen the locking mechanism, adjust to your desired height and angle for optimal comfort, and then secure the lock.
- Cutting Height (Mower Mode): The central cutting height adjustment offers 4 positions (43-88 mm). Adjust the lever on the mower case to select the desired cutting height.
- Cutting Head Tilt (Trimmer/Edger Mode): The cutting head can tilt to 3 positions for accessing difficult areas. Adjust the tilt mechanism on the motor head as needed.

Image: A person adjusting the telescopic tube and front handle of the RYOBI 3-in-1 tool for personalized comfort.
6. Operating Instructions
6.1 General Operation
- Ensure the battery is fully charged and securely installed.
- Wear appropriate safety gear, including eye protection.
- Clear the work area of any debris or obstacles.
- To start the tool, press the safety lock-off button and then squeeze the trigger switch.
- To stop the tool, release the trigger switch.
6.2 Mower Mode
Attach the mower case as described in Section 5.2. This mode is ideal for small lawns and areas where a traditional mower might be too large.
- Adjust the cutting height using the central lever on the mower case.
- Push the tool steadily across the lawn, overlapping slightly on each pass for an even cut.
- Avoid cutting wet grass, as it can clog the tool and reduce efficiency.
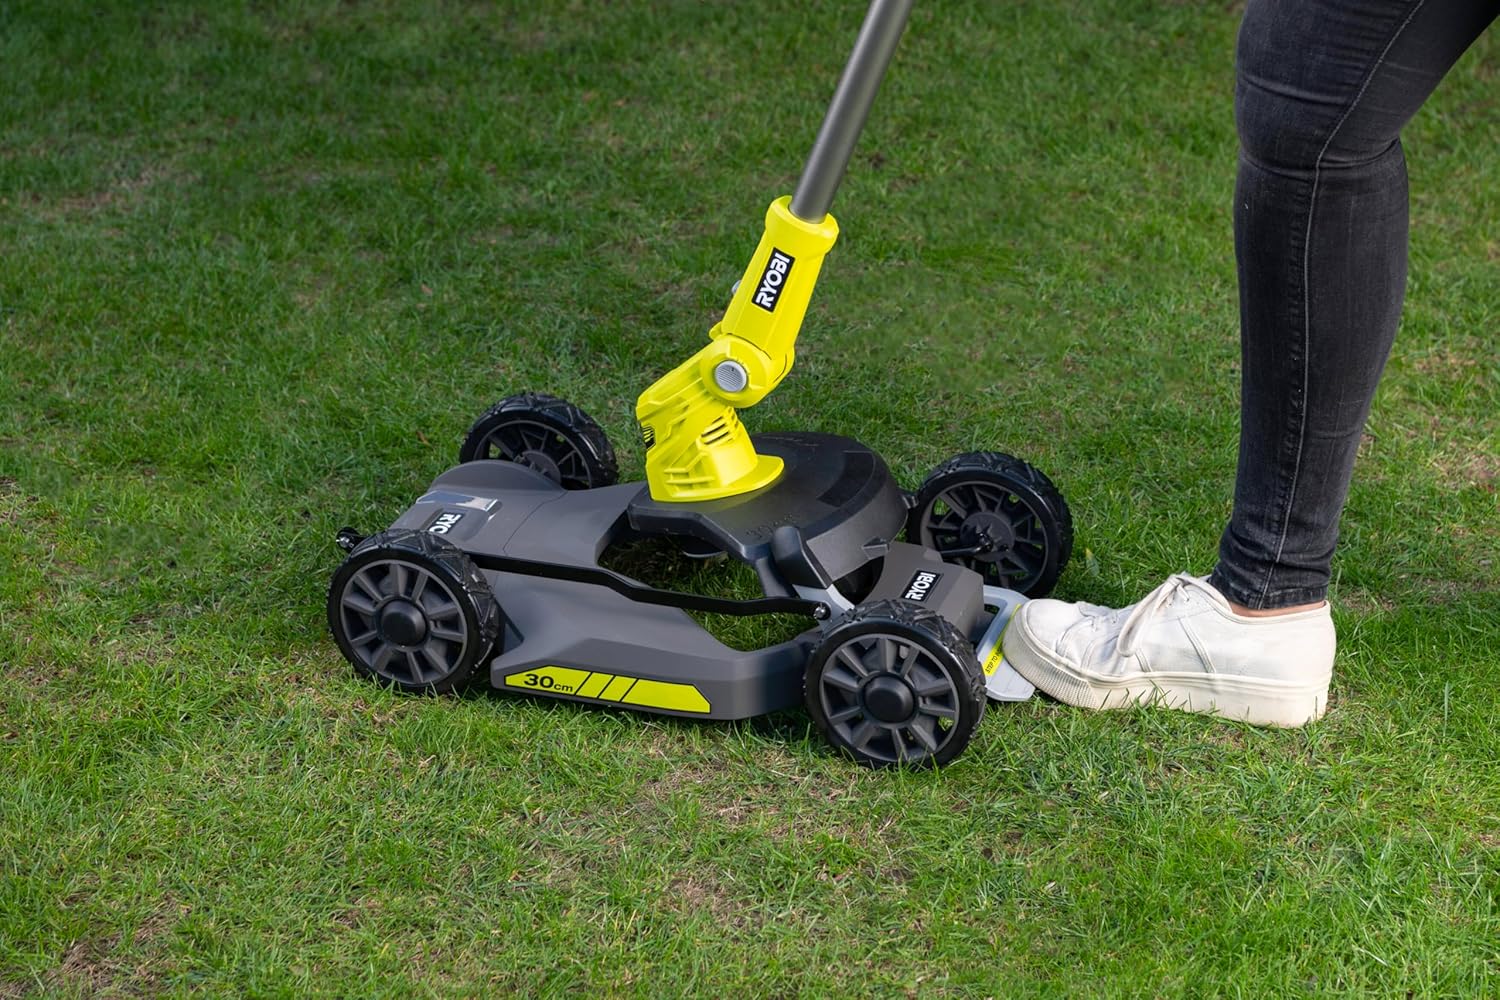
Image: A person operating the RYOBI 3-in-1 tool in mower mode on a small lawn, demonstrating its maneuverability.
6.3 Trimmer Mode
Detach the mower case for trimming around obstacles, fences, and garden beds.
- Hold the tool comfortably with both hands.
- Swing the cutting head from side to side in a sweeping motion, keeping the cutting line parallel to the ground.
- The automatic single-wire feed system will advance the line as needed.

Image: A person using the RYOBI 3-in-1 tool in trimmer mode, tidying up grass along a wooden border.
6.4 Edger Mode
For neat and precise edges along pathways, driveways, and flower beds.
- Rotate the cutting head to the edger position (90 degrees).
- Walk slowly, guiding the wheel along the edge of the hard surface.
- Allow the cutting line to create a clean, vertical cut.

Image: A person using the RYOBI 3-in-1 tool in edger mode, creating a clean line along a paved path.
7. Maintenance
Regular maintenance ensures optimal performance and extends the life of your tool.
- Cleaning: After each use, disconnect the battery and clean the tool. Remove grass clippings, dirt, and debris from the cutting head, guard, and mower case. Use a damp cloth; do not use harsh chemicals.
- Line Replacement: The tool uses a single-wire automatic head (φ 1.6 mm). Refer to the RYOBI website or your local dealer for replacement line. Follow the instructions provided with the replacement line for proper installation.
- Storage: Store the tool in a dry, secure place, out of reach of children. If storing for extended periods, remove the battery and store it separately in a cool, dry place.

Image: The RYOBI 3-in-1 tool neatly stored on a wall-mounted rack in a shed, demonstrating convenient storage options.

Image: The RYOBI 3-in-1 tool stored compactly in a household cabinet, highlighting its space-saving design.
8. Troubleshooting
| Problem | Possible Cause | Solution |
|---|---|---|
| Tool does not start. | Battery not installed correctly or not charged. Safety lock-off not engaged. | Ensure battery is fully charged and securely clicked into place. Press safety lock-off button before squeezing trigger. |
| Cutting line does not advance. | Line is tangled or too short. Spool is empty. | Tap the cutting head on the ground while operating to advance line. Replace spool if empty. Clear any tangles. |
| Tool loses power during operation. | Battery is low or overheated. Overload protection activated. | Recharge battery. Allow battery and tool to cool down if overheated. Reduce load on the tool. |
| Poor cutting performance in mower mode. | Cutting height too low for grass type. Wet grass. | Increase cutting height. Avoid mowing wet grass. |
9. Specifications
| Feature | Detail |
|---|---|
| Model Number | 5133005918 |
| Power Source | 18V ONE+ Lithium+ Battery |
| Functions | Trimmer, Mower, Edger (3-in-1) |
| Cutting Width | 30 cm |
| Cutting Height Adjustment | 4 positions (43-88 mm) |
| Cutting Head | Automatic single wire (φ 1.6 mm), 3-position tilt |
| Battery Included | 18V ONE+ 2.0Ah Lithium+ |
| Charger Included | 1.5A Fast Charger |
| Charging Time | Approx. 80 minutes (for 2.0Ah battery) |
| Item Weight | 9.5 kg (20.9 lbs) |
| Compatibility | 100% compatible with all RYOBI 18V ONE+ tools |
Battery Autonomy (Approximate):
- 2.0 Ah battery: up to 8 minutes
- 2.5 Ah battery: up to 11 minutes
- 4.0 Ah battery: up to 17 minutes
- 5.0 Ah battery: up to 21 minutes
- 6.0 Ah battery: up to 25 minutes
10. Warranty and Support
RYOBI products are manufactured to high quality standards and are backed by a comprehensive warranty. For specific warranty details, please refer to the warranty card included with your product or visit the official RYOBI website.
For technical support, spare parts, or service, please contact RYOBI customer service or your authorized RYOBI dealer. Ensure you have your model number (5133005918) and serial number (if applicable) ready when contacting support.
EU Spare Part Availability Duration: 5 Years.
Online Resources:


