
1. Introduction
This manual provides essential instructions for the safe and efficient operation, setup, and maintenance of your WAGNER W 600 FLEXiO 18V Cordless Paint Spray System. Please read this manual thoroughly before first use and keep it for future reference.
The W 600 FLEXiO 18V is a versatile cordless paint spray system designed for applying both thick and thin materials, offering freedom of movement for small to medium-sized projects in and around the home and garden. It features HVLP technology for uniform coverage and is compatible with BOSCH 18V POWER FOR ALL batteries.
2. Safety Information
Always observe general safety precautions when operating power tools. Specific safety recommendations for this paint spray system include:
- Wear appropriate personal protective equipment (PPE), including eye protection, gloves, and a respiratory mask. An FFP2 respiratory mask is recommended.
- Ensure adequate ventilation in the work area.
- Do not spray flammable materials near open flames or ignition sources.
- Always disconnect the battery before cleaning, maintenance, or when the tool is not in use.
- Keep children and bystanders away from the operating area.
- Refer to the paint manufacturer's safety data sheet for specific handling instructions for the material being sprayed.
3. Components Included
The WAGNER W 600 FLEXiO 18V Cordless Paint Spray System typically includes the following components:
- 1x W 600 FLEXiO 18V Base Unit
- 1x I-Spray Front End (1300 ml container)
- 1x Standard Front End (800 ml container)
- Instruction Manual
- Quick Start Guide
- Nozzle Seal Replacement
- Viscosity Cup
- Stirrer
- FFP2 Protective Mask
- Note: Battery and charger are NOT included.

Figure 1: Overview of the WAGNER W 600 FLEXiO 18V Cordless Paint Spray System and included accessories.

Figure 2: Important notice regarding the exclusion of battery and charger from the product package.
4. Setup
4.1 Battery Installation
The W 600 FLEXiO 18V is compatible with BOSCH 18V POWER FOR ALL batteries. Ensure the battery is fully charged before use.
- Align the charged BOSCH 18V POWER FOR ALL battery with the battery slot on the base unit.
- Slide the battery into the slot until it clicks securely into place.
- The LED display on the unit will indicate the current battery level.
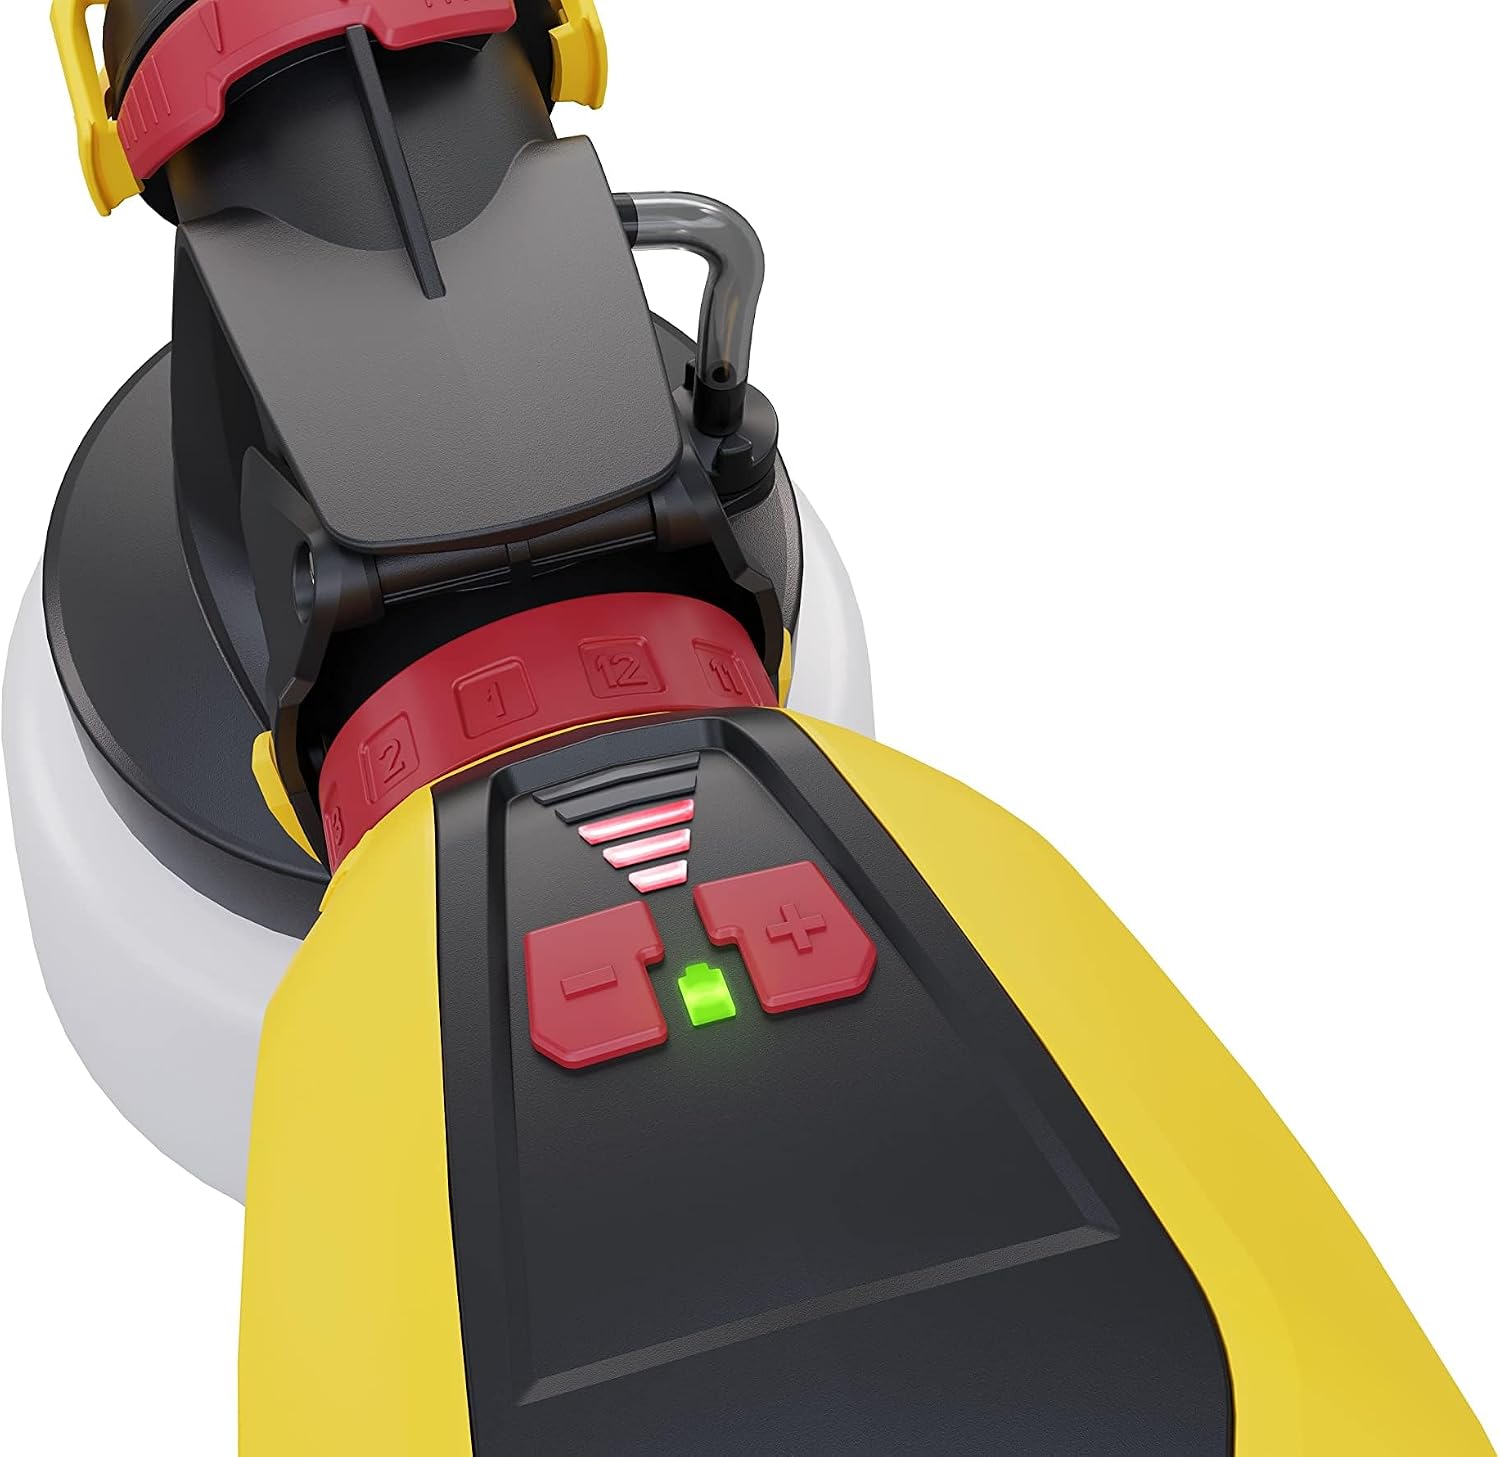
Figure 3: Battery insertion point and LED battery level indicator on the W 600 FLEXiO 18V.
4.2 Material Preparation
Proper material preparation is crucial for optimal spray results. The W 600 FLEXiO 18V can handle a wide range of materials, including emulsion paints, varnishes, glazes, wood preservatives, and oils.
- Consult the paint manufacturer's instructions for recommended dilution. Use the included viscosity cup to check the material's viscosity.
- If dilution is required, add the recommended thinner (water for water-based paints, solvent for solvent-based paints) and mix thoroughly with the stirrer.
- Fill the desired front end container (1300 ml I-Spray for larger areas/emulsion paints, 800 ml Standard for smaller areas/varnishes/glazes) with the prepared material.
4.3 Attaching the Spray Attachment (Click&Paint)
The Click&Paint system allows for quick and easy attachment and removal of the spray front ends.
- Ensure the base unit is clean and free of debris.
- Align the filled spray attachment with the base unit.
- Twist the attachment clockwise until it locks securely into place.
5. Operating Instructions
5.1 Adjusting Air Flow and Material Volume
The W 600 FLEXiO 18V features variable air flow adjustment for ideal processing of materials with different viscosities. The material volume can also be adjusted.
- Air Flow: Use the dial on the base unit to adjust the air flow. Higher air flow is generally suitable for thinner materials, while lower air flow is better for thicker materials.
- Material Volume: Adjust the trigger or a separate dial (refer to quick start guide for exact location) to control the amount of material sprayed.
5.2 Adjusting Spray Pattern
The spray pattern can be adjusted to horizontal, vertical, or round, depending on the area being sprayed.
- Rotate the air cap on the front end to select the desired spray pattern.
- Horizontal: For vertical surfaces.
- Vertical: For horizontal surfaces.
- Round: For corners, edges, and small objects.
5.3 Spraying Technique
For best results, maintain a consistent distance and speed while spraying.
- Hold the spray gun perpendicular to the surface, approximately 10-30 cm (4-12 inches) away.
- Begin spraying off the workpiece, move across the surface, and release the trigger off the workpiece.
- Overlap each pass by about 50% to ensure even coverage.
- Apply thin, even coats rather than one thick coat to avoid drips and runs.

Figure 4: Demonstrating the use of the paint spray system for outdoor projects like painting a fence.
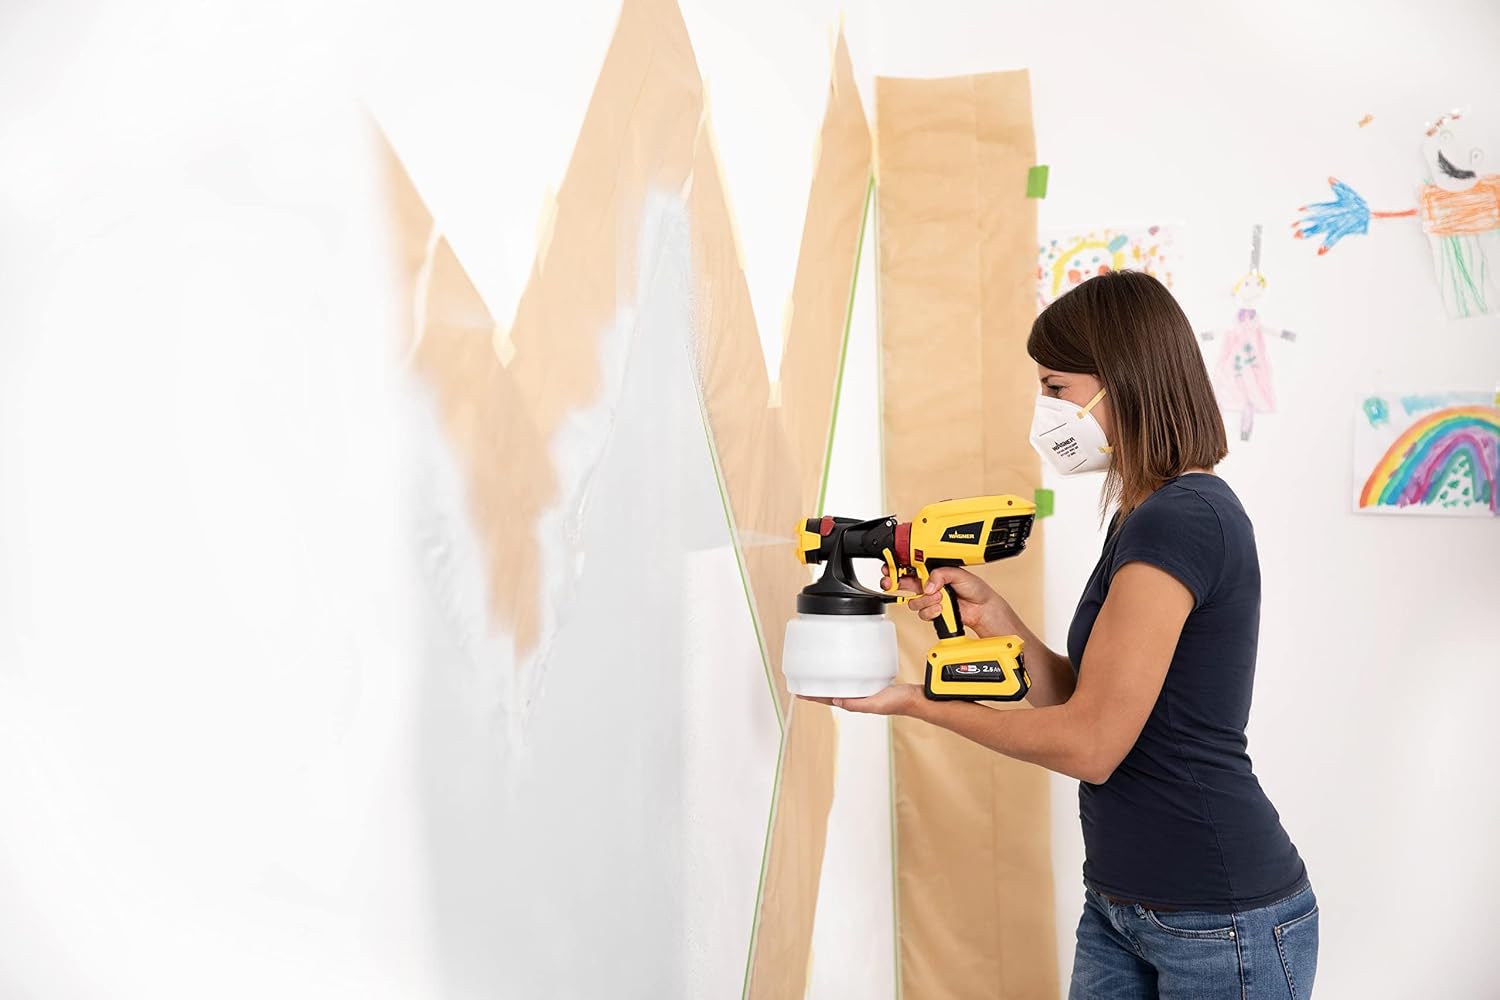
Figure 5: Demonstrating the use of the paint spray system for indoor projects like painting a wall.
6. Maintenance
Regular cleaning and maintenance will ensure the longevity and optimal performance of your paint spray system.
6.1 Cleaning After Use
The Click&Paint system makes cleaning quick and easy.
- Disconnect the battery from the base unit.
- Remove the spray attachment by twisting it counter-clockwise.
- Empty any remaining material from the container.
- Disassemble the spray attachment components (container, nozzle, air cap, suction tube).
- Clean all components thoroughly with the appropriate cleaning agent (water for water-based paints, solvent for solvent-based paints). Use brushes and cleaning tools as needed.
- Ensure all paint residue is removed from the nozzle and air cap to prevent blockages.
- Allow all parts to dry completely before reassembly or storage.
6.2 Storage
Store the paint spray system in a clean, dry place, out of reach of children.
- Ensure the unit and all accessories are clean and dry before storage.
- Store the battery separately in a cool, dry place, away from direct sunlight.
7. Troubleshooting
This section addresses common issues you might encounter during operation.
| Problem | Possible Cause | Solution |
|---|---|---|
| No spray or weak spray | Clogged nozzle, insufficient material, incorrect viscosity, low battery. | Clean nozzle, refill container, adjust material viscosity, charge/replace battery. |
| Uneven spray pattern | Dirty air cap, incorrect air flow setting, inconsistent spraying technique. | Clean air cap, adjust air flow, practice consistent technique. |
| Drips or runs | Too much material, spraying too close, material too thin. | Reduce material volume, increase spraying distance, thicken material if necessary. |
| Battery drains quickly | Battery not fully charged, old battery, high power demand. | Ensure battery is fully charged, consider a higher capacity battery, or replace old batteries. |
8. Specifications
- Model: W 600 FLEXiO 18V
- Brand: WAGNER
- Power Source: Battery Powered (BOSCH 18V POWER FOR ALL compatible)
- Motor: Brushless
- Container Volume (I-Spray): 1300 ml
- Container Volume (Standard): 800 ml
- Product Dimensions (L x W x H): 24.6 x 24.6 x 28.2 cm
- Item Weight: 2.19 kg
- Material: Plastic
- Recommended Use: Painting (walls, wood, etc.)
- Product Number: 2420174

Figure 6: WAGNER battery compatibility chart, illustrating which BOSCH 18V batteries are compatible with the W 600 FLEXiO 18V.

Figure 7: Detailed view of the W 600 FLEXiO 18V battery compatibility, showing green dots for compatible batteries.
9. Warranty and Support
WAGNER offers a standard three-year manufacturer's warranty. This warranty can be extended by an additional year upon online registration of your product.
For questions or support, please contact WAGNER customer service. Contact details may vary by region; please refer to the official WAGNER website or the contact information provided in your product packaging.
General support contact: +44 (0)1327 368412


