
Introduction
This manual provides detailed instructions for the installation, operation, and maintenance of your GE Profile Tankless Reverse Osmosis Under Sink Water Filtration System, Model PXRQ400T. This system is designed to provide clean, filtered water directly from your tap, reducing a wide range of impurities.
The triple-stage filtration process effectively reduces over 95 impurities from your drinking water, including lead, chlorine, PFOS, and arsenic. Its compact, tankless design saves under-counter space, and the integrated pump ensures continuous water flow on demand. The system includes a designer chrome faucet and features LED digital controls for filter change reminders.
Understanding Your GE Water Filtration System
Watch this official video from GE Appliances to understand the different types of water filtration systems and how they benefit your home.
Video: An overview of GE Appliances water treatment solutions, including whole house, under-sink, and reverse osmosis systems, highlighting their benefits for clean water in your home.
Safety Information
Please read all safety instructions carefully before installing or operating this water filtration system. Failure to follow these instructions could result in property damage, personal injury, or death.
- Electrical Safety: The system requires a standard 120V AC power outlet. Ensure the outlet is a Ground Fault Circuit Interrupter (GFCI) protected outlet. Do not operate the system with a damaged power cord or plug.
- Water Pressure: Ensure your water pressure is within the recommended operating range for the system. Consult the specifications section for details.
- Leak Prevention: Regularly inspect all connections for leaks. Tighten connections as necessary. Turn off the water supply before performing any maintenance.
- Filter Replacement: Use only genuine GE Profile replacement filters (FQ400PT and FQ400MT) to ensure proper performance and filtration.
- Installation: If you are unsure about any part of the installation process, consult a qualified plumber or technician.
Package Contents
Verify that all components are present before beginning installation:
- Water Filtration Unit
- FQ400PT Pre & Post Filter (Stage 1 & 2)
- FQ400MT RO Membrane (Stage 3)
- Dedicated Chrome Faucet
- Filter Housing
- AC Power Adapter
- Installation Hardware (tubing, connectors, mounting brackets)
Installation Guide
This section outlines the steps for installing your GE Profile Tankless Reverse Osmosis System. It is recommended to have basic plumbing tools and knowledge for installation. Always turn off the main water supply before starting.
1. Prepare the Installation Area
Clear the under-sink cabinet area where the filtration unit will be installed. Ensure there is sufficient space for the unit (Product Dimensions: 9.88"L x 9.75"W x 18.25"H) and access for filter changes.
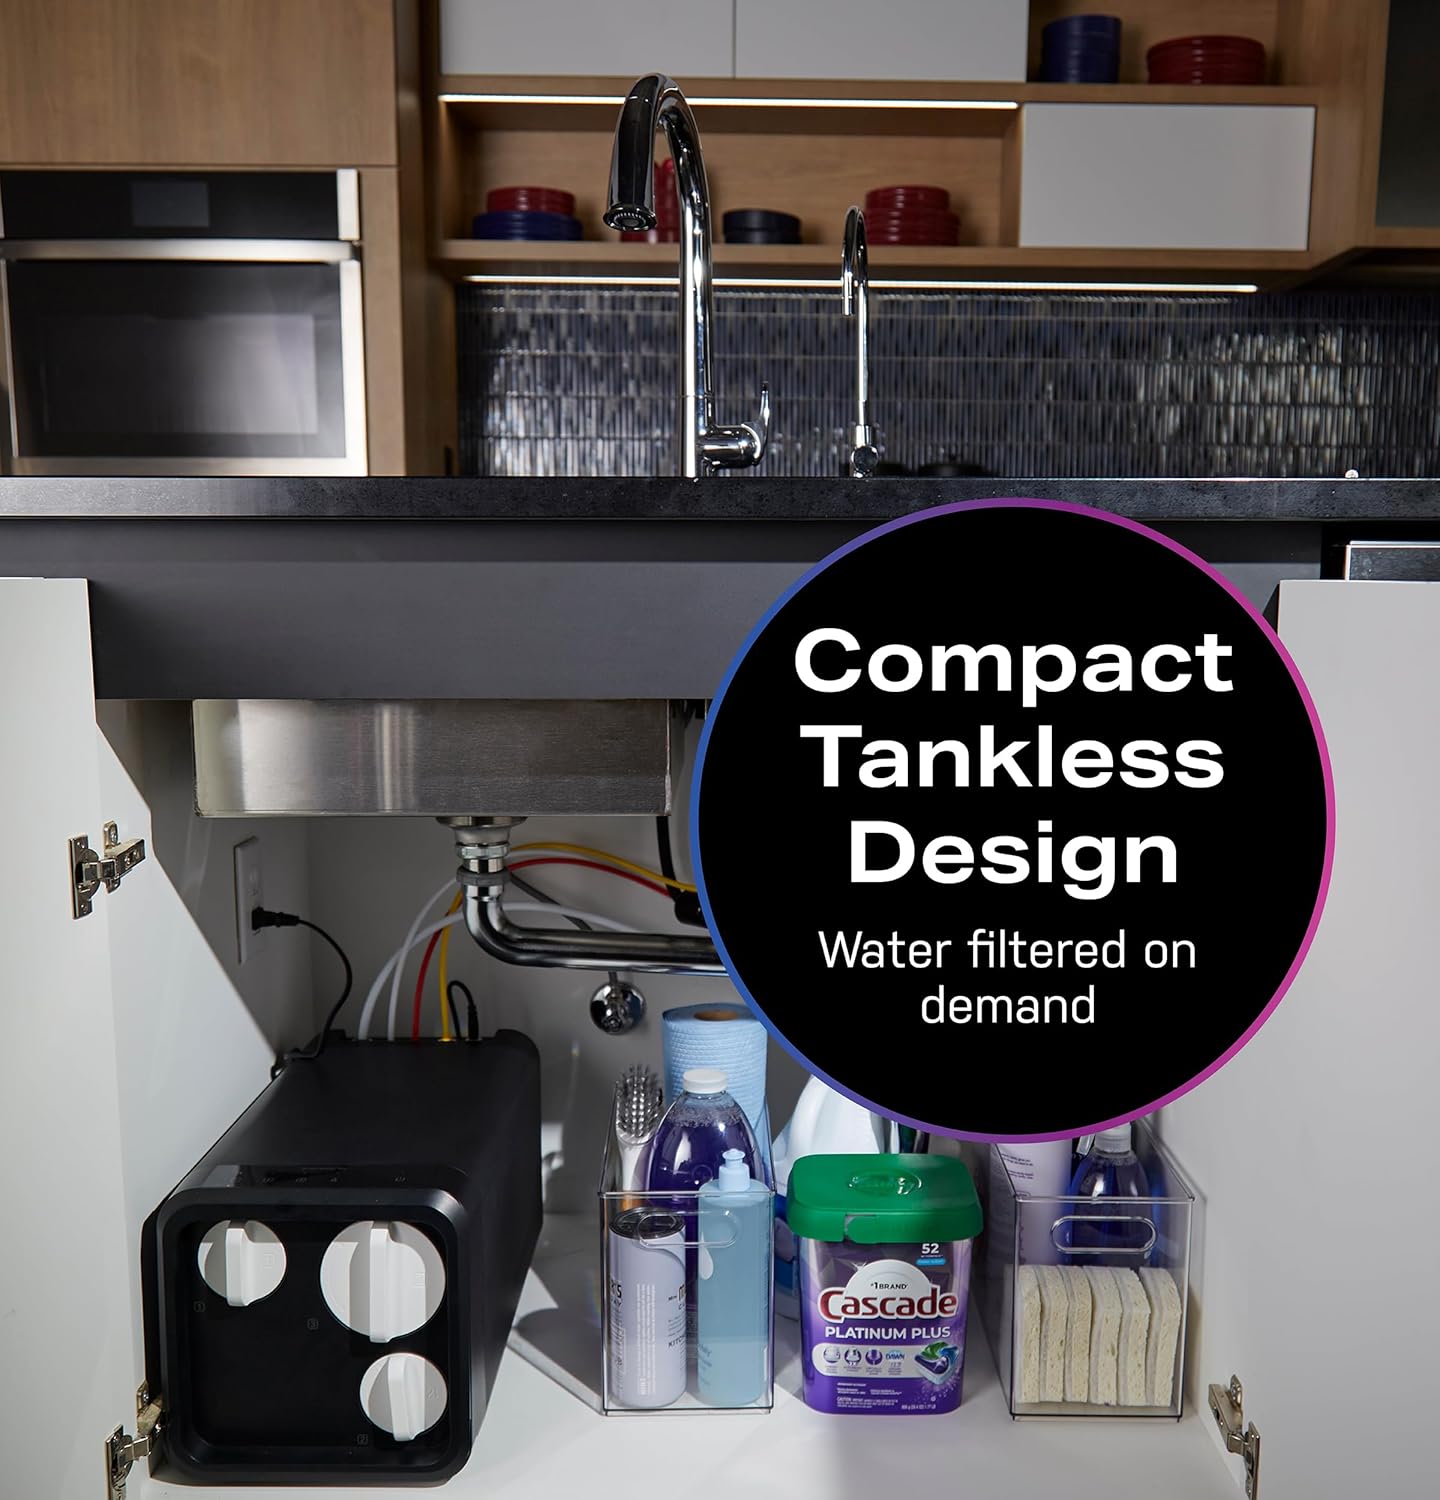
Image: The compact tankless design allows for efficient use of under-sink space.
2. Install the Faucet
Drill a hole in your sink or countertop for the dedicated chrome faucet, if one is not already present. Follow the faucet manufacturer's instructions for proper mounting and sealing. Connect the faucet's water line to the filtration unit as directed.

Image: The included designer chrome faucet provides filtered water on demand.
3. Mount the Filtration Unit
Securely mount the main filtration unit inside the cabinet using the provided mounting hardware. Ensure it is level and stable.
4. Connect Water Lines
Connect the incoming cold water line to the filtration unit. Use the color-coded water lines to connect the unit to the faucet and the drain. Refer to the diagram in your physical manual for specific connections.
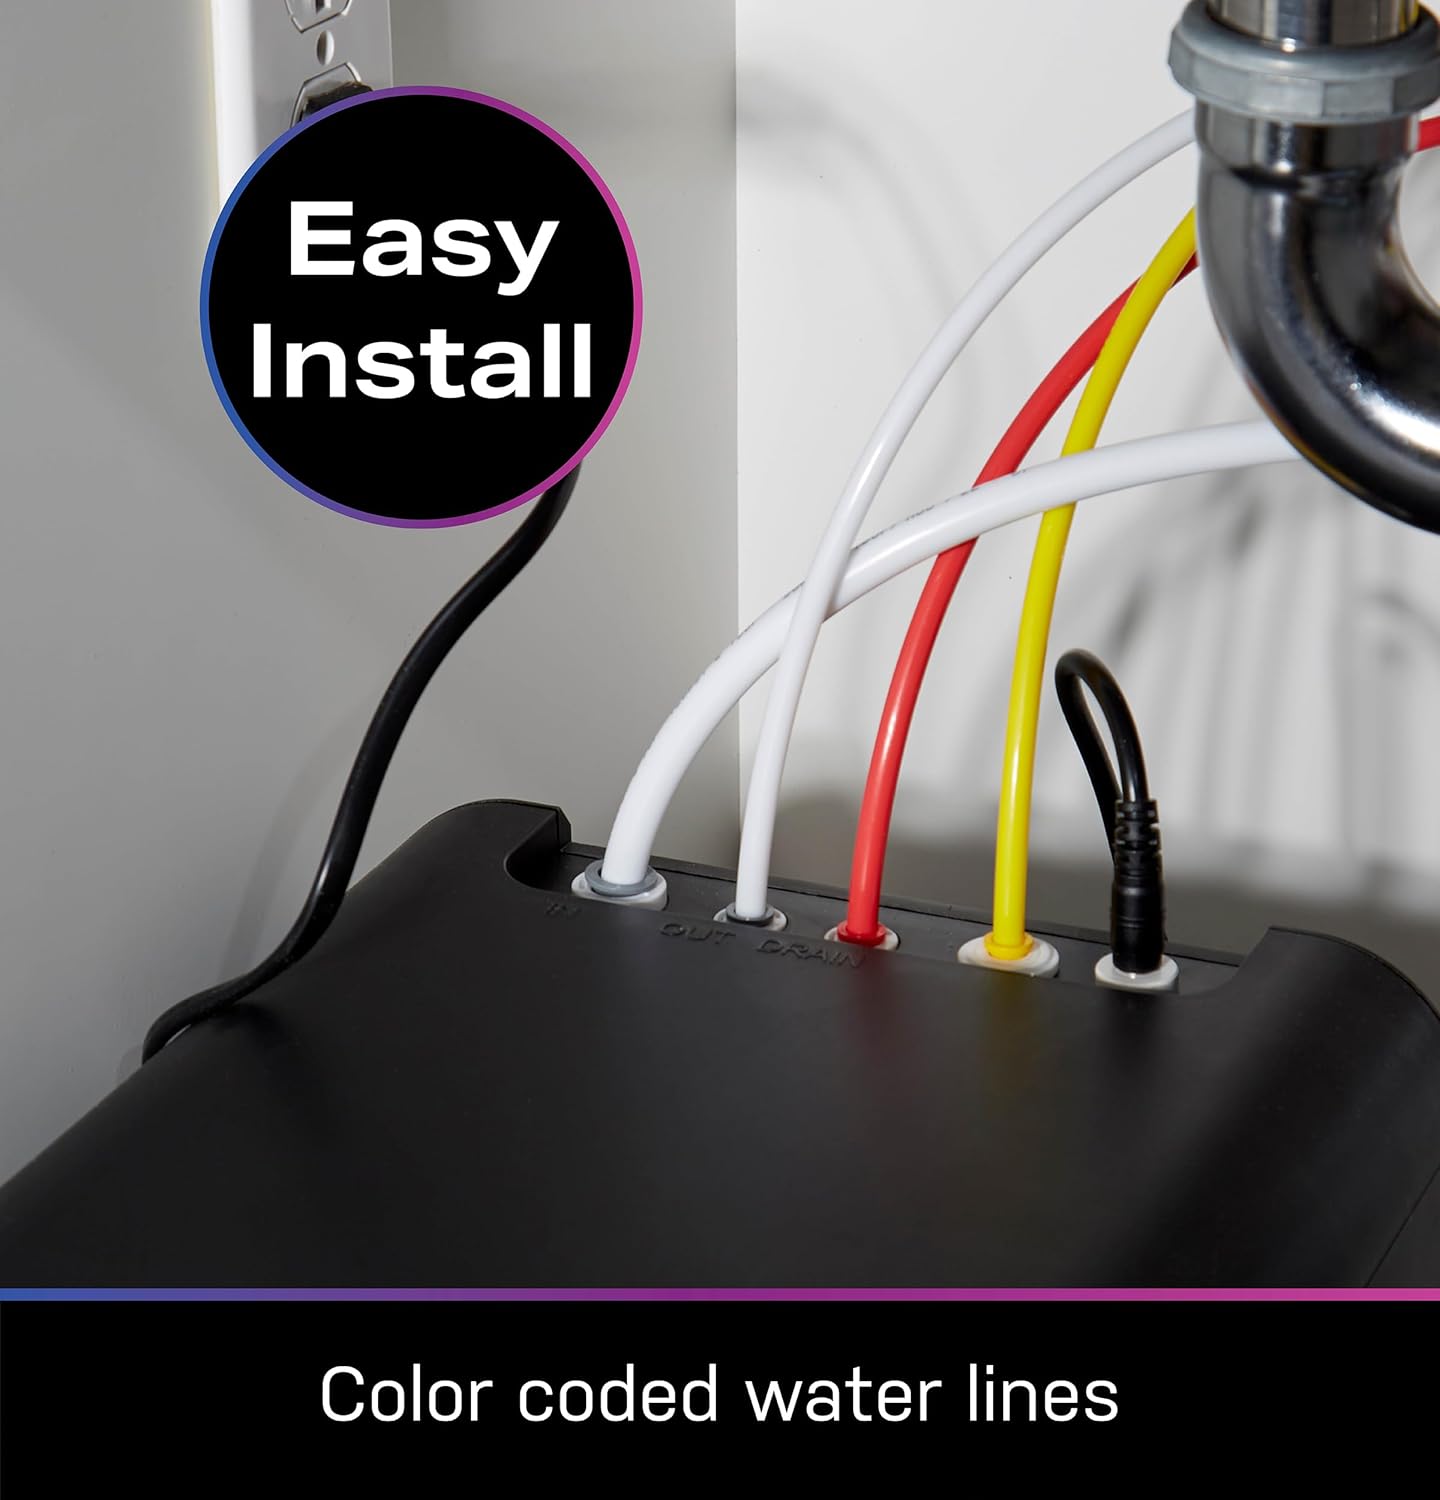
Image: Color-coded water lines simplify the connection process.
5. Connect Power
Plug the AC power adapter into the filtration unit and then into a standard 120V GFCI-protected electrical outlet. The system requires continuous power for operation.
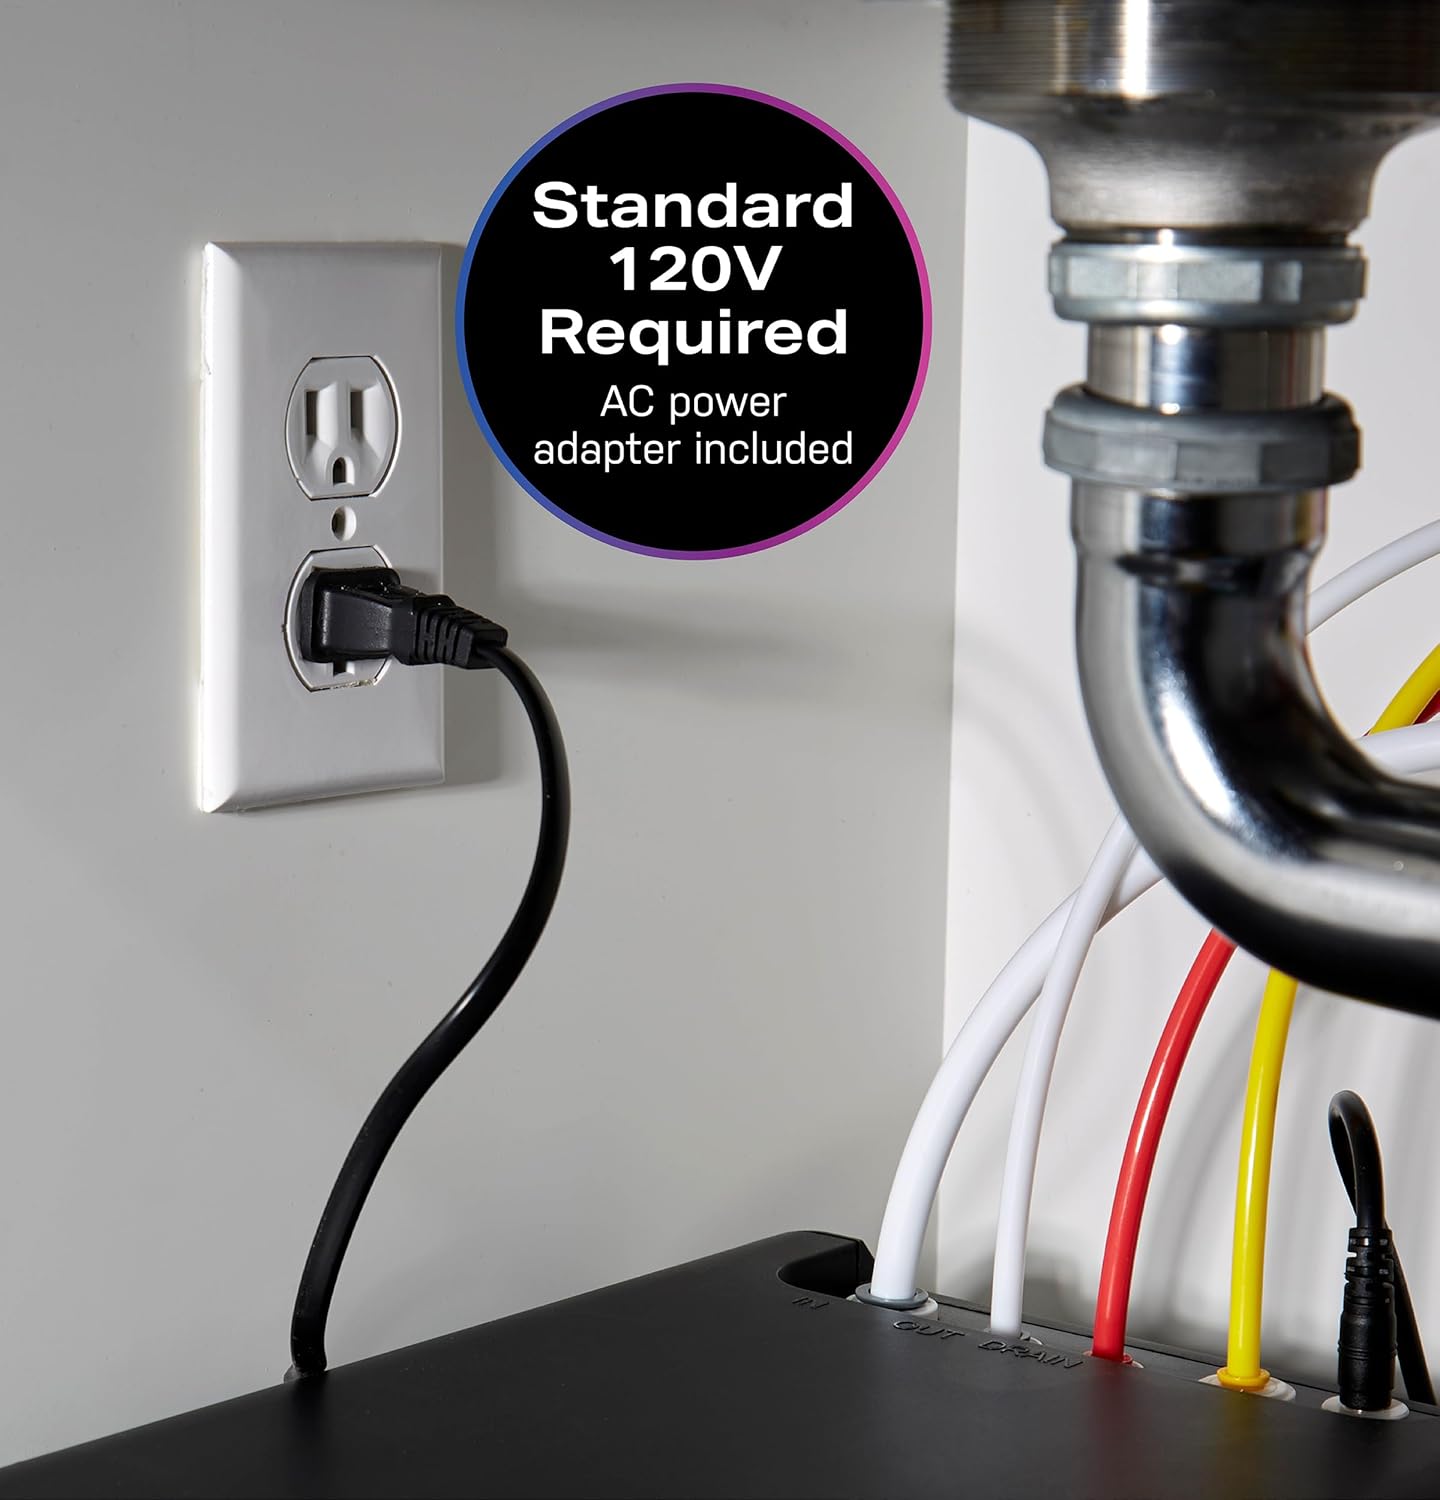
Image: The system requires a standard 120V electrical connection.
6. Flush the System
After installation, slowly turn on the main water supply. Open the filtered water faucet and allow water to run for at least 10-15 minutes to flush the system and remove any air or carbon fines. Check for leaks at all connections.
Operation
Your GE Profile Tankless Reverse Osmosis System is designed for simple operation. Once installed and flushed, simply open the dedicated filtered water faucet to dispense purified water.
- Water Flow: The integrated pump provides continuous water flow on demand. Note that tankless systems may have a slightly slower flow rate compared to traditional RO systems with storage tanks.
- LED Digital Controls: The unit features LED indicators that provide status updates and filter change reminders.
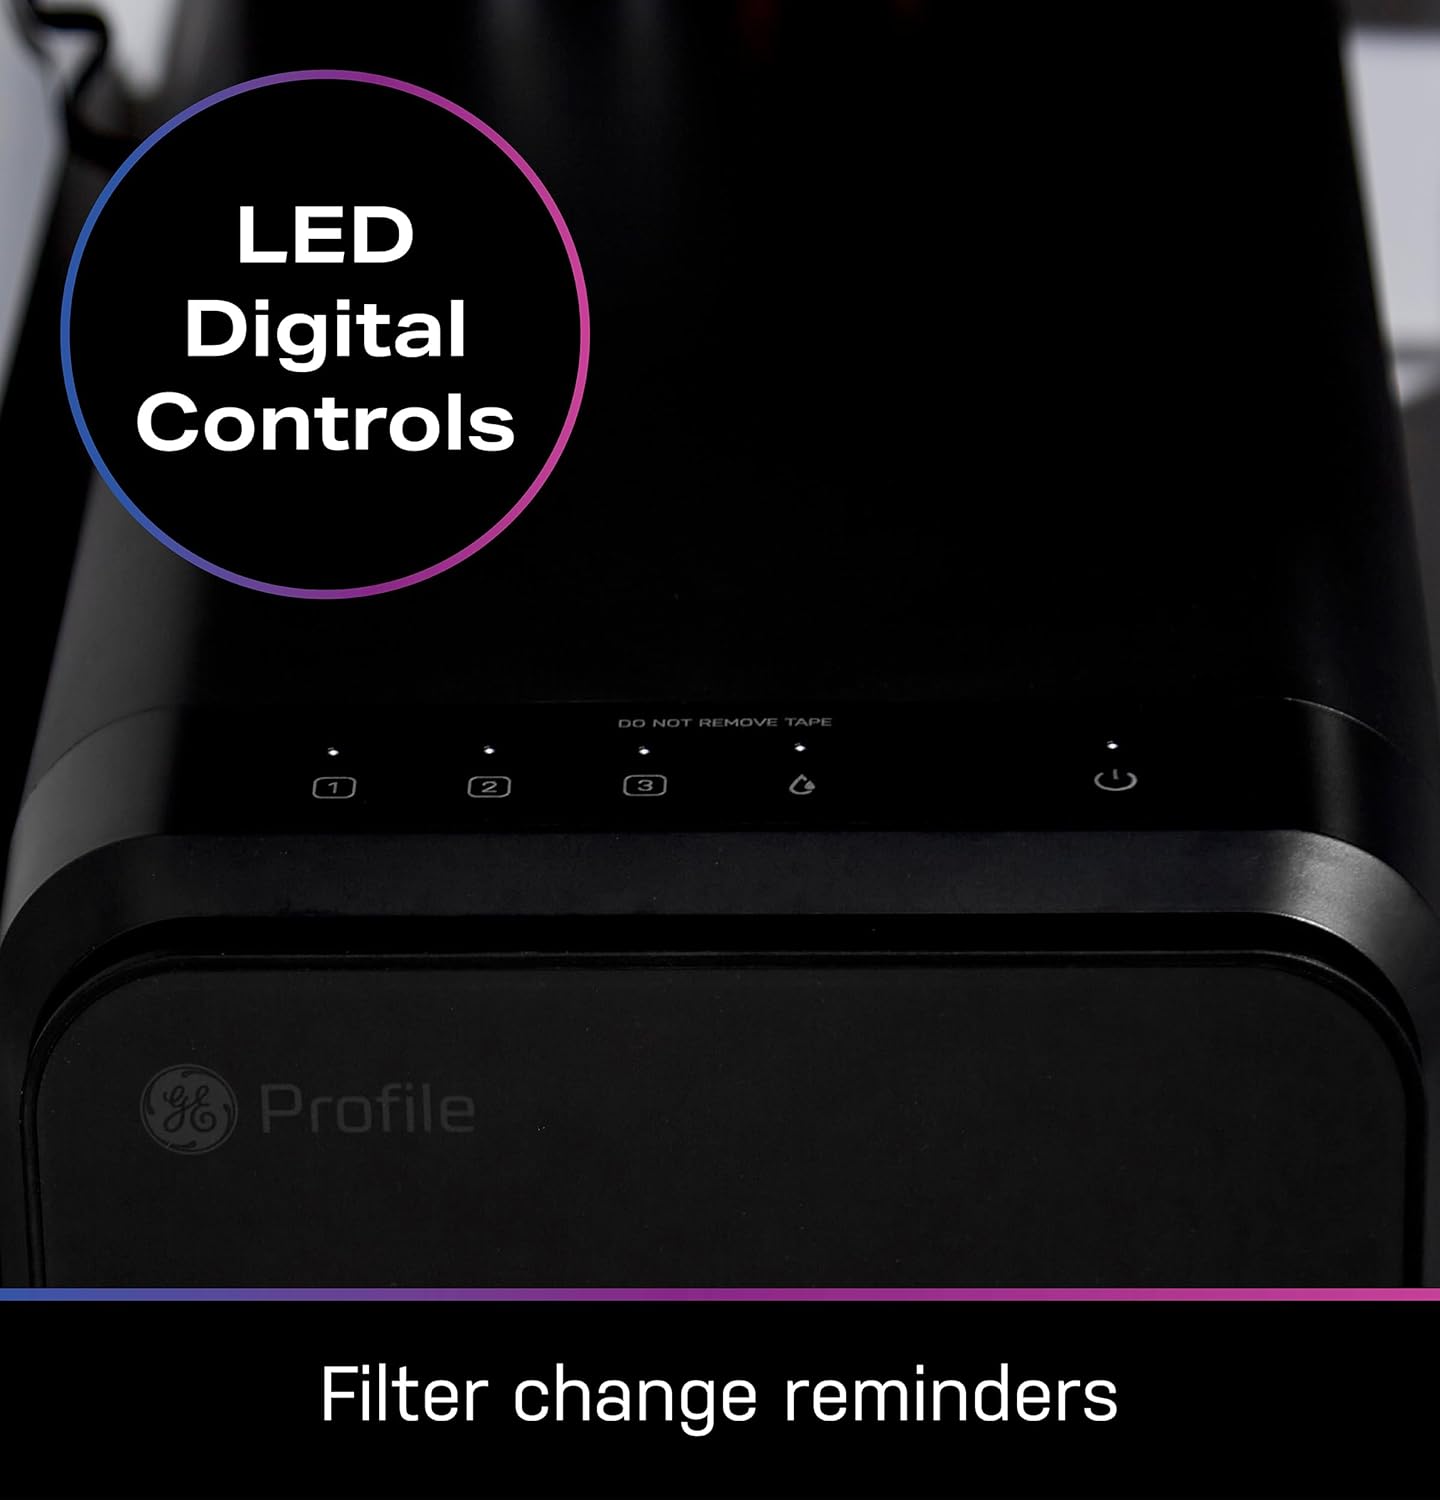
Image: LED digital controls provide filter change reminders and system status.
Maintenance: Filter Replacement
Regular filter replacement is crucial for maintaining optimal performance and water quality. The GE Profile system uses a triple-stage filtration process with two types of filters.
Filter Types and Replacement Schedule:
- FQ400PT Pre & Post Filter (Stage 1 & 2): Replace every 6 months.
- FQ400MT RO Membrane (Stage 3): Replace every 12 months.
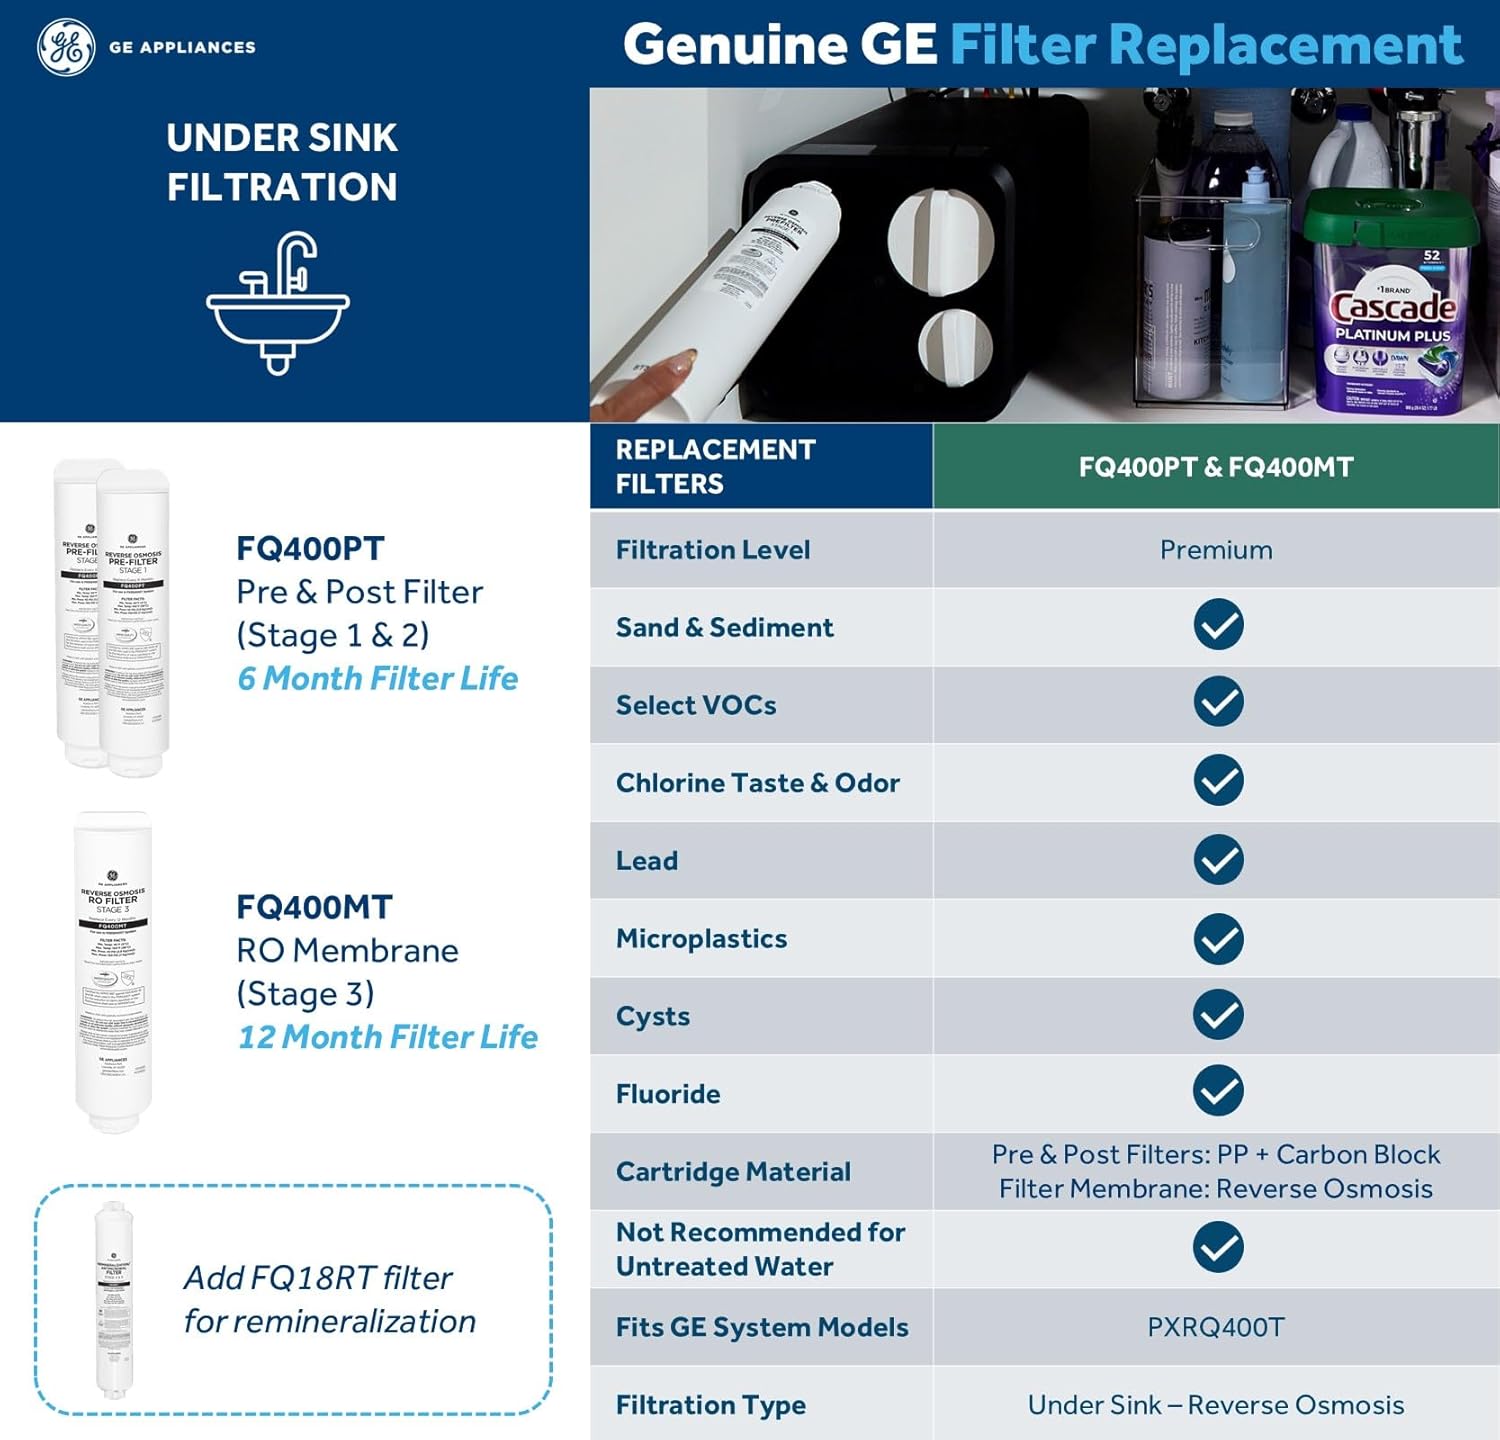
Image: Filter replacement schedule and impurity reduction capabilities.
Steps for Filter Replacement:
- Turn off Water Supply: Close the cold water supply valve to the filtration system.
- Depressurize System: Open the filtered water faucet to release any pressure in the system.
- Remove Magnetic Cover: The front panel of the filtration unit is a removable magnetic cover. Gently pull it off to access the filters.
- Twist and Remove Old Filters: Grasp the old filter cartridge(s) and twist counter-clockwise to unlock and remove them.
- Install New Filters: Insert the new filter cartridge(s) into the correct housing and twist clockwise until securely locked. Ensure the correct filter type is placed in the corresponding stage.
- Replace Cover: Reattach the magnetic cover.
- Restore Water Supply: Slowly open the cold water supply valve.
- Flush System: Open the filtered water faucet and flush the system for 10-15 minutes to remove air and any loose carbon. Check for leaks.
- Reset Filter Indicator: Refer to your unit's specific instructions for resetting the filter change indicator on the LED digital controls.
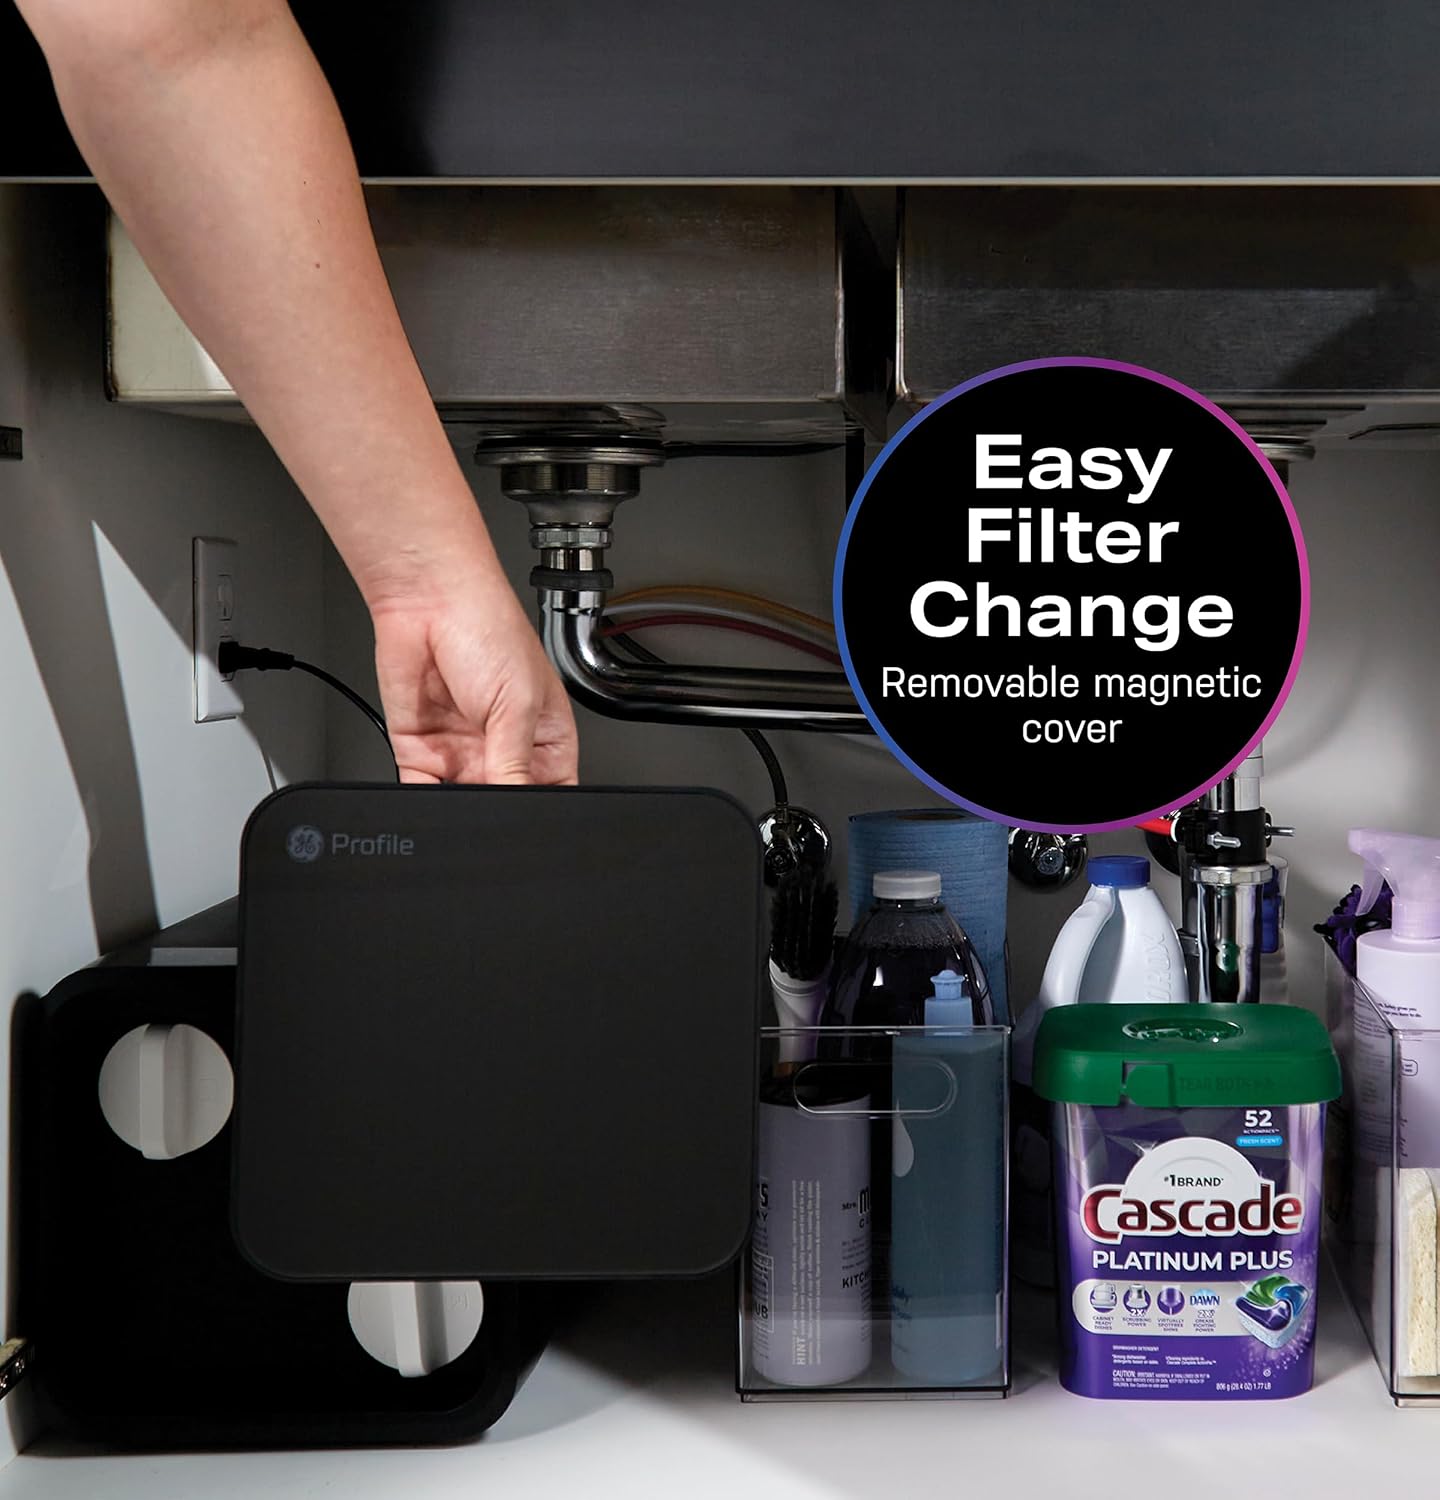
Image: Easy filter change with a removable magnetic cover.
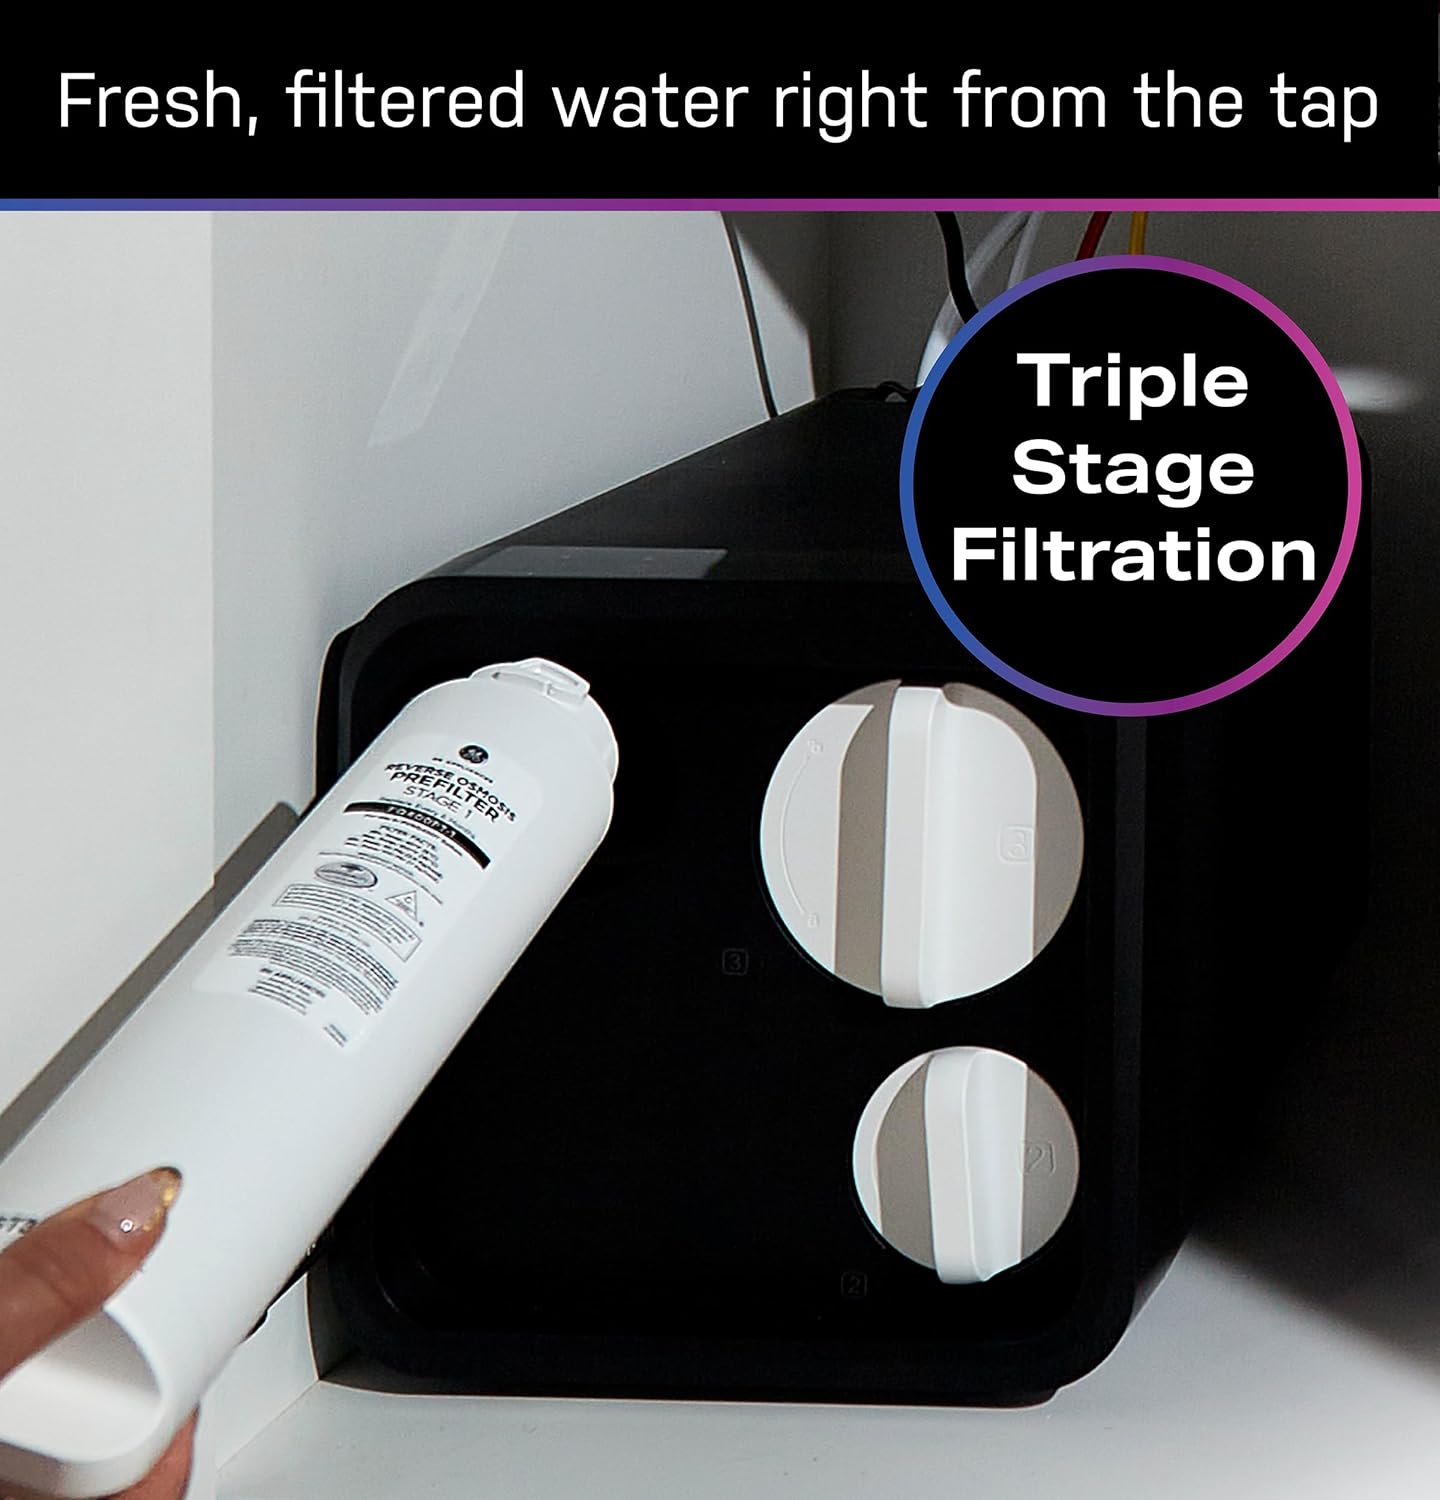
Image: The triple-stage filtration system allows for easy filter replacement.
Consider adding the FQ18RT remineralization filter to restore beneficial minerals removed during the reverse osmosis process, if desired.
Troubleshooting
If you encounter issues with your GE Profile water filtration system, refer to the following common troubleshooting steps:
- No Water Flow or Slow Flow:
- Check if the water supply valve is fully open.
- Ensure the power adapter is securely plugged in and the unit is receiving power.
- Verify that filters are correctly installed and not clogged. Replace filters if they are past their recommended lifespan.
- Check for kinks in the water lines.
- Leaks:
- Immediately turn off the water supply to the unit.
- Inspect all connections, including filter housings and water line fittings. Tighten any loose connections.
- Ensure O-rings on filter cartridges are properly seated.
- Unpleasant Taste or Odor:
- Flush the system for a longer period (e.g., 30 minutes).
- Replace the filters, especially if they are due for replacement.
- LED Indicator Issues:
- Refer to your unit's specific manual for interpreting LED codes and resetting indicators after filter changes.
If problems persist, contact GE Appliances customer support for assistance.
Specifications
| Feature | Detail |
|---|---|
| Brand | GE |
| Model Name | PXRQ400T |
| Special Feature | Chlorine Reduction, Tankless |
| Product Dimensions | 9.88"L x 9.75"W x 18.25"H |
| Installation Type | Under Sink |
| Item Weight | 1.8 Pounds |
| Maximum Flow Rate | 0.01 Gallons Per Minute |
| Supported Water TDS Level Maximum (PPM) | 500 |
| Purification Method | Reverse Osmosis |
| Material | Plastic |
| Included Components | Filters, Filter Housing, Faucet |
| Replacement Filters | FQ400PT (Pre & Post), FQ400MT (RO Membrane) |
Warranty and Support
For warranty information, product registration, or technical support, please refer to the documentation included with your product or visit the official GE Appliances website. Keep your proof of purchase for warranty claims.


