
Diamond Lark LF-D306
Diamond Lark LF-D306 1080P FHD Dash Camera User Manual
Model: LF-D306
1. Introduction
Thank you for choosing the Diamond Lark LF-D306 Dash Camera. This device is designed to provide reliable video recording of your journeys, offering features such as 1080P Full HD resolution, WiFi connectivity for app control, seamless loop recording, G-Sensor for emergency file locking, night vision capabilities, and 24-hour parking monitoring. Please read this manual thoroughly before use to ensure proper installation and operation.
Video 1.1: An overview of the Diamond Lark LF-D306 Dash Camera's key features and design.
2. Package Contents
Verify that all items listed below are included in your package:
- Dash Camera x1
- Car Charger x1
- Suction Mount x1
- 3M Adhesive x1
- Installation Tool x1
- User Manual x1

Figure 2.1: Contents of the Diamond Lark LF-D306 Dash Camera package.
3. Product Overview
The Diamond Lark LF-D306 Dash Camera features a compact design with essential components for optimal performance.

Figure 3.1: Front and side view of the Diamond Lark LF-D306 Dash Camera, illustrating its compact form factor and connectivity with a smartphone application.
- Camera Lens: Records 1080P Full HD video with a 170° wide-angle view and F/1.8 aperture.
- Mounting Bracket: Adjustable bracket for secure attachment to the windshield.
- Power Port: Connects to the car charger for power.
- Micro SD Card Slot: For inserting the memory card (not included).
- Indicator Lights: Provide status information (e.g., recording, power).
- Control Buttons: For basic device operation.
4. Setup
4.1. Inserting the Micro SD Card
The dash camera requires a Micro SD card (Class 10 or higher, up to 128GB) for storing recordings. Ensure the camera is powered off before inserting or removing the card.
- Locate the Micro SD card slot on the dash camera.
- Insert the Micro SD card with the gold contacts facing the back of the camera until it clicks into place.
- To remove, gently push the card until it clicks out, then pull it out.
Note: It is recommended to format the Micro SD card within the camera settings periodically to maintain optimal performance and prevent data corruption.
4.2. Mounting the Dash Camera
Choose a location on your windshield that does not obstruct your view of the road. The area should be clean and dry for secure adhesion.
- Clean the chosen area on your windshield thoroughly.
- Attach the suction mount to the camera, or apply the 3M adhesive to the camera's mounting bracket.
- Press the mount firmly onto the windshield. Adjust the camera angle to ensure a clear view of the road ahead.

Figure 4.1: The dash camera securely mounted on the car's windshield, positioned for an optimal view of the road.
4.3. Power Connection
Connect the dash camera to your vehicle's power supply using the provided car charger.
- Plug the small end of the car charger into the camera's power port.
- Plug the larger end of the car charger into your vehicle's 12V cigarette lighter socket.
- Route the power cable neatly along the edges of the windshield and dashboard to avoid obstructing your view or interfering with driving.
4.4. WiFi APP Control Setup
The dash camera can be controlled and managed via a smartphone application.
- Download the "Viidure" app from the Google Play Store (for Android) or Apple App Store (for iOS).
- Turn on the dash camera.
- On your smartphone, go to WiFi settings and connect to the dash camera's WiFi network (usually named something like "LF-D306" followed by numbers). The default password is often "12345678" or "88888888". Refer to the camera's screen or included manual for the exact WiFi name and password.
- Open the Viidure app. The app should automatically detect and connect to the dash camera, allowing you to view live footage, adjust settings, and download recordings.

Figure 4.2: The Viidure app interface on a smartphone, showing live view from the dash camera and control options.
5. Operating Instructions
5.1. Automatic Recording
Once powered on and connected to the vehicle's power supply, the dash camera will automatically begin recording when the vehicle starts. Recording will stop when the vehicle is turned off.
5.2. Loop Recording
The dash camera records video in continuous loops (e.g., 1, 2, or 3-minute segments). When the Micro SD card is full, the oldest unlocked video files will be overwritten by new recordings. This ensures continuous recording without manual intervention.

Figure 5.1: Visual representation of the loop recording feature, where older files are overwritten to make space for new footage.
5.3. G-Sensor (Emergency Lock)
The built-in G-Sensor detects sudden movements or impacts (e.g., collisions). When triggered, it automatically locks the current video segment, preventing it from being overwritten by loop recording. These locked files are stored in a separate folder on the SD card.
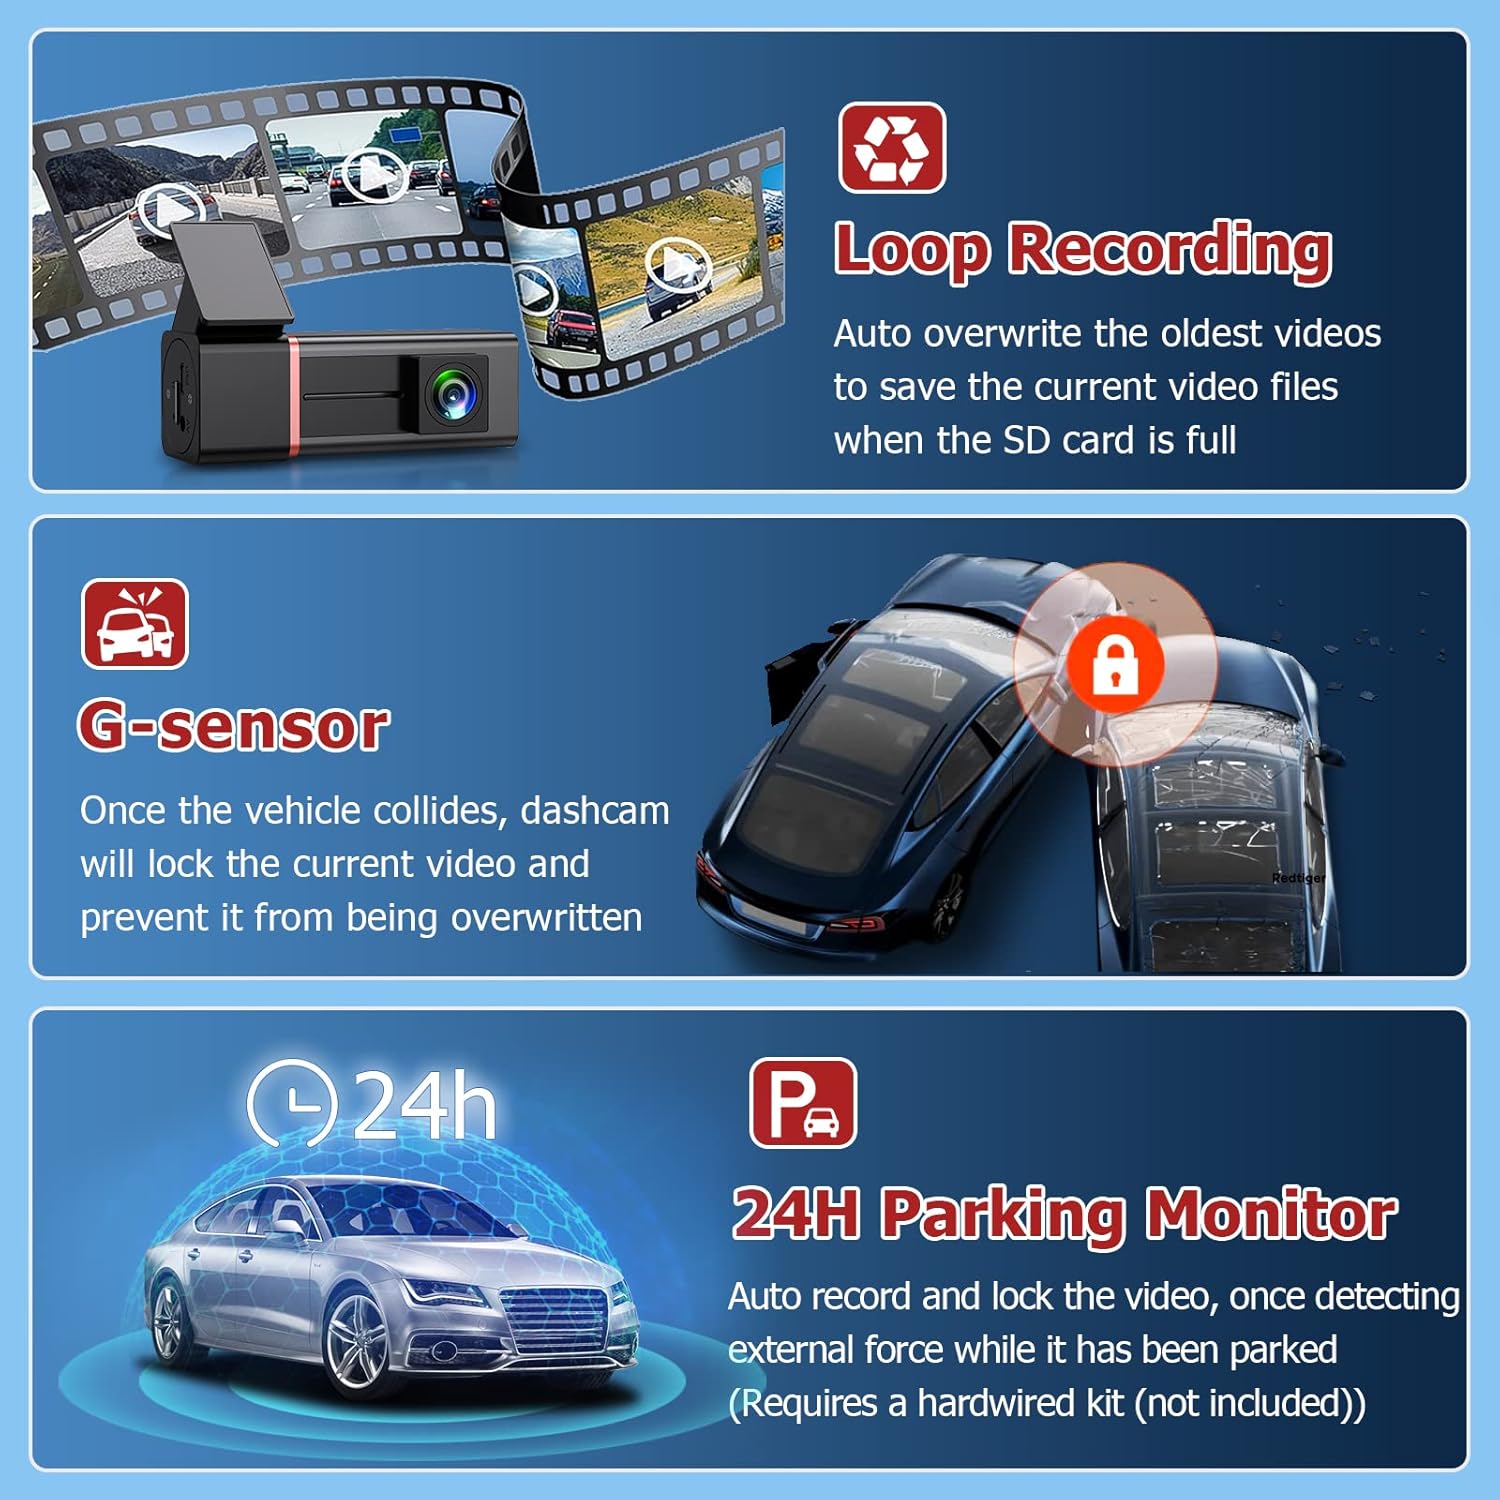
Figure 5.2: The G-Sensor feature automatically locks video footage upon detecting an impact, securing important event recordings.
5.4. 24-Hour Parking Mode
When enabled, the 24-hour parking mode allows the dash camera to monitor your vehicle even when parked. If an external force or impact is detected, the camera will automatically record and lock the video. This feature requires a hardwire kit (not included) to provide continuous power to the dash camera when the vehicle is off.
5.5. Night Vision
The LF-D306 is equipped with night vision technology to enhance video clarity in low-light conditions, ensuring important details are captured even at night.
Video 5.3: Example footage demonstrating the night vision capabilities of the LF-D306 Dash Camera in low-light driving conditions.
6. Maintenance
- Cleaning: Use a soft, dry cloth to clean the camera lens and body. Avoid abrasive cleaners or solvents.
- SD Card Management: Regularly format the Micro SD card (at least once a month) through the camera's settings or the app to prevent errors and ensure smooth operation. Back up any important files before formatting.
- Temperature: Avoid exposing the camera to extreme temperatures for extended periods.
7. Troubleshooting
| Problem | Possible Cause | Solution |
|---|---|---|
| Camera not turning on. | No power, loose connection, faulty car charger. | Check power connection. Ensure the car charger is securely plugged into both the camera and the 12V socket. Test the 12V socket with another device. |
| Recording stops or freezes. | Slow or incompatible Micro SD card, full SD card, SD card error. | Use a Class 10 or higher Micro SD card. Format the SD card. Replace the SD card if the issue persists. |
| WiFi connection issues. | Incorrect WiFi password, app not updated, camera WiFi off. | Verify the WiFi password. Ensure the camera's WiFi is active. Update the Viidure app to the latest version. Restart both the camera and your phone. |
| Parking mode not working. | No hardwire kit installed, parking mode not enabled. | Ensure a hardwire kit is correctly installed to provide continuous power. Activate parking mode in the camera settings via the app. |
8. Specifications
| Feature | Detail |
|---|---|
| Video Capture Resolution | 1080p Full HD |
| Connectivity Technology | Wi-Fi |
| Special Features | 24H Parking Mode, G-Sensor, Loop Recording, Night Vision |
| Control Method | App |
| Mounting Type | Dashboard Mount (Suction Mount included) |
| Optical Sensor Technology | CMOS |
| Max SD Card Support | 128GB (Class 10 or higher recommended) |
| Color | Black |
| Item Weight | 10.8 ounces |
| Package Dimensions | 6.22 x 4.84 x 2.13 inches |
9. Warranty and Support
For warranty information and technical support, please refer to the product packaging or contact the retailer where the product was purchased. Keep your proof of purchase for any warranty claims.
Related documentsLF-D306

Ask a question about this manual
Ask about setup, troubleshooting, compatibility, parts, safety, or missing instructions. Manuals+ will review the question and use this page’s manual context to help answer it.