
CJ Tech T53656 Low Profile Tilt TV Wall Mount Instruction Manual
Model: T53656
Introduction
This manual provides detailed instructions for the safe and proper installation and operation of your CJ Tech T53656 Low Profile Tilt TV Wall Mount. This mount is designed to securely hold flat panel televisions between 42 and 90 inches, with a maximum weight capacity of 132 lbs (60 kg). It features a low-profile design and a 0-8 degree tilting option for optimal viewing. Please read all instructions carefully before beginning installation and retain this manual for future reference.
Important Safety Information
WARNING: Failure to read and follow all instructions can result in personal injury, property damage, or voiding of warranty.
- Ensure the mounting surface (wall) can safely support the combined weight of the mount and the television.
- Do not exceed the maximum weight capacity of 132 lbs (60 kg).
- This mount is designed for installation on wood stud walls or solid concrete/brick walls. Do not install on drywall alone.
- Always use a stud finder to accurately locate wood studs.
- Use appropriate safety gear, including eye protection, during installation.
- If you are unsure about any part of the installation process, consult a qualified professional.
- Keep children and pets away during installation.
Package Contents
Verify that all components are present and undamaged before installation. If any parts are missing or defective, contact CJ Tech customer service. Specific hardware types and quantities are detailed in the installation section.
- Wall Plate Assembly (1)
- TV Brackets (2)
- Mounting Hardware Kit (various screws, anchors, washers, spacers)
- Integrated Bubble Level (on wall plate)
- Instruction Manual (this document)
Product Specifications
- Model: T53656
- Compatible TV Sizes: 42 to 90 inches
- Maximum Weight Capacity: 132 lbs (60 kg)
- VESA Compatibility: Up to 800 x 600 mm
- Distance from Wall: 34 mm (Low Profile)
- Tilt Range: 0° to 8°
- Material: Alloy Steel
- Color: Black
- Product Dimensions: 3.18 x 85.09 x 62.99 cm; 2.68 kg
Setup and Installation
Carefully follow these steps for secure installation. It is recommended to have at least two people for the installation process, especially when lifting the television.
Tools Required (Not Included)
- Pencil
- Electric Drill
- Drill Bits (appropriate for wall type and lag bolts)
- Stud Finder (for wood stud installation)
- Socket Wrench or Adjustable Wrench
- Phillips Head Screwdriver
- Measuring Tape
- Safety Glasses
Step 1: Attach TV Brackets to Television
Identify the correct screws and spacers from the hardware kit that fit your TV's VESA mounting holes. The TV brackets are designed to accommodate various VESA patterns.
Align the two vertical TV brackets with the mounting holes on the back of your television. Use the appropriate screws and washers to secure them. Ensure they are tightened securely but do not overtighten, which could damage your TV. The hooks on the brackets should face upwards.
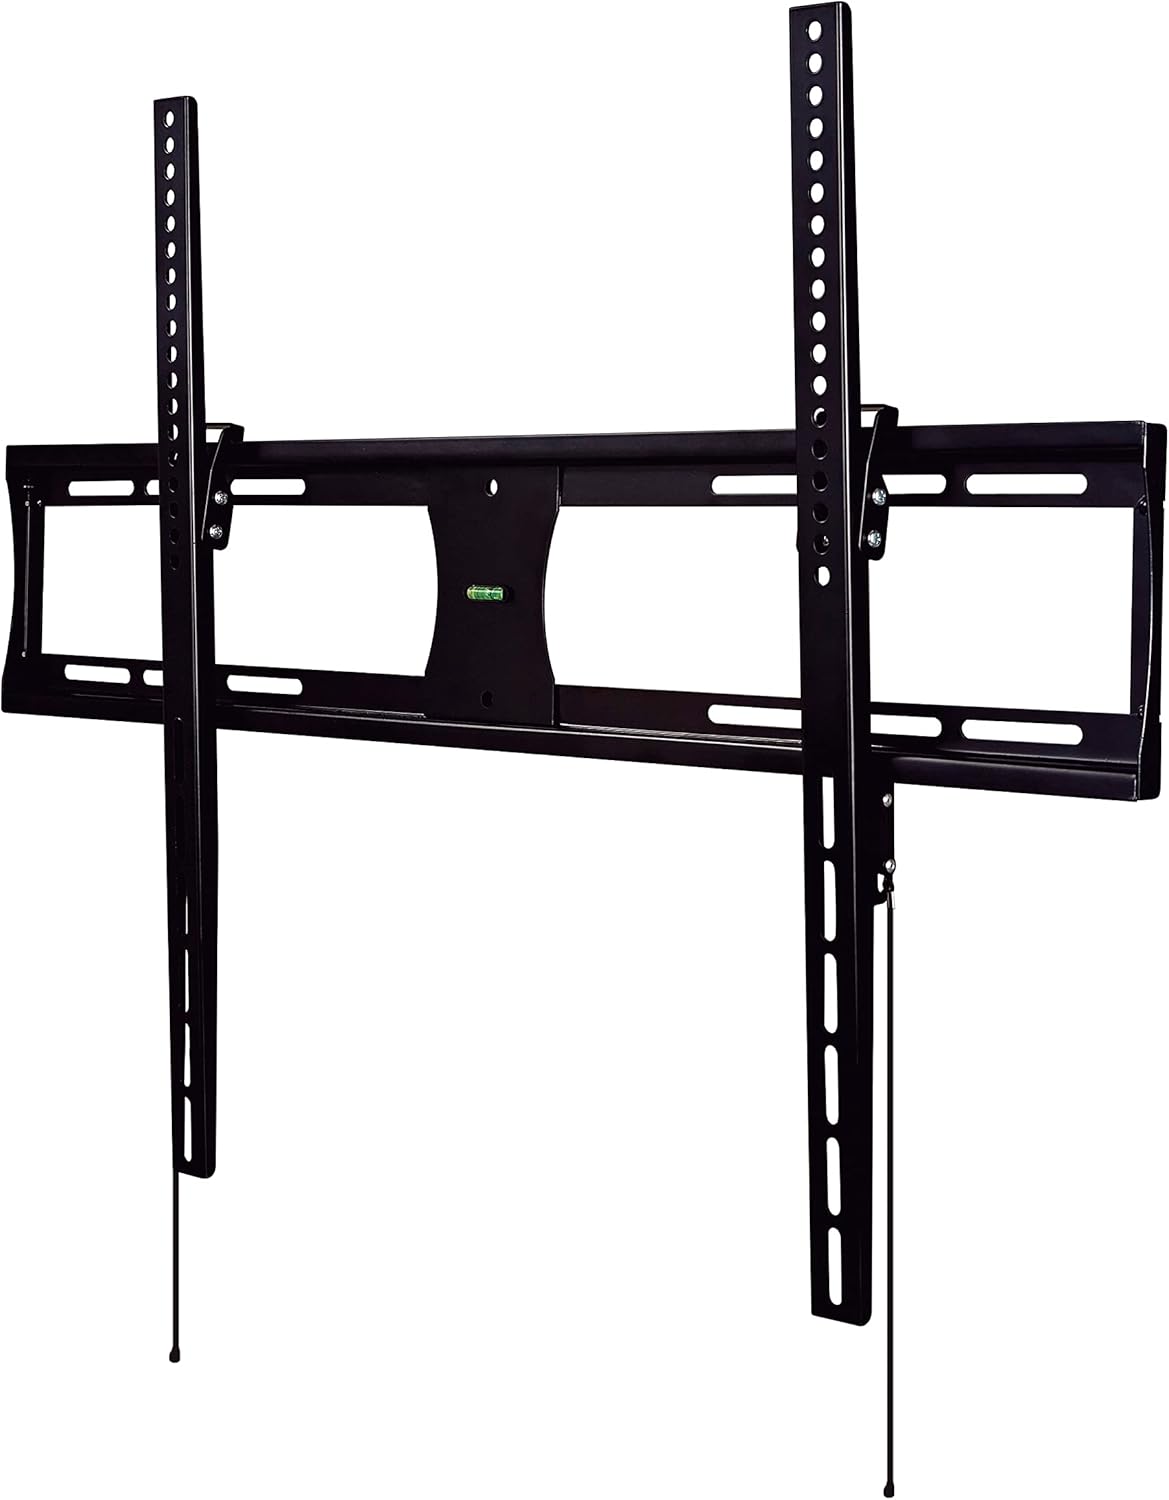
Image showing the main components of the CJ Tech T53656 TV wall mount, including the wall plate and two vertical TV brackets. The brackets feature multiple holes for VESA compatibility and hooks for hanging onto the wall plate.
Step 2: Determine Wall Plate Placement
Decide on the desired height for your television. Consider viewing angles and furniture placement.
- For Wood Stud Installation: Use a stud finder to locate the edges of two adjacent wood studs. Mark the center of each stud. The wall plate must span across two studs for secure mounting.
- For Solid Concrete/Brick Installation: Mark the desired drilling locations directly on the wall. Ensure there are no hidden electrical wires or plumbing.
Step 3: Mount Wall Plate to Wall
Hold the wall plate against the wall at the marked locations. Use the integrated bubble level (or a separate spirit level) to ensure it is perfectly horizontal. Mark the drilling points through the holes on the wall plate.
Drill pilot holes at the marked locations. The size of the drill bit will depend on your wall type and the lag bolts provided in the hardware kit. For concrete/brick walls, insert wall anchors into the pilot holes before securing the plate.
Secure the wall plate to the wall using the lag bolts and washers. Tighten all bolts firmly with a socket wrench. Do not overtighten.
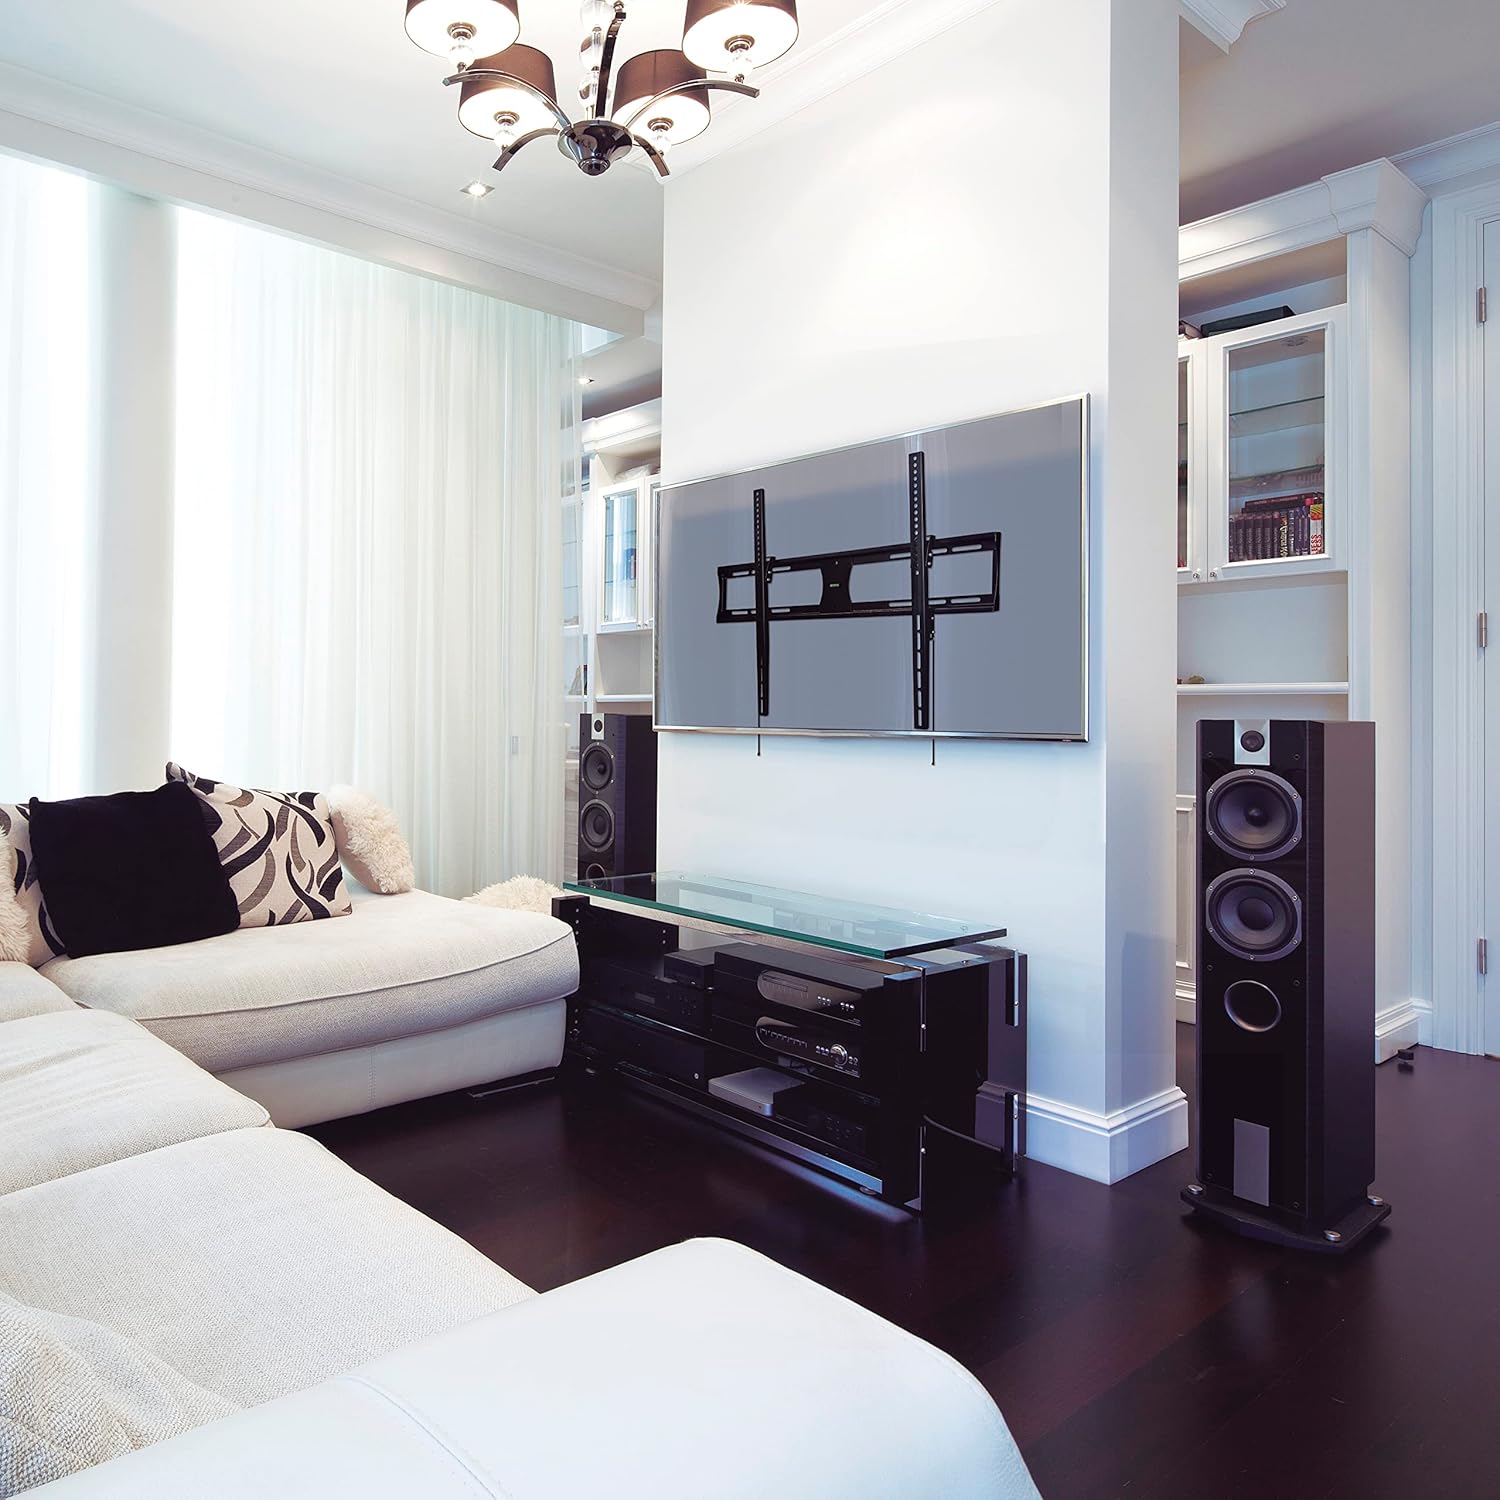
Image depicting the CJ Tech T53656 TV wall mount's main wall plate securely installed on a wall. The integrated bubble level is visible, indicating proper horizontal alignment. The vertical TV brackets are not yet attached to a television.
Step 4: Hang Television on Wall Plate
With assistance from another person, carefully lift the television (with brackets attached from Step 1) and hook the TV brackets onto the top edge of the wall plate. Ensure both brackets are properly seated.
Gently lower the television, ensuring the brackets fully engage with the wall plate. The TV should hang securely. Locate the safety screws or locking mechanisms at the bottom of the TV brackets. Secure these to prevent the TV from accidentally lifting off the mount.
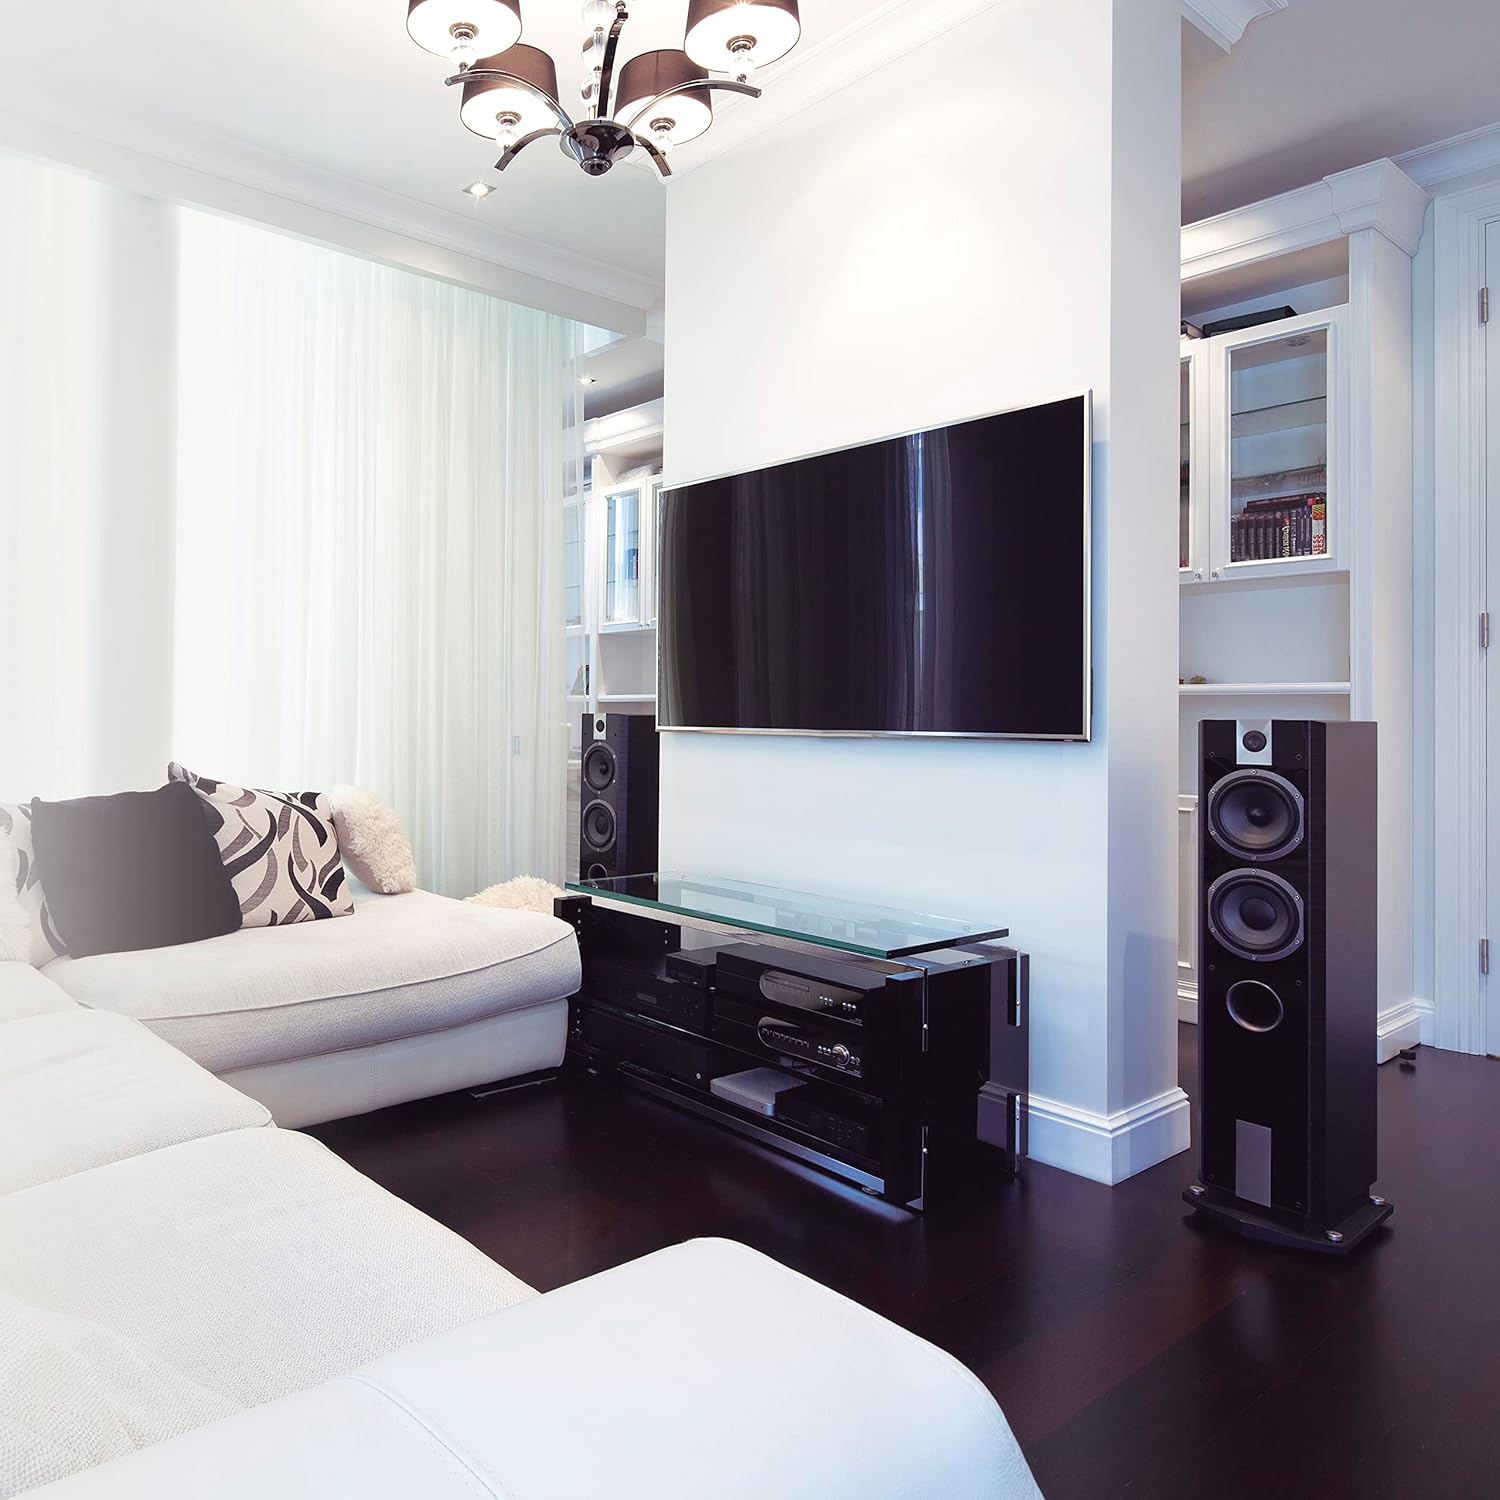
Image showing a large flat-panel television successfully mounted on the CJ Tech T53656 wall mount. The television is positioned centrally on the wall, demonstrating the low-profile design of the mount.
Operating Instructions
Adjusting Tilt Angle
The CJ Tech T53656 mount allows for a tilt adjustment of 0° to 8° to optimize your viewing experience and reduce glare.
- Locate the tilt adjustment knobs or bolts on the side of the TV brackets.
- Loosen these knobs or bolts sufficiently to allow the television to move.
- Carefully tilt the television to your desired viewing angle.
- Tighten the tilt adjustment knobs or bolts firmly to secure the television in place.
Maintenance
Regular maintenance ensures the longevity and safety of your TV wall mount.
- Periodically (e.g., every 6-12 months) check all mounting screws and bolts to ensure they remain tight and secure.
- Clean the mount with a soft, dry cloth. Avoid abrasive cleaners, solvents, or harsh chemicals, as these may damage the finish.
- Inspect the mount for any signs of wear, corrosion, or damage. If damage is observed, discontinue use and contact customer service immediately.
Troubleshooting
TV is not level after installation:
- Ensure the wall plate was installed perfectly level using the integrated bubble level or a separate spirit level.
- Some TV brackets offer minor post-installation leveling adjustments. Check your specific bracket design.
- If necessary, carefully remove the TV, adjust the wall plate's level, and re-mount.
TV feels unstable or loose:
- Immediately remove the TV from the mount to prevent damage or injury.
- Re-check all wall plate and TV bracket connections. Ensure all screws and bolts are securely tightened.
- Verify that the wall structure (studs or concrete) is adequate and that the correct anchors/fasteners were used for your wall type.
- Ensure the TV's weight does not exceed the mount's maximum capacity of 132 lbs (60 kg).
Cannot achieve desired tilt angle:
- Ensure the tilt adjustment knobs or bolts are sufficiently loosened before attempting to adjust the angle.
- Check for any obstructions behind the TV or mount that might be preventing movement.
Warranty and Customer Support
The CJ Tech T53656 Low Profile Tilt TV Wall Mount comes with a 5-year warranty from the date of purchase, covering manufacturing defects.
For technical assistance, missing parts, or warranty claims, please contact CJ Tech customer service. Refer to your purchase documentation for specific contact details or visit the official CJ Tech website.
Please retain your proof of purchase for warranty service.