1. Introduction
The Breville the Joule Oven Air Fryer Pro is a versatile countertop appliance designed for a wide range of cooking tasks. This multi-functional oven combines the capabilities of a toaster, convection oven, and air fryer, offering various cooking functions to simplify meal preparation. It features intuitive controls and a spacious interior to accommodate different food items.
2. Setup
2.1 Unboxing and Placement
- Carefully remove all packaging materials and accessories from the oven.
- Place the oven on a stable, flat, heat-resistant surface, ensuring adequate clearance (at least 4 inches) from walls and other appliances for proper ventilation.
- Ensure the power cord is not pinched or hanging over the edge of a counter.
2.2 Initial Cleaning
- Before first use, wipe down the exterior of the oven with a damp cloth.
- Wash all removable accessories (baking pan, wire rack, air fry basket, crumb tray) in warm, soapy water. Rinse thoroughly and dry completely.
- Insert the crumb tray into the bottom of the oven.
2.3 First Use (Burn-in)
- Plug the oven into a grounded power outlet.
- Set the oven to "Bake" at 400°F (200°C) for approximately 15 minutes. This helps to burn off any manufacturing residues and odors.
- A slight odor or smoke may be present during this initial use; this is normal. Ensure the area is well-ventilated.
- Allow the oven to cool completely before proceeding.
3. Operating Instructions
The Breville the Joule Oven Air Fryer Pro features a digital display and control knobs for selecting functions, temperature, and time.
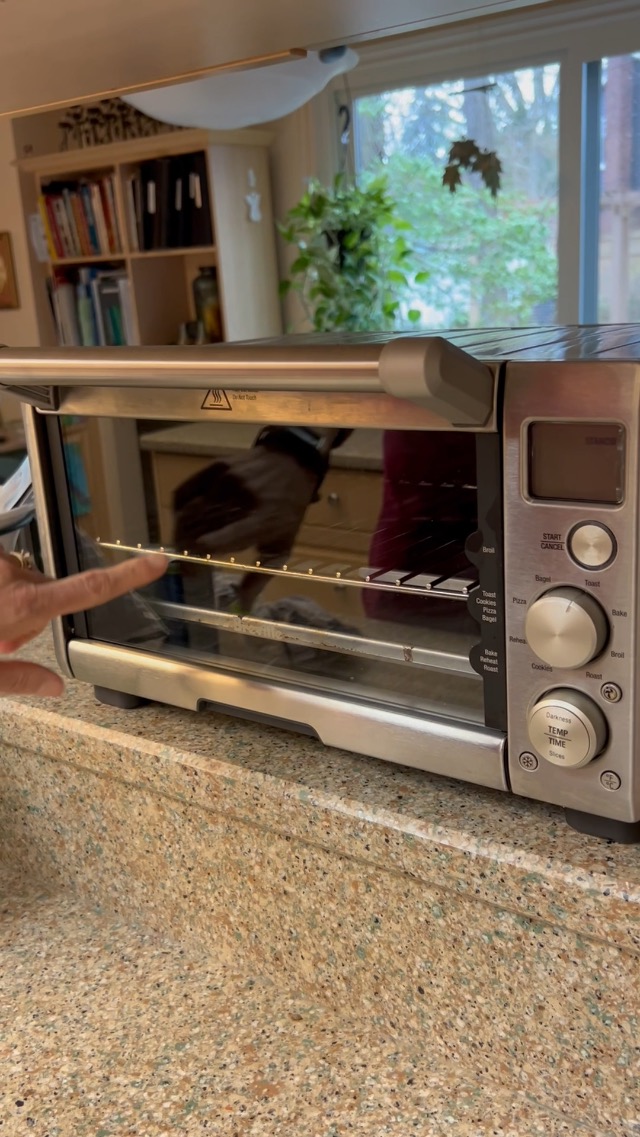
Figure 1: Front view of the Breville the Joule Oven Air Fryer Pro, showing the digital display and control knobs.
3.1 Control Panel Overview
- Function Dial: Rotate to select desired cooking function (e.g., Toast, Bagel, Bake, Roast, Broil, Pizza, Cookies, Reheat, Warm, Proof, Air Fry, Slow Cook, Dehydrate).
- Temperature/Darkness Dial: Adjusts cooking temperature for most functions or toast darkness level for Toast/Bagel.
- Time/Slices Dial: Adjusts cooking time for most functions or number of slices for Toast/Bagel.
- Start/Cancel Button: Press to start or cancel a cooking cycle.
- Convection Fan Button: Activates or deactivates the convection fan for certain functions (indicated by a fan icon on the display).
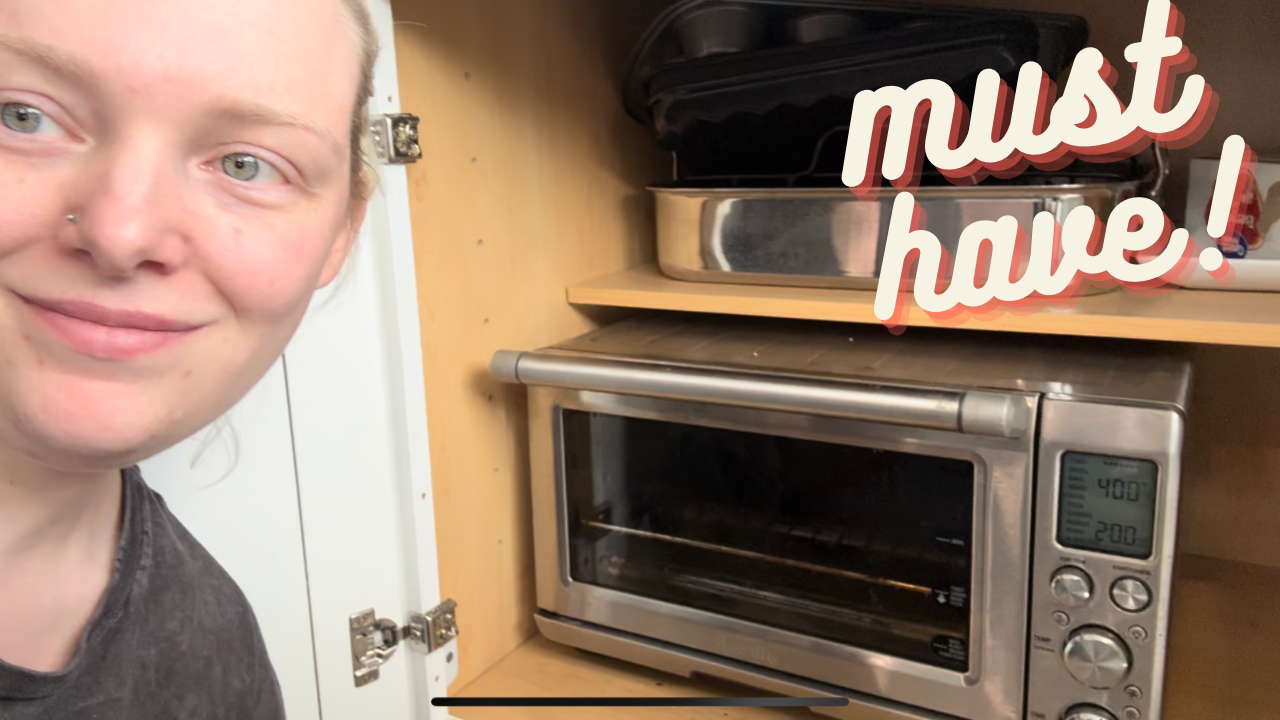
Figure 2: Detailed view of the control panel, highlighting the function, temperature, and time dials.
3.2 Rack Positions
The oven features multiple rack positions to optimize cooking for different functions and food types. Refer to the markings on the inside of the oven door for recommended positions.
- Top Position (Broil): Ideal for broiling and quick browning.
- Middle Position (Bake/Roast/Air Fry): Suitable for most baking, roasting, and air frying tasks.
- Bottom Position (Pizza/Slow Cook): Best for items requiring lower heat or longer cooking times, such as pizza or slow cooking.
Figure 3: Interior of the oven with racks, illustrating the different height settings for various cooking methods.
3.3 Cooking Functions
- Toast/Bagel: For perfectly toasted bread and bagels. Adjust darkness and number of slices.
- Bake: Standard baking for cakes, cookies, and casseroles.
- Roast: Ideal for meats and vegetables, often utilizing convection for even cooking.
- Broil: For quick searing and browning.
- Pizza: Optimized settings for cooking fresh or frozen pizzas.
- Cookies: Specific settings for baking cookies.
- Reheat: Gently warms food without overcooking.
- Warm: Keeps cooked food warm until ready to serve.
- Proof: Provides a low-temperature environment for dough proofing (as low as 80°F).
- Air Fry: Uses high-speed convection for crispy results with minimal oil.
- Slow Cook: For long, slow cooking of stews and tender meats.
- Dehydrate: Low-temperature setting for drying fruits, vegetables, and herbs.
To use a function: Rotate the Function Dial to select. Adjust Temperature/Darkness and Time/Slices dials as needed. Press Start/Cancel to begin.
4. Maintenance
4.1 Cleaning the Crumb Tray
The removable crumb tray is designed for easy cleaning. It slides out when the door is opened, preventing crumbs from accumulating inside the oven.
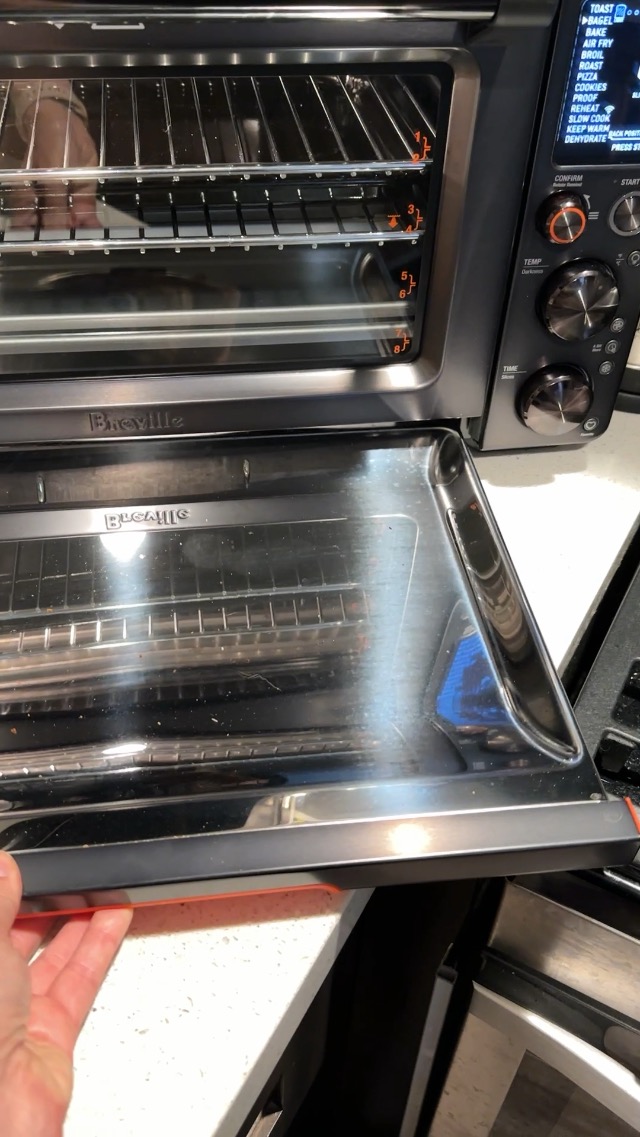
Figure 4: The crumb tray slides out for easy removal and cleaning.
- Ensure the oven is unplugged and completely cool before cleaning.
- Pull out the crumb tray from the bottom front of the oven.
- Discard any accumulated crumbs.
- Wash the tray in warm, soapy water, rinse, and dry thoroughly.
- Reinsert the crumb tray before next use.
4.2 General Cleaning
- Wipe the interior walls with a damp cloth and mild detergent. Avoid abrasive cleaners.
- Clean the exterior with a soft, damp cloth. Do not immerse the oven in water.
- All removable accessories are dishwasher safe or can be hand-washed.
5. Troubleshooting
- Oven not turning on: Ensure the power cord is securely plugged into a working outlet. Check the circuit breaker.
- Food not cooking evenly: Ensure food is placed on the correct rack position for the selected function. Rotate food halfway through cooking if necessary.
- Excessive smoke: This may occur if there is food residue or grease build-up. Clean the interior and crumb tray thoroughly.
- Digital display not working: Unplug the oven for 1 minute, then plug it back in to reset. If the issue persists, contact customer support.
6. Specifications
| Feature | Detail |
|---|---|
| Brand | Breville |
| Model | Joule Oven Air Fryer Pro (B0C2JCWMQT) |
| Control Type | Knob, Digital Display |
| Included Components | Crumb Tray, Wire Rack, Baking Pan, Air Fry Basket (accessories may vary) |
| Finish Type | Painted, Stainless Steel |
| Capacity | Fits up to 9 slices of bread, 14-pound turkey, 13-inch pizza |
| Cooking Functions | 13 functions including Toast, Bagel, Broil, Bake, Roast, Warm, Pizza, Proof, Air Fry, Reheat, Cookies, Slow Cook, Dehydrate |
| Temperature Range | Approx. 80°F to 480°F (varies by function) |
7. Warranty and Support
For warranty information, product registration, or technical support, please refer to the official Breville website or contact their customer service directly. Keep your purchase receipt as proof of purchase for warranty claims.
Breville Customer Support: www.breville.com/us/en/support/contact-us.html


