
1. Introduction
This manual provides essential information for the safe and efficient operation, installation, and maintenance of your Ristow 12V DC Diaphragm Pump. Please read these instructions thoroughly before installation and use. Keep this manual for future reference.
2. Safety Information
- Ensure the power supply is disconnected before performing any installation, maintenance, or troubleshooting.
- This pump is designed for 12V DC power only. Connecting to an incorrect voltage can cause damage and void the warranty.
- Do not operate the pump with flammable liquids.
- Ensure all connections are secure and leak-free to prevent water damage or electrical hazards.
- Protect the pump from freezing temperatures.
- Always wear appropriate personal protective equipment during installation and maintenance.
3. Package Contents
Verify that all components are present before beginning installation:
- Ristow 12V DC Diaphragm Pump
- Inlet Filter
- Adapter fittings (if included)
- Instruction Manual (this document)
4. Specifications
| Feature | Specification |
|---|---|
| Model | B0C2H4HD2F |
| Voltage | 12V DC |
| Flow Rate | 5.5 Gallons Per Minute (GPM) |
| Pressure Setting | 70 PSI |
| Self-Priming Height | Up to 10 feet (vertical) |
| Horizontal Priming Distance | Up to 131 feet |
| Inlet/Outlet Ports | 1/2" MNPT |
| Chamber Design | 5-Chamber |
| Motor Type | 100% Pure Copper DC Motor |
| Protection Features | Overheat, Overload, Run Dry Protection |

Image: Detailed specifications of the Ristow RV Diaphragm Pump, showing 5.5 GPM flow, 70 PSI pressure, 12V DC voltage, and 1/2" MNPT input/output.
5. Setup and Installation
Proper installation is crucial for optimal performance and longevity of your pump. Follow these steps carefully:
- Mounting the Pump:
Select a dry, well-ventilated location for mounting the pump. Ensure the pump is mounted on a solid surface to minimize vibration and noise. The pump can be mounted horizontally or vertically. Use appropriate fasteners to secure the pump through its mounting feet.

Image: Close-up of the pump's mounting feet with screws, indicating secure installation.
- Plumbing Connections:
Connect the inlet side of the pump to your fresh water source (e.g., water tank) and the outlet side to your water distribution system (e.g., faucets, shower). The pump features 1/2" MNPT ports. Use appropriate plumbing fittings and sealants to ensure leak-free connections. It is recommended to install a flexible hose on both the inlet and outlet to reduce vibration and noise.
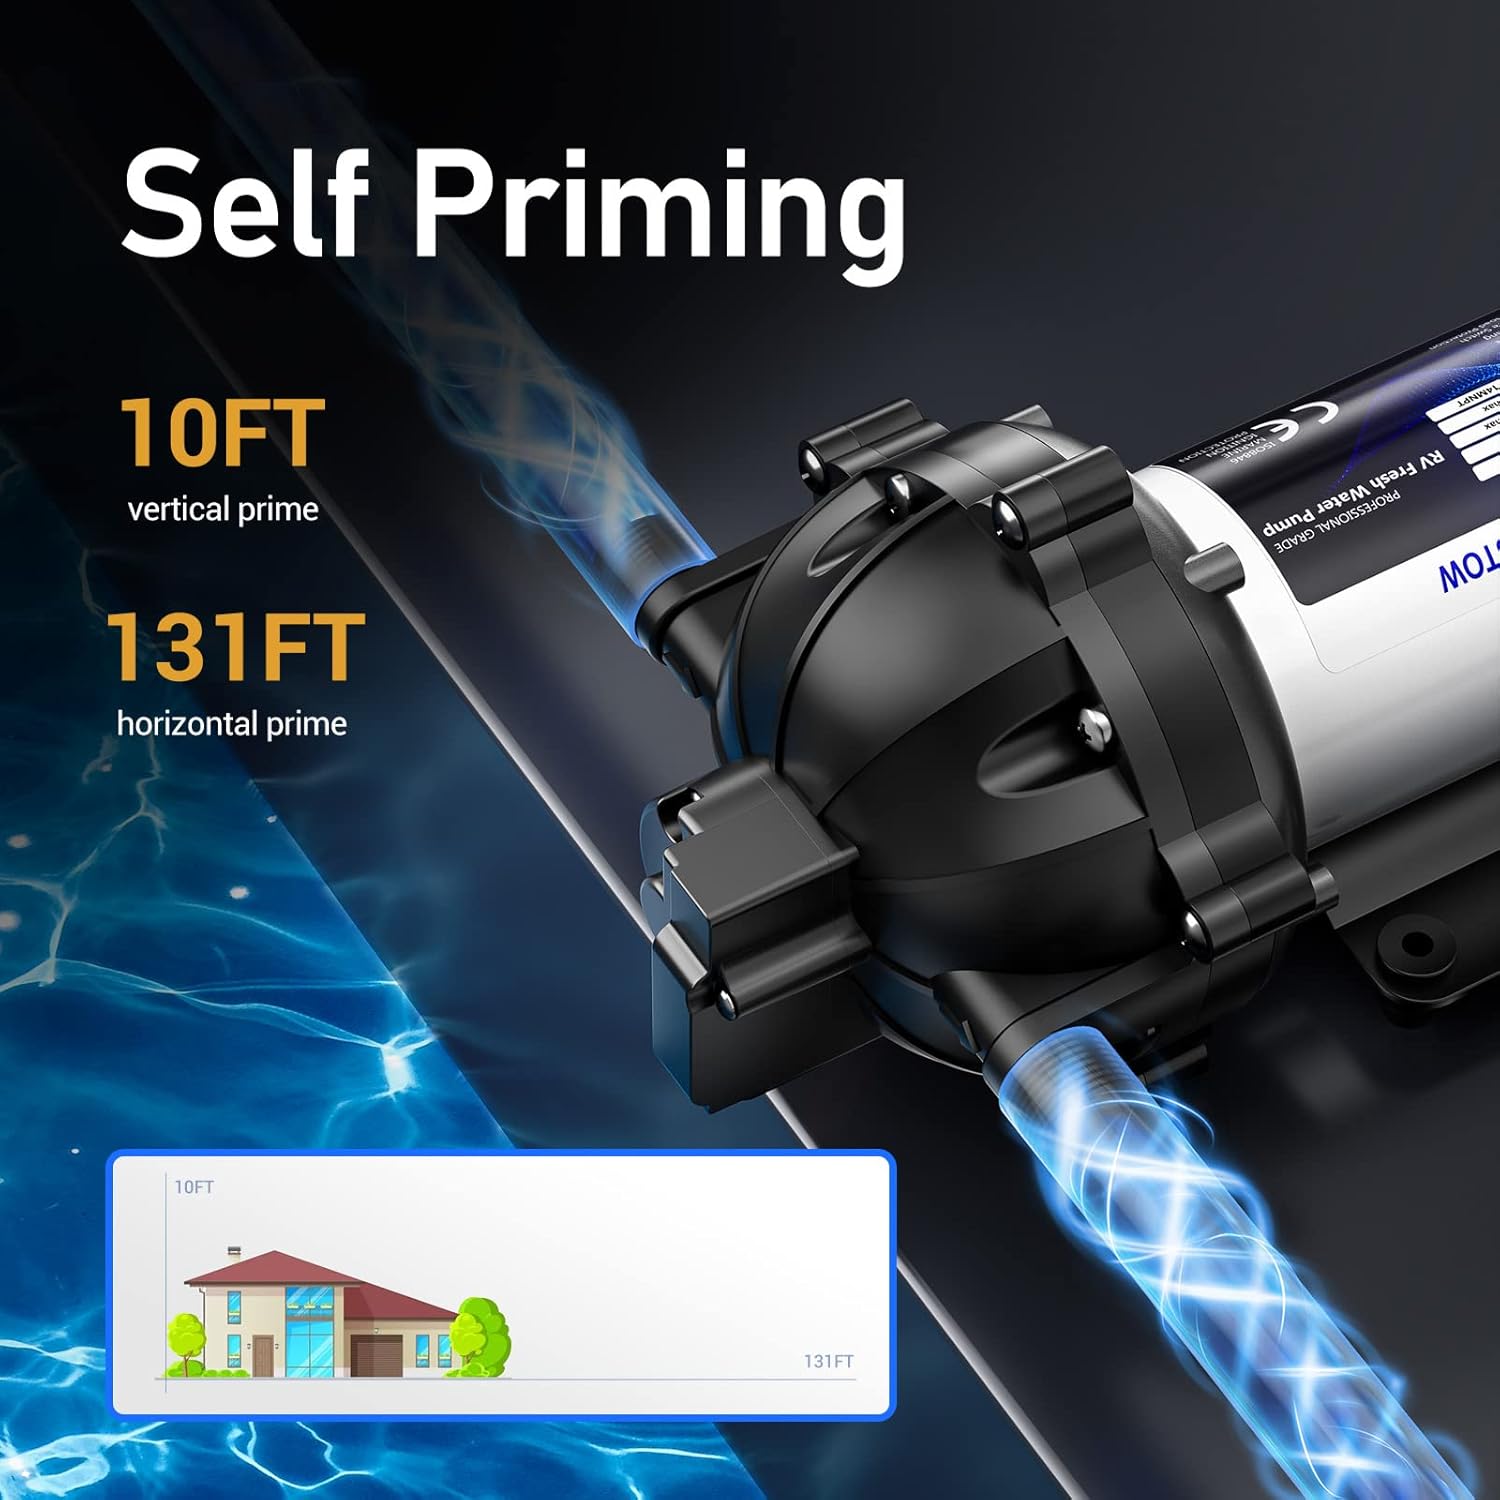
Image: The Ristow pump with clear hoses connected to its inlet and outlet, demonstrating water flow.
- Installing the Inlet Filter:
An inlet filter is crucial to protect the pump from debris. Install the provided filter on the inlet side of the pump. Ensure it is easily accessible for cleaning.

Image: A diagram showing the Ristow pump with an inline filter connected to the inlet, illustrating the easy installation process.
- Electrical Connections:
Connect the pump to a 12V DC power source. Ensure proper polarity (red wire to positive, black wire to negative). It is recommended to install an appropriate fuse (not included) in the positive line to protect the pump and electrical system. Consult a qualified electrician if you are unsure about electrical wiring.
6. Operating Instructions
The Ristow Diaphragm Pump is designed for automatic operation:
- Priming the Pump:
Before initial use, ensure the water tank has water. Open a faucet in your system to allow air to escape. Turn on the pump. The pump will self-prime, drawing water from the tank and expelling air through the open faucet. Once a steady stream of water flows from the faucet, close it.

Image: A visual representation of the pump's self-priming capability, showing it can draw water vertically up to 10 feet and horizontally up to 131 feet.
- Automatic Operation:
The pump is equipped with a built-in pressure switch. When a faucet or water outlet is opened, the system pressure drops, and the pump automatically starts to maintain water flow. When all faucets are closed, the system pressure builds up, and the pump automatically stops.

Image: An illustration showing the pump automatically starting when a faucet is opened and stopping when it's closed, highlighting the built-in pressure switch functionality.
- Bypass Feature:
The pump includes a bypass feature. If the water flow is low, excess water will automatically circulate within the 5-chamber head. This reduces the frequency of the pressure switch activating, which helps protect the pump and ensures smoother operation.

Image: A cutaway view of the pump's upgraded five-chamber design, illustrating the internal mechanism for durable and steady water flow, including the bypass function.
7. Maintenance
Regular maintenance ensures the longevity and efficient operation of your Ristow pump.
- Inlet Filter Cleaning:
Periodically inspect and clean the inlet filter to prevent debris from entering the pump. Turn off the pump and disconnect power before removing the filter housing. Rinse the screen with clean water and reassemble.
- Winterization:
If the pump will be exposed to freezing temperatures, it must be winterized. Drain all water from the pump and plumbing system. You may use RV-specific non-toxic antifreeze according to its instructions.
- General Inspection:
Regularly check all plumbing and electrical connections for tightness and signs of wear or damage. Address any leaks or loose connections promptly.
8. Troubleshooting
Refer to the table below for common issues and their solutions.
| Problem | Possible Cause | Solution |
|---|---|---|
| Pump does not turn on | No power, blown fuse, loose wiring, faulty switch | Check 12V DC power supply, inspect fuse, tighten electrical connections, test pressure switch. |
| Pump runs but no water flows | No water in tank, clogged inlet filter, air leak on inlet side, pump not primed | Check water level, clean inlet filter, inspect inlet hose for leaks, prime the pump (see Operating Instructions). |
| Low flow or pressure | Clogged inlet filter, restricted plumbing, low voltage, worn pump head | Clean inlet filter, check for kinks or blockages in hoses, verify 12V DC power, consider pump head inspection if issues persist. |
| Pump cycles on and off rapidly (short cycling) | Small leak in system, pressure switch adjustment, water hammer | Check all plumbing for leaks, ensure all faucets are fully closed. If problem persists, consult a professional. |
| Excessive noise or vibration | Loose mounting, air in system, debris in pump, worn components | Ensure pump is securely mounted, bleed air from system, clean inlet filter, inspect pump for foreign objects. |
9. Warranty and Support
Ristow products are manufactured to high-quality standards. For warranty information or technical support, please refer to the contact details provided at the point of purchase or visit the official Ristow website. Please have your model number (B0C2H4HD2F) and purchase date available when contacting support.