Introduction
This instruction manual provides essential information for the safe and efficient installation, operation, and maintenance of the CAME 31 ATS 230V Kit for 3M Swing Gates. Please read this manual thoroughly before beginning any procedures to ensure proper functionality and to prevent damage or injury. Keep this manual for future reference.
Product Overview and Components
The CAME 31 ATS 230V Kit is designed for automating swing gates up to 3 meters in length per leaf. The kit includes all necessary components for a complete automation system.
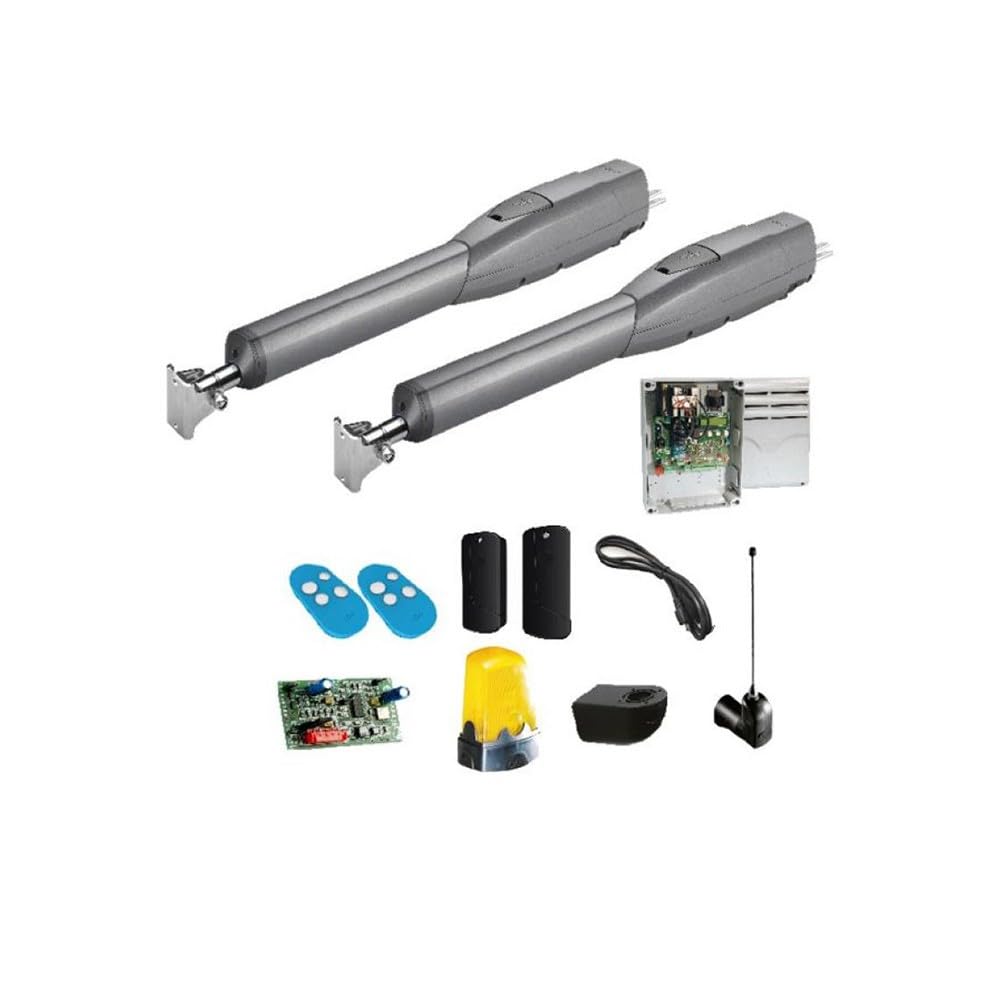
This image displays the complete CAME 31 ATS 230V Kit for 3M Swing Gates. It includes two linear actuators, a control unit in a protective casing, two blue remote controls, two black remote controls, a circuit board, a yellow flashing light, a receiver, and an antenna.
Key components typically include:
- Linear Actuators: Two electromechanical operators for moving the gate leaves.
- Control Unit: The central electronic board managing all system functions.
- Remote Controls: Devices for wireless operation of the gate.
- Flashing Light: Indicates gate movement for safety.
- Antenna: Improves the range of the remote controls.
- Photocells (optional/not shown): Safety sensors to detect obstacles.
Setup and Installation
Installation of this gate automation system requires technical expertise and should be performed by qualified personnel in compliance with local regulations and safety standards. Incorrect installation can lead to serious injury or damage to property.
Pre-Installation Checks:
- Ensure the gate structure is robust, well-maintained, and moves freely without friction.
- Verify that the gate hinges are in good working condition.
- Confirm the availability of a stable 230V AC power supply at the installation site.
General Installation Steps (Consult full technical manual for details):
- Mount Actuators: Securely attach the linear actuators to the gate posts and gate leaves according to the provided mounting dimensions.
- Install Control Unit: Mount the control unit in a protected, easily accessible location, ensuring it is safe from weather elements.
- Electrical Connections: Connect the actuators, flashing light, antenna, and any safety devices (e.g., photocells) to the control unit. Ensure all wiring is correctly terminated and insulated.
- Power Connection: Connect the 230V AC power supply to the control unit, ensuring proper grounding.
- Programming: Follow the control unit's specific instructions to program the gate's opening and closing limits, remote controls, and any desired operating modes.
- Safety Device Testing: Thoroughly test all safety devices (e.g., photocells, obstacle detection) to ensure they function correctly.
Operating Instructions
Once installed and programmed, the gate system can be operated using the provided remote controls.
Basic Operation:
- Opening/Closing: Press the designated button on the remote control to initiate the gate's opening or closing cycle. A second press during movement will typically stop the gate.
- Stopping: Pressing the remote button during gate movement will stop the gate. Pressing it again will reverse the direction or continue the cycle, depending on the programming.
Safety Features:
- The flashing light will activate during gate movement to alert pedestrians and vehicles.
- If safety photocells are installed, the gate will stop or reverse if an obstacle is detected in its path during closing.
- The system may include an obstacle detection feature that reverses the gate if it encounters resistance during movement.
Always ensure the gate area is clear before operating the system. Do not allow children to play near the gate or with the remote controls.
Maintenance
Regular maintenance ensures the longevity and reliable operation of your CAME gate automation system.
Monthly Checks:
- Visual Inspection: Check for any signs of wear, corrosion, or damage to the actuators, cables, and mounting brackets.
- Gate Movement: Manually operate the gate (with power disconnected) to ensure it moves smoothly without excessive force or binding.
- Safety Devices: Test photocells and other safety features to confirm they are functioning correctly.
Annual Servicing:
- It is recommended to have the system inspected and serviced by a qualified technician annually.
- This includes checking electrical connections, lubricating moving parts, and verifying system parameters.
Always disconnect power to the control unit before performing any maintenance or inspection.
Troubleshooting
This section addresses common issues you might encounter. For complex problems, contact a qualified technician.
| Problem | Possible Cause | Solution |
|---|---|---|
| Gate does not respond to remote control. | Dead remote battery, remote out of range, power failure, remote not programmed. | Replace remote battery, move closer to antenna, check power supply, reprogram remote. |
| Gate stops or reverses unexpectedly. | Obstacle detected by photocells, gate obstruction, motor overload. | Clear path, check photocells for alignment/obstruction, inspect gate for mechanical issues. |
| Flashing light does not work. | Bulb faulty, wiring issue. | Check bulb, inspect wiring connections. |
| Gate moves slowly or with difficulty. | Mechanical friction, low voltage, motor issue. | Lubricate hinges, check power supply, consult technician for motor inspection. |
Specifications
- Model: 8K01MP-026
- Brand: Came
- Power Supply: 230V AC
- Gate Type: Swing Gates
- Max Gate Leaf Length: 3 meters
- Product Dimensions (L x W x H): Approximately 10 x 10 x 10 cm (Control Unit/Actuator dimensions may vary)
- Weight: 25 Kilograms (Total kit weight)
- Components Included: 1 product (refer to Product Overview for detailed list)
Warranty and Support
For information regarding the product warranty, please refer to the documentation provided with your purchase or contact your seller directly. Warranty terms and conditions may vary.
For technical support, spare parts, or professional assistance with installation and maintenance, please contact your authorized Came dealer or the seller from whom you purchased the kit. Always provide your product model number (8K01MP-026) when seeking support.


