
1. Product Overview
The Godox MS300V Studio Flash Kit is a comprehensive lighting solution designed for professional and enthusiast photographers. This kit includes two MS300V strobe flashes, softboxes, light stands, and reflectors, providing versatile lighting options for various photography styles such as studio, portrait, and fashion photography.
The MS300V flash units feature stable power output, an upgraded LED modeling lamp with adjustable brightness, and an integrated Godox 2.4G Wireless X System for remote control.
Key Features:
- MS300V Strobe Flash: Offers 300W power output with excellent stability and an upgraded LED modeling lamp (5% to 100% adjustable brightness).
- 2.4G Wireless X System: Built-in system for remote control via XT16, X1, X2, or Xpro triggers (sold separately), supporting 16 groups and 32 channels.
- Bowens Mount: Compatible with a wide range of light modifiers, including the included softboxes and reflectors.
- Rectangular Softboxes: Two 24''x35'' softboxes for diffused and even lighting, suitable for portrait and commercial photography.
- Heavy-Duty Light Stands: Two 9.2ft/2.8m stainless steel light stands, adjustable from 39''/100cm to 110''/280cm, with 1/4" to 3/8" universal adapters.
- Additional Accessories: Includes standard reflector diffusers and a 24'' 5-in-1 light reflector.

Figure 1: The Godox MS300V compact studio flash unit, highlighting its LED modeling light and Bowens mount.
2. Setup and Assembly
Follow these steps to set up your Godox MS300V Studio Flash Kit.
2.1 Unboxing and Initial Inspection
- Carefully open the product packaging.
- Remove all components and verify against the packing list:
- 2 x MS300V Strobe Flash units
- 2 x 9.2ft/2.8m Stainless Steel Light Stands
- 2 x 24''x35'' Rectangular Softboxes
- 2 x Standard Reflector Diffusers
- 1 x 24'' 5-in-1 Light Reflector
- Power cables
- Instruction manual
- Inspect all items for any signs of damage. Contact customer support if any components are missing or damaged.
Video 1: Unboxing and initial setup of the Godox MS300V studio flash unit, demonstrating removal of protective covers and power connection.
2.2 Assembling the Flash Unit and Accessories
- Attach the Light Stand: Extend the light stand to the desired height and secure it. Mount the MS300V flash unit onto the 1/4" or 3/8" adapter on the light stand. Tighten the mounting knob to ensure stability.
- Remove Protective Cap: Gently twist and remove the protective cap from the front of the flash unit.
- Install Reflector/Softbox:
- For the standard reflector, align its Bowens mount with the flash unit's mount, insert, and twist clockwise until it locks into place.
- For the softbox, assemble the softbox rods into the speedring, then attach the speedring to the flash unit's Bowens mount in the same manner as the reflector. Attach the inner and outer diffusers.
- Connect Power: Plug the power cable into the flash unit's power input and then into a suitable power outlet.

Figure 2: Detailed view of the Godox MS300V flash unit, showing the Bowens mount, clear LED control panel, modeling lamp, and wireless remote control port.

Figure 3: Two Godox MS300V studio flashes with rectangular softboxes mounted on light stands, illustrating a typical setup for studio photography.
3. Operating Instructions
3.1 Powering On and Basic Operation
- Ensure the flash unit is securely mounted and connected to power.
- Press the power button to turn on the flash unit. The LED display will illuminate.
- Adjust the flash power output using the control dial. The power can typically be adjusted from 1/1 to 1/32 or lower, depending on the model.
- The LED modeling lamp brightness can be adjusted from 5% to 100% using the dedicated control.
3.2 Using the 2.4G Wireless X System
The MS300V features a built-in Godox 2.4G Wireless X System for remote triggering and power control. A compatible Godox X-series transmitter (e.g., XT16, X1, X2, Xpro) is required (sold separately).
- Set Group and Channel: On the MS300V flash unit, set the desired group (0-9, A-F) and channel (1-32) using the control panel buttons.
- Configure Transmitter: Set your Godox X-series transmitter to the same group and channel as the flash unit.
- Test Fire: Press the test button on the transmitter to confirm wireless communication and flash firing.
- Remote Control: You can now remotely adjust flash power and other settings from your transmitter.
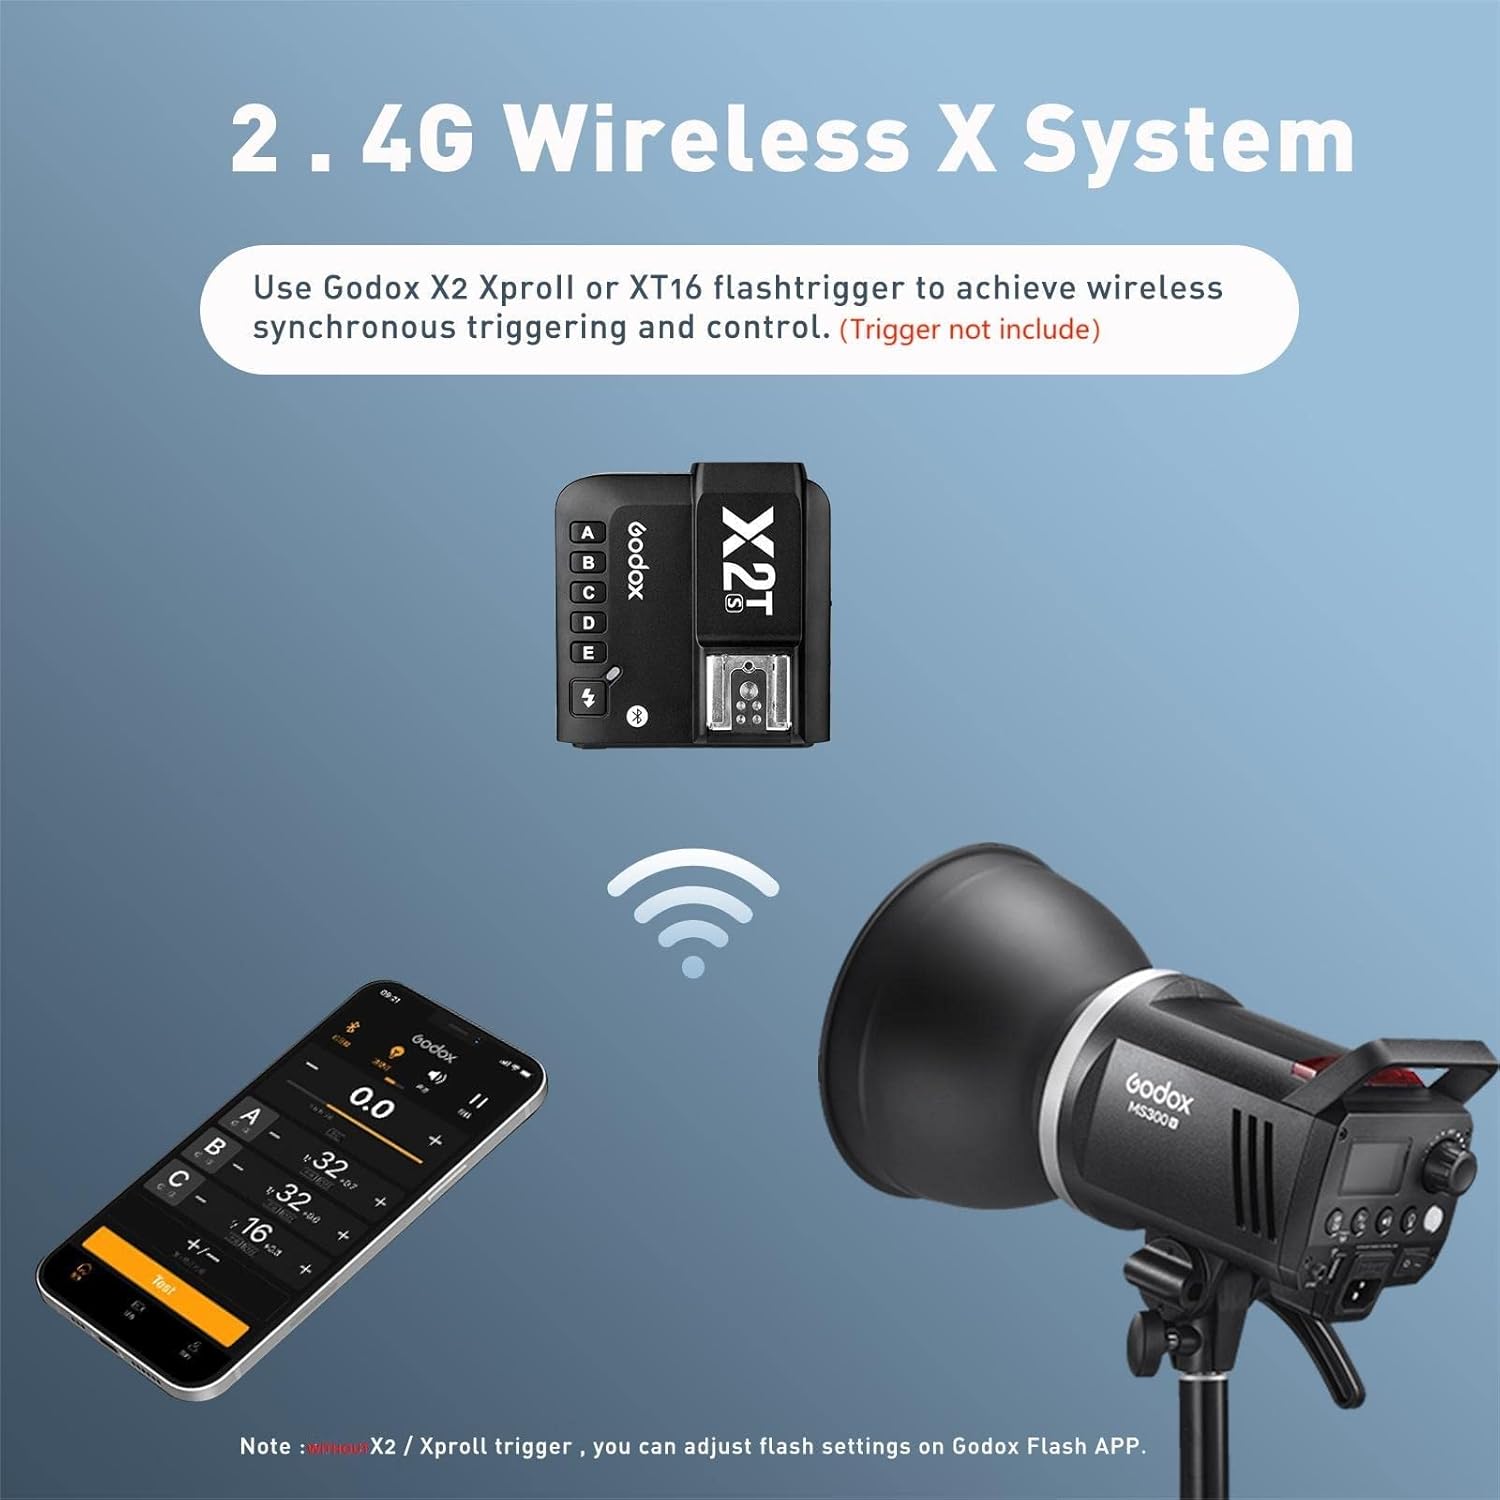
Figure 4: Illustration of the Godox 2.4G Wireless X System in use, showing an X2T trigger and a smartphone app for remote control of the flash unit.
3.3 Using the 5-in-1 Reflector
The included 5-in-1 reflector provides various light modifying surfaces:
- Silver: Increases specular highlights and yields a high-contrast image.
- Gold: Produces a warm fill light, suitable for portraits.
- White: Provides a neutral fill light, softening shadows.
- Black: Blocks unwanted light or subtracts light.
- Translucent: Diffuses light, creating a softer, broader light source.
Position the reflector to bounce or diffuse light onto your subject as needed.
4. Maintenance and Care
Proper maintenance ensures the longevity and optimal performance of your Godox MS300V Studio Flash Kit.
- Cleaning: Use a soft, dry cloth to clean the exterior of the flash units and accessories. For stubborn dirt, a slightly damp cloth can be used, followed by immediate drying. Avoid abrasive cleaners or solvents.
- Storage: When not in use, store the flash units and accessories in a dry, dust-free environment, preferably in their original packaging or a padded carrying case.
- Handling: Handle the flash tube and LED modeling lamp with care. Avoid touching the flash tube directly with bare hands, as oils can reduce its lifespan.
- Power Cable: Always disconnect the power cable by pulling the plug, not the cable itself, to prevent damage.
- Softboxes and Reflectors: Fold softboxes and reflectors carefully according to their design to prevent damage to the fabric or frame.
5. Troubleshooting
If you encounter issues with your Godox MS300V Studio Flash Kit, refer to the following common problems and solutions:
| Problem | Possible Cause | Solution |
|---|---|---|
| Flash unit does not power on. | Power cable not connected properly; power outlet malfunction. | Check power cable connection. Try a different power outlet. |
| Flash does not fire. | Wireless trigger not set correctly; flash in sleep mode; flash tube malfunction. | Ensure transmitter and flash are on the same group/channel. Wake flash from sleep mode. If issue persists, contact support. |
| Inconsistent flash output. | Low power setting; interference with wireless signal. | Increase flash power. Check for sources of 2.4Ghz interference. |
| Modeling lamp not working. | Lamp brightness set to 0%; lamp failure. | Adjust modeling lamp brightness. If lamp is faulty, contact support for replacement. |
For further assistance, please refer to the Warranty & Support section.
6. Technical Specifications
| Feature | Specification |
|---|---|
| Brand | GODOX |
| Model Name | MS300V |
| Compatible Mountings | Bowens Mount |
| Camera Flash Type | Studio Monolight |
| Flash Sync Speed | Up to 1/8000s (with compatible trigger) |
| Connectivity Technology | Wireless (2.4G Godox X System), Bluetooth |
| Guide Number | GN58 (ISO 100, with standard reflector) |
| Continuous Shooting Speed | 1 FPS |
| Color Temperature | 5600K ± 200K |
| Exposure Control Type | TTL, Manual, High Speed Sync |
| Modeling Lamp | LED, 10W, 5% to 100% adjustable brightness |
| Compatible Devices | Canon, Nikon, Sony (with appropriate trigger) |
| Included Components | 2 x MS300V Studio Flash, 2 x Light Stands, 2 x Rectangular Softboxes, 2 x Standard Reflector Diffusers, 1 x 5-in-1 Light Reflector |
7. Warranty and Support
Warranty: The Godox MS300V Studio Flash Kit comes with a 2-year manufacturer's warranty. This warranty covers defects in materials and workmanship under normal use. Please retain your proof of purchase for warranty claims.
Customer Support: For technical assistance, troubleshooting, or warranty service, please contact Godox customer support through their official website or the retailer from whom you purchased the product. Provide your model number (MS300V) and purchase date when contacting support.
Online Resources: Visit the official Godox website for updated manuals, firmware, and frequently asked questions.


