
1. Introduction
This manual provides detailed instructions for the setup, operation, and maintenance of your JALL GA-2 Digital Alarm Clock. Please read this manual thoroughly before using the product to ensure proper function and to maximize your user experience. Keep this manual for future reference.
2. Safety Information
- Ensure the power adapter is connected to a compatible power source.
- Do not expose the device to water or excessive moisture.
- Avoid placing the device in direct sunlight or near heat sources.
- Do not attempt to disassemble or repair the device yourself. Contact qualified service personnel for assistance.
- Keep out of reach of children.
3. Package Contents
Verify that all items are present in the package:
- JALL GA-2 Digital Alarm Clock
- Owner's Manual
- Power Adapter
4. Product Overview
The JALL GA-2 Digital Alarm Clock features a large LED display, customizable RGB nightlight, dual alarms, and a USB charging port. Its minimalist design ensures ease of use and clear visibility.
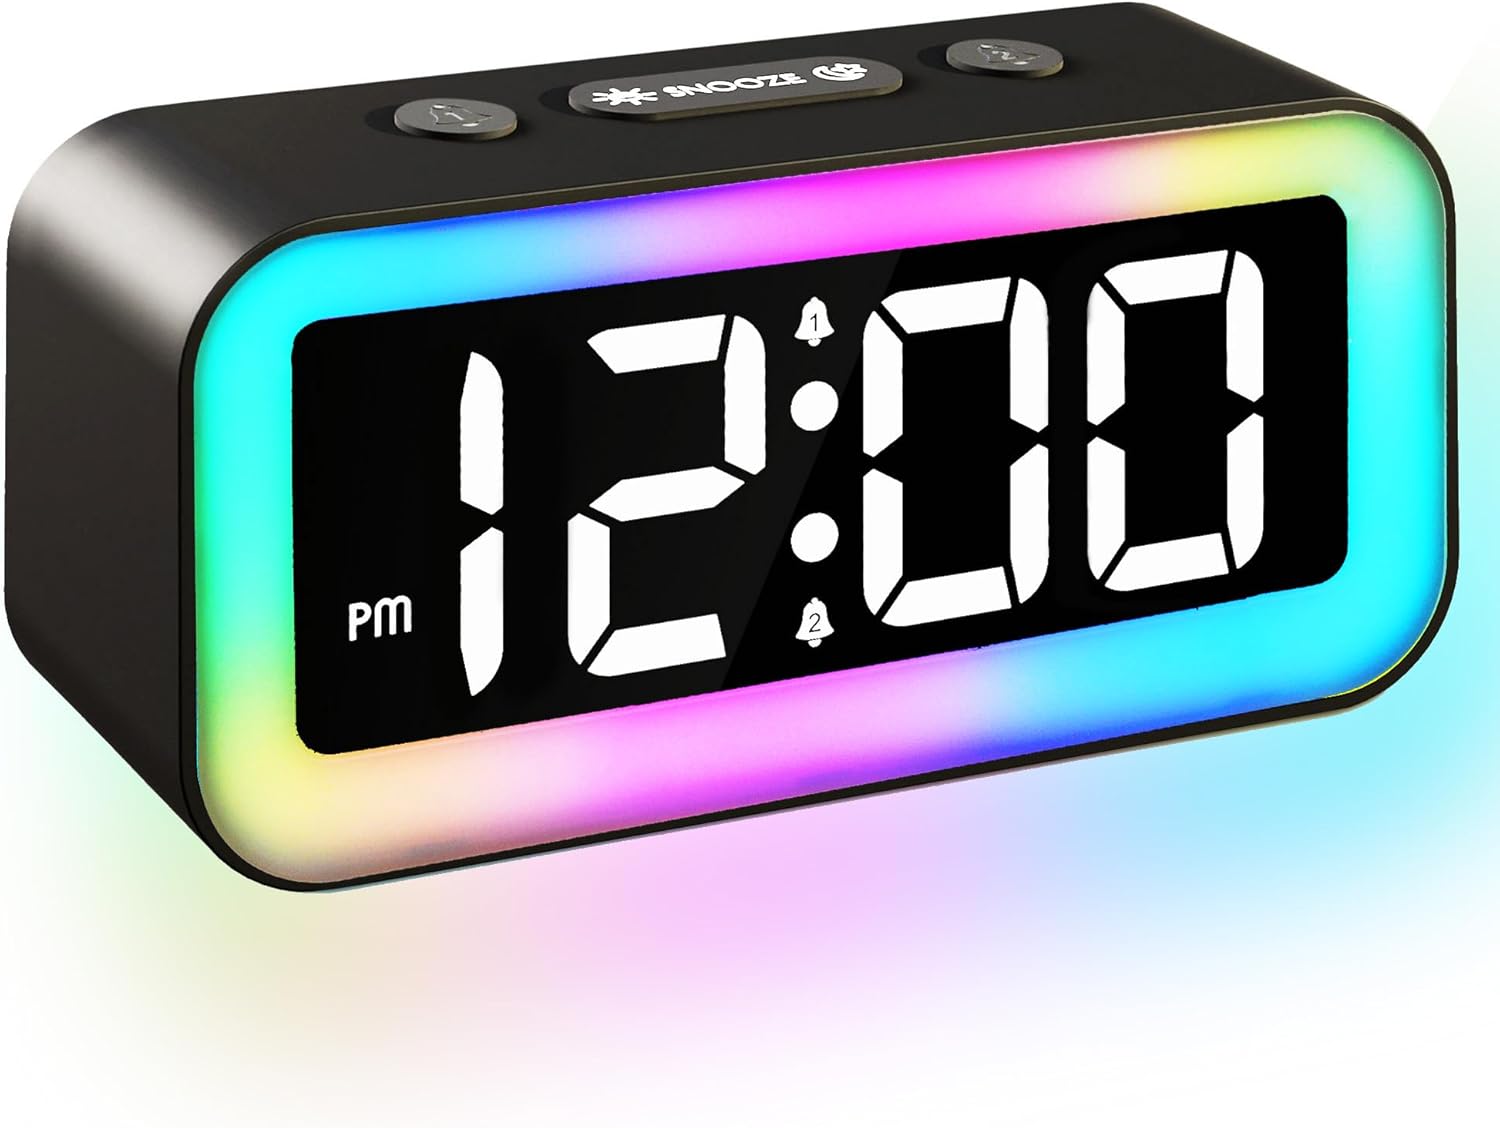
Image: JALL GA-2 Digital Alarm Clock, showcasing its large digital display and vibrant RGB nightlight border.
Key Features:
- RGB Number Display: Multiple color modes for the time display.
- RGB Nightlight: Various color modes for the ambient nightlight.
- HD Surface: Clear and crisp display.
- Dual Alarm: Two independent alarms with weekday/weekend/7-day modes.
- USB Charging Port: Convenient charging for electronic devices.
- Adjustable Brightness and Volume: Independent control for display and nightlight brightness, and alarm volume.
- 5-Minute Snooze: Provides additional sleep time.

Image: Visual representation of the JALL GA-2 Digital Alarm Clock's main features, including RGB display, nightlight, dual alarm, and USB charging.
5. Setup Instructions
5.1 Power Connection
- Connect the provided power adapter to the DC input port on the back of the alarm clock.
- Plug the power adapter into a standard electrical outlet.
- The display will illuminate, indicating the clock is powered on.
5.2 Setting the Time
Specific button names for time setting are not provided, but typically involve a 'Time Set' button or holding a main button. Refer to the physical buttons on your device for exact labels.
- Press and hold the 'Time Set' button (or equivalent) until the hour digits begin to flash.
- Use the '+' and '-' buttons (or similar) to adjust the hour. Pay attention to AM/PM indicators.
- Press the 'Time Set' button again to confirm the hour and move to minute adjustment.
- Use the '+' and '-' buttons to adjust the minutes.
- Press the 'Time Set' button once more to save the time and exit time setting mode.
6. Operating Instructions
6.1 Setting Alarms
The clock features two independent alarms (Alarm 1 and Alarm 2).

Image: The alarm clock displaying time, with icons indicating dual alarm functionality and snooze option.
- Press the 'Alarm 1' button (or equivalent) to enter Alarm 1 setting mode. The hour digits will flash.
- Use the '+' and '-' buttons to adjust the alarm hour.
- Press the 'Alarm 1' button again to confirm the hour and move to minute adjustment.
- Use the '+' and '-' buttons to adjust the alarm minutes.
- Press the 'Alarm 1' button again to select the alarm mode: Weekday (Mon-Fri), Weekend (Sat-Sun), or 7-Day.
- Press the 'Alarm 1' button once more to save Alarm 1 settings.
- Repeat steps 1-6 for 'Alarm 2' using the 'Alarm 2' button.
Alarm Volume Adjustment:
The alarm volume can be set to 3 different levels. This is typically adjusted during the alarm setting process or via a dedicated volume button/wheel. Refer to your device's controls.
Snooze Function:
When an alarm sounds, press the large 'SNOOZE' button on top of the clock to temporarily silence the alarm for 5 minutes. The alarm will sound again after 5 minutes.
Wake Up Sound:
The alarm uses a buzzer sound that gradually increases in frequency to provide a gentle wake-up experience, then speeds up to an urgent tone. This feature is designed to improve the waking process.

Image: Graphic illustrating the progressive nature of the alarm's wake-up sound, starting soft and gradually intensifying.
6.2 Display and Nightlight Settings
Display Modes:
The digital time display offers 8 different color modes. These can typically be cycled through by pressing a dedicated 'Display Mode' button (or similar).

Image: Examples of the 8 distinct color modes available for the digital time display on the JALL GA-2 alarm clock.
Nightlight Modes:
The clock features 7 different nightlight modes. These can be cycled through by pressing a dedicated 'Nightlight Mode' button (or similar).

Image: Examples of the 7 distinct color modes available for the ambient nightlight on the JALL GA-2 alarm clock.
Brightness Adjustment:
Two wheels located on the back of the clock allow for independent brightness adjustment:
- Nightlight Brightness: Adjustable from 0% to 100%.
- Display Brightness: Adjustable from 10% to 100%.
6.3 USB Charging Port
A USB charging port is located on the back of the alarm clock. This port can be used to charge compatible electronic devices, such as smartphones or tablets.
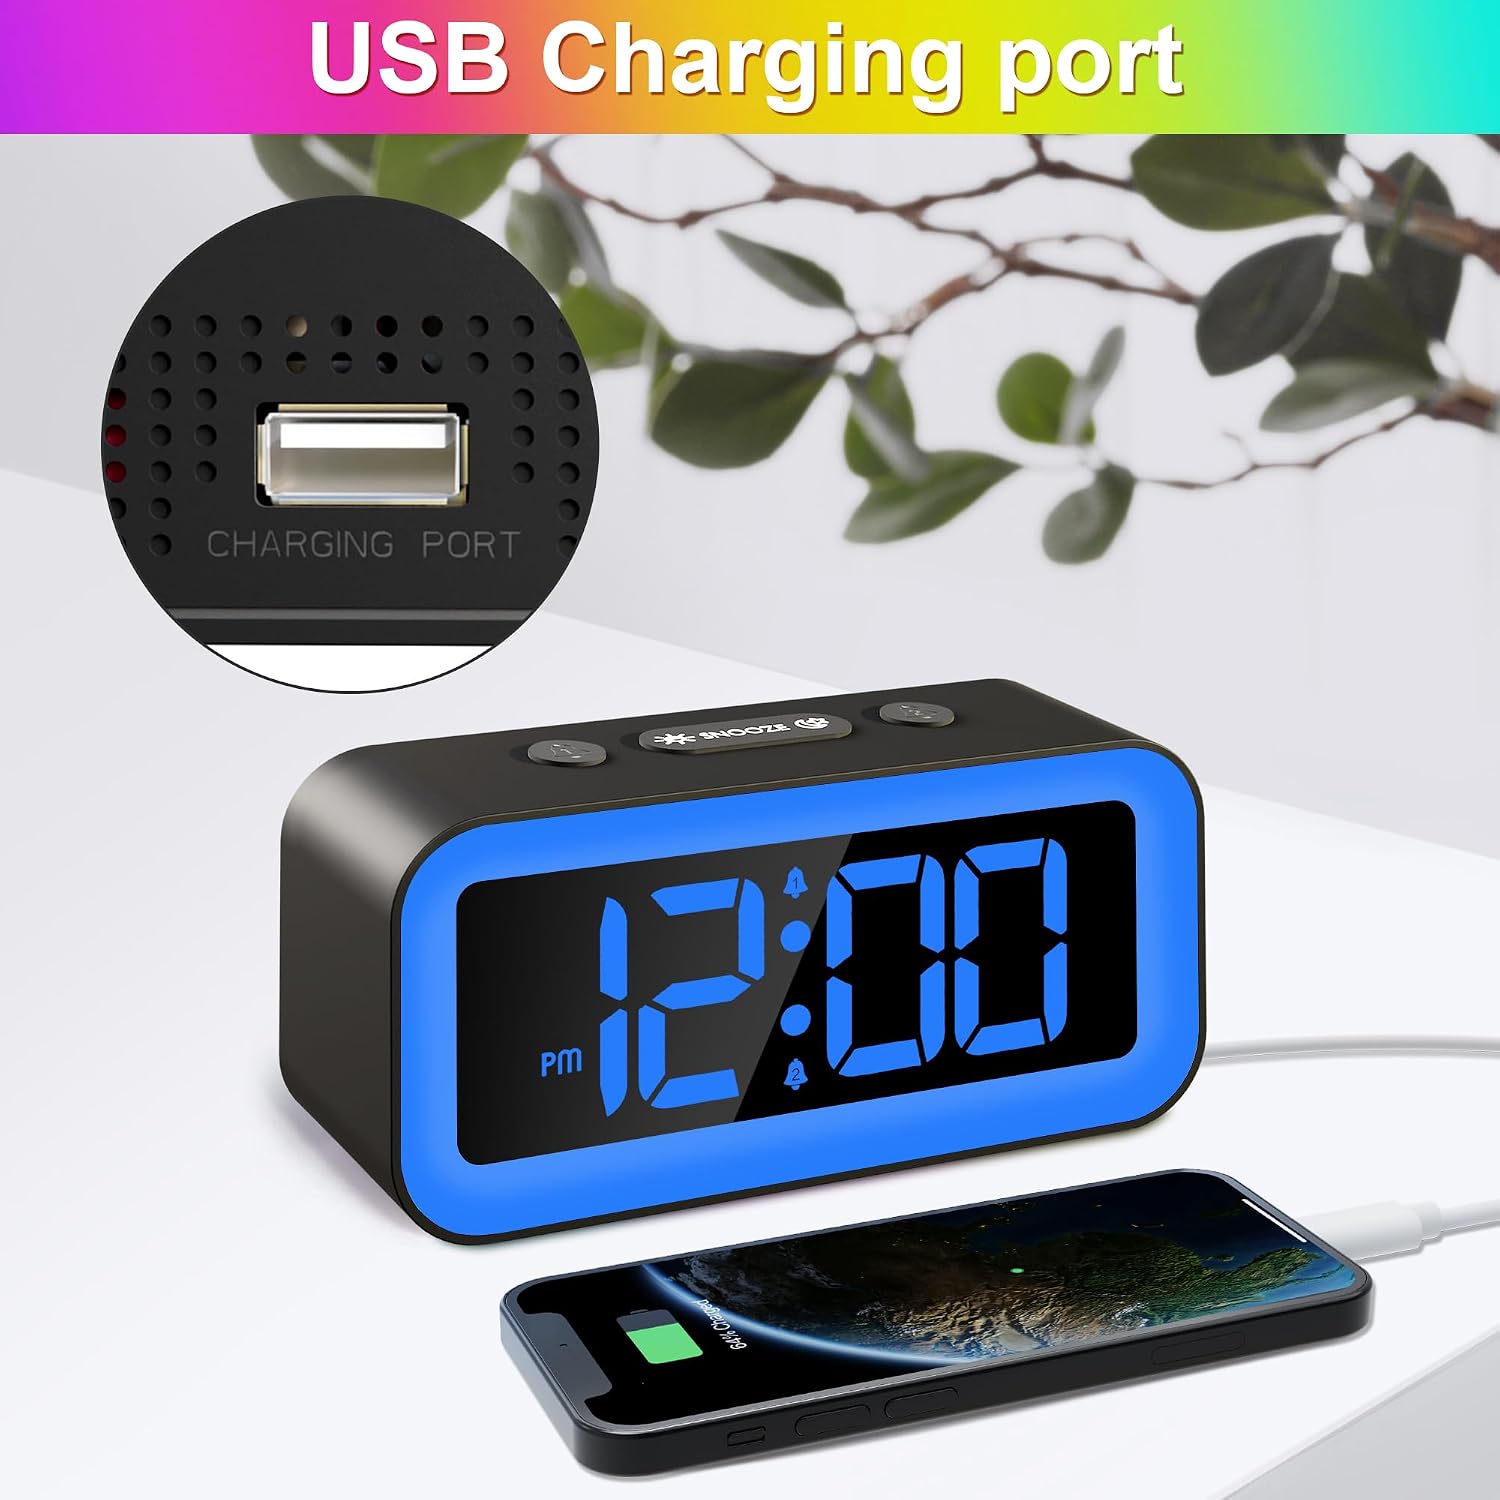
Image: The rear view of the JALL GA-2 alarm clock, highlighting the USB charging port in use with a connected smartphone.
7. Maintenance
- To clean the clock, gently wipe the surface with a soft, dry cloth.
- Do not use abrasive cleaners, solvents, or chemical sprays, as these may damage the finish.
- Ensure the device is unplugged before cleaning.
8. Troubleshooting
| Problem | Possible Cause | Solution |
|---|---|---|
| Clock display is off or not working. | No power connection. | Ensure the power adapter is securely plugged into the clock and a working electrical outlet. |
| Alarm does not sound. | Alarm is not activated or set incorrectly. | Verify that the alarm is enabled and the time is set correctly. Check alarm volume settings. |
| Display or nightlight is too dim/bright. | Brightness settings need adjustment. | Adjust the brightness using the dedicated wheels on the back of the clock. |
| USB charging port not working. | Device incompatibility or cable issue. | Ensure your device is compatible with USB charging. Try a different USB cable. |
9. Specifications

Image: Dimensions of the JALL GA-2 Digital Alarm Clock, showing its compact size.
- Brand: JALL
- Model Number: GA-2
- Color: Black
- Display Type: Digital
- Power Source: Corded Electric
- Material: Acrylonitrile Butadiene Styrene (Plastic)
- Item Weight: 5.4 ounces (0.34 Pounds)
- Package Dimensions: 7.32 x 3.07 x 2.24 inches
- Mounting Type: Tabletop
- Special Feature: Built-In Clock, Dual Alarm, RGB Nightlight, USB Charging Port
10. Warranty and Support
For warranty information or technical support, please refer to the documentation included with your product or contact the manufacturer directly. Details regarding warranty coverage and customer service contact information are typically provided at the point of purchase or on the official JALL website.


