
1. Introduction
This manual provides detailed instructions for the safe and effective operation, installation, and maintenance of your LUMENIX 72 LED Rooftop Emergency Strobe Light Bar. Please read this manual thoroughly before use and retain it for future reference.
2. Safety Information
- Proper Installation: Ensure the light bar is securely mounted to prevent detachment during vehicle operation.
- Power Source: Connect only to a 12-volt DC power source as specified. Incorrect voltage can damage the unit.
- Wiring: Avoid pinching or damaging the power cord. Ensure all connections are secure and insulated.
- Visibility: Do not stare directly into the light bar when it is active, as it can cause temporary vision impairment.
- Weather Conditions: While designed to be weather-resistant, avoid prolonged exposure to extreme conditions or submersion in water. Regularly inspect for water ingress.
- Legal Compliance: Ensure the use of this emergency light bar complies with all local, provincial, and federal regulations for emergency vehicle lighting.
3. Package Contents
Verify that all items are present in your package:
- 1 x LUMENIX 72 LED Rooftop Emergency Strobe Light Bar
- 1 x Control Panel with 12V Cigarette Adapter
- Magnetic Mount Brackets with Suction Cup Padding (pre-attached or separate)
4. Setup and Installation
Follow these steps for proper installation of your light bar:
- Choose Mounting Location: Select a flat, clean, and dry metallic surface on your vehicle's rooftop. Ensure the surface is free from dirt, dust, and moisture for optimal magnetic adhesion.
- Prepare Magnetic Base: If the suction cup padding is separate, attach it to the heavy-duty aluminum magnetic mount brackets. Ensure the magnets are clean.
- Secure the Light Bar: Carefully place the light bar onto the chosen rooftop surface. The strong magnets will secure it in place. Gently press down on each suction cup to ensure a firm seal.
- Route Power Cable: Route the power cable from the light bar into the vehicle's cabin, ensuring it does not interfere with doors, windows, or other moving parts. Avoid sharp edges that could damage the cable.
- Connect to Power: Plug the 12V cigarette adapter from the control panel into your vehicle's 12V power outlet.
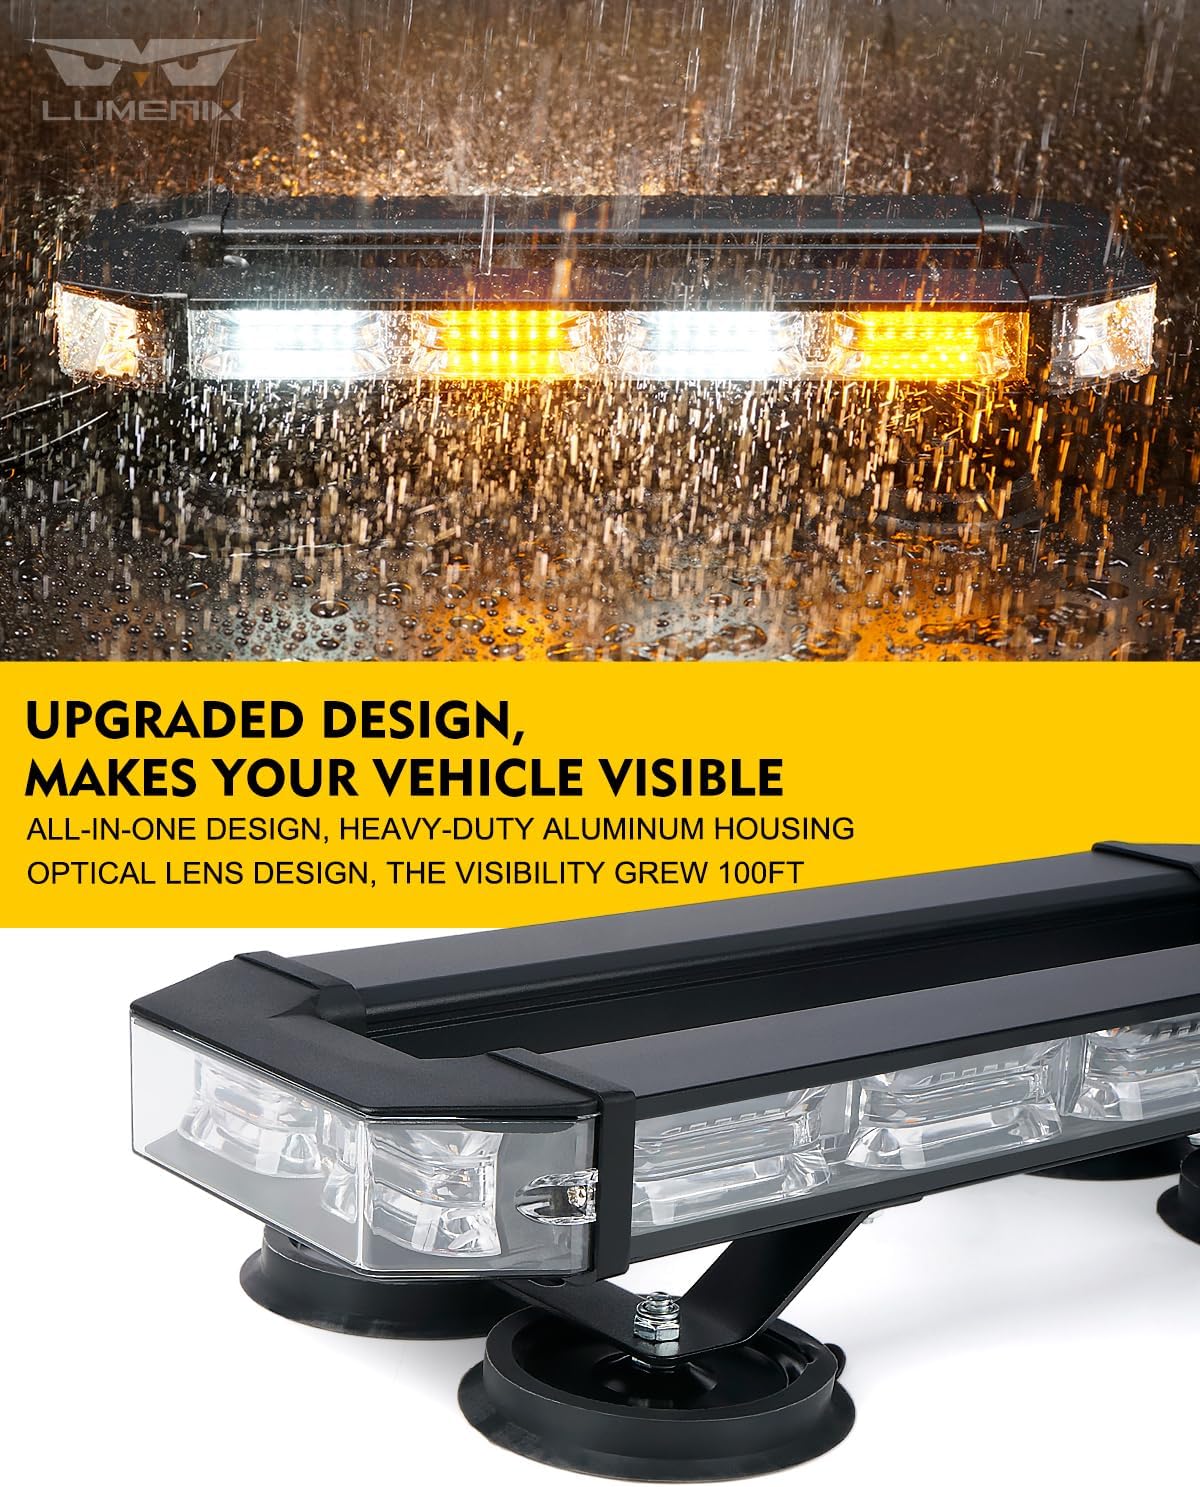
Image 1: LUMENIX 72 LED Rooftop Emergency Strobe Light Bar securely mounted on a vehicle roof.

Image 2: Close-up view of the magnetic base with suction cups, demonstrating the secure attachment mechanism.
Video 1: Official product video demonstrating the all-in-one design and magnetic mounting of the LUMENIX 72 LED Rooftop Emergency Strobe Light Bar.
5. Operating Instructions
The light bar is controlled via the included control panel:
- Power On/Off: Press the 'POWER' button on the control panel to turn the light bar on or off. The 12V cigarette adapter also features an on/off switch.
- Change Flashing Patterns: Press the 'PATTERN' button to cycle through the 21 available flashing strobe patterns. The current pattern number will be displayed on the control panel's digital screen.
- Directional Traffic Modes: Use the three directional arrow buttons (left, center, right) to activate specific traffic advisor patterns. These modes direct traffic flow.
- Favorite Pattern: Long press the 'FAVORITE' button while a desired pattern is active to save it. This allows for quick recall of your preferred pattern.

Image 3: The control panel for the LUMENIX Strobe Light Bar, showing power, pattern, favorite, and directional buttons.
Video 2: This video demonstrates the various flashing patterns and control panel functionality of the LUMENIX 72 LED Rooftop Emergency Strobe Light Bar.
Video 3: This video illustrates the variety of strobe patterns and easy switchability of a similar rooftop magnetic beacon emergency strobe light.
6. Maintenance
- Cleaning: Regularly clean the light bar lenses and housing with a soft, damp cloth. Avoid abrasive cleaners that could scratch the lenses.
- Magnetic Base Inspection: Periodically check the magnetic base and suction cups for wear or damage. Ensure they are clean and free of debris to maintain strong adhesion.
- Cable Inspection: Inspect the power cable for any signs of fraying, cuts, or damage. Replace if necessary to prevent electrical hazards.
- Storage: When not in use for extended periods, store the light bar in a cool, dry place away from direct sunlight.
7. Troubleshooting
| Problem | Possible Cause | Solution |
|---|---|---|
| Light bar does not turn on. | No power to the unit, faulty connection, or blown fuse in 12V adapter. | Check 12V power outlet, ensure cigarette adapter is fully inserted and switched on. Inspect power cable for damage. Check fuse in the 12V adapter. |
| Flashing patterns do not change. | Control panel malfunction or button issue. | Ensure the control panel is properly connected. Try pressing the 'PATTERN' button firmly. If issues persist, contact customer support. |
| Light bar is not securely attached. | Unclean mounting surface, damaged magnets/suction cups, or excessive speed. | Clean the mounting surface thoroughly. Inspect magnets and suction cups for damage. Ensure vehicle speed is within safe limits for magnetic mounts. |
8. Specifications
| Feature | Detail |
|---|---|
| Model Number | LM003W185-F |
| LED Chip Quantity | 72 LEDs |
| Power Source | 12 Volts DC (via Cigarette Adapter) |
| Wattage | 36 watts |
| Housing Material | Aluminum Alloy |
| Lens Material | PC (Polycarbonate) |
| Special Features | Scratch-resistance, Weather-resistant design |
| Strobe Patterns | 21 Flash Patterns (including 3 traffic modes) |
| Mounting Type | Heavy-duty Magnetic Mount with Suction Cup Padding |
| Dimensions (Approx.) | 40.41 x 19.1 x 8.41 cm (15.9 x 7.5 x 3.3 inches) |
| Item Weight | 1.81 kg (4 lbs) |
| Vehicle Service Type | Car, Pickup Truck, SUV, Snowplows, Tractor, Trailer, Van |

Image 4: Visual representation of the product dimensions and key specifications.
9. Warranty and Support
For warranty information or technical support, please refer to the product packaging or contact LUMENIX customer service directly. Keep your purchase receipt as proof of purchase for any warranty claims.