
Preciva WS46003
Preciva WS46003 8-in-1 Multifunctional Wall Detector User Manual
Model: WS46003 | Brand: Preciva
1. Introduction
The Preciva WS46003 8-in-1 Multifunctional Wall Detector is designed to accurately locate studs, metal objects, and live AC wires behind walls, floors, and ceilings. It also includes a built-in ruler and bubble level for enhanced utility. This manual provides detailed instructions for safe and effective use of your device.
2. Safety Information
Please read all safety warnings and instructions before using this product. Failure to follow these instructions may result in electric shock, fire, or serious injury.
- Always assume live AC wires are present. Exercise extreme caution when scanning for AC wires.
- Do not rely solely on the detector to locate items behind surfaces. Use other available information, such as blueprints or visual inspection, to help locate objects.
- Keep the device dry and clean. Do not expose it to moisture or extreme temperatures.
- Do not attempt to open or modify the device. Repairs should only be performed by qualified personnel.
- Dispose of batteries properly according to local regulations.
3. Product Overview and Components
Familiarize yourself with the main components of your Preciva WS46003 Wall Detector.
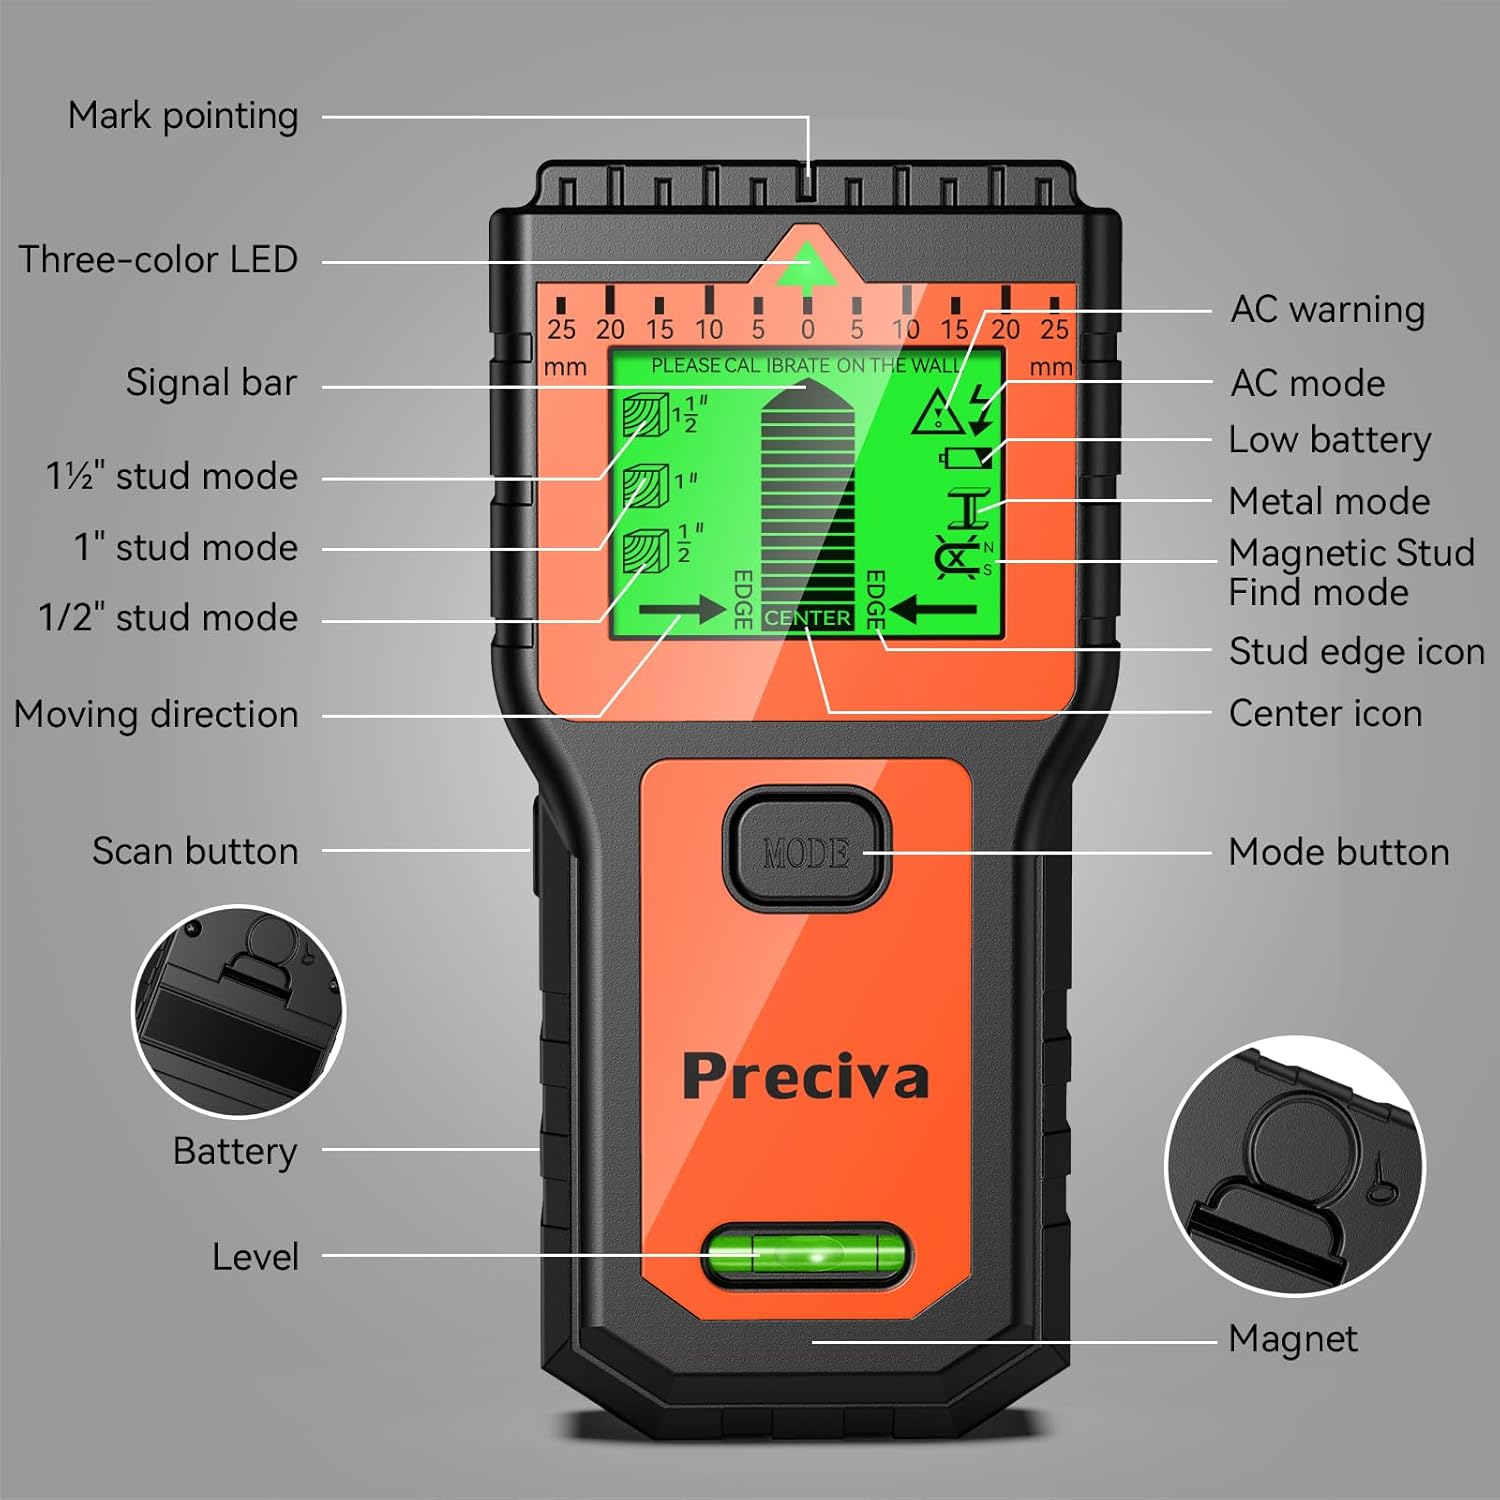
Figure 3.1: Front view of the Preciva WS46003 Wall Detector with key components labeled.
This image displays the front of the Preciva WS46003 Wall Detector. Key features include the LCD display, Mode button, Scan button, battery compartment, bubble level, and a ruler marking at the top. Labels point to specific functions like AC warning, Metal mode, Stud mode, Magnetic Stud Find mode, and the center icon on the display.
- LCD Display: Shows scanning modes, detection indicators, battery status, and calibration prompts.
- Mode Button: Press to cycle through different detection modes (Stud, Metal, AC, Magnetic).
- Scan Button: Press and hold to initiate scanning and calibration.
- Bubble Level: Integrated for horizontal alignment.
- Ruler: 5cm scale located at the top edge for marking.
- Battery Compartment: Located on the back for 9V battery installation.
- Magnetic Design: Integrated magnet for locating nails and screws in wood and metal studs.
4. Setup
4.1 Battery Installation
- Open the battery compartment cover on the back of the device.
- Insert one 9V battery, ensuring correct polarity (+/-).
- Close the battery compartment cover securely.
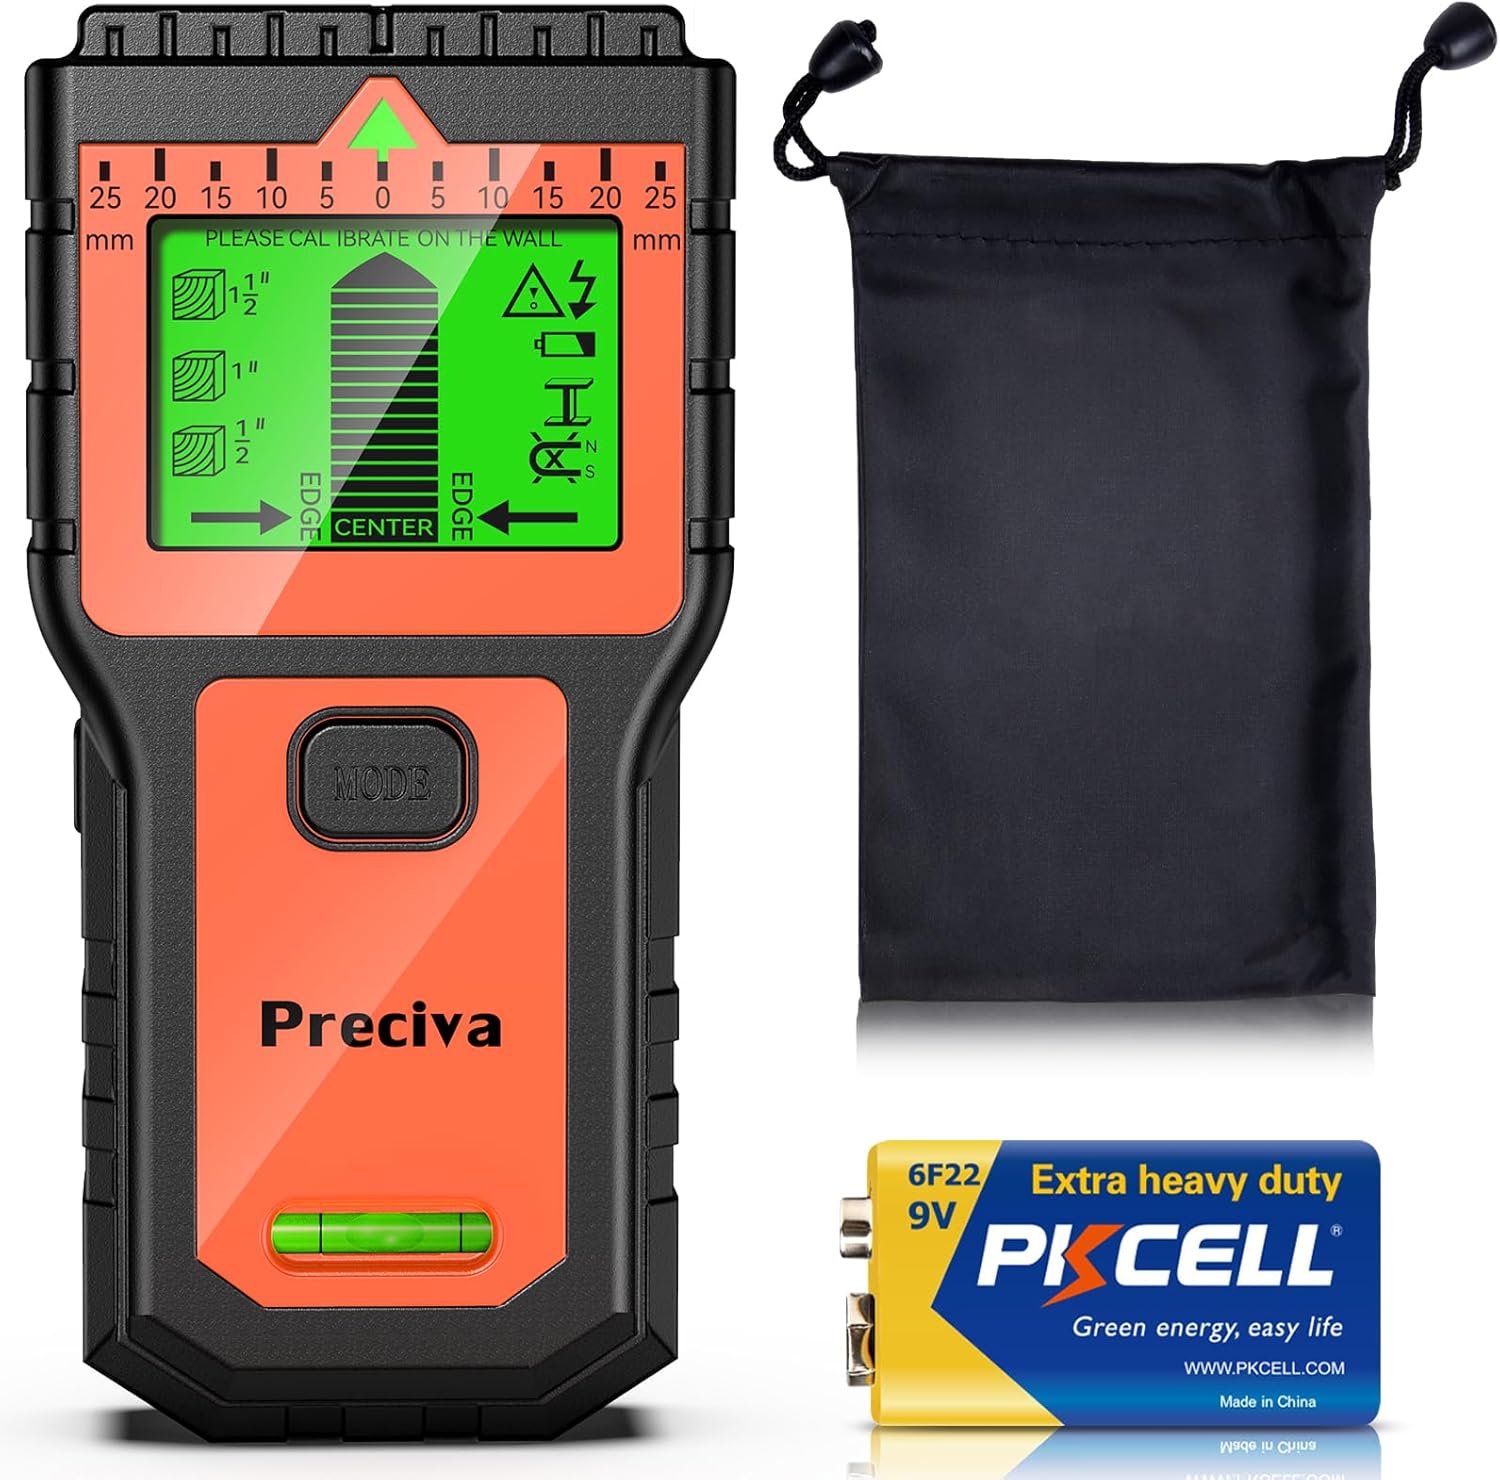
Figure 4.1: The Preciva WS46003 Wall Detector, a 9V battery, and a storage pouch.
This image shows the complete package contents: the orange and black Preciva wall detector, a 9V battery, and a black drawstring storage pouch.
4.2 Initial Calibration
The device features automatic calibration. For accurate results, calibrate the device before each use and whenever you switch modes.
- Place the device flat against the wall in an area known to be free of studs, metal, or AC wires.
- Press and hold the Scan button. The device will emit a beep and the LCD display will show a calibration indicator.
- Keep the Scan button pressed until calibration is complete (usually a few seconds). The display will then be ready for scanning.
- Do not move the device or lift it from the wall during calibration.

Figure 4.2: Illustration of the one-button calibration process.
This image highlights the "Scan" button on the side of the device, indicating its use for one-button calibration. It emphasizes the simplicity of the calibration process for ensuring accurate readings.
5. Operating Instructions
5.1 General Scanning Procedure
- Install a 9V battery and perform initial calibration as described in Section 4.
- Press the Mode button to select the desired scanning mode.
- Place the device flat against the wall, ensuring full contact.
- Press and hold the Scan button.
- Slowly slide the device horizontally across the surface. Maintain constant contact with the wall.
- Observe the LCD display for indicators and listen for beep alerts.
- When an object is detected, the signal bar on the display will increase, and a beep will sound. Mark the edges and center of the detected object.
- Release the Scan button to turn off the device.
5.2 Scanning Modes
The Preciva WS46003 offers six scanning modes and two additional functions:
- Stud Deep Modes (0.5 inch, 1 inch, 1.5 inch): Detects the edges and center of wood and metal studs.
- 0.5 inch (12mm) Stud Deep Mode
- 1 inch (25mm) Stud Deep Mode
- 1.5 inch (38mm) Stud Deep Mode
- Metal Mode: Detects non-ferrous metal (e.g., copper pipes) up to 2.36 inches (60mm) deep and ferrous metal (e.g., rebar) up to 2.36 inches (60mm) deep.
- AC Mode: Detects live unshielded AC wires up to 2 inches (51mm) deep.
- Magnetic Mode: Detects magnetic objects (e.g., nails, screws in studs) up to 0.4 inches (10mm) deep.
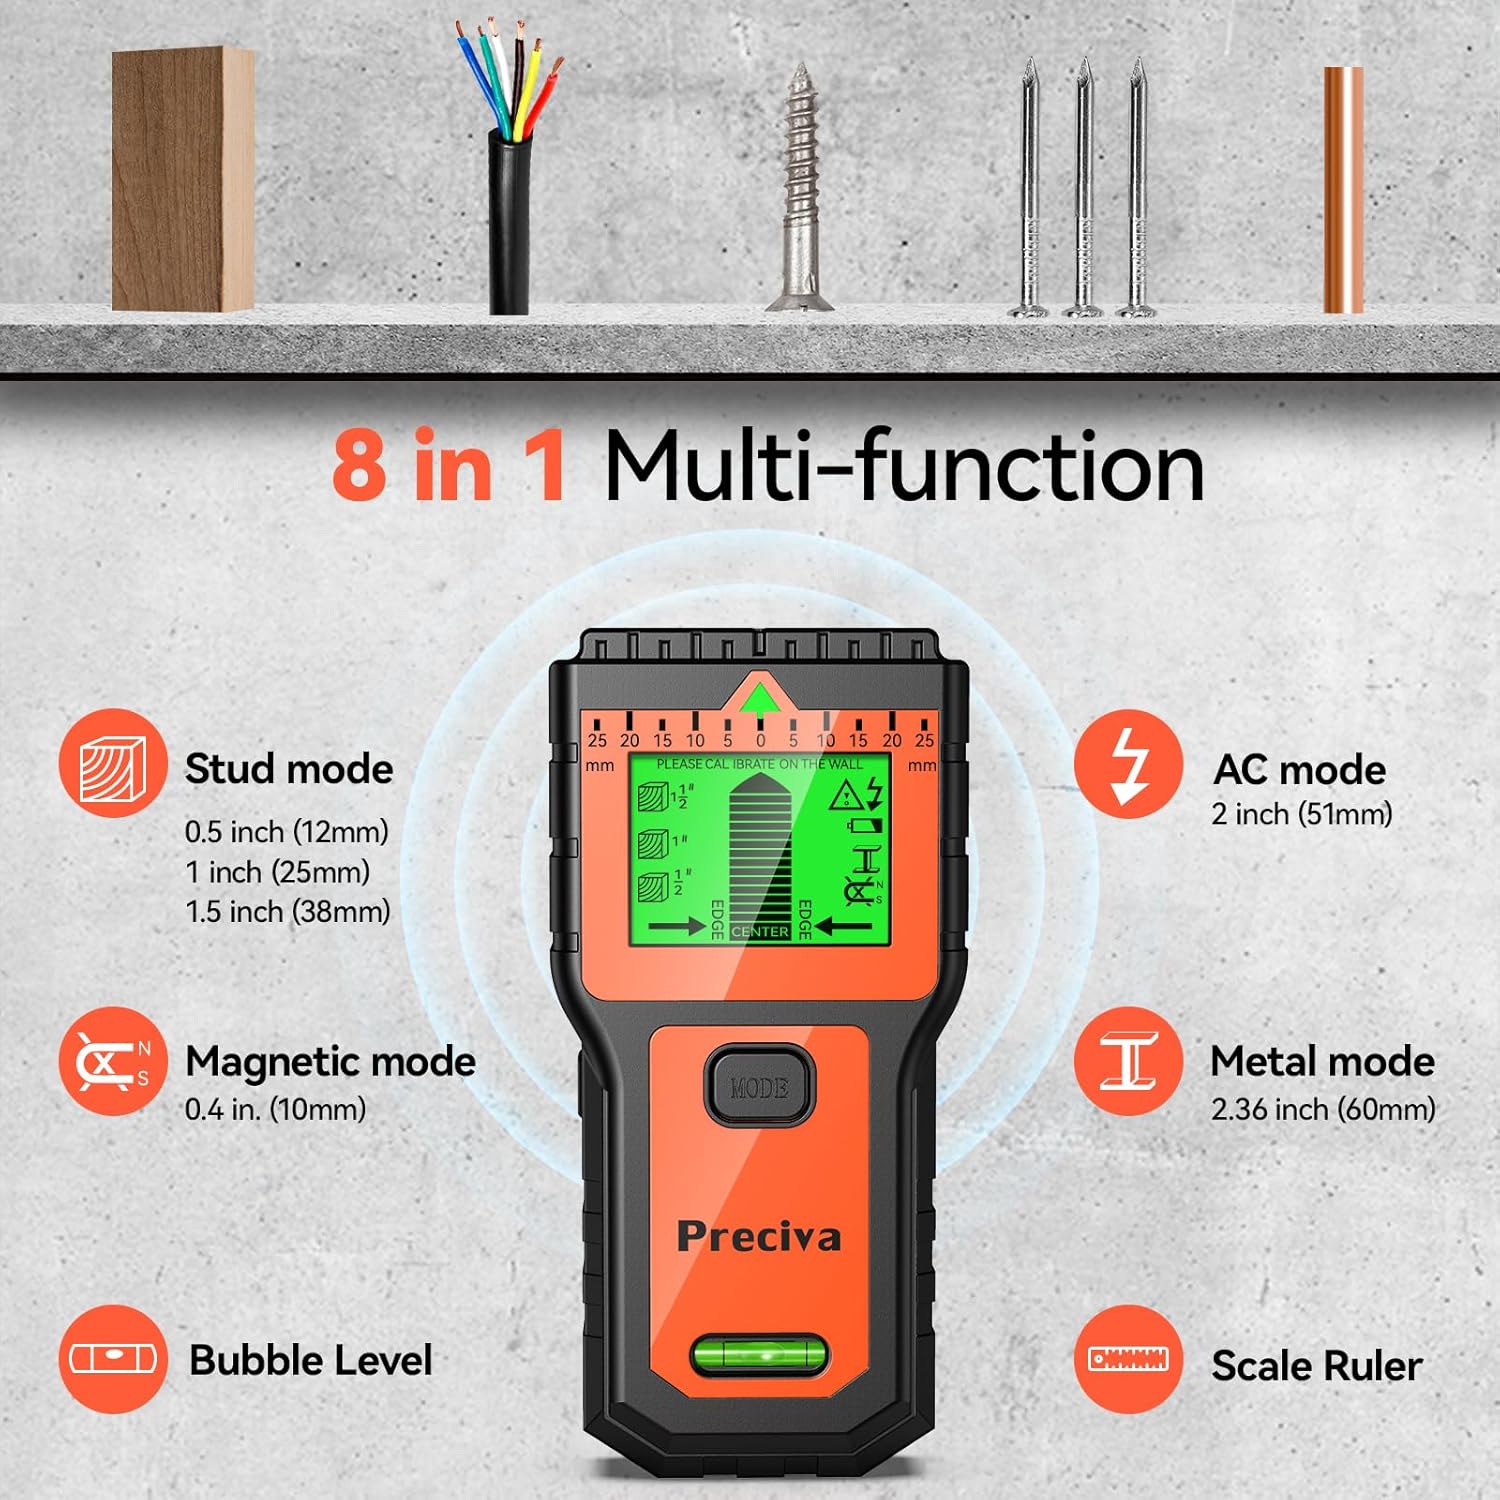
Figure 5.1: Overview of the 8-in-1 multi-function capabilities.
This image illustrates the various detection capabilities of the Preciva WS46003, including Stud mode (0.5, 1, 1.5 inch depths), Magnetic mode (0.4 inch), AC mode (2 inch), and Metal mode (2.36 inch). It also highlights the integrated Bubble Level and Scale Ruler functions.
5.3 Using the Ruler and Level Functions
- Ruler Function: A 5cm ruler is integrated at the top edge of the device. This can be used for quick measurements and marking points adjacent to detected objects.
- Level Function: The built-in bubble level allows for horizontal alignment, useful when installing shelves, pictures, or other items after locating studs.
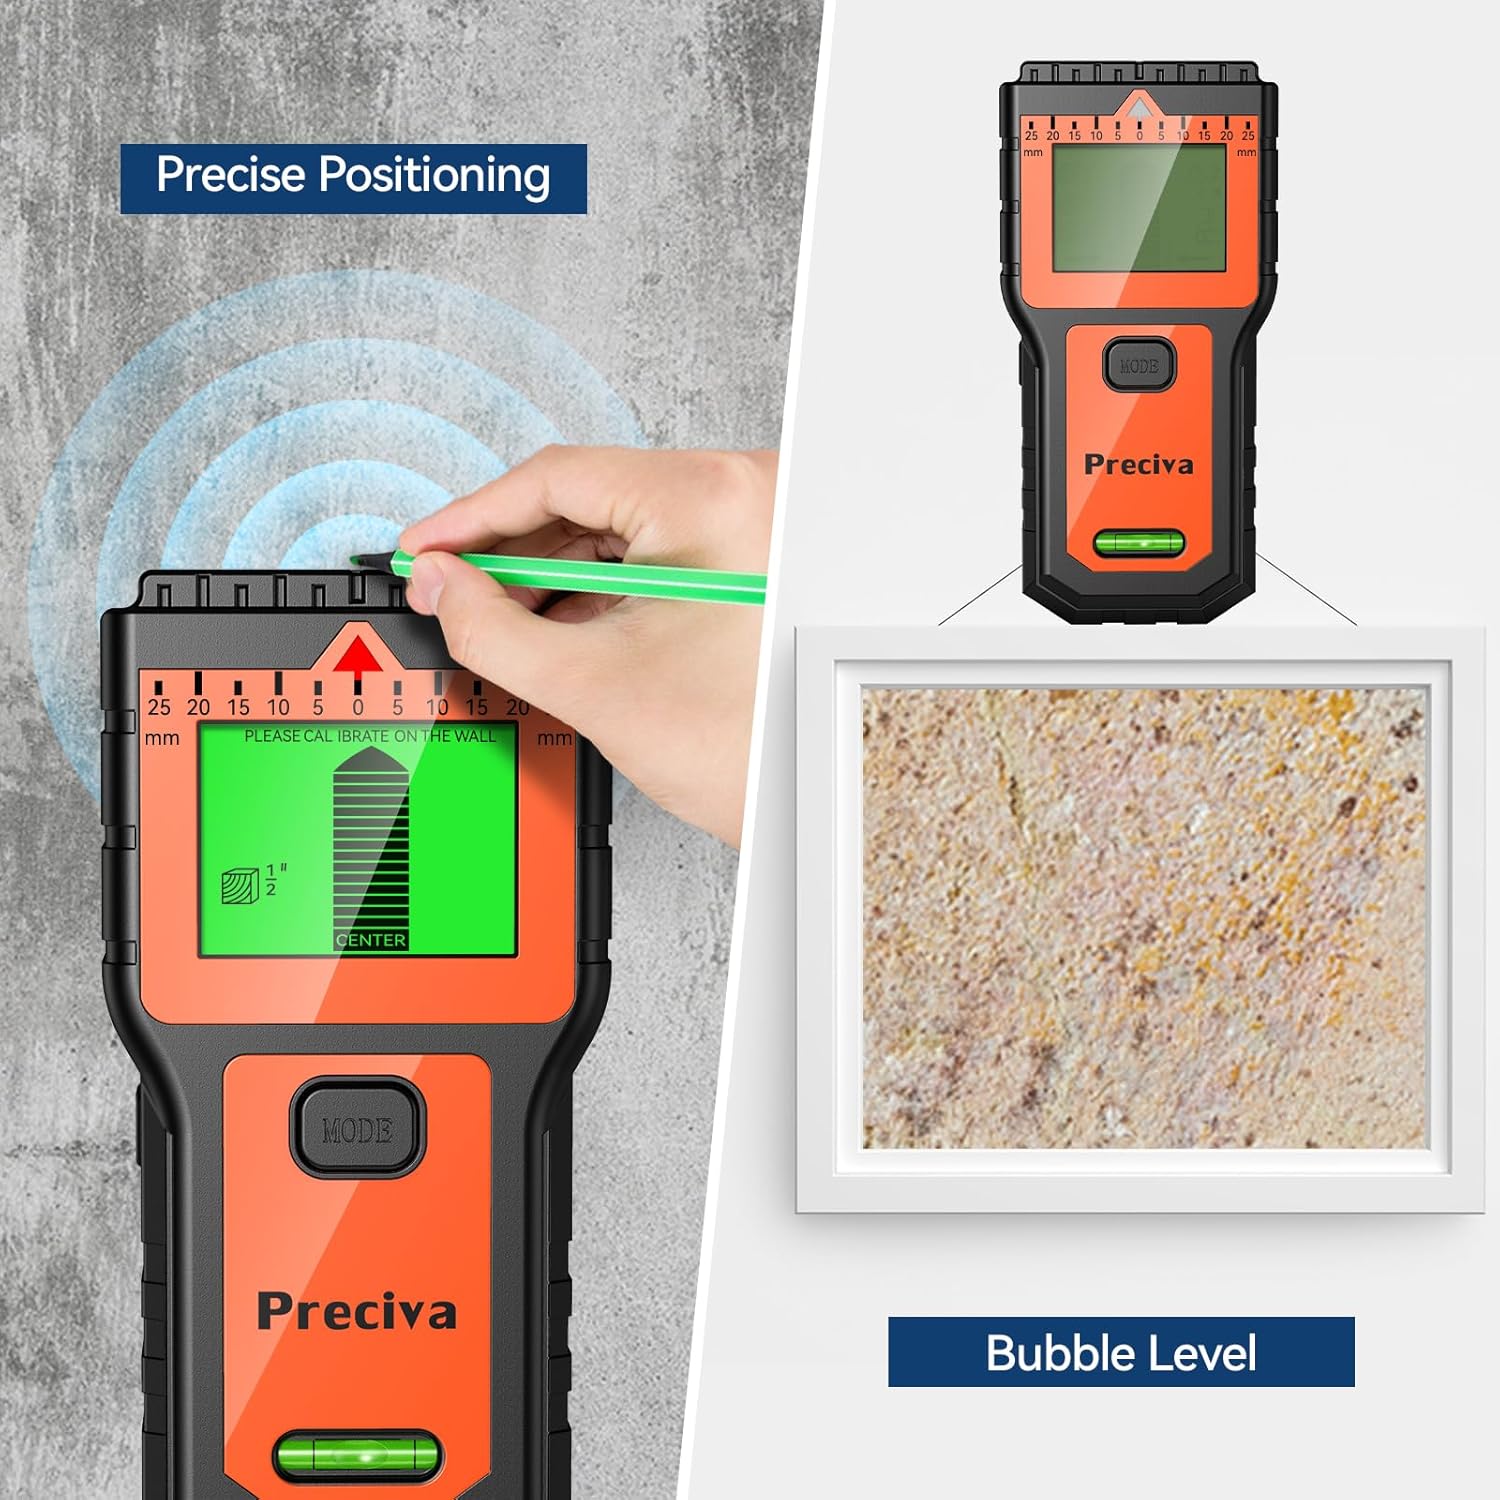
Figure 5.2: Demonstrating precise positioning and the bubble level.
This image shows the Preciva WS46003 in use, with a hand marking a point on the wall based on the device's detection. The bubble level is visible at the bottom of the device, indicating its utility for ensuring horizontal alignment during tasks.
6. Maintenance
- Cleaning: Wipe the device with a soft, damp cloth. Do not use abrasive cleaners or solvents.
- Storage: Store the device in a cool, dry place, away from direct sunlight and extreme temperatures. If storing for extended periods, remove the battery to prevent leakage.
- Battery Replacement: Replace the 9V battery when the low battery indicator appears on the LCD display.
7. Troubleshooting
| Problem | Possible Cause | Solution |
|---|---|---|
| Device does not turn on. | Low or dead battery; incorrect battery installation. | Replace the 9V battery; ensure correct polarity. |
| Inaccurate readings or false positives. | Improper calibration; uneven surface contact; presence of moisture in wall. | Recalibrate the device on a clear section of the wall; ensure firm, flat contact; avoid scanning wet areas. |
| Device beeps constantly. | Device is detecting an object or AC wire. | Move the device away from the detected object or AC wire. If it persists, recalibrate. |
| Cannot detect studs/metal/AC wires. | Incorrect mode selected; object too deep; wall material too dense. | Ensure the correct mode is selected (e.g., 1.5 inch Stud Deep Mode for deeper studs); try different modes; consult wall construction details. |
8. Specifications
- Model: WS46003
- Power Source: 9V Battery (included)
- Stud Detection Depth:
- 0.5 inch (12mm)
- 1 inch (25mm)
- 1.5 inch (38mm)
- Metal Detection Depth: Up to 2.36 inches (60mm)
- AC Wire Detection Depth: Up to 2 inches (51mm)
- Magnetic Detection Depth: Up to 0.4 inches (10mm)
- Dimensions: Approximately 7.32 x 3.78 x 1.46 inches
- Weight: Approximately 7.4 ounces (without battery)
9. Warranty and Support
This Preciva product comes with a ONE YEAR warranty from the date of purchase. This warranty covers manufacturing defects under normal use.
For technical support, warranty claims, or any questions regarding your device, please contact Preciva customer service through the retailer where the product was purchased or visit the official Preciva website.
Please retain your purchase receipt as proof of purchase for warranty purposes.
Ask a question about this manual
Ask about setup, troubleshooting, compatibility, parts, safety, or missing instructions. Manuals+ will review the question and use this page’s manual context to help answer it.