1. Introduction
This manual provides detailed instructions for the safe and effective operation of your Andoer L5i Pro Camera Video Dolly Slider Kit. Please read this manual thoroughly before use to ensure optimal performance and to prevent damage to the product or connected equipment. Keep this manual for future reference.
2. Product Overview
2.1 Package Contents
Verify that all items listed below are present in your package:
- 1 x Automatic Dolly
- 1 x USB Charging Cable
- 1 x Mutual Screw (1/4" & 3/8" inter-rotation screw)
- 1 x Rubber Ring
- 1 x Mini Key
- 1 x Sliding Rail System (Assembly Required)

Figure 2.1: Contents of the Andoer L5i Pro Camera Video Dolly Slider Kit package, including the automatic dolly, USB charging cable, mutual screw, rubber ring, mini key, and sliding rail system components.
2.2 Component Identification
Familiarize yourself with the main parts of the automatic dolly:
- Driving Wheel: Propels the dolly along surfaces or the rail.
- Steering Wheel: Allows adjustment for curved paths.
- Adjustable Angle: Mechanism for setting the steering wheel angle.
- Power Button: For turning the dolly on and off.
- Charging Port (Type-C): For recharging the internal battery.
- Indicator Light: Displays operational status and charging status.
- Shutter Port: For connecting a camera shutter release cable (if supported).
- 1/4" and 3/8" Inter-rotation Screws: For mounting cameras, ball heads, or other accessories.

Figure 2.2: Detailed diagram of the Andoer L5i Pro automatic dolly, labeling its key components such as the driving wheel, steering wheel, adjustable angle, power button, charging port, indicator light, and shutter port.
3. Specifications
| Material | Plastic + Aluminium Alloy |
| Load Capacity | Max. 3 kg (6.6 lbs) |
| Battery Capacity | 1800 mAh |
| Charging Time | Approx. 3 hours |
| Working Time | Approx. 4 hours (after full charge) |
| APP Remote Control Distance | Max. 8 meters (without interference) |
| Speed Range | 0% - 100% steplessly adjustable, Max. 10 cm/s |
| Dolly Weight | 446 g (15.7 oz) |
| Sliding Rail Weight | 990 g (2.2 lb) |
| Maximum Rail Length | 60 cm (23.6 in) |
| Compatible Devices | DSLR/ILDC cameras, camcorders, sports cameras, mobile phones, etc. |
4. Setup
4.1 Assembling the Sliding Rail System
- Unpack all components of the sliding rail system.
- Connect the rail segments to achieve the desired length (up to 60cm). Ensure connections are secure.
- Attach the end supports to the rail.
- Install the fixed plate onto the automatic dolly. This plate prevents the dolly from falling off the rail during operation.
4.2 Charging the Automatic Dolly
Before first use, fully charge the automatic dolly.
- Locate the Type-C charging port on the dolly.
- Connect the provided USB charging cable to the dolly and a suitable USB power source (e.g., computer, wall adapter).
- The indicator light will show charging status. A full charge takes approximately 3 hours.

Figure 4.2: Images showing the Type-C charging port for the built-in 1800mAh battery and the 1/4" and 3/8" screw connectors for attaching various cameras or gimbals.
4.3 Attaching a Camera or Smartphone
- Use the provided 1/4" and 3/8" mutual screw to attach your camera, ball head, or smartphone holder to the top of the automatic dolly.
- Ensure the camera or accessory is securely fastened. The maximum load capacity is 3 kg.
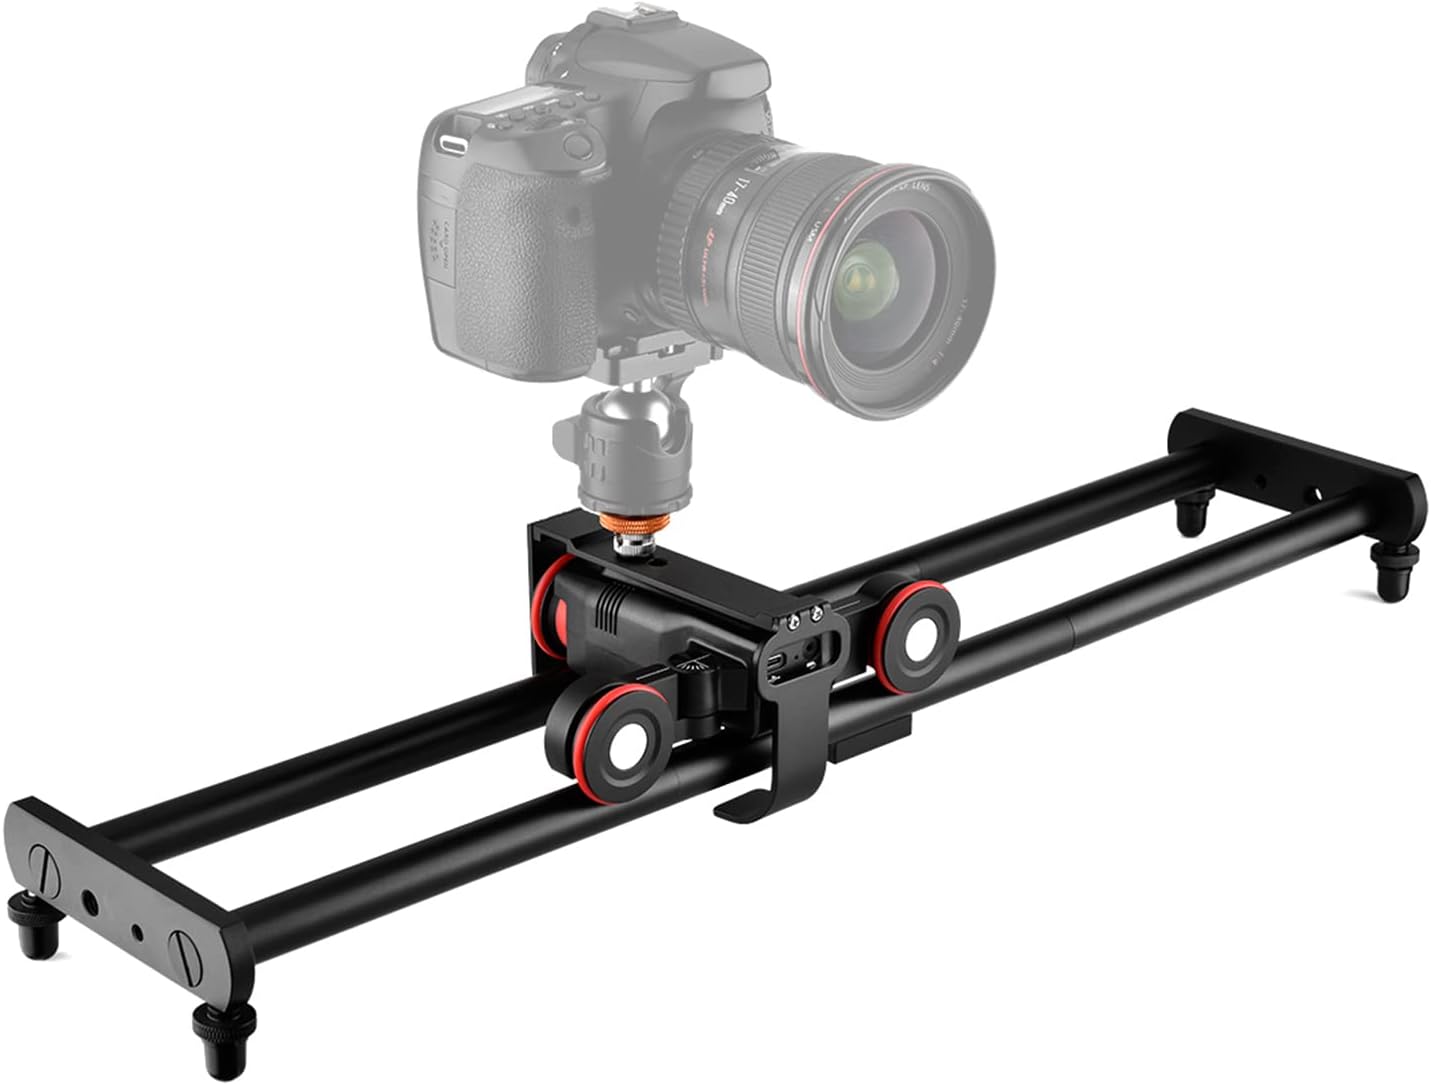
Figure 4.3: Andoer L5i Pro Camera Video Dolly Slider Kit with a DSLR camera mounted, showcasing the complete setup on the track rail.
5. Operating Instructions
5.1 Powering On/Off
Press and hold the power button on the automatic dolly to turn it on or off. The indicator light will illuminate when powered on.
5.2 Mobile App Control
The Andoer L5i Pro supports wireless control via a mobile application.
- Download the App: Scan the QR code provided in the physical user manual (or search for 'Andoer L5i Pro' app) to download the application. It is compatible with Android and iOS smartphones.
- Connect: Ensure Bluetooth is enabled on your smartphone. Open the app and follow the on-screen instructions to connect to your L5i Pro dolly. The remote control distance is up to 8 meters without interference.
- Control: Use the app interface to control movement, speed, and select photography modes.

Figure 5.2: An illustration of the Andoer L5i Pro dolly being controlled wirelessly via a mobile application on a smartphone, with a camera mounted on the dolly.
5.3 Speed Adjustment
The dolly features stepless speed adjustment from 0% to 100%, with a maximum speed of 10 cm/s. Adjust the speed via the mobile app to suit your shooting requirements. The stepper motor ensures precise control and low noise, suitable for silent video recording.
5.4 Photography Modes
The L5i Pro supports various photography modes, configurable through the mobile app:
- Straight/Curved Line Photography: The dolly can be placed on a desktop or flat surface for straight-line movement, or the steering wheels can be adjusted for curved paths. When used with the rail system, it provides precise linear motion.
- AB Point Positioning Photography: Set specific start (A) and end (B) points for the dolly to travel between. This supports automatic loop recording without frequent manual operation.
- Time-lapse Photography: Customize parameters within the app for time-lapse sequences.

Figure 5.4: Diagram illustrating the AB point positioning shooting and the capability for straight or curved line photography using the Andoer L5i Pro dolly.
5.5 Application Scenarios
The versatility of the L5i Pro makes it suitable for a range of creative applications:
- Micro film shooting
- Corporate publicity shooting
- Surround shooting
- Food shooting
- Time-lapse photography

Figure 5.5: Collage of application scenarios for the Andoer L5i Pro, including micro film shooting, corporate publicity, surround shooting, food shooting, and time-lapse photography.
6. Maintenance
6.1 Cleaning
Wipe the dolly and rail system with a soft, dry cloth. Avoid using harsh chemicals or abrasive materials that could damage the finish or electronic components.
6.2 Battery Care
To prolong battery life, avoid fully discharging the battery frequently. Recharge the dolly regularly, especially if it will be stored for an extended period.
6.3 Heat Emission Holes
The dolly features heat emission holes to help cool the device during operation. Ensure these holes are not obstructed to maintain proper ventilation and extend the product's service life.
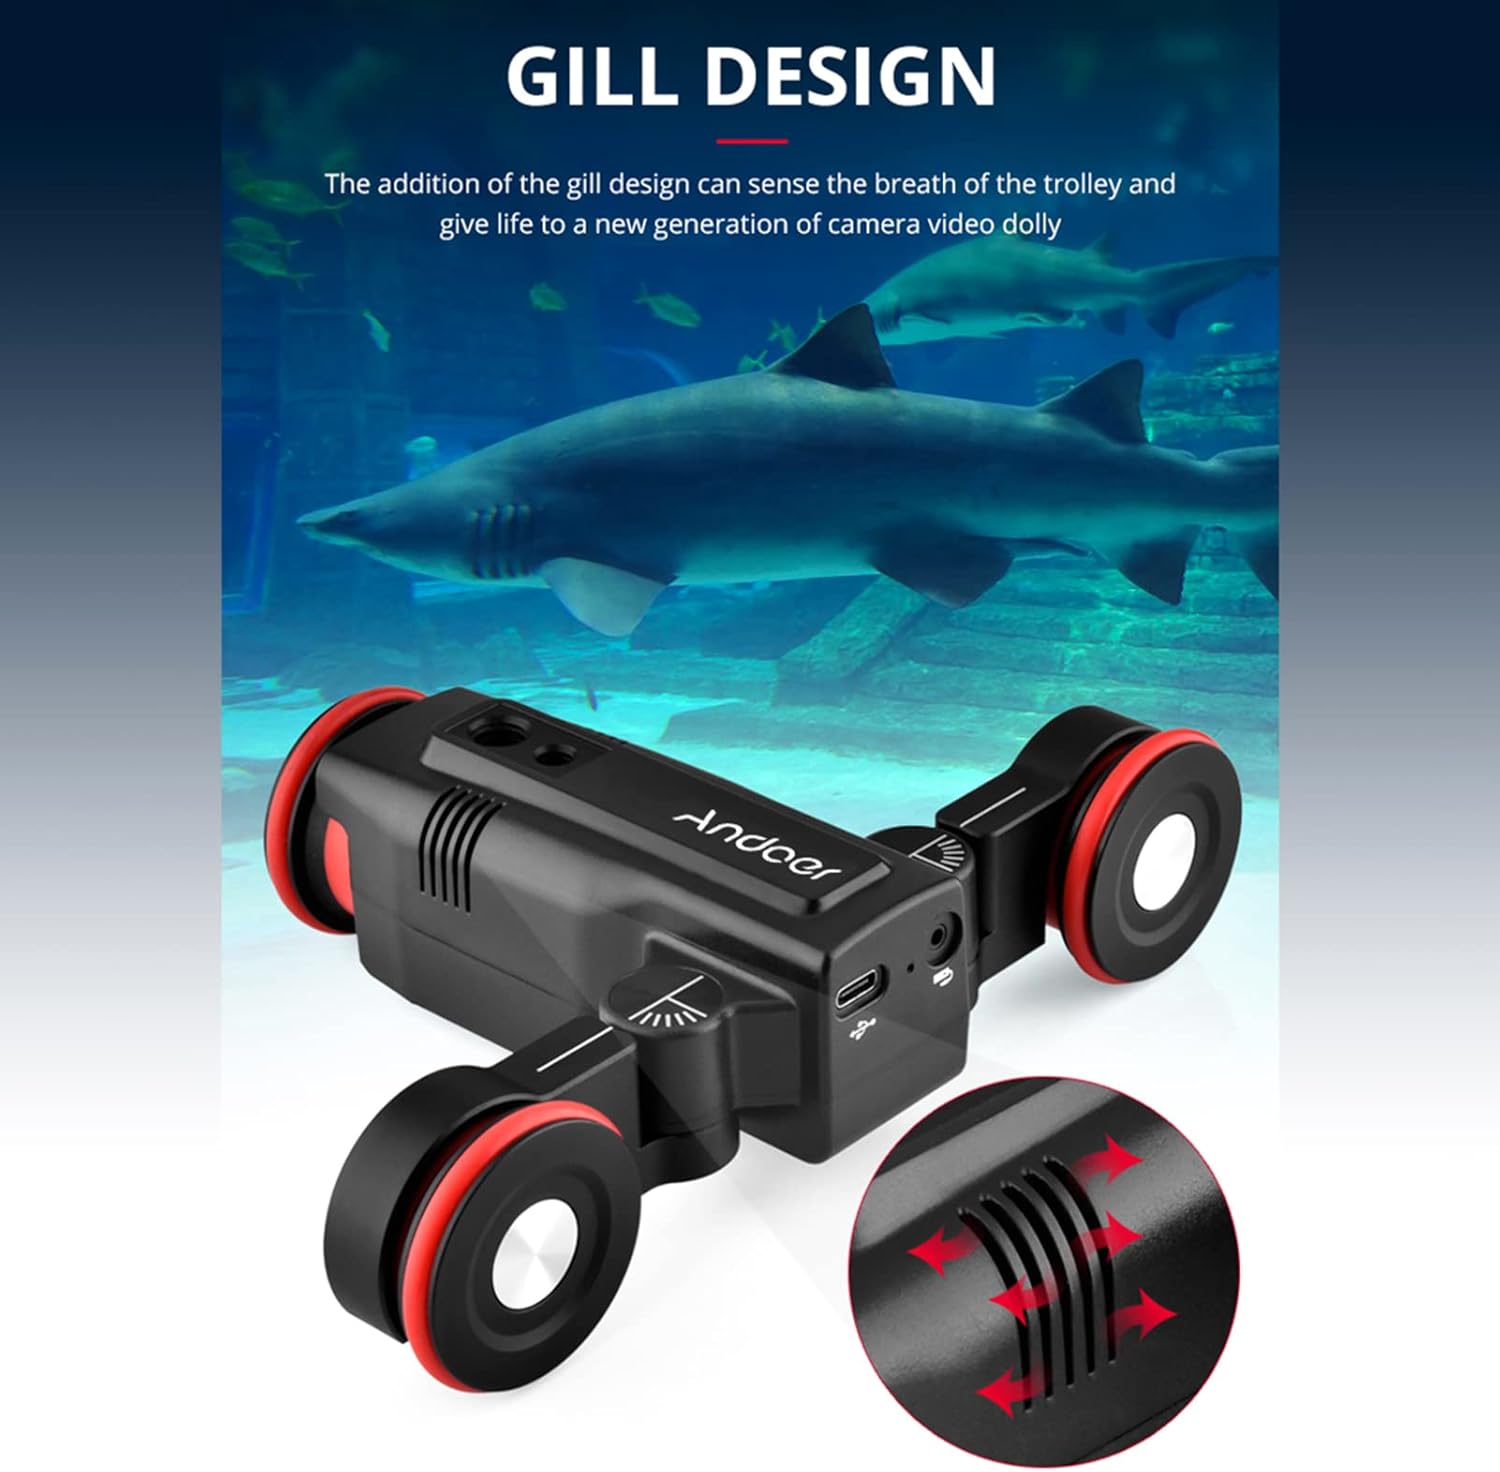
Figure 6.3: Close-up of the Andoer L5i Pro automatic dolly, highlighting the heat emission holes (gill design) for improved cooling.
7. Troubleshooting
If you encounter issues with your Andoer L5i Pro, refer to the following common problems and solutions:
- Dolly does not power on:
Ensure the battery is charged. Connect the dolly to a power source using the USB cable and allow it to charge for at least 30 minutes before attempting to power on again. - Dolly does not move or moves erratically:
Check that the wheels are clean and free from obstructions. Ensure the dolly is placed on a flat, smooth surface or securely on the rail system. Verify that the battery has sufficient charge. If using the app, check the connection and selected speed settings. - App cannot connect to the dolly:
Ensure the dolly is powered on and within the 8-meter remote control range. Check that Bluetooth is enabled on your smartphone. Try restarting both the dolly and the app. - Camera/accessory is unstable:
Ensure the camera or accessory is securely mounted using the 1/4" or 3/8" screw. Verify that the total weight does not exceed the 3 kg load capacity.
8. Warranty and Support
For warranty information and technical support, please refer to the documentation provided at the time of purchase or visit the official Andoer website. Keep your proof of purchase for warranty claims.


