
1. Introduction
Thank you for choosing the ZOFGENOW Automatic Mouthwash Dispenser. This device is designed to provide a convenient and hygienic way to dispense mouthwash, enhancing your daily oral care routine. It features adjustable dispensing levels, a rechargeable battery, and a modern design suitable for any bathroom.
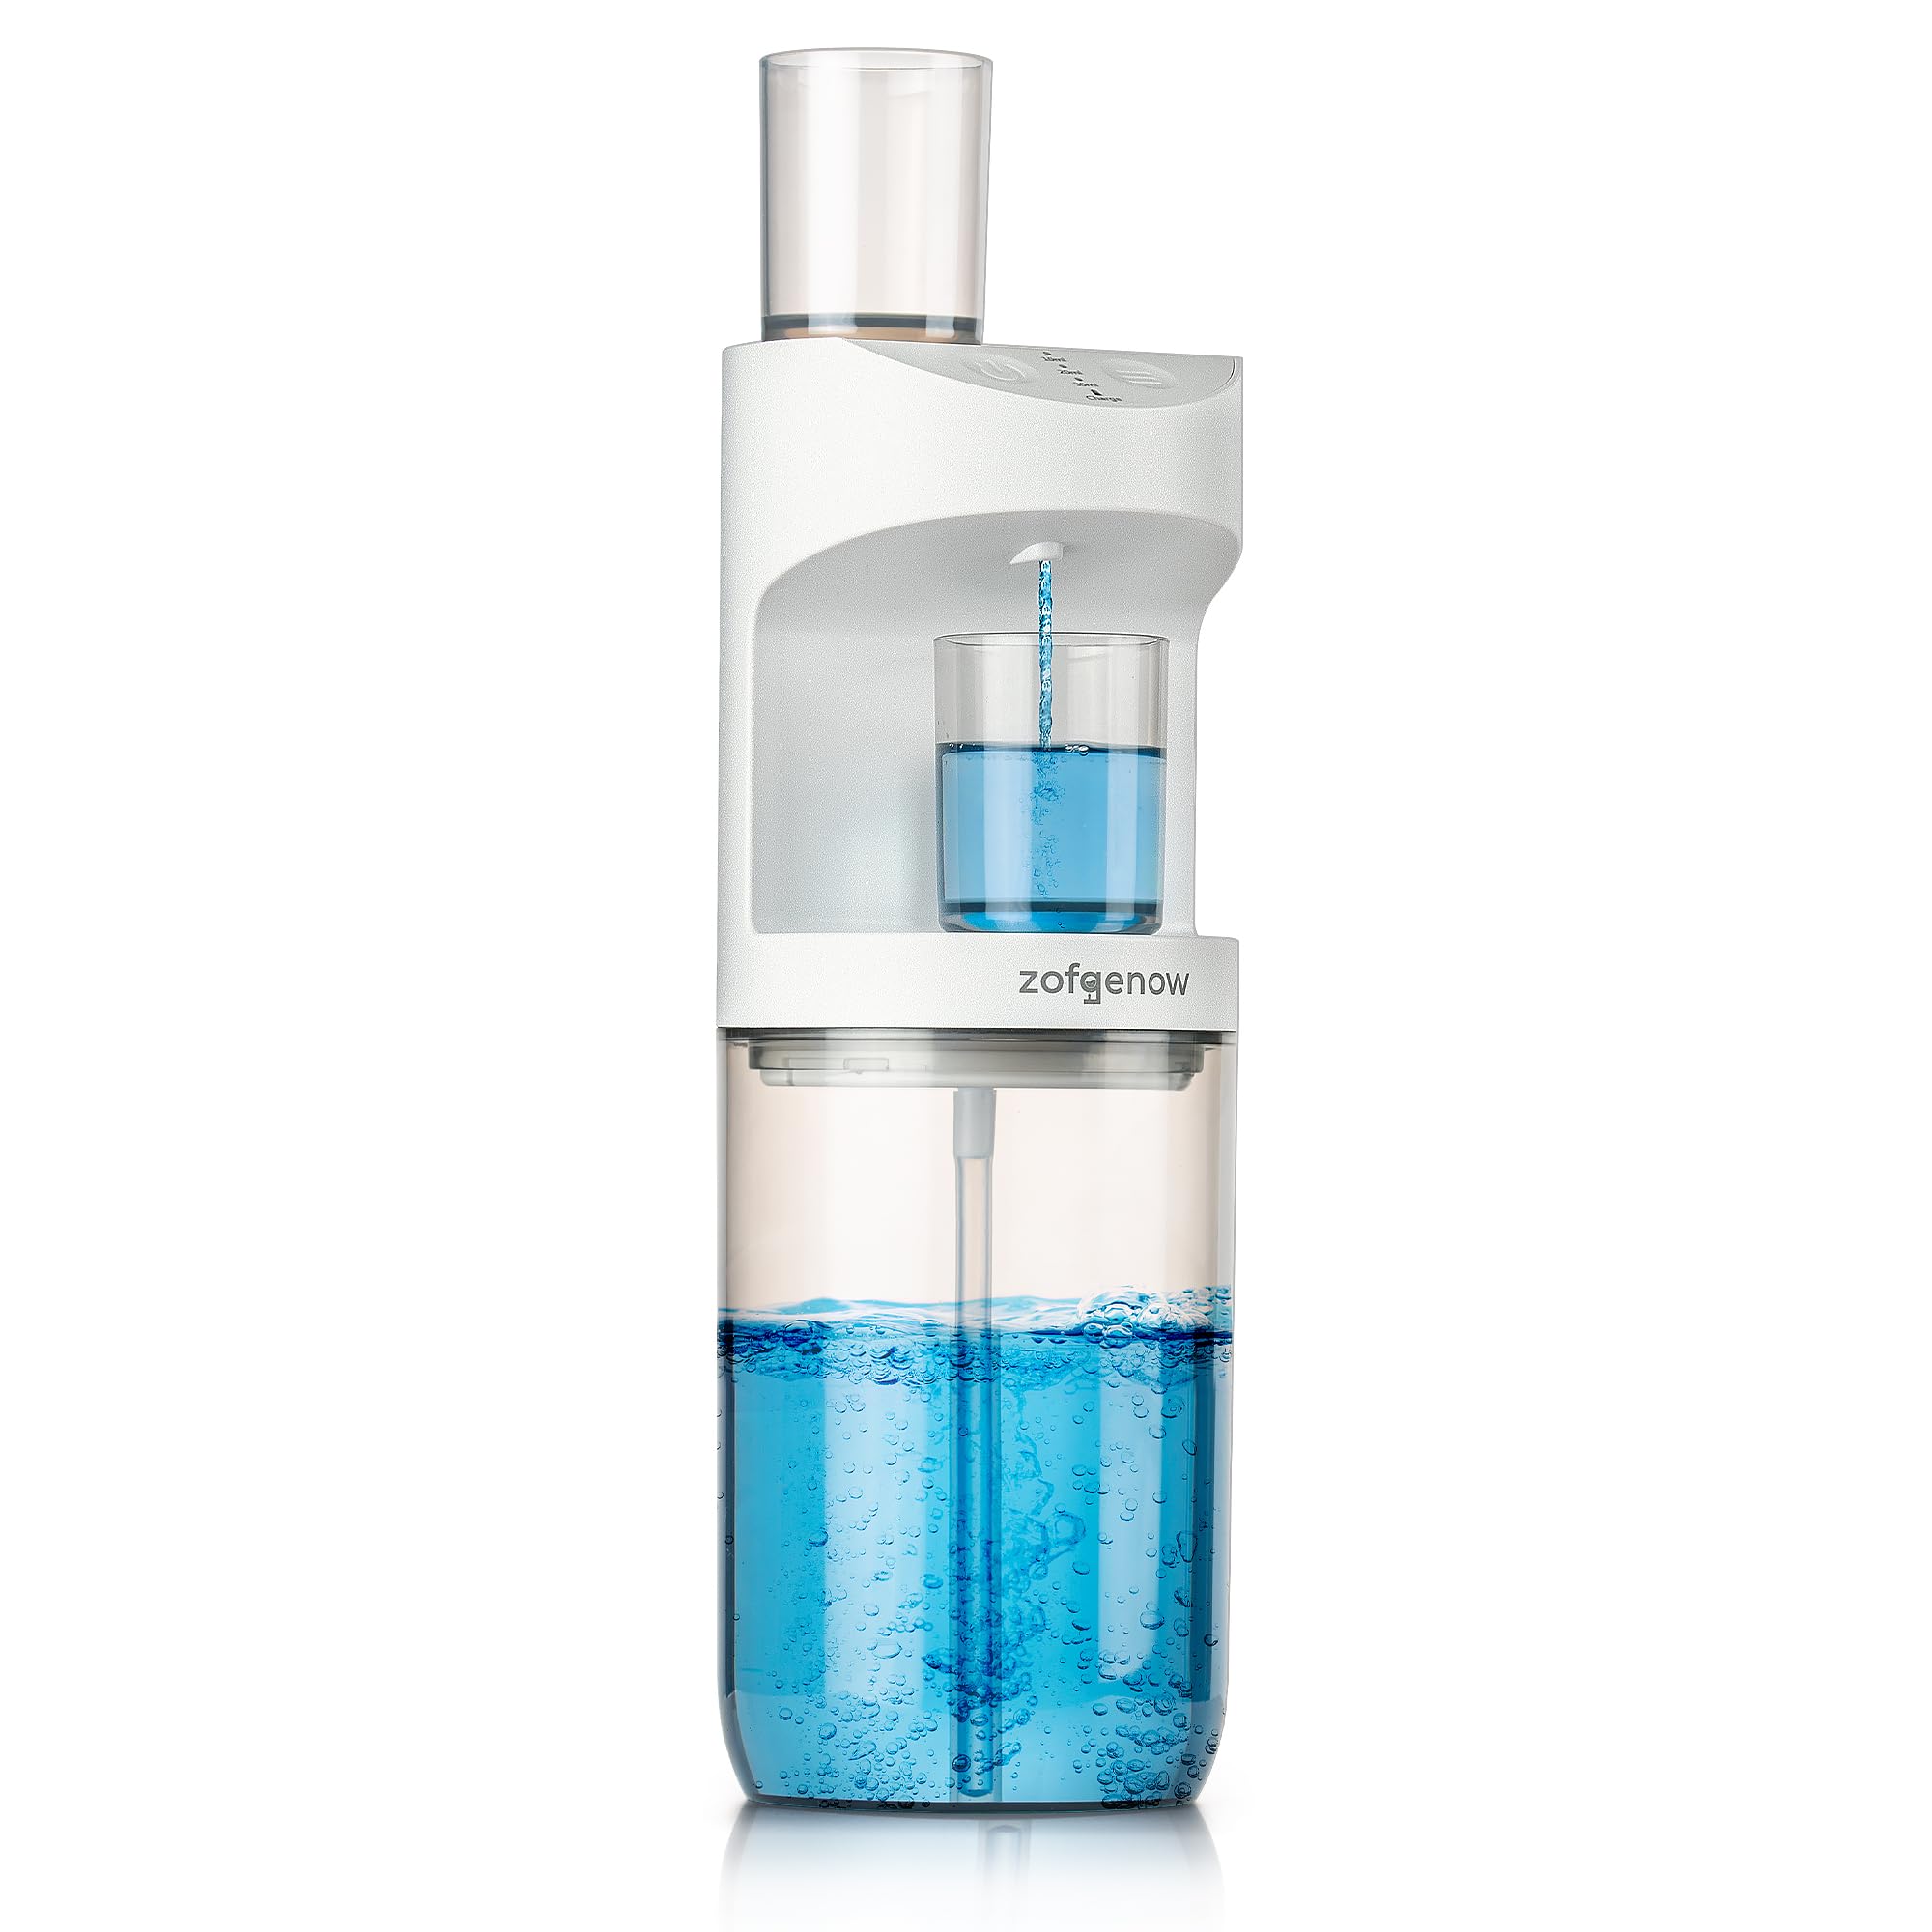
Figure 1: ZOFGENOW Automatic Mouthwash Dispenser
2. Safety Information
- Read all instructions before using the appliance.
- Keep the dispenser away from direct water spray or submersion to prevent electrical hazards. The unit is IPX7 waterproof, meaning it can withstand immersion in water up to 1 meter for 30 minutes, but prolonged submersion or high-pressure water jets should be avoided.
- Do not disassemble or attempt to repair the unit yourself. Contact customer support for assistance.
- Use only the provided Type-C charging cable.
- Keep out of reach of children.
- Ensure the mouthwash used is suitable for dispensing and does not contain corrosive substances that could damage the unit.
3. Package Contents
Verify that all items are present in the package:
- ZOFGENOW Automatic Mouthwash Dispenser Unit
- Mouthwash Cups (Quantity may vary)
- Type-C Charging Cable
- Wall Mounting Accessories (3M adhesive tape, screws, and dowels)
- User Manual

Figure 2: Included Mounting Accessories
4. Product Overview
Familiarize yourself with the components of your ZOFGENOW Automatic Mouthwash Dispenser:

Figure 3: Key Features and Components
- Dispenser Head: Contains the sensor, dispensing nozzle, and control buttons.
- Mouthwash Reservoir: Transparent container for holding mouthwash.
- Mouthwash Cups: Designed to fit the dispenser, often with magnetic attachment.
- Power Button: To turn the unit on/off.
- Dispensing Level Indicators: LEDs indicating 10ml, 20ml, or 30ml settings.
- Charging Port: Type-C port for recharging the internal battery.
- LED Indicator: Provides visual feedback on operation and charging status.
5. Setup
5.1 Initial Charge
- Locate the Type-C charging port, usually on the top or back of the dispenser head.
- Connect the provided Type-C charging cable to the dispenser and a suitable USB power adapter (not included).
- The charge indicator light will illuminate during charging and turn off or change color when fully charged.
5.2 Filling the Reservoir
- Carefully detach the dispenser head from the mouthwash reservoir by twisting or pulling as indicated by the product design.
- Pour your preferred mouthwash into the reservoir. Do not overfill. The maximum capacity is 550ml (19.4 fl oz).
- Reattach the dispenser head securely to the reservoir. Ensure a tight seal to prevent leaks.
5.3 Mounting Options
The dispenser can be placed on a countertop or wall-mounted.
- Countertop Placement: Simply place the assembled dispenser on a flat, stable surface in your bathroom.
- Wall Mounting:
- Choose a clean, dry, and smooth wall surface.
- Use the provided 3M adhesive tape for a strong, drill-free installation. Ensure the surface is free of dust and moisture before applying.
- Alternatively, use the provided screws and dowels for a more permanent installation. Mark the desired drilling points, drill holes, insert dowels, and secure the mounting bracket with screws. Then, attach the dispenser to the bracket.
6. Operating Instructions
6.1 Power On/Off
Press and hold the power button for a few seconds to turn the dispenser on or off. An indicator light will confirm the status.
6.2 Selecting Dispensing Level
The dispenser offers three adjustable dispensing levels: 10ml (0.35 fl oz), 20ml (0.7 fl oz), and 30ml (1.05 fl oz).
- With the unit powered on, short press the dispensing level button (often indicated by a droplet icon or similar).
- Each press will cycle through the available levels, indicated by corresponding LED lights. Select your desired volume.

Figure 4: Adjustable Dispensing Levels
6.3 Dispensing Mouthwash
- Place a mouthwash cup directly under the dispensing nozzle.
- The built-in sensor will detect the cup and automatically dispense the pre-selected amount of mouthwash.
- Remove the cup once dispensing is complete.
6.4 Auto Cleaning Function
The dispenser includes an auto-cleaning feature to maintain hygiene. Refer to the specific product instructions for activating this mode, typically by pressing and holding a dedicated cleaning button or a combination of buttons.
7. Maintenance
7.1 Cleaning the Dispenser
- Exterior: Wipe the exterior of the dispenser with a soft, damp cloth. Do not use abrasive cleaners or solvents.
- Reservoir: Periodically empty and rinse the mouthwash reservoir with clean water. Allow it to air dry completely before refilling.
- Dispensing Nozzle: If the nozzle appears clogged, gently wipe it with a damp cloth. For stubborn blockages, run the auto-cleaning cycle or dispense warm water through the unit.
- Cups: Rinse the mouthwash cups after each use.
7.2 Storage
If storing the dispenser for an extended period, ensure it is clean, empty, and fully charged. Store in a cool, dry place.
8. Troubleshooting
| Problem | Possible Cause | Solution |
|---|---|---|
| Dispenser not turning on | Low battery; Unit is off | Charge the dispenser using the Type-C cable; Press and hold the power button to turn on. |
| No mouthwash dispensed / Sputtering | Reservoir empty; Nozzle clogged; Airlock in straw; Cup not detected | Refill the reservoir; Clean the nozzle; Ensure the straw is not bent or blocked; Place the cup correctly under the sensor. Some users report that not fully locking the reservoir can improve dispensing if an airlock is suspected. |
| Inaccurate dispensing volume | Incorrect dispensing level selected; Air bubbles | Re-select the desired dispensing level; Ensure the mouthwash is filled smoothly to avoid excessive air bubbles. |
| Leakage | Reservoir not sealed properly; Damaged unit | Ensure the dispenser head is securely attached to the reservoir; If leakage persists, contact customer support. |
9. Specifications
| Feature | Detail |
|---|---|
| Model Number | M1 |
| Color | White-grey |
| Material | BPA-Free ABS+PET |
| Product Dimensions (L x W x H) | 3.3" x 3.3" x 11" |
| Liquid Volume Capacity | 550 Milliliters (19.4 fl oz) |
| Battery Capacity | 2000 mAh |
| Waterproof Rating | IPX7 |
| Dispensing Levels | 10ml, 20ml, 30ml |

Figure 5: Product Dimensions and Key Specifications
10. Warranty and Support
ZOFGENOW stands by the quality of its products. If you encounter any issues or have questions regarding your Automatic Mouthwash Dispenser, please refer to your purchase documentation for warranty details or contact ZOFGENOW customer support directly. Contact information can typically be found on the product packaging or the official ZOFGENOW website.
