
1. Product Overview
The Jansite TPMS (Tire Pressure Monitoring System) is designed to monitor your vehicle's tire pressure and temperature in real-time, enhancing driving safety. This system features a cigarette lighter power supply with an adjustable display angle for optimal viewing, and includes a USB charging port for convenience. It utilizes four wireless external IP68 waterproof sensors for accurate data collection.
Key features include:
- Real-time monitoring of tire pressure and temperature.
- Six distinct alarm methods: fast leak, high-pressure, low-pressure, high-temperature, sensor battery low power, and sensor fault.
- User-adjustable alarm values for pressure and temperature.
- Integrated battery voltage monitoring for the vehicle.
- Easy plug-and-play installation with pre-paired sensors.

Image 1.1: Jansite TPMS monitor and four external tire sensors.
Video 1.1: Overview of the Car TPMS Tire Pressure Monitoring System. This video demonstrates the basic functionality and components of the system.
2. Setup and Installation
2.1 Monitor Installation
The TPMS monitor is designed for easy installation into your vehicle's cigarette lighter socket. Simply plug the monitor into the 12V power outlet. The display angle can be adjusted to suit your viewing preference.
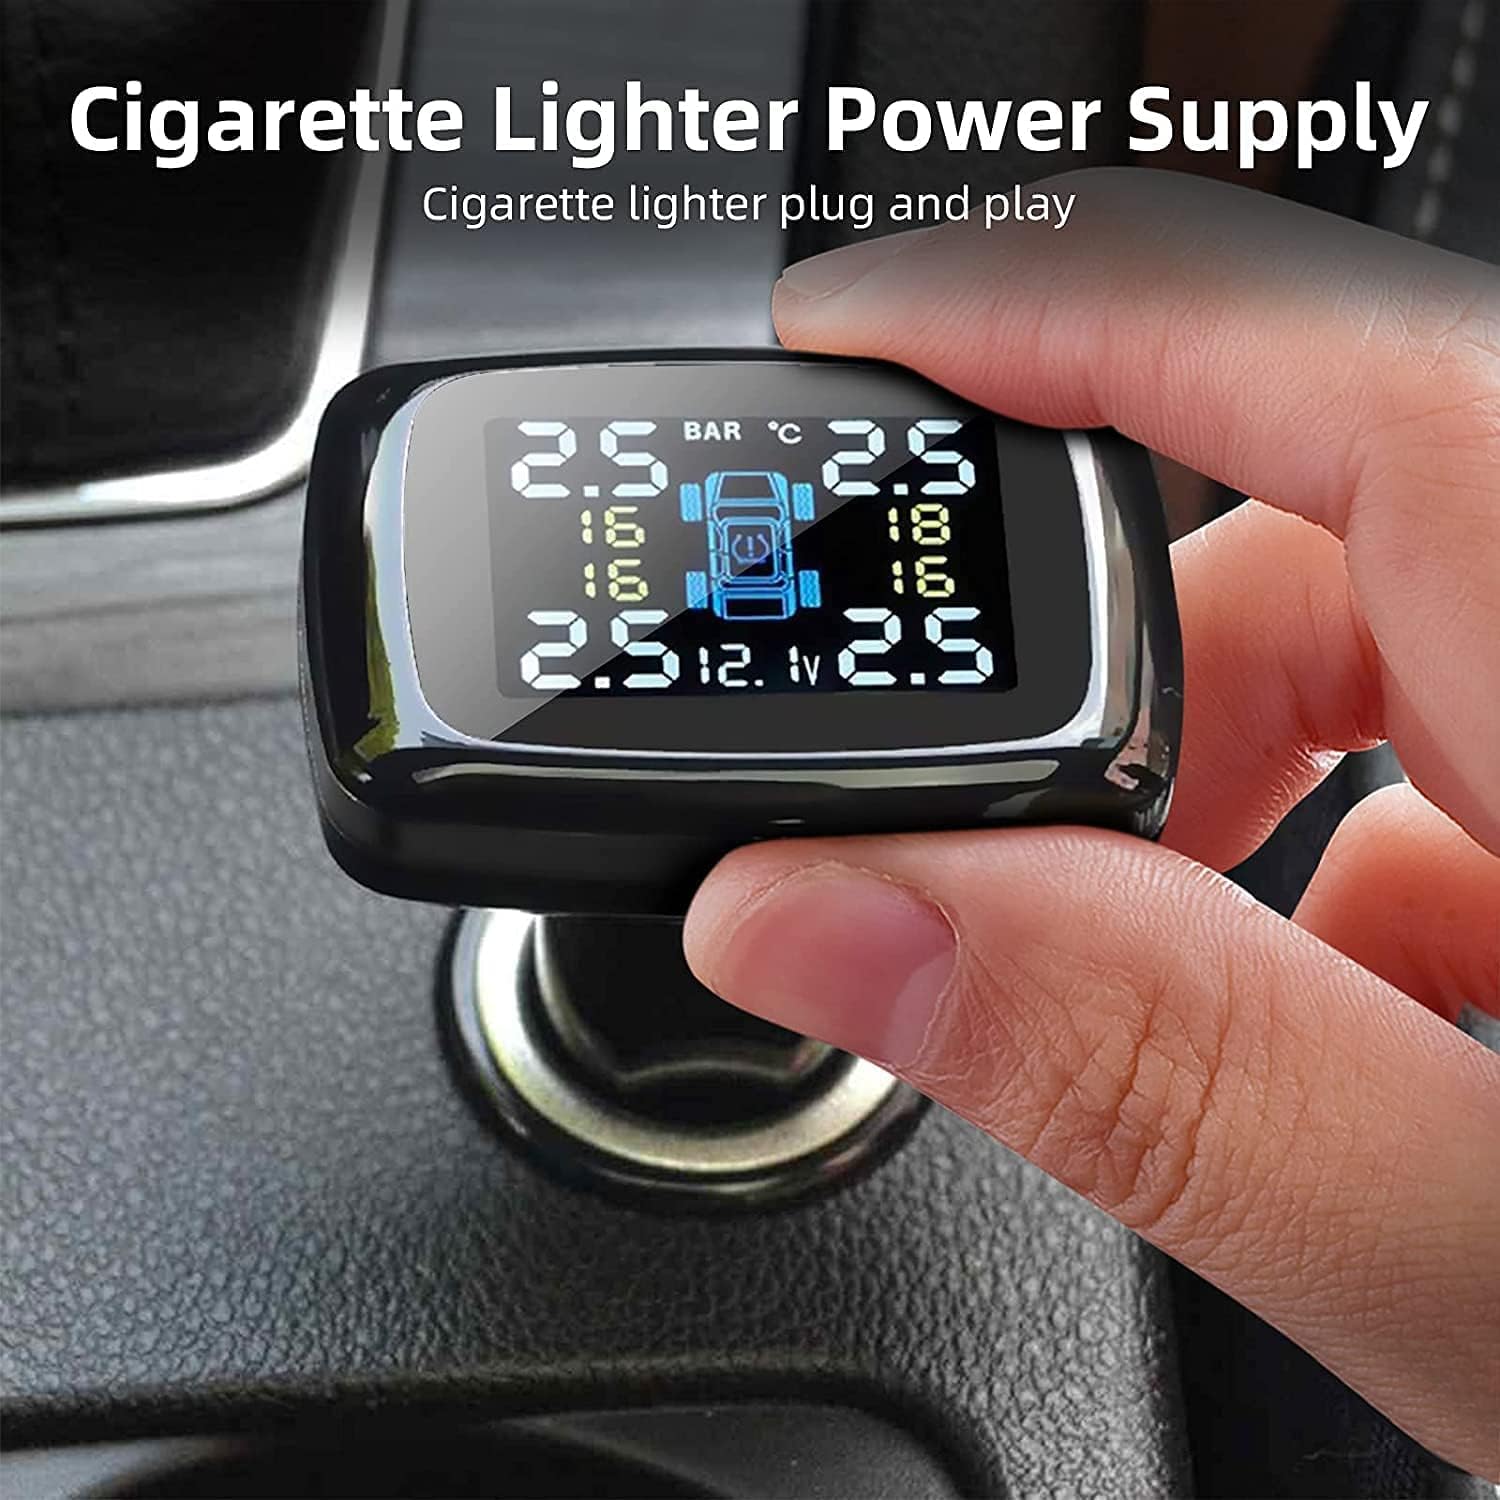
Image 2.1: The TPMS monitor connects directly to the cigarette lighter for power.
Image 2.2: The monitor's display angle can be adjusted for optimal visibility.
2.2 Sensor Installation
The four external sensors are pre-paired with the monitor for convenience. Install them on your tires following these steps:
- Unscrew the original valve cap from the tire valve.
- Screw on the hex nut (anti-theft nut) onto the valve stem.
- Screw the sensor onto the valve stem. Ensure it is tightened securely.
- Rotate the hex nut towards the sensor and tighten it with the provided wrench to secure the sensor and prevent theft.
- Check for air leaks by applying soapy water around the sensor and valve stem.
It is recommended to install one sensor at a time to ensure the monitor correctly registers each tire.

Image 2.3: The IP68 waterproof sensors are designed for durability and wide compatibility.

Image 2.4: Step-by-step guide for installing the external tire sensors. (Note: Image is small, refer to physical manual for clearer details.)
Video 2.1: Detailed instructions for the installation and removal of TPMS sensors.
3. Operating Instructions
3.1 Real-time Monitoring
Once installed and powered on, the monitor will automatically display the real-time tire pressure and temperature for all four tires. The display also shows the vehicle's battery voltage.

Image 3.1: Diagram illustrating the various indicators on the TPMS monitor display.
3.2 Alarm Functions
The system provides six types of alarms to alert you to abnormal tire conditions:
- Fast Leak Alarm: Alerts to rapid air loss.
- High/Low Pressure Alarm: Activates if pressure exceeds or falls below set thresholds.
- High Temperature Alarm: Warns of excessively hot tires.
- Sensor Battery Low Power Alarm: Indicates a low battery in one of the sensors.
- Sensor Fault Alarm: Notifies of a malfunction in a sensor.
When an alarm is triggered, the monitor will emit an audible warning and display a flashing icon. Press the 'Set' button on the monitor to stop the buzzer.

Image 3.2: Visual representation of the six alarm modes on the TPMS display.
3.3 Setting Alarm Values
You can customize the high and low-pressure alarm thresholds. Refer to the detailed user manual (physical copy) for specific instructions on how to enter the settings menu and adjust these values. The adjustable range for high pressure is 0.6-6 bar, and for low pressure is 0.5-2.5 bar.
3.4 Battery Voltage Monitoring
The monitor continuously displays the vehicle's battery voltage, helping you ensure the battery operates within normal parameters and prolong its lifespan.

Image 3.3: The monitor displays the current battery voltage of your vehicle.
3.5 USB Charging Port
The monitor includes a USB charging port, allowing you to charge your smartphone, tablet, or other USB-powered devices while the TPMS is in use.

Image 3.4: The integrated USB port provides convenient charging for other devices. (Note: Image is small, refer to physical manual for clearer details.)
4. Maintenance
4.1 Sensor Battery Replacement
When a sensor battery low power alarm is triggered, the sensor battery needs to be replaced. Follow these steps:
- Remove the anti-theft hex nut and unscrew the sensor from the tire valve.
- Carefully remove the dismantling gasket from the sensor.
- Use a small wrench or tool to gently pry open the sensor shell.
- Remove the old battery and replace it with a new CR1632 lithium button cell battery, ensuring correct polarity.
- Reassemble the sensor, ensuring the gasket is properly seated, and re-install it on the tire valve.

Image 4.1: Step-by-step guide for replacing the sensor battery. (Note: Image is small, refer to physical manual for clearer details.)
5. Troubleshooting
If you encounter issues with your Jansite TPMS, refer to the following common problems and solutions:
| Problem | Possible Cause | Solution |
|---|---|---|
| No tire pressure/temperature displayed for a sensor. | Sensor not installed correctly, sensor battery low/dead, sensor out of range, or pairing issue. | Ensure sensor is tightly screwed on. Check sensor battery and replace if necessary. Re-pair the sensor with the monitor (refer to re-pairing video). |
| Inaccurate readings. | Sensor not fully seated, air leak, or external interference. | Verify sensors are securely installed and no air leaks are present. Ensure the monitor is not obstructed. |
| Occasional false alarms. | Alarm thresholds set too close to normal operating pressure/temperature, or temporary signal interference. | Adjust alarm thresholds to appropriate levels for your vehicle's tires. Ensure sensors are transmitting correctly. |
| Monitor not powering on. | Cigarette lighter socket issue, or monitor fault. | Check if the cigarette lighter socket is functional with another device. Ensure the monitor is fully inserted. |
Video 5.1: Instructions on re-pairing TPMS sensors. This video can be helpful if sensors lose connection or need to be re-assigned.
6. Specifications
- Model: Tire Pressure Monitoring System-0328
- Brand: Jansite
- Power Supply: Cigarette Lighter (12V)
- Sensor Type: External, Wireless
- Sensor Waterproof Rating: IP68
- Battery Type (Sensors): 1 Lithium Polymer battery (CR1632, included)
- High Pressure Adjustable Range: 0.6 - 6.0 bar
- Low Pressure Adjustable Range: 0.5 - 2.5 bar
- Operating Temperature: -20°C to 80°C (Monitor), -30°C to 85°C (Sensors) (Assumed typical range for TPMS)
- Pressure Accuracy: ±0.1 bar (Assumed typical accuracy)
- Temperature Accuracy: ±3°C (Assumed typical accuracy)
- Item Weight: Approximately 160 g
- Parcel Dimensions: Approximately 13.9 x 13.7 x 4.9 cm
7. Warranty and Support
All Jansite products are backed by a 12-month replacement warranty and lifetime after-sales service. If you encounter any issues with your product, please contact Jansite customer support for assistance. Refer to the contact information provided in your product packaging or on the official Jansite website.


