
1. Introduction
This manual provides detailed instructions for the installation and maintenance of your Hansgrohe RainDrain 31 1/2" Rough for Linear Shower Floor Drain. The RainDrain system is designed to offer maximum comfort and design integration in your shower space, coordinating seamlessly with other Hansgrohe shower systems and faucets. Please read this manual thoroughly before beginning installation to ensure proper function and longevity of your product.
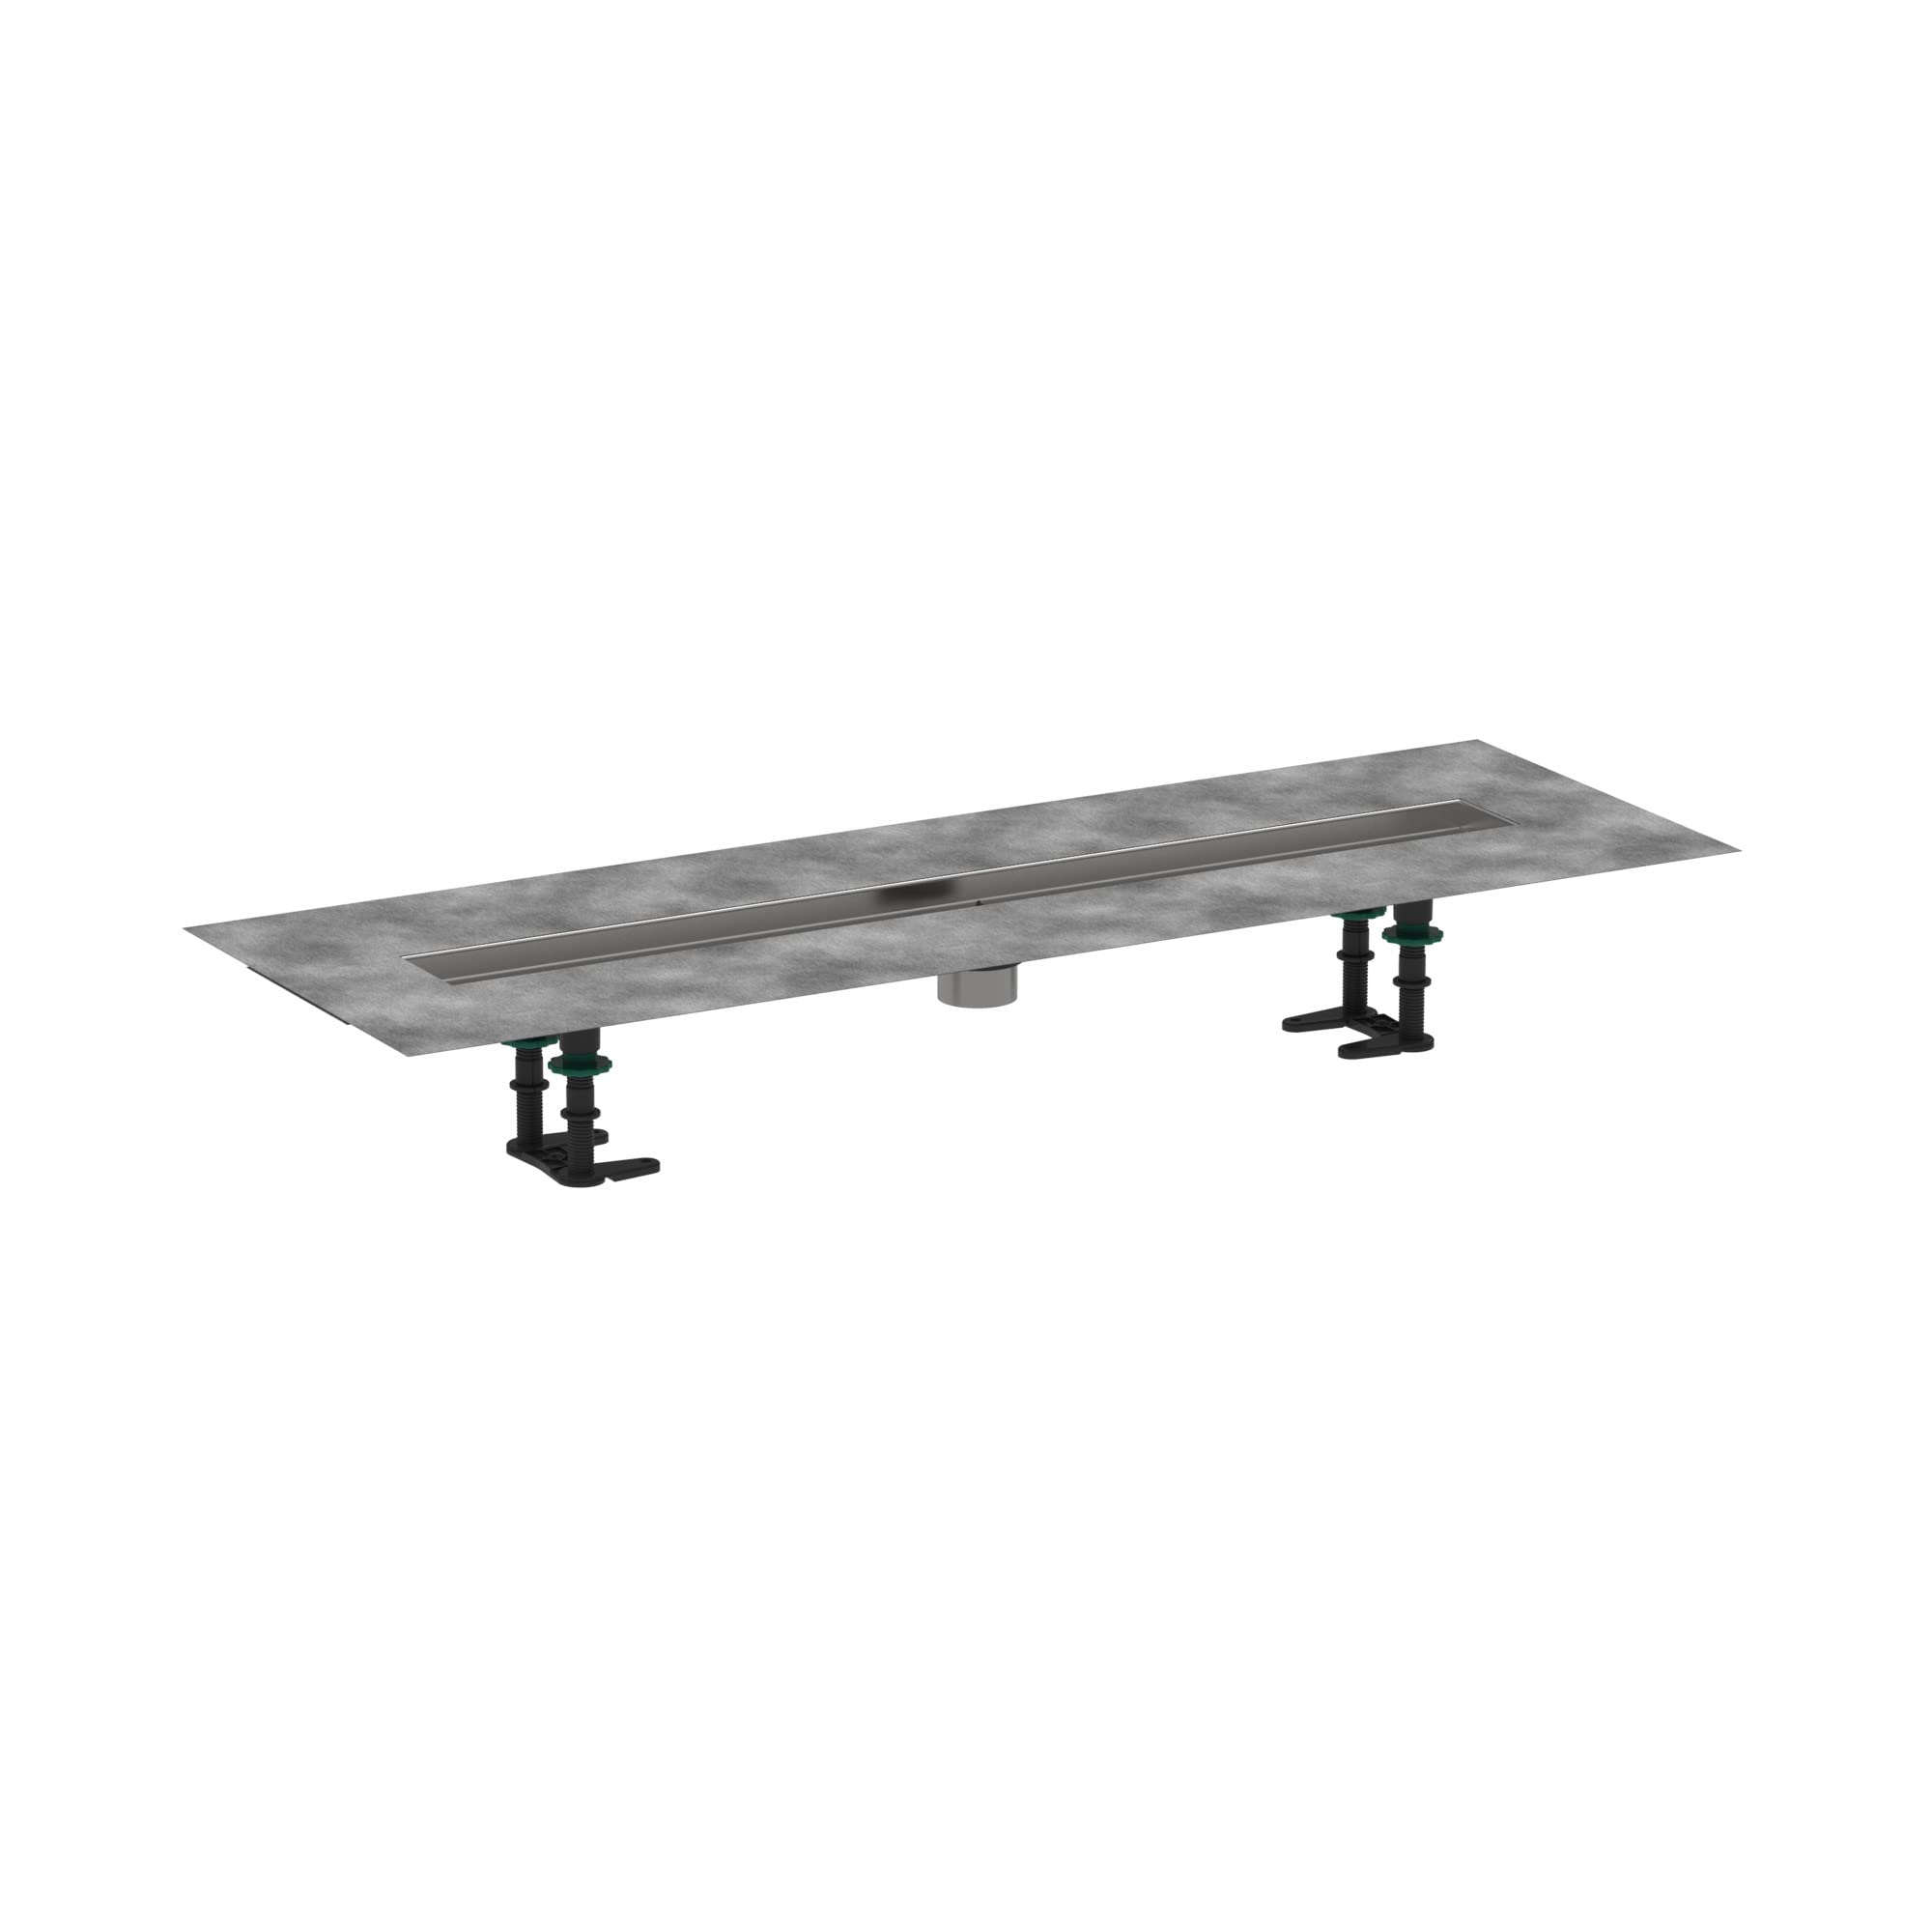
Image: Hansgrohe RainDrain 31 1/2 inch Rough Linear Shower Floor Drain in Brushed Stainless Steel.
2. Safety Information
Please observe the following safety precautions during installation and use:
- Always wear appropriate personal protective equipment (PPE) such as safety glasses and gloves.
- Ensure all local plumbing and building codes are followed during installation.
- Turn off the main water supply before beginning any plumbing work.
- If you are unsure about any step, consult a qualified professional plumber.
- Keep small parts out of reach of children.
3. Package Contents
The Hansgrohe RainDrain installation set includes the following components:
- Rough drain body
- Pre-assembled sealing membrane
- Height adjustment feet
- Hair catcher
- Tiling aid
Note: The drain trim is sold separately.
4. Installation Guide
This section details the installation process for the Hansgrohe RainDrain Rough. For a visual guide, please refer to the embedded video below.
Video: Hansgrohe RainDrain Installation Guide. This video demonstrates the complete installation process for the RainDrain system, including subfloor preparation, drain connection, shower pan liner installation, pre-sloped base creation, waterproofing, tiling, and final trim installation.
4.1. Prepare the Subfloor and Drain Connection
Begin by measuring to find the center point for your drain and determine its distance from the wall. Mark this position accurately. Drill your subfloor to accommodate your preferred drain connection type, ensuring it fits securely. Follow all local plumbing codes for drain piping connection.
Video Segment: Subfloor preparation, measuring, drilling, and connecting the drain piping. This segment shows how to accurately mark the drain's position, drill the subfloor, and connect the drain to the plumbing system, emphasizing adherence to local codes.
4.2. Install Shower Pan Liner and Waterproofing
For installations using a vinyl shower pan liner, secure the clamp drain to the subfloor. Carefully lay the vinyl liner, ensuring it covers the entire shower area. Find the position of the bolts on the clamp drain and make small notches in the liner. Cut out the center of the drain opening. Install the clamping ring and the drain gasket into the clamp drain body. Follow all manufacturer recommendations for waterproofing your shower pan liner and joints. Use a liquid waterproofing material to connect the RainDrain waterproof membrane to the pre-slope shower base, applying it to both the top and bottom of the membrane. Continue waterproofing the remaining shower area, including wall protrusions like showervalves and prefabricated wall niches, as per manufacturer recommendations.
Video Segment: Shower pan liner and waterproofing. This segment illustrates the steps for installing a vinyl shower pan liner, securing the drain, and applying waterproofing materials to ensure a watertight shower enclosure.
4.3. Install Pre-Sloped Shower Base and RainDrain Rough
Unbox your Hansgrohe RainDrain Rough. Install the RainDrain rough to the gasket, ensuring it is properly aligned to the shower wall and level. Install your pre-sloped shower base, following all local codes for shower base installation. Smooth the shower base and ensure there is a proper slope to achieve effective drainage of the shower floor.
Video Segment: Pre-sloped shower base and RainDrain Rough installation. This segment demonstrates unboxing the RainDrain Rough, installing it, and creating the pre-sloped shower base for optimal drainage.
4.4. Tile Installation and Final Trim
Use the provided installation aid to keep the drain free of mortar and to guide the placement of your tiles. Ensure the floor tiles are properly sloped towards the drain tray. Complete the tile installation. Install the height-adjustable frame for the drain trim. Use the included height adjustable feet to find the perfect height for the RainDrain frame; the number corresponding to the top of the finish tile is the proper height. Install the adjustable feet onto the RainDrain frame. Use a silicone sealant to create a water-tight seal around the drain. Make sure to install the removable hair catch. Finally, install the drain trim; it drops right into the height adjustable frame and matches the floor elevation perfectly. The drain trim for RainDrain Match can be installed with the metallic surface visible, or you can flip it over to inset your custom tile on the backside for a seamless connection to your tile flooring.
Video Segment: Tiling and final trim installation. This segment covers using the tiling aid, ensuring proper tile slope, installing the height-adjustable frame and feet, applying sealant, and placing the drain trim.
5. Maintenance
To ensure the longevity and optimal performance of your Hansgrohe RainDrain, regular maintenance is recommended:
- Easy to clean: Dirt and hair can easily be cleaned from the drain by removing the cover and using the included tool.
- Periodically check for any debris or blockages in the drain and clear them to maintain proper water flow.
- Clean the visible parts of the drain with a soft cloth and mild, non-abrasive cleaner. Avoid harsh chemicals that could damage the finish.
6. Specifications
| Feature | Detail |
|---|---|
| Manufacturer | Hansgrohe |
| Part Number | 56012181 |
| Item Weight | 3.49 pounds |
| Product Dimensions | 23.63 x 7.01 x 1.97 inches |
| Item Model Number | 56012181 |
| Size | 31 1/2" |
| Color | Brushed Stainless Steel |
| Style | American |
| Finish | Rough |
| Material | Stainless Steel |
| Shape | Rough |
| Installation Method | Rough |
| Item Package Quantity | 1 |
| Number Of Holes | 1 |
| Usage | Inside |
| Included Components | Rough, pre-assembled sealing membrane, height adjustment feet, hair catcher, tiling aid |
7. Warranty and Support
For detailed warranty information and customer support, please visit the official Hansgrohe USA website or contact their customer service team.
- Website: www.hansgrohe-usa.com
- Customer Service: 1 (800) 334-0455
