Introduction
Thank you for purchasing the Guzzanti GZ 706 Yogurt Maker. This appliance is designed to help you easily prepare fresh, homemade yogurt. Please read this manual thoroughly before first use to ensure safe operation and optimal performance. Keep this manual for future reference.
Important Safety Instructions
When using electrical appliances, basic safety precautions should always be followed, including the following:
- Read all instructions before using the appliance.
- Do not touch hot surfaces. Use handles or knobs.
- To protect against electrical shock, do not immerse cord, plugs, or the appliance body in water or other liquid.
- Close supervision is necessary when any appliance is used by or near children.
- Unplug from outlet when not in use and before cleaning. Allow to cool before putting on or taking off parts.
- Do not operate any appliance with a damaged cord or plug, or after the appliance malfunctions or has been damaged in any manner.
- The use of accessory attachments not recommended by the appliance manufacturer may cause injuries.
- Do not use outdoors.
- Do not let cord hang over edge of table or counter, or touch hot surfaces.
- Do not place on or near a hot gas or electric burner, or in a heated oven.
- Extreme caution must be used when moving an appliance containing hot oil or other hot liquids.
- Always attach plug to appliance first, then plug cord into the wall outlet. To disconnect, turn any control to "off", then remove plug from wall outlet.
- Do not use appliance for other than intended use.
Product Overview
The Guzzanti GZ 706 Yogurt Maker is a compact and efficient appliance designed for home yogurt production. It features multiple individual jars for convenient serving and storage, along with a digital display for easy time setting.
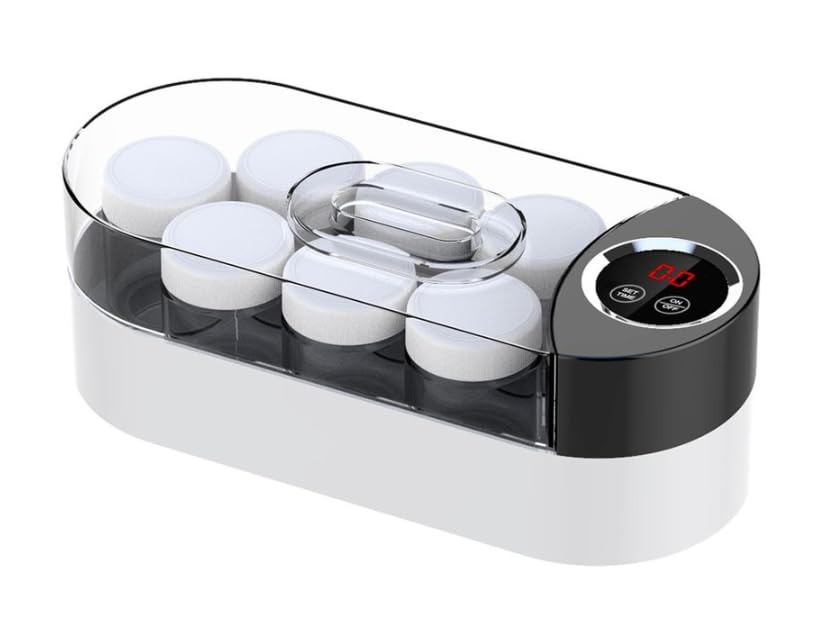
Image: The Guzzanti GZ 706 Yogurt Maker, showing its white base, clear lid, and six individual yogurt jars with white caps. A digital display and control buttons are visible on the right side of the unit.
Components:
- Main Unit with Heating Element
- Transparent Lid
- Individual Yogurt Jars (typically 6-8, with lids)
- Digital Display and Control Panel (Set Time, On/Off buttons)
Setup
- Unpacking: Carefully remove all packaging materials from the yogurt maker and its components.
- Initial Cleaning: Before first use, wash the individual yogurt jars and their lids thoroughly with warm, soapy water. Rinse well and dry completely. Wipe the main unit with a damp cloth. Do not immerse the main unit in water.
- Placement: Place the yogurt maker on a stable, flat, heat-resistant surface, away from direct sunlight and heat sources. Ensure there is adequate ventilation around the unit.
- Power Connection: Plug the power cord into a standard electrical outlet. The digital display may light up.
Operating Instructions
Follow these steps to make homemade yogurt:
- Prepare Ingredients: You will need milk (dairy or non-dairy) and a starter culture (either plain yogurt with live active cultures or a powdered yogurt starter). Heat the milk to approximately 180°F (82°C) and then let it cool down to 105-115°F (40-46°C). This step is crucial for proper yogurt consistency.
- Mix Starter: Once the milk has cooled, whisk in the yogurt starter until well combined.
- Fill Jars: Pour the milk and starter mixture into the individual yogurt jars. Do not overfill.
- Place Jars: Place the filled, uncapped jars into the yogurt maker's main unit.
- Cover: Place the transparent lid securely on the yogurt maker.
- Set Time: Press the "SET TIME" button to adjust the fermentation time. Typical fermentation times range from 6 to 12 hours, depending on desired thickness and tartness. Longer times result in thicker, tangier yogurt.
- Start Fermentation: Press the "ON/OFF" button to start the yogurt maker. The digital display will show the countdown.
- Cooling: Once the fermentation cycle is complete (the timer reaches zero), turn off the unit by pressing the "ON/OFF" button. Remove the jars, cap them, and refrigerate immediately for at least 4 hours before serving. This stops the fermentation process and helps the yogurt set further.
Note: For best results, ensure all utensils and jars are clean and free of contaminants. The quality of your ingredients will significantly impact the final yogurt.
Maintenance and Cleaning
Regular cleaning will ensure the longevity and hygiene of your yogurt maker.
- Unplug: Always unplug the appliance from the power outlet and allow it to cool completely before cleaning.
- Jars and Lids: Wash the individual yogurt jars and their lids with warm, soapy water. They are typically dishwasher safe (top rack recommended), but hand washing is always gentler. Rinse thoroughly and dry completely before storage.
- Main Unit: Wipe the exterior of the main unit with a soft, damp cloth. For stubborn stains, use a mild detergent. Do not use abrasive cleaners or scouring pads. Never immerse the main unit, cord, or plug in water or any other liquid.
- Storage: Store the clean and dry yogurt maker in a cool, dry place.
Troubleshooting
| Problem | Possible Cause | Solution |
|---|---|---|
| Yogurt is too thin/runny. |
|
|
| Yogurt is too tart or lumpy. |
|
|
| Yogurt maker does not turn on. |
|
|
Specifications
- Model: GZ 706
- Brand: Guzzanti
- Product Dimensions: 19.69 x 19.69 x 11.02 inches
- Item Weight: 6.7 ounces
- Number of Items: 1
- ASIN: B0BZQSSYMW
- Date First Available: January 3, 2025
Customer Support
For any questions, concerns, or technical assistance regarding your Guzzanti GZ 706 Yogurt Maker, please contact Guzzanti customer support. Refer to your purchase documentation for specific contact details or visit the official Guzzanti website.


