1. Introduction
1.1 Overview
The DieseRC Wireless AC Motor Remote Control Switch is designed to wirelessly control the forward and reverse rotation of AC motors. It offers stable and reliable performance with high reception sensitivity, allowing control within approximately 30 meters. This controller is compatible with both manual switches and limit switches, providing flexible control options for various applications such as garage doors, electric doors, shutter doors, and electric curtains.
1.2 Package Contents
- 1 x AC Motor Remote Control Receiver
- 2 x Remote Control Transmitters
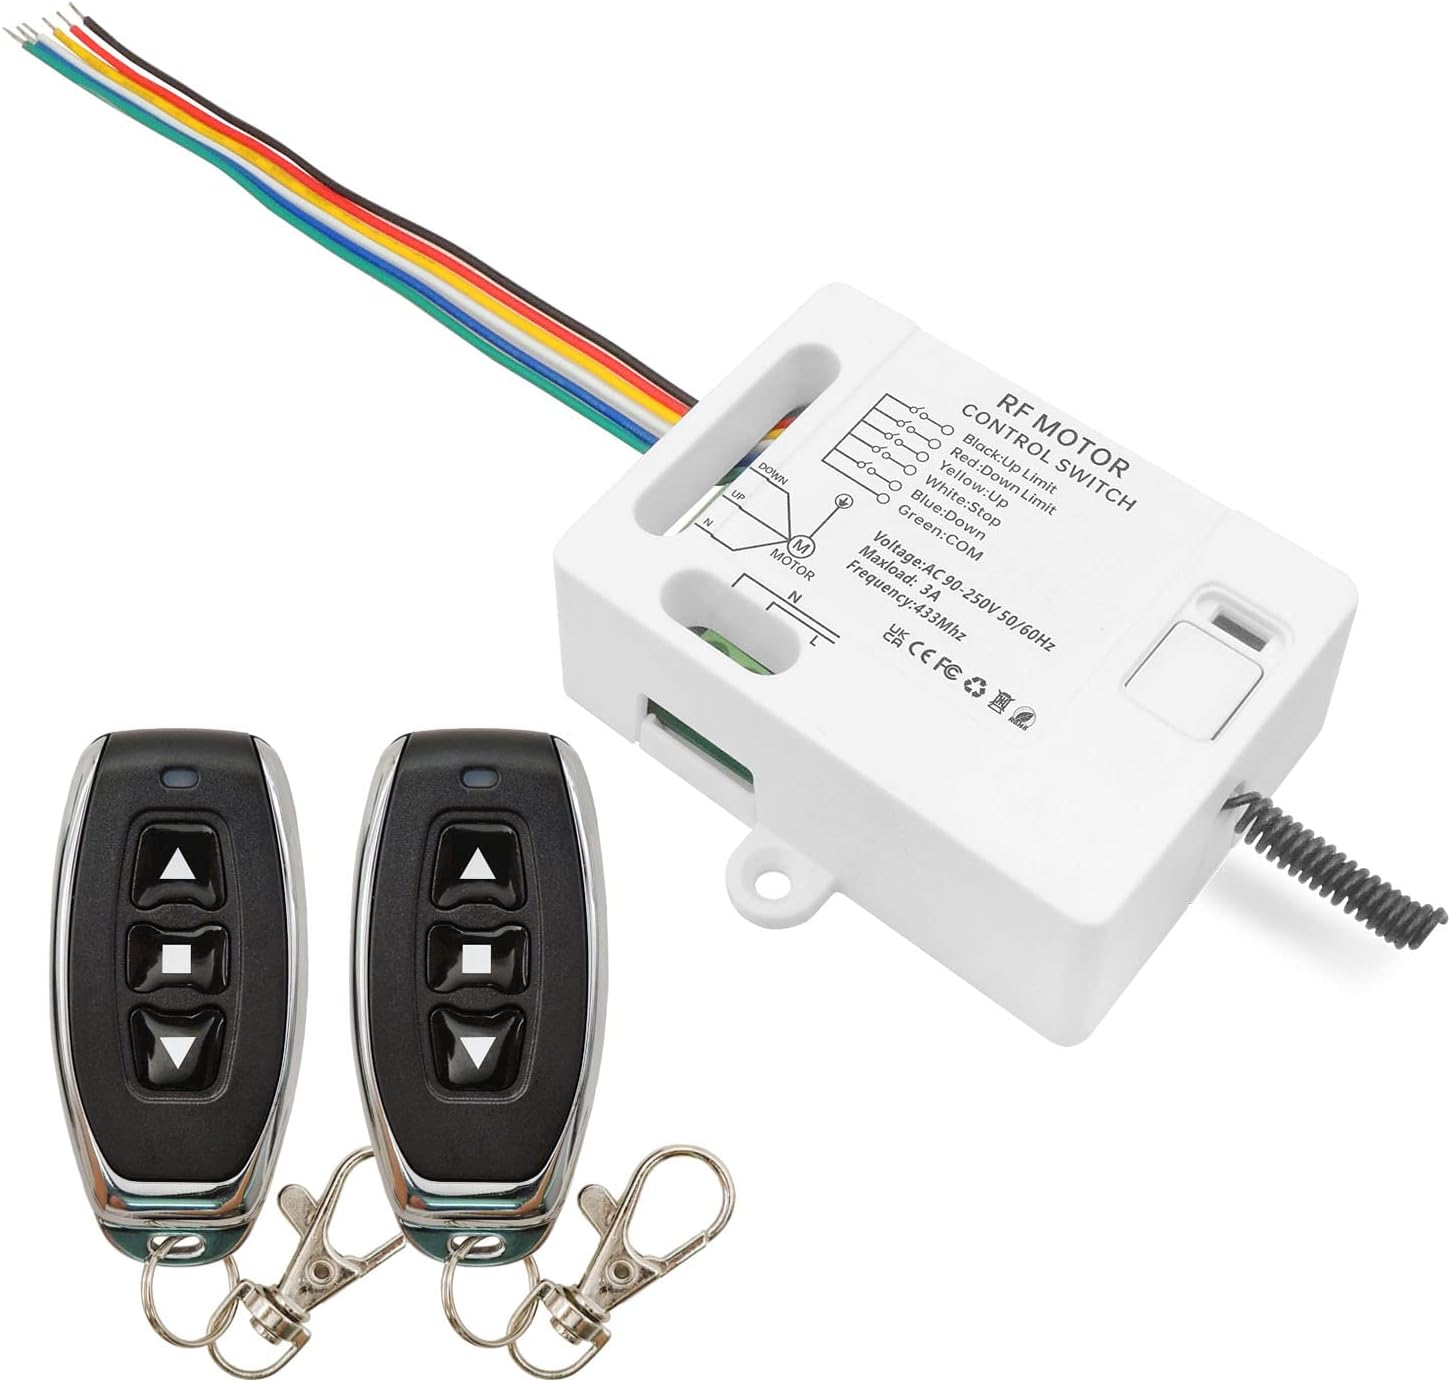
Image: The DieseRC Wireless AC Motor Remote Control Switch receiver and two remote control transmitters.
2. Safety Information
Please read all safety instructions carefully before installation and operation. Failure to follow these instructions may result in electric shock, fire, or serious injury.
- Ensure the power supply is disconnected before performing any wiring or maintenance.
- Installation should be performed by a qualified electrician or technician.
- Do not expose the device to moisture or extreme temperatures.
- Verify all connections are secure and correct according to the wiring diagram to prevent short circuits.
- The rated resistive load of the relay is 10A (inductive load is 3A). Do not exceed these limits.
- Keep remote controls out of reach of children.
3. Product Features
- Wireless Control: 433Mhz RF wireless remote control for AC motor forward and reverse rotation.
- High Sensitivity: Stable and reliable performance with high reception sensitivity (> -97dBm).
- Long Range: Strong signal can pass through walls, floors, and doors, with a control distance of approximately 30 meters in open space.
- Multiple Operating Modes: Supports Momentary, Toggle, and Latched modes, easily adjustable to suit specific needs.
- Expandable System: Each receiver can store up to 20 transmitters. One transmitter can also control multiple receivers.
- Wide Voltage Compatibility: Receiver suitable for AC 90V~250V (110V, 220V, 230V).
- Durable Relay: High-quality relay designed for over 100,000 uses.

Image: The remote control offers a control distance of up to 30 meters in open spaces due to its high-quality chip and stable signal.

Image: The RF433Mhz remote control system is compatible with both manual switches and limit switches for versatile integration.
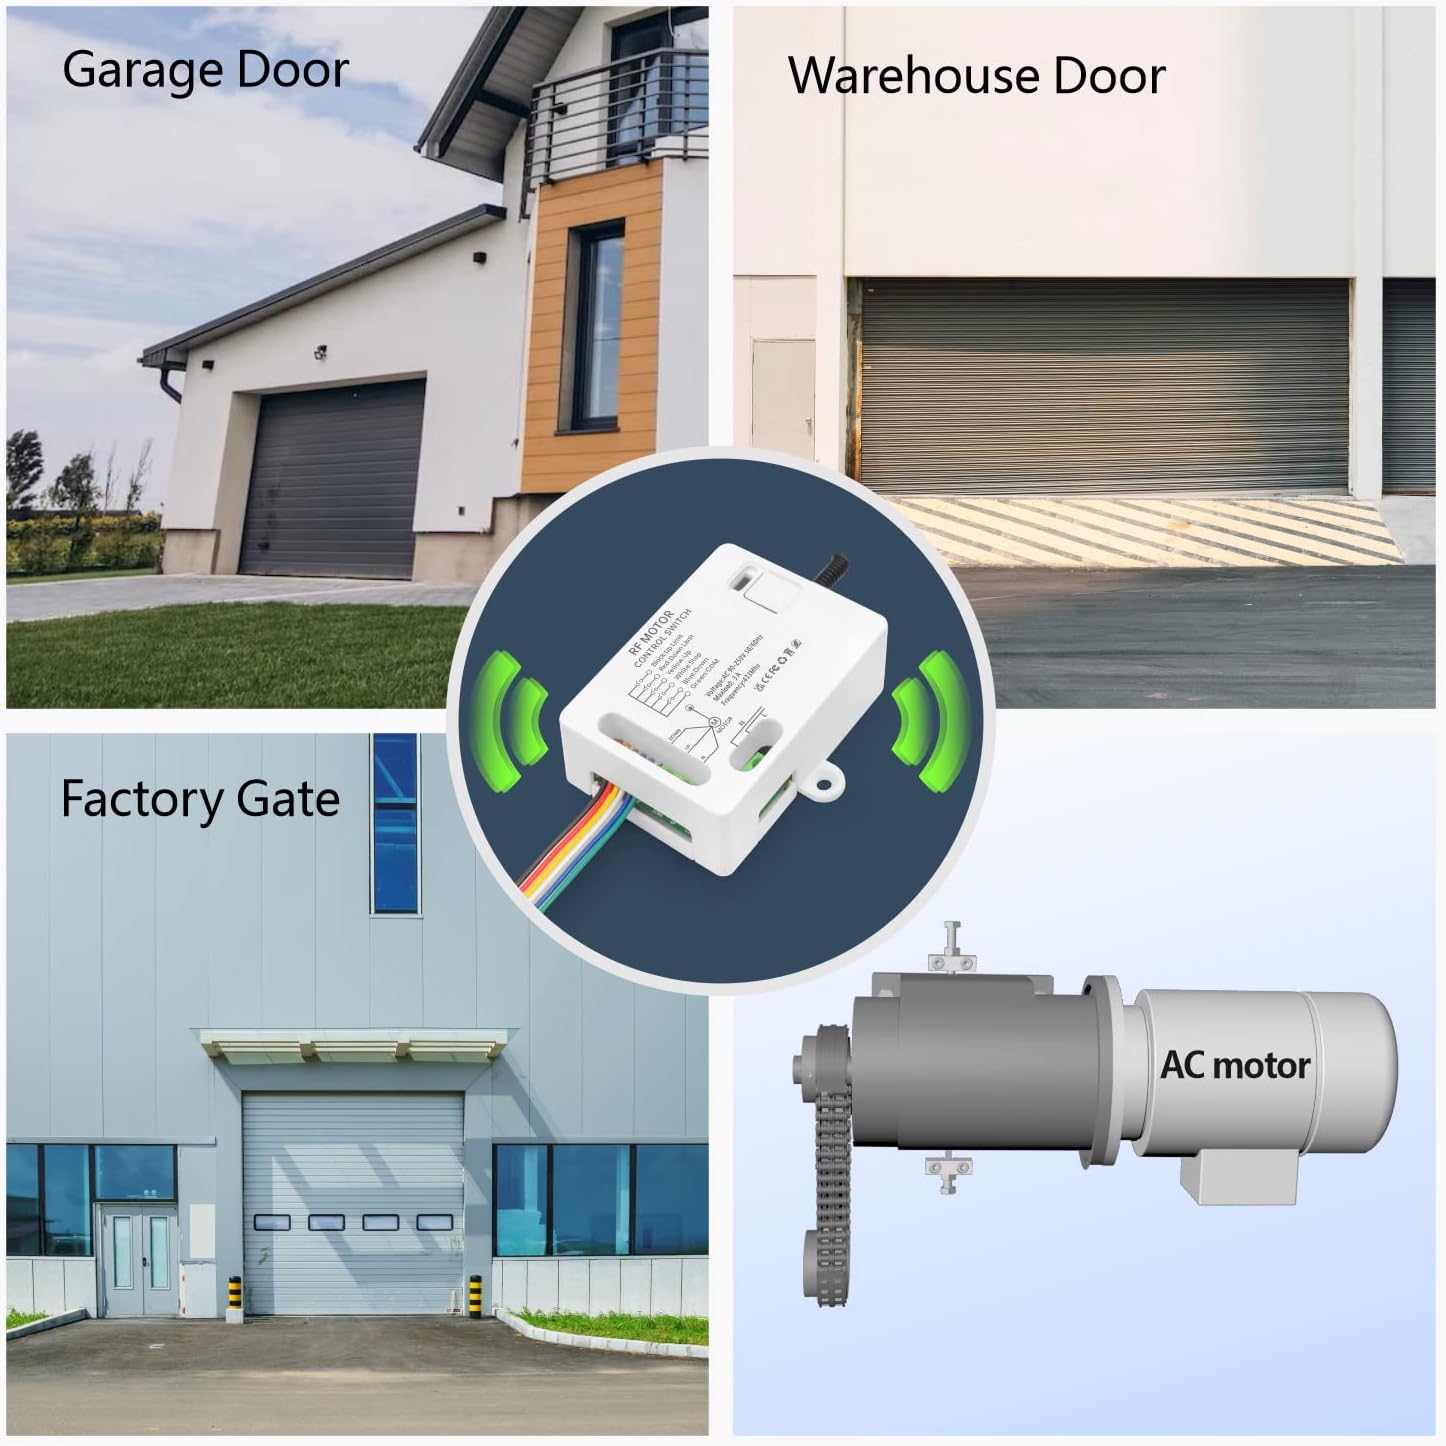
Image: This remote control switch is suitable for a wide range of applications, including garage doors, warehouse doors, factory gates, and general AC motor control.
4. Specifications
| Attribute | Value |
|---|---|
| Manufacturer | DieseRC |
| Part Number | 2202M |
| Item Weight | 5.3 ounces |
| Product Dimensions | 2.87 x 2.09 x 1.02 inches |
| Country of Origin | China |
| Item Model Number | 2202M |
| Batteries | 1 CR2032 batteries required (included) |
| Color | 1 Receiver with 2 Transmitters |
| Item Package Quantity | 1 |
| Included Components | 1 Receiver with 2 Transmitters |
| Battery Cell Type | Lithium Manganese Dioxide |
5. Setup
5.1 Wiring Diagram
Carefully follow the wiring diagrams below to connect the receiver to your AC motor, manual switch, and limit switches (if applicable). Ensure all power is disconnected before wiring.

Image: Detailed wiring diagram showing connections for the AC motor, optional manual switch, and limit switches to the receiver.

Image: Simplified wiring diagram illustrating the connection of the AC motor and AC 90V~250V power supply to the receiver.
5.2 Learning Modes (Programming)
The receiver supports three operating modes: Momentary, Toggle, and Latched. Follow the steps below to program your remote control transmitters to the desired mode.

Image: Visual guide on how to program the receiver for Momentary, Toggle, and Latched operating modes by pressing the learning button and remote control buttons.
Programming Steps:
- Momentary Mode (Press 1 time): Press the learning button on the receiver once. The indicator light will turn on. Then, press the desired button on your remote control. The indicator light will flash and turn off, indicating successful programming. In this mode, the motor operates only while the remote button is held down.
- Toggle Mode (Press 2 times): Press the learning button on the receiver twice. The indicator light will turn on. Then, press the desired button on your remote control. The indicator light will flash and turn off. In this mode, one press turns the motor on, and another press turns it off.
- Latched Mode (Press 3 times): Press the learning button on the receiver three times. The indicator light will turn on. Then, press the 'Up' button on your remote control, followed by the 'Down' button. The indicator light will flash and turn off. In this mode, one button press activates the motor (e.g., forward), and another button press activates the motor in the opposite direction (e.g., reverse). A third button (stop) can be used to halt the motor.
Resetting the Receiver:
To clear all programmed remote controls from the receiver, press the learning button 8 times. The indicator light will flash multiple times and then turn off, indicating that all stored remote controls have been cleared.
Video: A detailed demonstration on how to program the DieseRC Wireless AC Motor Remote Control Switch for different operating modes.
6. Operating
Once programmed, operate the AC motor using the remote control transmitters according to the selected mode:
6.1 Momentary Mode
In Momentary Mode, the motor will run only as long as the remote control button is pressed. Releasing the button will stop the motor.
6.2 Toggle Mode
In Toggle Mode, pressing the remote control button once will turn the motor on. Pressing the same button again will turn the motor off.
6.3 Latched Mode
In Latched Mode, typically one button (e.g., 'Up' or '▲') will start the motor in one direction (e.g., forward). Another button (e.g., 'Down' or '▼') will start the motor in the opposite direction (e.g., reverse). A third button (e.g., 'Stop' or '■') is usually designated to stop the motor. If the motor is moving in one direction and you press the button for the opposite direction, it will first stop briefly and then reverse.

Image: Illustrations demonstrating the operational behavior of Momentary, Toggle, and Latched modes with the remote control and AC motor.
Video: A practical demonstration of the DieseRC Remote Control Switch (Model 2202M) in action, showcasing its functionality with an AC motor.
7. Maintenance
To ensure the longevity and optimal performance of your DieseRC Wireless AC Motor Remote Control Switch, follow these maintenance guidelines:
- Cleaning: Wipe the receiver and remote controls with a soft, dry cloth. Do not use abrasive cleaners or solvents.
- Battery Replacement: Replace the CR2032 batteries in the remote controls when the signal weakens or the indicator light on the remote does not illuminate.
- Environmental Conditions: Keep the receiver in a dry, well-ventilated area, away from direct sunlight, high humidity, and extreme temperatures.
- Connection Check: Periodically inspect all wiring connections to ensure they remain secure and free from corrosion.
8. Troubleshooting
If you encounter issues with your DieseRC Wireless AC Motor Remote Control Switch, refer to the following common problems and solutions:
| Problem | Possible Cause | Solution |
|---|---|---|
| Remote control not working | Low battery in remote; Remote not paired; Out of range; Signal interference. | Replace remote battery; Re-program the remote to the receiver (see Setup section); Move closer to the receiver; Check for other RF devices nearby. |
| Motor does not respond | No power to receiver; Incorrect wiring; Motor issue; Receiver malfunction. | Check power supply to receiver; Verify all wiring connections (see Wiring Diagram); Test motor directly if possible; Contact support if receiver is faulty. |
| Motor runs in wrong direction | Incorrect motor wiring; Latched mode programming error. | Reverse the motor's forward/reverse wires; Re-program the remote in Latched mode, ensuring correct button assignment. |
| Motor stops unexpectedly | Limit switch activated; Overload; Loose connection. | Check if limit switches are properly adjusted or faulty; Ensure motor load is within specifications; Inspect all wiring for loose connections. |
9. Warranty and Support
9.1 Warranty Information
Please refer to the product packaging or the seller's official website for specific warranty terms and conditions. Generally, DieseRC products are designed for durability and reliability.
9.2 Contact Support
For technical assistance, troubleshooting, or warranty claims, please contact the seller, Wenqia Electronic, through the platform where you purchased the product. Provide your order details and a clear description of the issue for prompt support.


