
1. Introduction
This manual provides detailed instructions for the installation, operation, and maintenance of your Podofo Autoradio. This unit is specifically designed for Seat Altea models manufactured between 2004 and 2015, offering an upgraded in-car entertainment and navigation experience with its Android operating system, Carplay, and Android Auto functionalities.

Image 1.1: Comparison of the original Seat Altea dashboard radio (top) and the Podofo Autoradio installed (bottom), demonstrating the integrated 9-inch touchscreen display.
2. Safety Information
- Professional Installation Recommended: Due to the complexity of vehicle electrical systems, professional installation is highly recommended to prevent damage to the unit or vehicle.
- Avoid Distractions: Do not operate the unit or view videos while driving. Always prioritize road safety.
- Power Supply: Ensure the unit is connected to a 12V DC power supply with negative grounding.
- Wiring: Incorrect wiring can cause damage. Refer to the wiring diagram carefully.
- Temperature: Avoid exposing the unit to extreme temperatures or direct sunlight for prolonged periods.
- Cleaning: Use a soft, dry cloth for cleaning. Do not use abrasive cleaners or solvents.
3. Package Contents
Verify that all components are present in the package before proceeding with installation.

Image 3.1: Illustration of the Podofo Autoradio unit and its accompanying accessories.
- Podofo Autoradio Head Unit
- Power Cable Harness
- RCA Cables
- GPS Antenna
- USB Cables (2x)
- Rear Camera Input Cable (Optional, if included in kit)
- External Microphone
- Canbus Decoder
- Radio Antenna Adapter
- Installation Tools
- User Manual (this document)
4. Setup and Installation
4.1. Pre-Installation Checks
- Ensure the vehicle's ignition is off and the battery's negative terminal is disconnected.
- Remove the original car radio unit from the dashboard.
- Verify the compatibility of the Podofo Autoradio with your Seat Altea's dashboard opening and wiring harness.
4.2. Wiring Connections
Connect the provided wiring harness to the corresponding ports on the autoradio and the vehicle's wiring. Pay close attention to the following connections:
- Power Harness: Connect the main power harness to the vehicle's power supply. Ensure ACC, B+, and Ground wires are correctly matched.
- CANbus Decoder: Connect the CANbus decoder to the vehicle's CANbus wiring. This enables steering wheel controls, door status display, and other vehicle-specific functions.
- GPS Antenna: Mount the GPS antenna in a location with a clear view of the sky, typically on the dashboard or under the windshield, ensuring it is securely fixed.
- Radio Antenna: Connect the radio antenna adapter to the unit and the vehicle's antenna cable.
- USB Cables: Route the USB cables to an accessible location, such as the glove compartment, for connecting USB drives or smartphones.
- External Microphone: Connect the external microphone for improved call quality and voice commands. Position it near the driver for optimal performance.
- RCA Cables: Connect RCA cables for external amplifiers, subwoofers, or auxiliary video inputs/outputs as needed.
- Rear Camera Input: If installing an optional reversing camera, connect its video input to the designated port on the autoradio and its power to the vehicle's reverse light circuit.
4.3. Initial Power On
- Reconnect the vehicle's battery.
- Turn the ignition to the ACC or ON position. The autoradio should power on.
- Follow any on-screen prompts for initial setup, such as language selection and time zone.
5. Operating Instructions
5.1. Touchscreen Interface
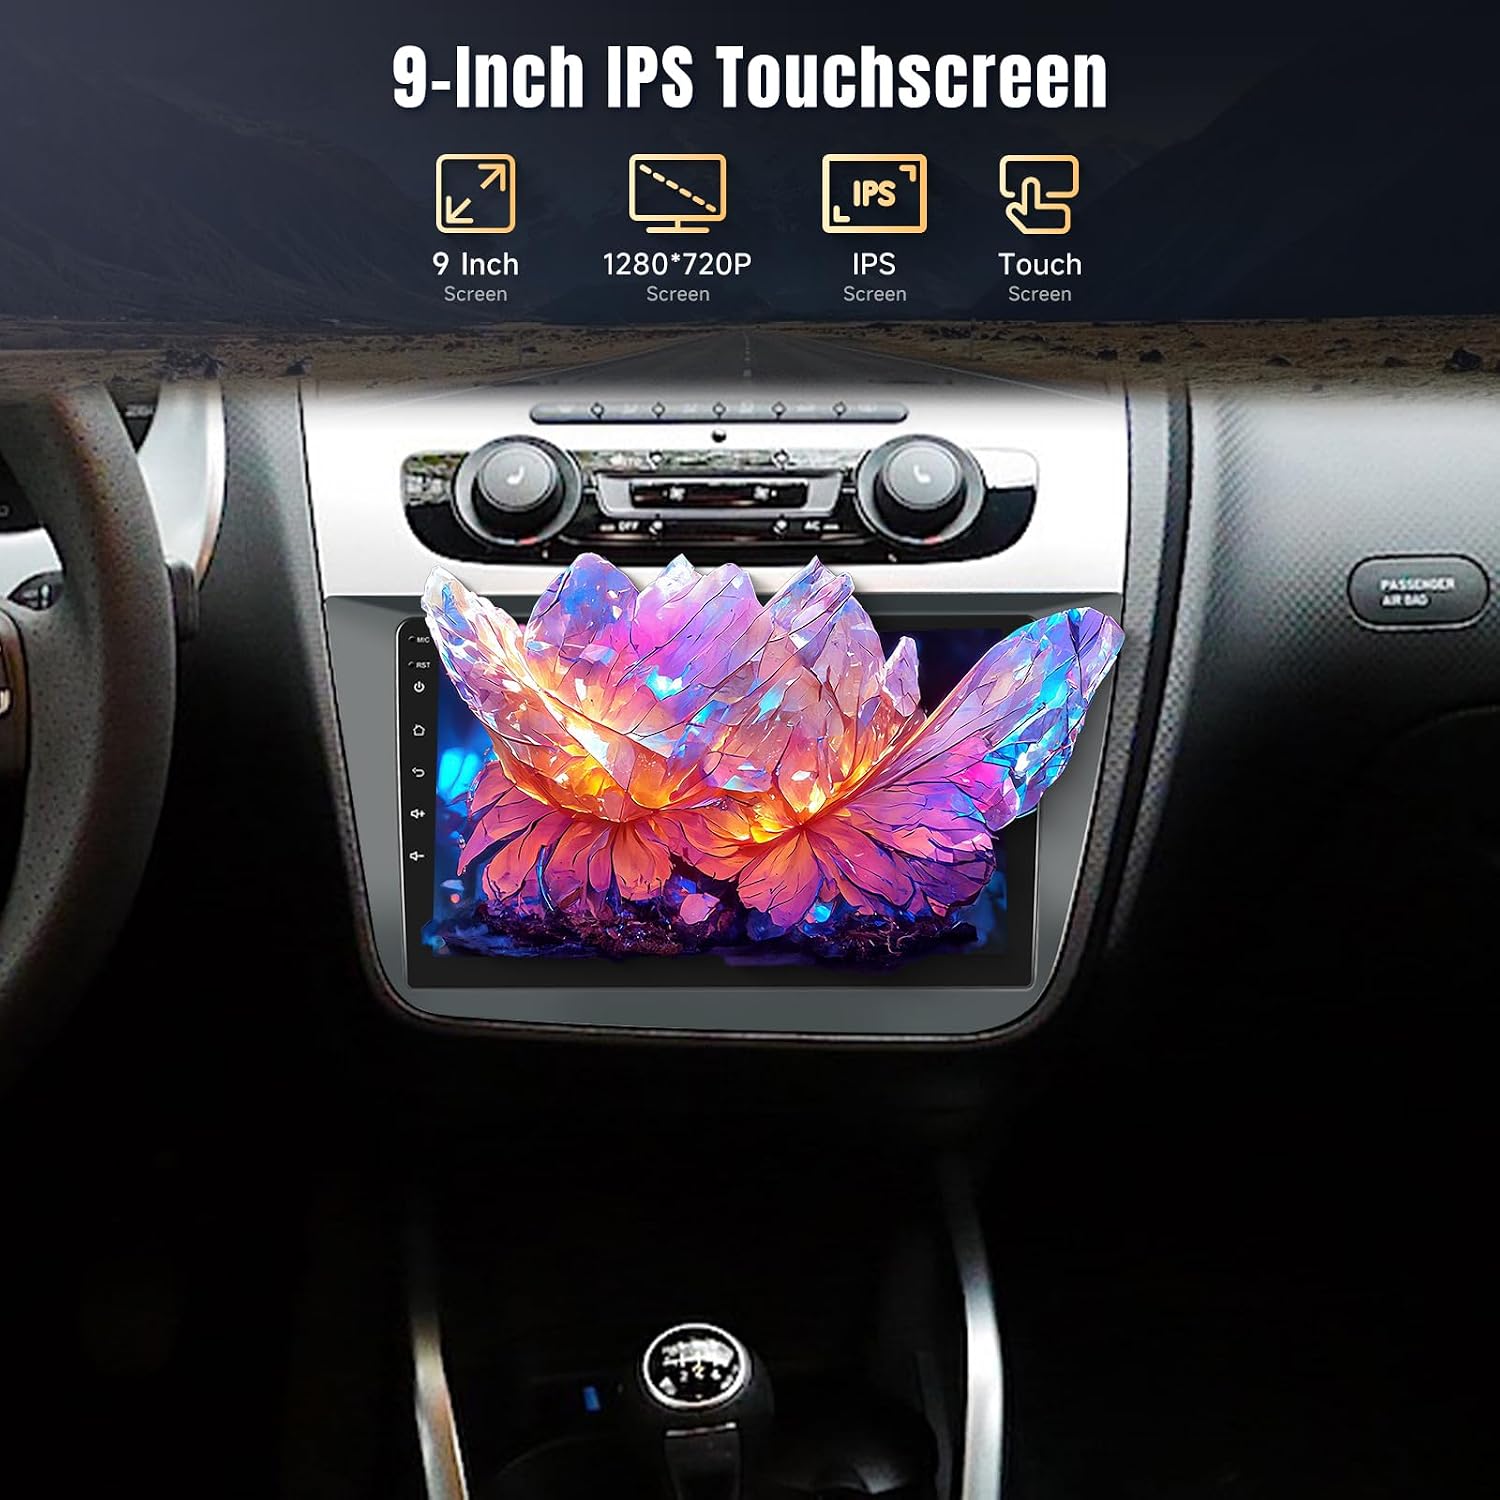
Image 5.1: The 9-inch IPS touchscreen display, featuring 1280x720P resolution and responsive touch control.
The unit features a 9-inch IPS touchscreen with a resolution of 1280x720P. Navigate through menus and applications by tapping, swiping, and pinching gestures, similar to a smartphone or tablet.
5.2. Steering Wheel Control

Image 5.2: Steering wheel control functionality, allowing safe operation of audio and call features while driving.
With the CANbus decoder correctly installed, the unit supports your vehicle's original steering wheel controls. This allows you to adjust volume, change tracks, answer calls, and access other functions without taking your hands off the wheel. Configuration may be required in the unit's settings menu under 'Steering Wheel Learning' or 'CANbus Settings'.
5.3. Smart Connections: Carplay & Android Auto

Image 5.3: Overview of Carplay, Android Auto, and Mirror Link features, enabling seamless smartphone integration.
- Carplay (for iPhone): Connect your iPhone via USB or Bluetooth to access navigation, music, messages, and calls directly on the autoradio screen.
- Android Auto (for Android phones): Connect your Android phone via USB or Bluetooth to use Google Maps, Spotify, and other compatible apps.
- Mirror Link: Allows mirroring your smartphone's screen onto the autoradio display via WiFi or USB.
5.4. GPS Navigation
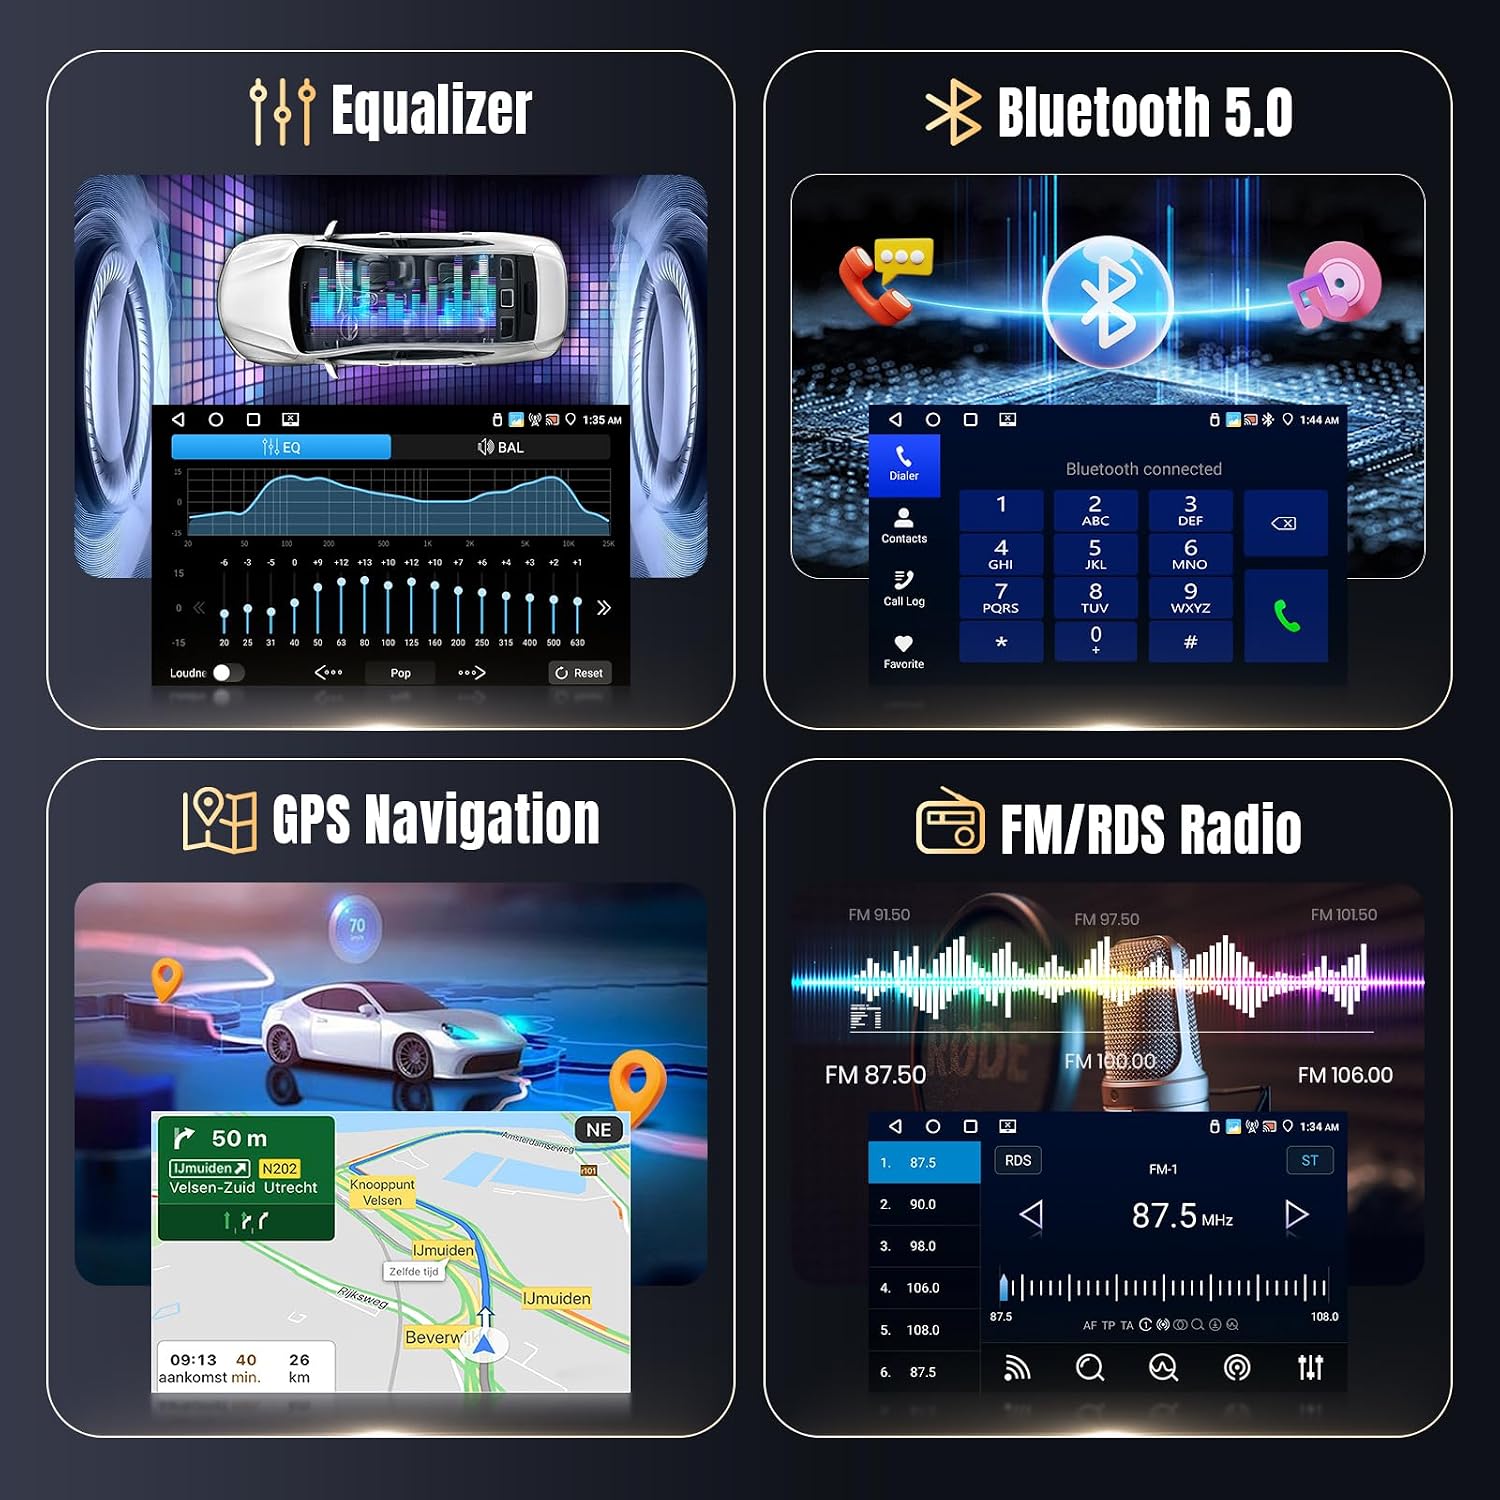
Image 5.4: Features including Equalizer, Bluetooth, GPS Navigation, and FM/RDS Radio.
The unit comes with a built-in GPS module and external antenna for accurate positioning. Pre-installed navigation software may be available, or you can download preferred navigation apps like Google Maps or Waze from the Google Play Store (requires internet connection via WiFi or mobile hotspot).
5.5. Bluetooth 5.0
Connect your smartphone via Bluetooth 5.0 for hands-free calling and audio streaming. Access your phonebook, call history, and dial numbers directly from the touchscreen.
- Pairing: Go to the Bluetooth settings on the autoradio and your phone. Search for available devices and select the autoradio's name (e.g., "Podofo Car"). Enter the PIN (usually 0000) if prompted.
- Hands-Free Calling: Use the built-in or external microphone for calls.
- Audio Streaming: Play music from your phone through the car's speakers.
5.6. FM/RDS Radio
The integrated FM/RDS radio tuner allows you to listen to your favorite radio stations. RDS (Radio Data System) displays station information, song titles, and traffic announcements where available.
- Scanning: Use the auto-scan function to find and save available stations.
- Manual Tuning: Manually adjust the frequency to specific stations.
5.7. Equalizer
Customize your audio experience with the built-in equalizer. Adjust bass, treble, and other frequency bands to match your preferences. Preset equalizer modes (e.g., Pop, Rock, Jazz) are also available.
5.8. HD Reversing Camera (Optional)
If an optional HD reversing camera is connected, the display will automatically switch to the camera view when the vehicle is put into reverse gear, providing a wide-angle, clear image for safer parking and maneuvering, even in low light conditions.
6. Maintenance
- Screen Cleaning: Use a soft, lint-free cloth to gently wipe the touchscreen. For stubborn smudges, slightly dampen the cloth with water or a screen-safe cleaner. Avoid spraying liquids directly onto the screen.
- Software Updates: Periodically check for available software updates through the unit's settings menu (requires an internet connection). Updates can improve performance, add features, and fix bugs.
- General Care: Keep the unit free from dust and debris. Avoid placing heavy objects on the unit or exposing it to excessive moisture.
7. Troubleshooting
| Problem | Possible Cause | Solution |
|---|---|---|
| Unit does not power on. | Incorrect wiring, blown fuse, loose connection. | Check power cable connections (B+, ACC, Ground). Inspect vehicle fuses. Ensure battery is connected. |
| No sound or distorted sound. | Speaker wires incorrectly connected, volume too low, mute activated, equalizer settings. | Verify speaker wiring. Adjust volume. Check mute status. Reset equalizer settings. |
| GPS signal is weak or inaccurate. | GPS antenna improperly installed or obstructed. | Ensure GPS antenna has a clear view of the sky. Check antenna connection. |
| Bluetooth connection issues. | Incorrect pairing, device out of range, Bluetooth off. | Ensure Bluetooth is enabled on both devices. Re-pair the devices. Keep devices within range. |
| Steering wheel controls not working. | CANbus decoder not connected or configured. | Verify CANbus connection. Access unit settings to configure steering wheel controls. |
| Touchscreen unresponsive. | Software glitch, screen damage. | Restart the unit. If the problem persists, contact support. |
8. Specifications

Image 8.1: Internal hardware specifications, including Android OS version, RAM, and ROM.
| Feature | Detail |
|---|---|
| Model Number | SA2G+64G+Carplay+HiFi |
| Operating System | Android (Version 13 as per image) |
| RAM | 2GB (Note: Some variants may have 4GB RAM as shown in images) |
| ROM | 64GB |
| Display Size | 9-inch IPS Touchscreen |
| Display Resolution | 1280x720P |
| Connectivity | Bluetooth 5.0, Wi-Fi, USB |
| Internet Services Supported | CarPlay, Android Auto |
| Output Power | 45 Watts |
| Number of Channels | 4 |
| Video Encoding | RM |
| Audio Output Type | Speaker |
| Compatibility | Seat Altea (2004-2015) |
Image 8.2: Product dimensions for installation reference.
9. Warranty and Support
9.1. Warranty Information
Specific warranty details for this product are not available in the provided information. Please refer to the warranty card included with your purchase or contact the seller/manufacturer directly for warranty terms and conditions.
9.2. Customer Support
For technical assistance, installation queries, or troubleshooting beyond the scope of this manual, please contact Podofo customer support through their official website or the retailer from whom you purchased the product. Have your model number (SA2G+64G+Carplay+HiFi) and purchase details ready when contacting support.


