
1. Introduction
This manual provides essential information for the installation, operation, and maintenance of your maXpeedingrods Front Lower Control Arm with Ball Joint kit. This kit includes part numbers K620511 (Passenger Side) and K620512 (Driver Side). Proper installation and regular maintenance are crucial for ensuring optimal vehicle handling, steering performance, and safety. Please read all instructions carefully before proceeding with installation.

2. Product Overview and Features
The maXpeedingrods Front Lower Control Arm with Ball Joint is designed as a direct replacement component for specific Nissan and Infiniti vehicle models. It is engineered to restore and improve vehicle handling and steering performance.
- Durable Construction: Manufactured from high-strength alloy steel for enhanced durability and resistance to wear.
- Corrosion Resistance: Features an anti-corrosion surface treatment to prolong component lifespan.
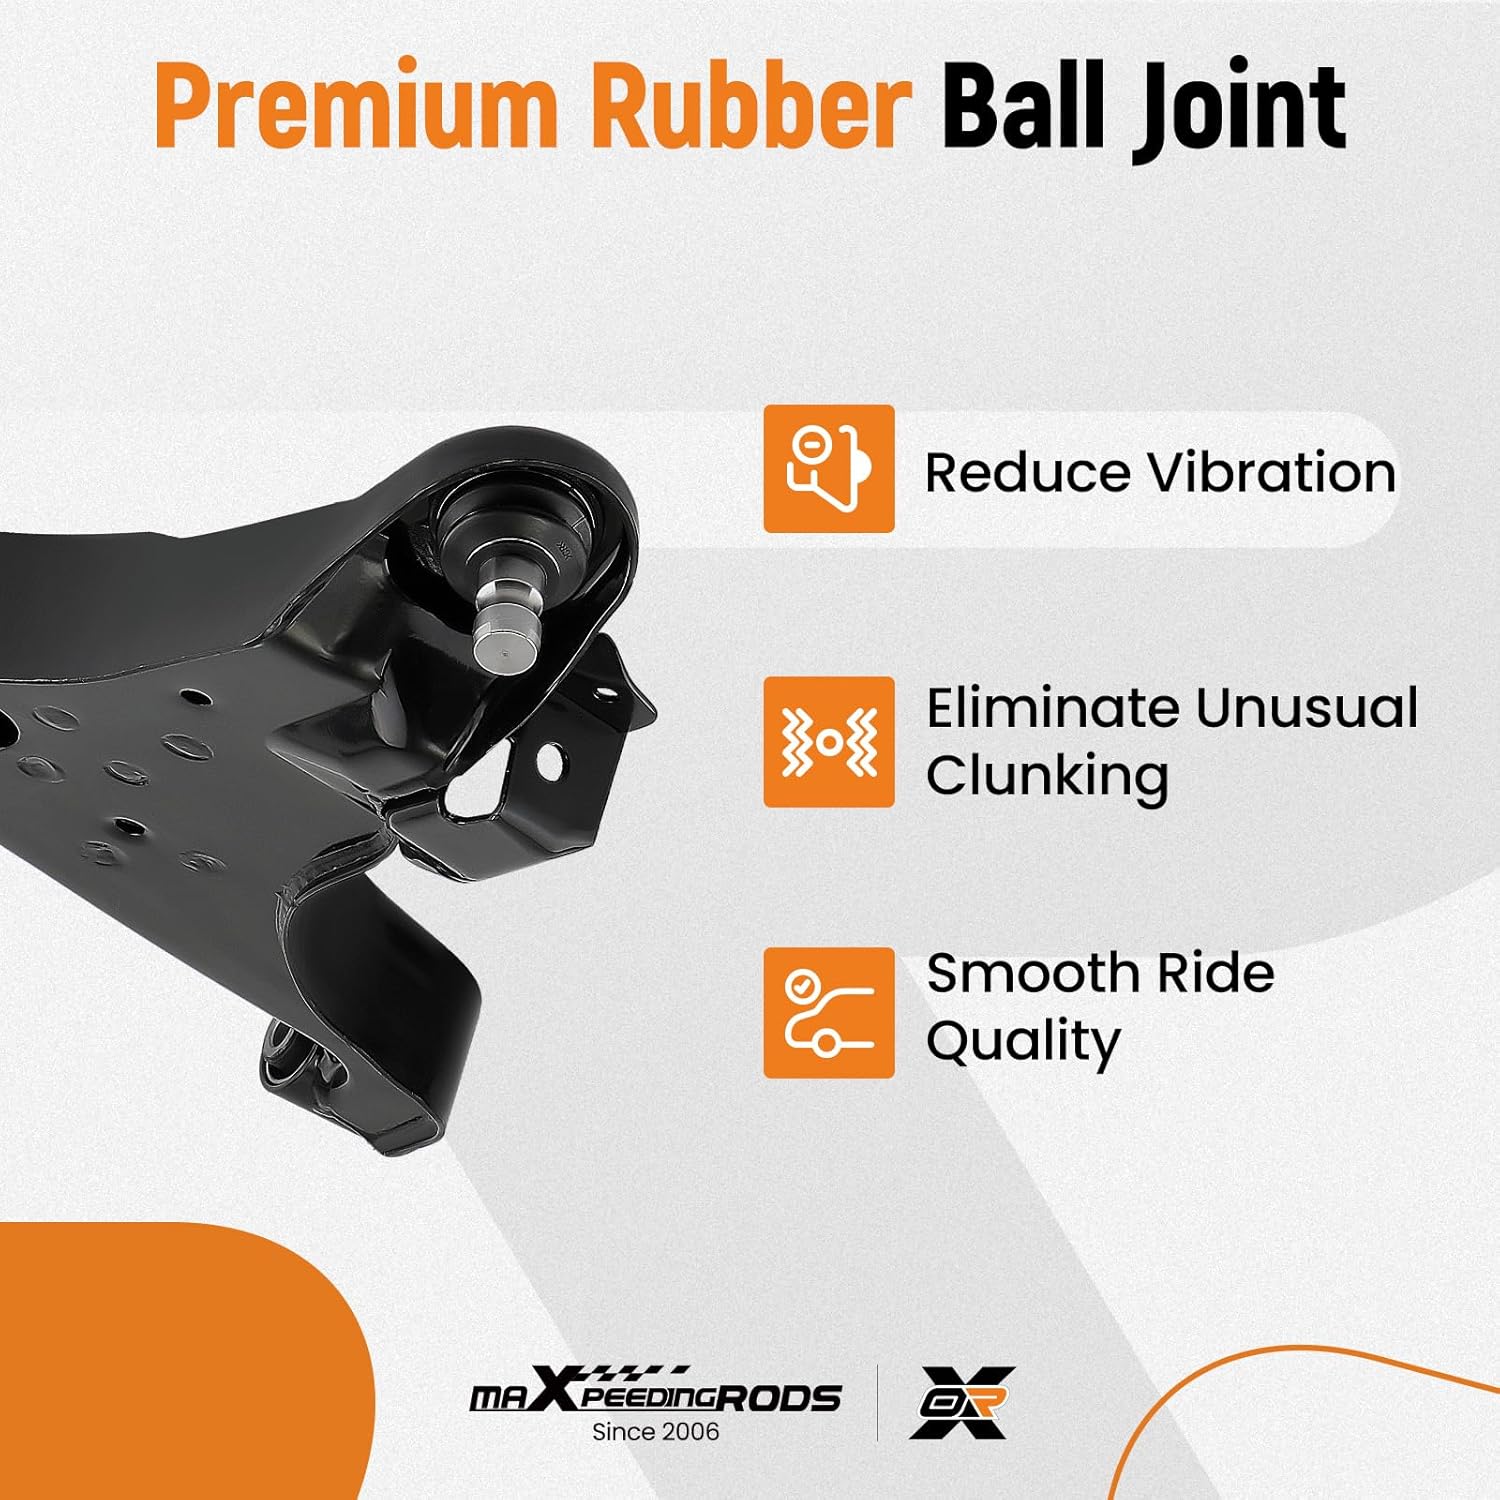
- Premium Ball Joint: Equipped with a high-quality rubber ball joint designed to reduce vibration, eliminate unusual clunking noises, and contribute to a smoother ride quality.
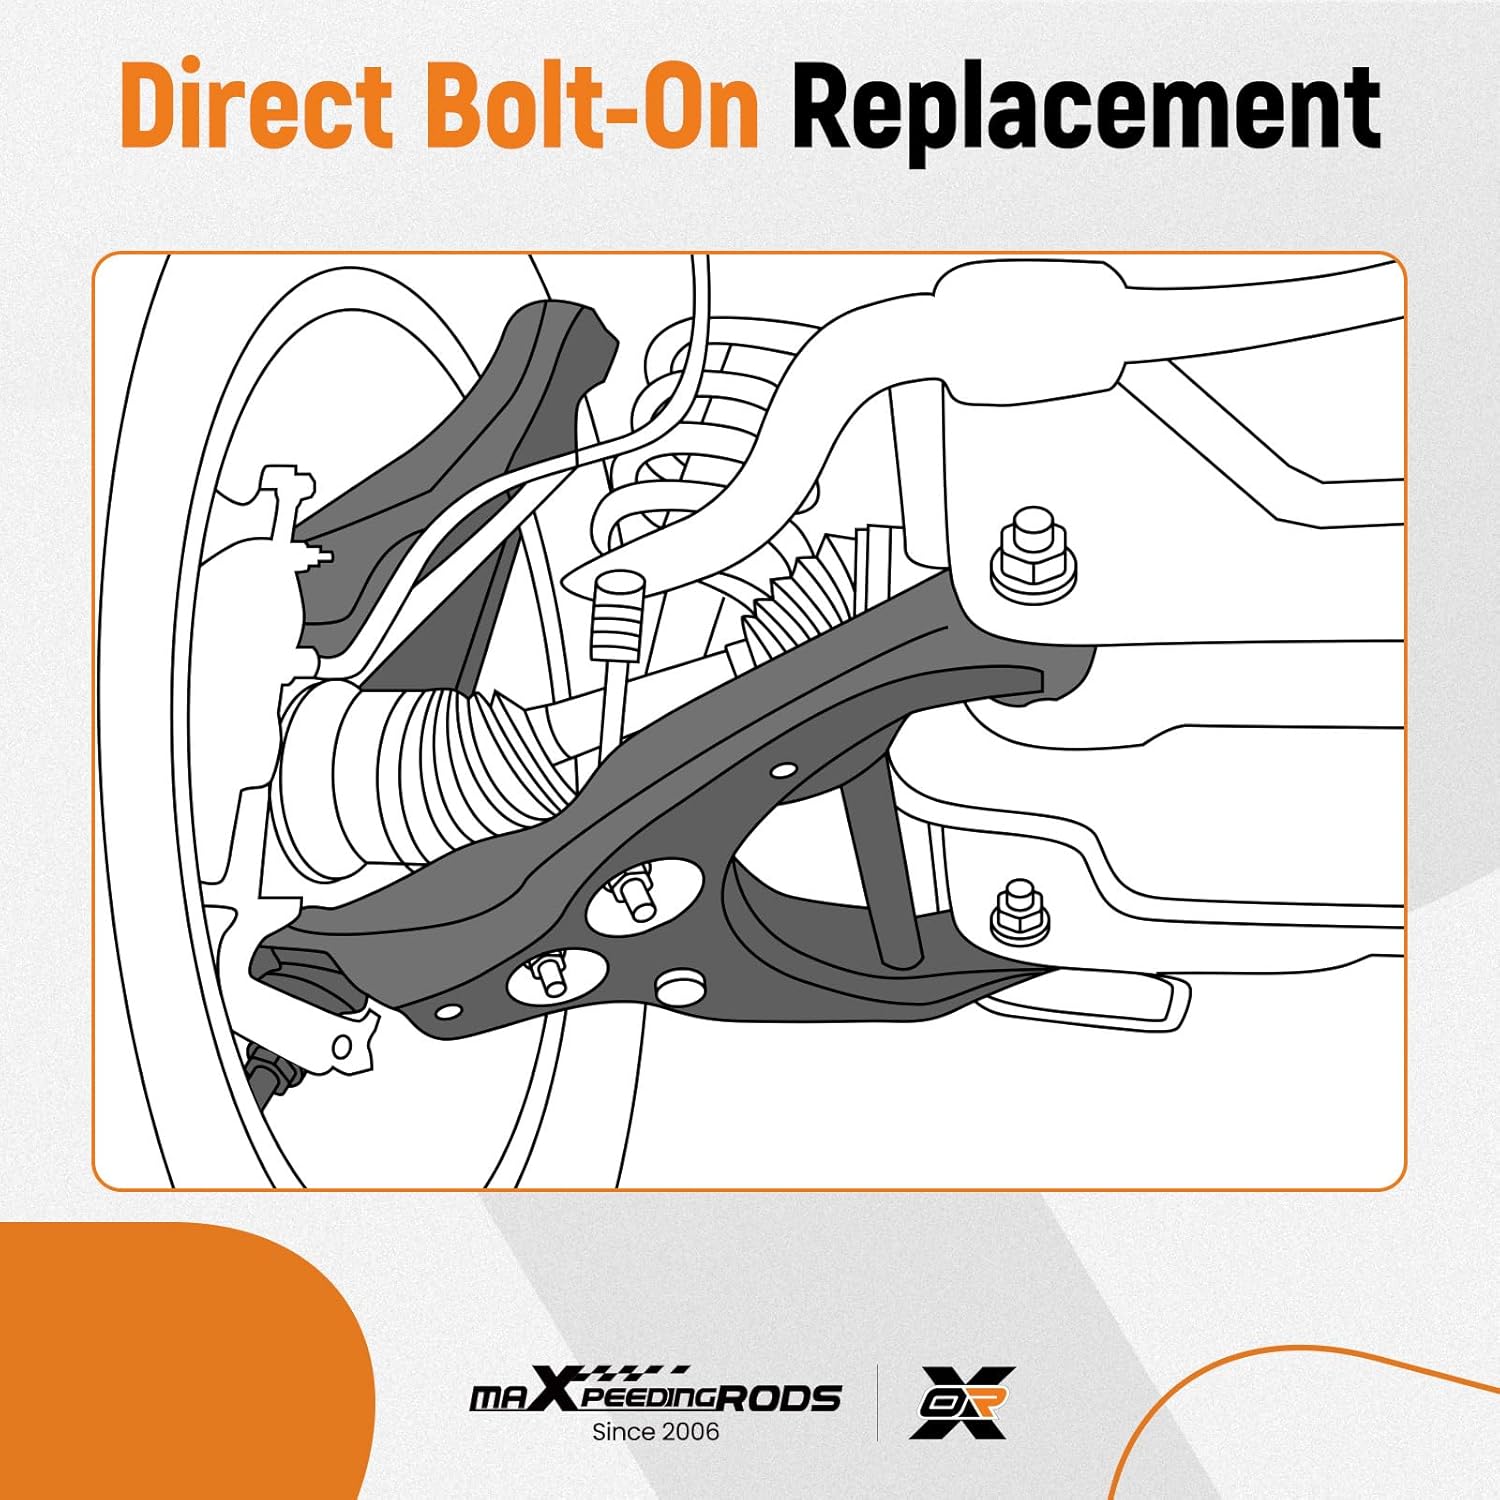
- Direct Replacement: Engineered for direct bolt-on installation, simplifying the replacement process for worn original equipment.


3. Vehicle Fitment
This control arm kit is compatible with the following vehicle models and years:
- Nissan Titan: 2004 - 2024
- Nissan Armada: 2005 - 2015
- Nissan Pathfinder Armada: 2004
- Infiniti QX56: 2004 - 2010
Please verify your vehicle's make, model, and year against this list to ensure proper fitment before installation.
4. Package Contents
Upon opening the package, please ensure all components are present and undamaged:
- 1x Front Left Lower Control Arm with Ball Joint Assembly (Driver Side) - Part Number: K620512
- 1x Front Right Lower Control Arm with Ball Joint Assembly (Passenger Side) - Part Number: K620511

5. Installation Instructions
Installation of suspension components requires mechanical knowledge and appropriate tools. If you are not confident in performing this installation, it is recommended to seek professional assistance. Always prioritize safety by using jack stands and following proper vehicle lifting procedures.
5.1. Required Tools and Safety Precautions
- Vehicle jack and jack stands
- Wheel chocks
- Socket wrench set
- Torque wrench
- Pry bar (optional)
- Ball joint separator (if needed for old component removal)
- Safety glasses and gloves
5.2. Step-by-Step Installation
- Prepare Vehicle: Park the vehicle on a level surface, engage the parking brake, and place wheel chocks behind the rear wheels. Loosen the lug nuts on the front wheels.
- Lift Vehicle: Safely lift the front of the vehicle using a jack and secure it with jack stands. Remove the front wheels.
- Remove Old Control Arm:
- Locate the lower control arm.
- Remove the nut securing the ball joint to the steering knuckle. Use a ball joint separator if necessary.
- Remove the bolts securing the control arm to the vehicle frame/subframe.
- Carefully detach and remove the old control arm.
- Install New Control Arm:
- Position the new maXpeedingrods control arm into place.
- Align the mounting points and loosely install the bolts connecting the control arm to the frame/subframe. Do not fully tighten yet.
- Insert the new ball joint into the steering knuckle and secure it with the provided nut. Tighten to manufacturer specifications.
- With the vehicle's weight on the suspension (or simulated by a jack under the control arm), fully tighten the control arm mounting bolts to the vehicle manufacturer's torque specifications. This prevents premature bushing wear.
- Reassemble: Reinstall the front wheels and tighten lug nuts. Lower the vehicle safely.
- Post-Installation: It is highly recommended to have a professional wheel alignment performed after replacing suspension components to ensure proper vehicle handling and tire wear.
6. Operating Considerations
Once installed, the control arms function as a critical link in your vehicle's suspension system, connecting the wheel hub to the vehicle frame. They allow for vertical movement of the wheels while maintaining proper alignment and stability. After installation, pay attention to any unusual noises, vibrations, or changes in steering feel. These could indicate an issue requiring inspection.
7. Maintenance
Regular inspection and maintenance of your vehicle's suspension components are essential for longevity and safety.
- Visual Inspection: Periodically inspect the control arms, bushings, and ball joints for signs of wear, cracks, tears, or corrosion. Look for any looseness in the joints.
- Cleaning: Keep the components free from excessive dirt, salt, and debris, especially if driving in harsh conditions.
- Lubrication: The ball joints in this kit are typically sealed and maintenance-free. Do not attempt to lubricate unless specifically designed with a grease fitting.
- Alignment Checks: Have your vehicle's wheel alignment checked annually or after any significant impact or suspension work.
8. Troubleshooting
If you experience any of the following issues after installation, consider these troubleshooting steps:
| Symptom | Possible Cause | Solution |
|---|---|---|
| Clunking or knocking noises from front suspension | Loose mounting bolts, worn ball joint, worn bushings | Check and re-torque all mounting bolts. Inspect ball joint and bushings for damage. |
| Uneven tire wear | Incorrect wheel alignment, worn suspension components | Perform a wheel alignment. Inspect for any play in suspension components. |
| Vehicle pulls to one side | Incorrect wheel alignment, damaged control arm, uneven tire pressure | Check tire pressure. Perform a wheel alignment. Inspect control arms for damage. |
| Loose or wandering steering | Worn ball joints, worn bushings, other steering component issues | Inspect ball joints and bushings for excessive play. Consult a professional mechanic. |
If troubleshooting steps do not resolve the issue, or if you suspect a defect, contact maXpeedingrods customer support.
9. Specifications
| Specification | Detail |
|---|---|
| Brand | maXpeedingrods |
| Part Numbers (Driver Side) | K620512, GS30117, RK620512, CMS30117, MS30117 |
| Part Numbers (Passenger Side) | K620511, GS30116, RK620511, CMS30116, MS30116 |
| Auto Part Position | Front Lower |
| Material | Alloy Steel |
| Fit Type | Vehicle Specific Fit |
| Orientation | Front |
| Item Weight | 38.7 pounds (total for pair) |
| Product Dimensions | 22.05 x 19.29 x 6.3 inches (packaging/approximate) |
10. Warranty and Customer Support
maXpeedingrods offers comprehensive support for its products:
- Warranty: A 1-year limited warranty is provided for quality-related issues, effective from the date of purchase.
- Technical Support: Lifetime technical support is available.
- Contact: For any questions, concerns, or warranty claims, please contact maXpeedingrods customer support.