
1. Introduction
This manual provides essential information for the safe and efficient setup, operation, maintenance, and troubleshooting of your HP Z1 Entry Tower G5 Workstation. Please read this manual thoroughly before using the product and retain it for future reference.
The HP Z1 Entry Tower G5 Workstation is a powerful desktop computer designed for business and demanding tasks. It features an Intel Eight Core 9th Gen i7-9700 processor, 32GB DDR4 RAM, a 1TB NVMe PCIe M.2 SSD, and comes with Windows 11 Pro pre-installed.
2. What's in the Box
Carefully unpack your HP Z1 Entry Tower G5 Workstation and ensure all components are present. The standard package includes:
- HP Z1 Entry Tower G5 Workstation Unit
- Power Cord
Note: This renewed unit does not include a keyboard, mouse, monitor, or built-in Wi-Fi. These peripherals must be acquired separately to operate the workstation.
3. Setup
Follow these steps to set up your HP Z1 Entry Tower G5 Workstation:
- Placement: Place the workstation on a stable, flat surface with adequate ventilation. Ensure that air vents are not obstructed.
- Connect Monitor: Connect your monitor to one of the DisplayPort outputs on the rear of the workstation. If your monitor uses HDMI or VGA, an adapter may be required.
- Connect Peripherals: Connect your USB keyboard and mouse to any available USB ports on the front or rear of the workstation.
- Connect Network (Optional): For wired internet access, connect an Ethernet cable from your router or modem to the RJ-45 (network) port on the rear of the workstation. If you plan to use Wi-Fi, a separate USB Wi-Fi adapter will be required.
- Connect Power: Connect the power cord to the power connector on the rear of the workstation, then plug the other end into a grounded electrical outlet.
- Power On: Press the power button located on the front of the workstation. The system will boot up, and Windows 11 will begin its initial setup process. Follow the on-screen instructions to complete the Windows setup.
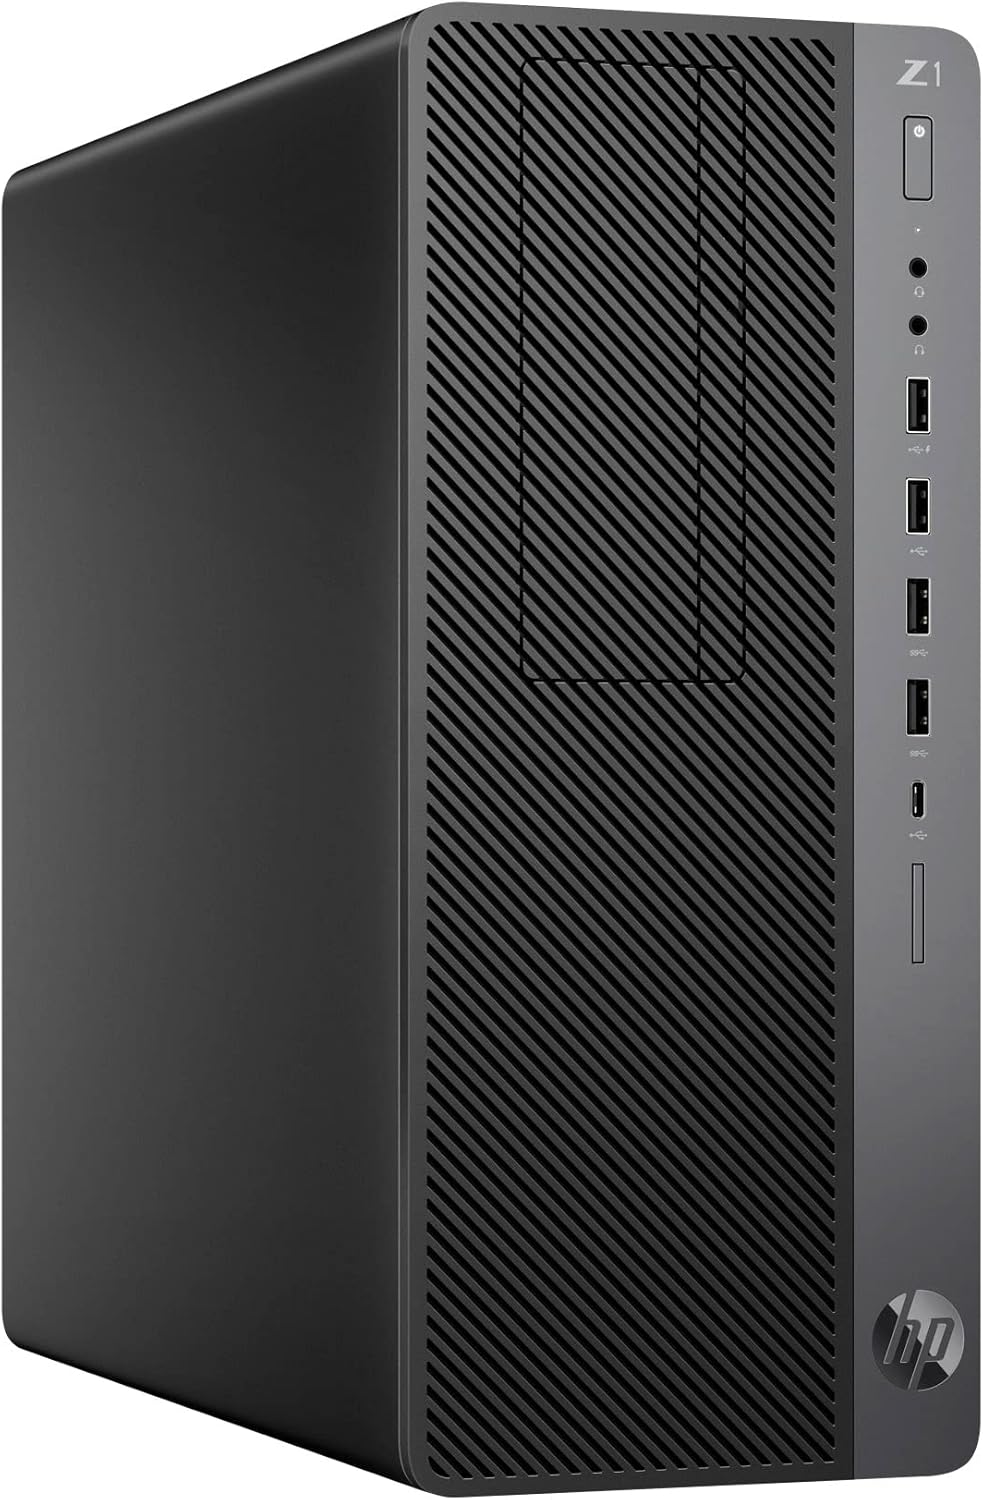
Figure 3.1: Front view of the HP Z1 Entry Tower G5 Workstation. Shows the power button, USB ports, and optical drive bay.
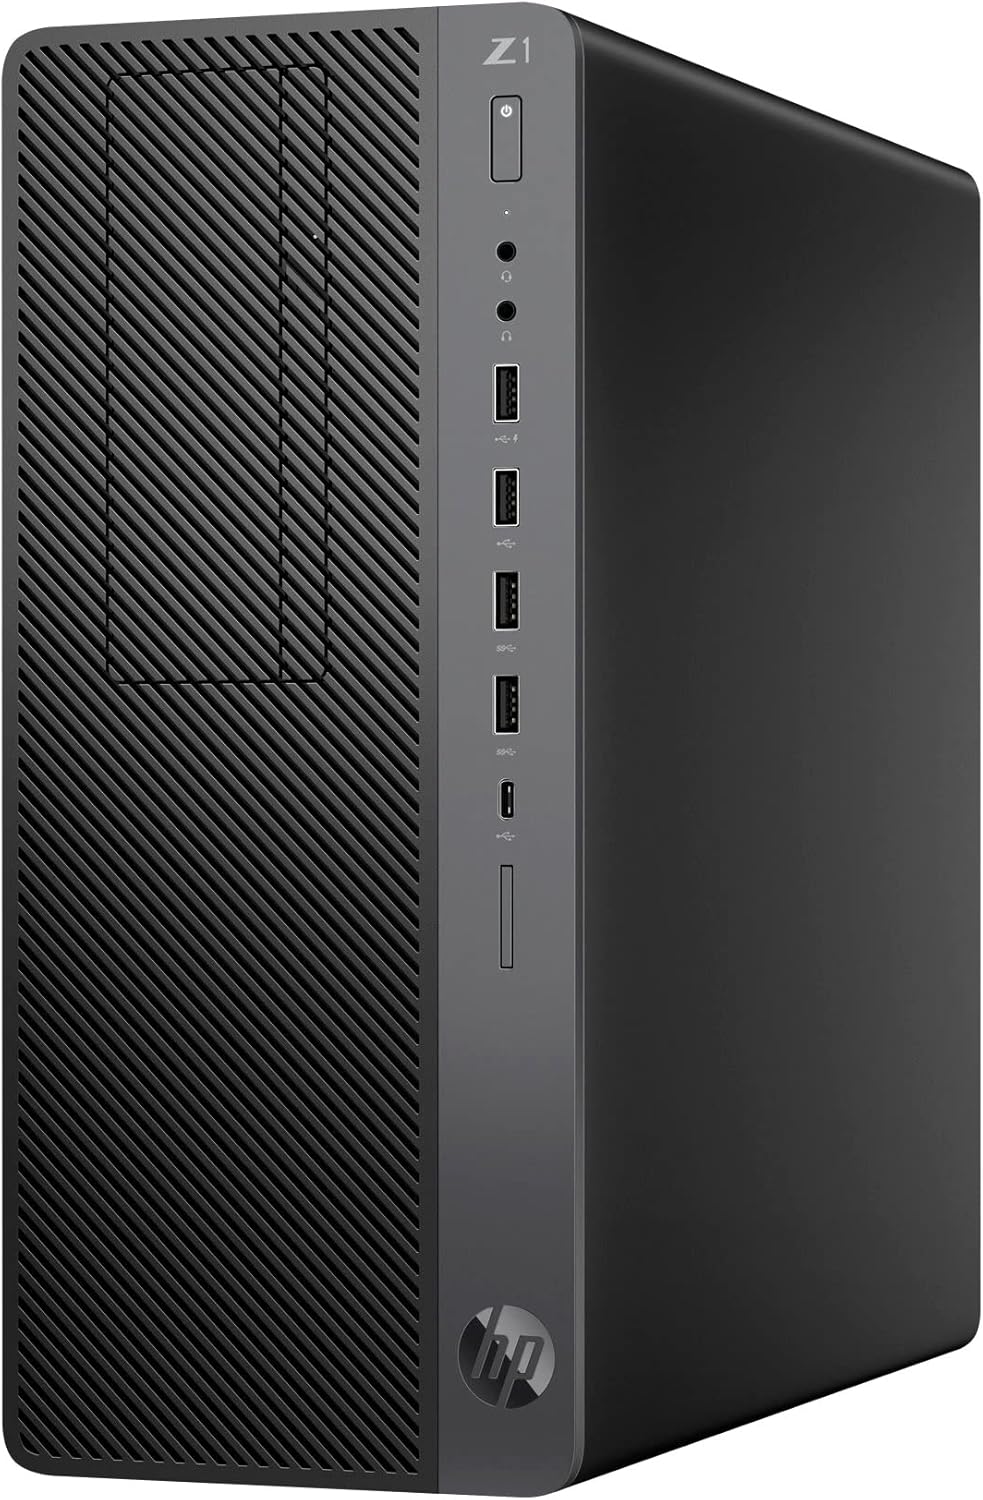
Figure 3.2: Rear view of the HP Z1 Entry Tower G5 Workstation. Displays the power connector, DisplayPorts, USB ports, and network port.
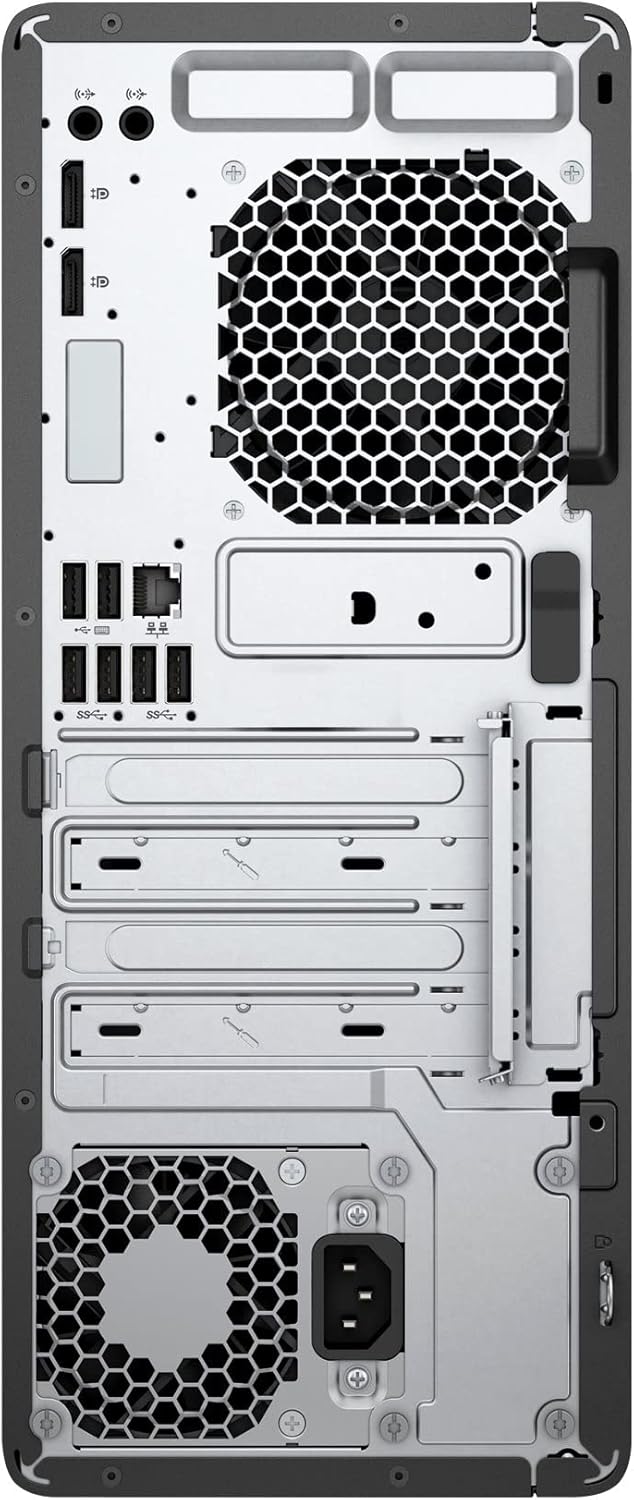
Figure 3.3: Detailed diagram illustrating the location and type of ports on both the front and rear panels of the workstation for easy identification.
4. Operating Instructions
This section covers basic operation of your workstation.
4.1 Power On/Off
- To Power On: Press the power button on the front panel.
- To Shut Down: In Windows 11, click the Start button, then Power, and select Shut down.
- To Restart: In Windows 11, click the Start button, then Power, and select Restart.
- To Sleep: In Windows 11, click the Start button, then Power, and select Sleep.
4.2 Connecting USB Devices
The workstation features multiple USB ports, including USB 3.1 Gen2 and USB Type-C. Simply plug your USB devices (e.g., external hard drives, printers, webcams) into any available USB port. Windows 11 will typically install the necessary drivers automatically.
4.3 Audio Connections
Connect headphones or external speakers to the audio-out jack on the front or rear panel. Ensure your audio output settings in Windows 11 are configured correctly if you experience no sound.
5. Maintenance
Regular maintenance helps ensure the longevity and optimal performance of your workstation.
- Cleaning: Keep the workstation clean by regularly dusting the exterior and air vents with a soft, dry cloth. Avoid using liquid cleaners directly on the unit. Ensure the workstation is powered off and unplugged before cleaning.
- Software Updates: Regularly check for and install Windows updates to ensure your operating system has the latest security patches and performance improvements. Go to Settings > Windows Update.
- Data Backup: Periodically back up important data to an external drive or cloud storage to prevent data loss.
- Environmental Conditions: Operate the workstation in a cool, dry environment. Avoid direct sunlight, excessive heat, humidity, and dusty conditions.
6. Troubleshooting
This section addresses common issues you might encounter.
6.1 No Power
- Ensure the power cord is securely connected to both the workstation and the electrical outlet.
- Verify the electrical outlet is functional by plugging in another device.
- Check the power supply unit (PSU) switch on the rear of the workstation, if present, to ensure it is in the 'on' position.
6.2 No Display on Monitor
- Ensure the monitor is powered on and its video cable is securely connected to the workstation's DisplayPort.
- Try connecting the monitor to a different DisplayPort on the workstation, if available.
- Test the monitor with another computer or device to confirm it is working correctly.
6.3 Slow Performance
- Close unnecessary applications running in the background.
- Check Task Manager (Ctrl+Shift+Esc) for processes consuming high CPU, RAM, or disk resources.
- Ensure Windows 11 is up to date.
- Run a disk cleanup and defragmentation (for HDD, not necessary for SSD).
- Scan for malware or viruses.
If issues persist after attempting these troubleshooting steps, please refer to the Support section.
7. Specifications
Key technical specifications for the HP Z1 Entry Tower G5 Workstation:
| Feature | Specification |
|---|---|
| Brand | HP |
| Model Name | Z1 G5 |
| Operating System | Windows 11 Pro |
| CPU Model | Intel Core i7-9700 (8 Cores) |
| CPU Speed | 3.0 GHz |
| RAM Memory Installed | 32 GB DDR4 |
| Memory Storage Capacity | 1 TB NVMe PCIe M.2 SSD |
| Graphics Coprocessor | Intel UHD Graphics 630 |
| Video Output | DisplayPort |
| Hardware Interface | USB (including USB Type-C) |
| Connectivity Technology | Ethernet (Wi-Fi not built-in) |
| Item Dimensions (LxWxH) | 14.6 x 6.1 x 14.4 inches |
| Color | Black |
8. Warranty Information
As a renewed product, the warranty terms may differ from new products. Please refer to the specific warranty information provided by the seller, Quickship Technologies LLC, at the time of purchase. Typically, renewed products come with a limited warranty period. Additionally, a 90-day return policy may apply as per the seller's terms.
For detailed warranty claims or service, please contact the seller directly or refer to any documentation included with your purchase.
9. Support
For technical assistance, driver downloads, or further product information, please utilize the following resources:
- Seller Support: Contact Quickship Technologies LLC for issues related to your renewed product purchase.
- HP Support Website: Visit the official HP support website for general product documentation, drivers, and troubleshooting guides for the HP Z1 Entry Tower G5 series. You can typically find support by searching for your model number (Z1 G5).
- Windows 11 Help: For operating system related questions, use the built-in Help features in Windows 11 or visit the Microsoft Support website.


