
1. Important Safety Information
Read all instructions before operating the Nasitip 24V Kids Ride on Drift Car. Failure to follow safety guidelines may result in injury.
- Adult supervision is required at all times.
- Recommended age: 8 to 12 years.
- Maximum weight capacity: 110 lbs (50 kg).
- Always wear a helmet and protective gear.
- Operate only on flat, dry surfaces away from traffic, pools, or steep inclines.
- Ensure all components are securely fastened before each use.
2. Package Contents
Verify that all items are present before beginning assembly.
- Nasitip 24V Kids Ride on Drift Car components
- 24V 7Ah Battery
- Charger
- Assembly hardware
- Instruction Manual

Image: The Nasitip 24V Kids Ride on Drift Car, red in color, featuring a flag for visibility. This image provides an overview of the assembled product.
3. Setup and Assembly
Follow these steps to assemble your drift car. Assembly typically requires adult assistance.
- Unpacking: Carefully remove all components from the packaging.
- Wheel Installation: Attach the 5.5-inch front tire and the two anti-tip front auxiliary wheels. Ensure they are securely fastened.
- Steering Wheel Attachment: Secure the square steering wheel to the main chassis.
- Battery Connection: Connect the 24V 7Ah battery according to the diagrams provided in the separate assembly guide (if applicable). Ensure all connections are firm.
- Initial Charge: Before first use, fully charge the battery for 8-12 hours. Refer to the "Charging the Battery" section for details.
- Safety Flag Installation: Insert the safety flag into its designated slot for increased visibility during operation.

Image: Detailed view of the square steering wheel, central control panel with speed switches and USB port, speed pedal, and the five wear-resistant tires, illustrating key components for assembly and operation.
4. Operating Instructions
4.1. Controls Overview
- Power Button: Located on the central control panel, use for one-button start.
- Speed Switch: Toggle between "High Speed" and "Low Speed" modes.
- Speed Pedal: Press to accelerate. Release to slow down.
- Steering Wheel: Turn left or right to steer the drift car.
- Multifunctional Central Control: Includes USB port and music controls.
4.2. Starting and Driving
- Power On: Press the power button on the central control panel.
- Select Speed: Choose "Low Speed" for beginners (1.9-5 mph) or "High Speed" for experienced riders (4.9-7.5 mph) using the speed switch.
- Acceleration: Press the speed pedal to move forward. The car will accelerate smoothly.
- Steering: Use the steering wheel to control direction.
- Drifting: The simplified drift system allows for controlled drifts. Maintain throttle control while steering to initiate and manage drifts. Keep both hands on the steering wheel.
- Stopping: Release the speed pedal to slow down. The car will gradually come to a stop.
4.3. Features
- Colorful LED Lights: Front and tail LED lights illuminate during operation.
- Built-in Music: Enjoy pre-loaded music or connect a USB device for custom audio.
- Low-Power Alarm: An audible alarm will sound when the battery level is low, indicating it's time to recharge.
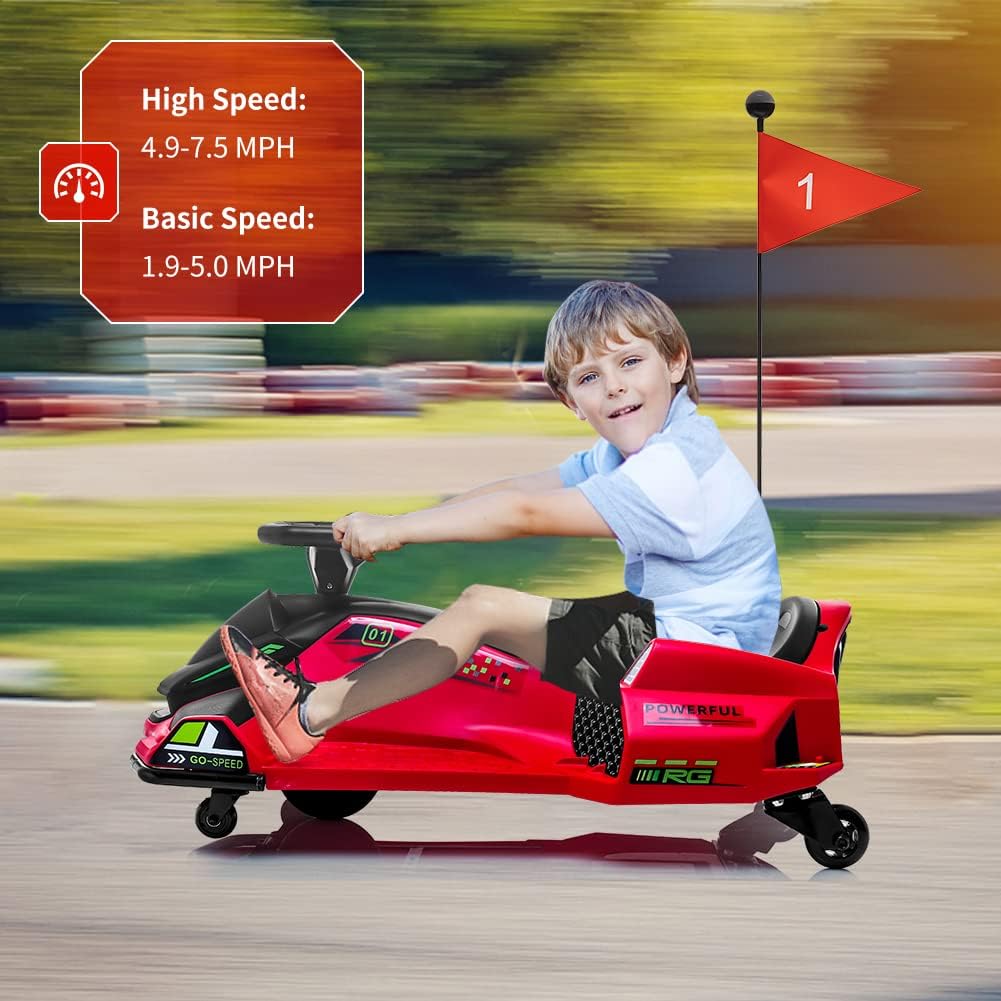
Image: A child operating the drift car, demonstrating its use. The image also highlights the speed capabilities: High Speed (4.9-7.5 MPH) and Basic Speed (1.9-5.0 MPH).

Image: The drift car shown on different types of surfaces, including asphalt, synthetic track, cement, and marble pavement, indicating suitable operating environments.
5. Maintenance
5.1. Charging the Battery
- Locate the charging port on the drift car.
- Connect the charger to the charging port and then to a standard electrical outlet.
- Charge the battery for 8-12 hours for a full charge. Do not overcharge.
- The low-power alarm indicates when charging is necessary.
- Expected run time after a full charge is 1-2 hours, depending on usage.

Image: A detailed view of the charging port, located near the rear wheel, and the colorful LED lights integrated into the side of the drift car.
5.2. Cleaning and Storage
- Clean the drift car with a damp cloth. Do not use harsh chemicals or abrasive cleaners.
- Avoid spraying water directly onto electrical components.
- Store the drift car in a dry, cool place away from direct sunlight when not in use.
- For long-term storage, ensure the battery is fully charged and recharge every 3 months to maintain battery health.
6. Troubleshooting
| Problem | Possible Cause | Solution |
|---|---|---|
| Car does not start or move. | Battery is low or not connected. | Check battery connections. Charge the battery for 8-12 hours. |
| Low-power alarm sounds. | Battery charge is critically low. | Stop operation and recharge the battery immediately. |
| Car moves slowly or intermittently. | Low battery charge or uneven surface. | Recharge battery. Operate on flat, smooth surfaces. |
| Lights or music not working. | Loose connection or battery issue. | Check battery charge and connections. If issue persists, contact support. |
7. Specifications
| Feature | Detail |
|---|---|
| Model Number | SX2219 |
| Product Dimensions (L x W x H) | 35.43" x 20.86" x 13.18" |
| Item Weight | 30 lbs |
| Battery | 24V 7Ah Rechargeable |
| Motor | 180W Brushless Motor |
| Speed (Low) | 1.9 - 5.0 mph |
| Speed (High) | 4.9 - 7.5 mph |
| Run Time | 1-2 hours (after 8-12 hours charge) |
| Maximum Load Capacity | 110 lbs (50 kg) |
| Recommended Age | 8 - 12 years |
| Safety Certifications | ASTM, CPC |
| Wheels | 1 Front, 2 Rear, 2 Front Side (anti-tip) |
| Additional Features | Front + Tail LED Colorful Light, Power Display, Low-Power Alarm, Built-in Music, USB Port |

Image: The drift car alongside key specifications including battery voltage and capacity, motor power, and safety certifications.

Image: A technical drawing illustrating the precise dimensions of the drift car, including length, width, and height measurements.
8. Warranty and Support
For warranty information or technical support, please contact Nasitip customer service. Keep your purchase receipt for proof of purchase.
- Manufacturer: PINGHU SHUANGXI BABY CARRIER MANUFACTURE CO., LTD
- Brand: Nasitip
- Refer to the product packaging or the seller's website for specific contact details and warranty terms.

