
1. Introduction
Thank you for choosing the Kewig Motorcycle Phone Mount Holder M8SP. This manual provides essential information for the proper installation, operation, and maintenance of your new phone mount. Please read this manual thoroughly before use to ensure optimal performance and safety.
2. Product Features
- 1s Lock & Release: Quickly secure or release your smartphone with a simple knob turn and safety lock mechanism.
- Camera Friendly Design: The half-enclosure design ensures your phone's camera remains unobstructed for capturing photos and videos.
- Upgraded Quick Handlebar Clip: Compatible with handlebars or square rails ranging from 0.5 to 1.77 inches (12-45 mm) in diameter.
- 360° Rotation: Adjust your phone to any desired viewing angle (landscape or portrait) during your ride.
- Sturdy & Protective: Built-in soft silicone rubber pads protect your phone from scratches and slipping, ensuring a secure grip even on bumpy terrain.
- Wide Compatibility: Fits smartphones between 5.4 and 7.2 inches with a maximum thickness of 16mm.
3. Package Contents
Please verify that all items are present in your package:
- Kewig Motorcycle Phone Mount Holder (Model M8SP)
- Handlebar Clamp Assembly
- Instruction Manual
4. Installation Guide
Follow these steps to properly install your Kewig Phone Mount:
- Attach the Phone Holder to the Ball Head:

Image: Three-step diagram showing how to assemble the phone holder. Step 1: Put the ball socket nut into the ball head, then insert the ball socket on the back of the phone holder into the ball head. Step 2: Adjust the base knob to fit handlebars. Step 3: Installation complete.
First, put the ball socket nut onto the ball head. Then, insert the ball socket located on the back of the phone holder into the ball head. Ensure it is seated correctly.
- Secure the Handlebar Clamp:
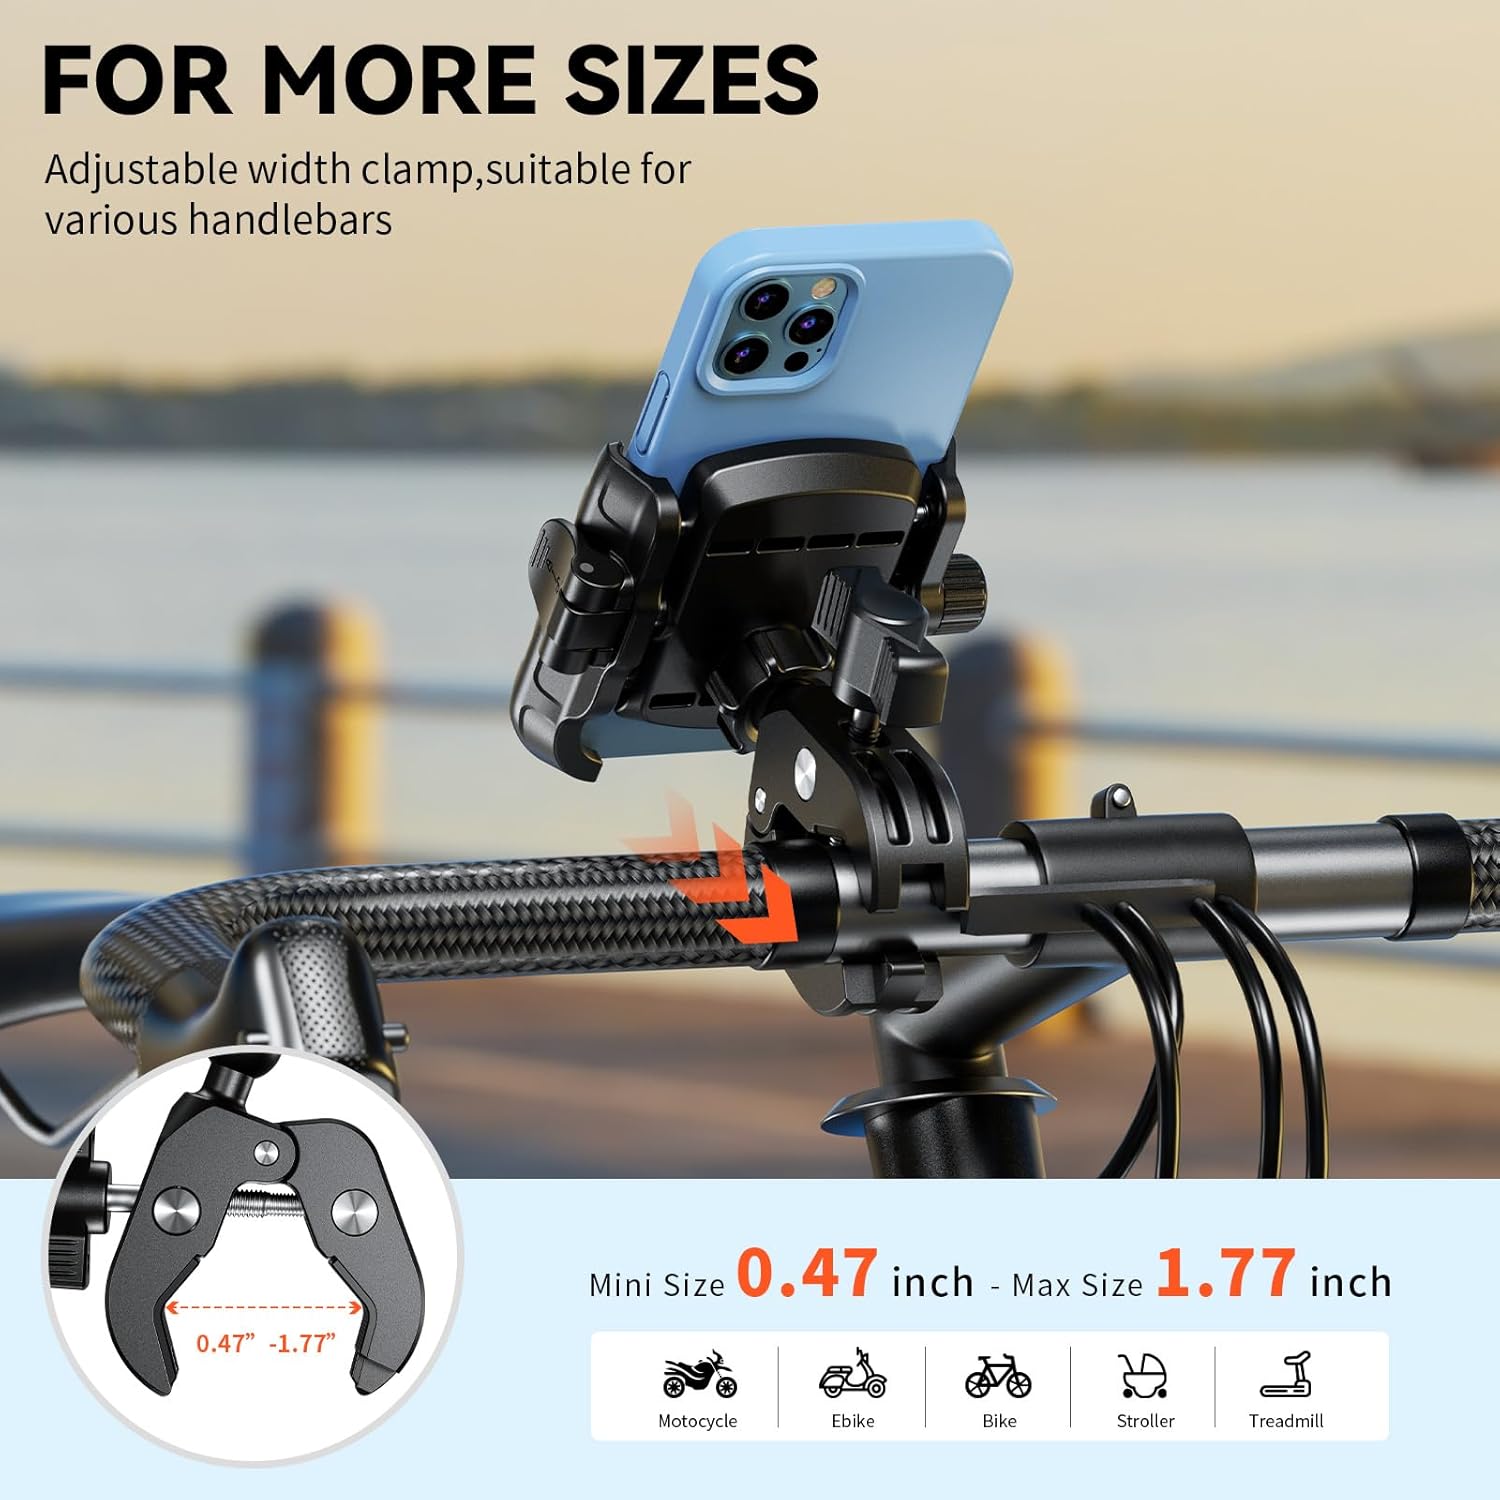
Image: Close-up of the adjustable handlebar clamp, showing its range from 0.47 to 1.77 inches, suitable for various vehicles like motorcycles, e-bikes, bicycles, strollers, and treadmills.
Position the handlebar clamp on your desired handlebar or square rail. The clamp is designed to fit diameters between 0.47 and 1.77 inches (12-45 mm). Tighten the knob on the clamp until it is firmly secured to the handlebar, ensuring no movement.
- Adjust Viewing Angle:

Image: A smartphone mounted on a bicycle handlebar, demonstrating 360-degree rotation for both upright and sideways viewing angles.
The phone holder features a 360-degree rotating ball joint. Loosen the tightening adjuster near the ball joint, adjust the phone holder to your preferred viewing angle (portrait or landscape), and then re-tighten the adjuster to lock it in place.
5. Operating Instructions
Using your Kewig Phone Mount is straightforward:
- Inserting Your Phone:

Image: A hand adjusting the width of the phone mount using a knob, followed by images showing how to move a side switch to remove or lock the phone.
Turn the knob clockwise to expand the width of the phone mount. Place your smartphone into the mount. Then, turn the knob counter-clockwise to narrow the width until it securely grips your phone. Finally, push the safety lock switch to the left to firmly secure your phone.
- Removing Your Phone:
To remove your phone, first unlock the safety lock switch by moving it to the right. Then, turn the knob clockwise to expand the mount's width, allowing you to easily take out your phone.
- Camera Access:
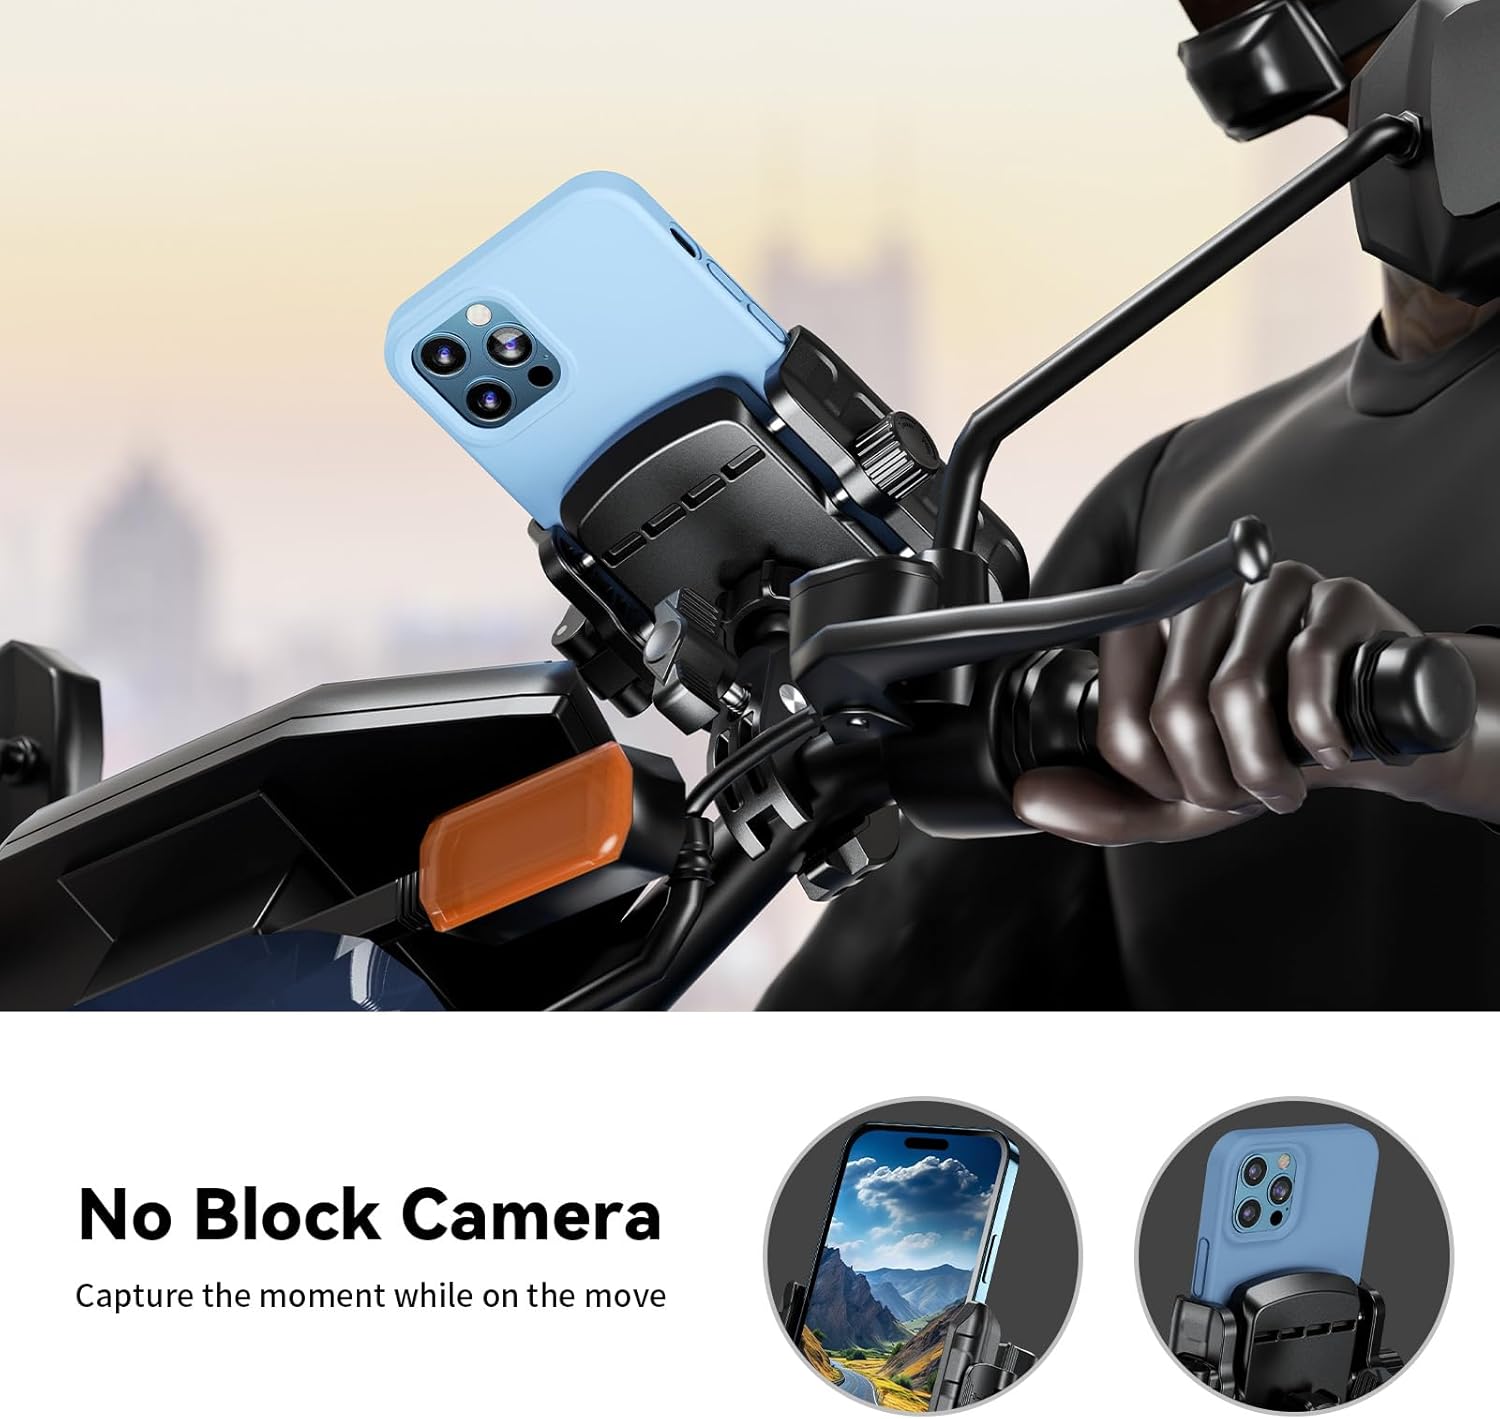
Image: A smartphone mounted on a motorcycle handlebar, with an inset showing the phone's camera is not blocked by the mount, allowing for photography and video recording.
The mount's design ensures that your phone's camera is not blocked, allowing you to use it for navigation, recording, or photography while riding.
6. Compatibility
The Kewig M8SP Phone Mount is designed for broad compatibility:
- Smartphone Size: Suitable for smartphones with screen sizes between 5.4 and 7.2 inches. The maximum phone thickness supported is 16mm.
- Handlebar Diameter: Compatible with handlebars or square rails with a diameter of 0.47 to 1.77 inches (12-45 mm).
- Vehicle Types: Ideal for motorcycles, e-bikes, bicycles, scooters, ATVs, golf carts, strollers, and treadmills.
7. Specifications
| Model Number | M8SP |
| Brand | Kewig |
| Compatible Phone Sizes | 5.4" - 7.2" Smartphones (Max thickness 16mm) |
| Compatible Handlebar Diameter | 0.47" - 1.77" (12-45 mm) |
| Mounting Type | Handlebar Clamp |
| Special Features | 1s Lock & Release, Camera Friendly, 360° Rotation |
| Item Weight | 9.7 ounces |
| Package Dimensions | 4.8 x 3.82 x 3.27 inches |
8. Maintenance
To ensure the longevity and proper functioning of your phone mount:
- Regularly check all screws and knobs to ensure they are tight and secure.
- Clean the mount with a soft, damp cloth. Avoid using harsh chemicals or abrasive cleaners.
- Inspect the silicone pads for wear and tear. Replace if necessary to maintain optimal grip and protection for your phone.
9. Troubleshooting
- Phone is not secure in the mount:
- Ensure the knob is turned counter-clockwise until the mount firmly grips the phone, and the safety lock switch is engaged (moved to the left). Verify your phone's size is within the 5.4-7.2 inch range and its thickness is less than 16mm.
- Mount is loose on the handlebar:
- Tighten the knob on the handlebar clamp until it is firmly secured. Ensure the handlebar diameter is within the compatible range of 0.47-1.77 inches.
- Difficulty adjusting viewing angle:
- Loosen the tightening adjuster near the ball joint, adjust the angle, and then re-tighten it firmly.
10. Warranty and Support
For warranty information or technical support, please refer to the contact details provided on the product packaging or visit the official Kewig website. Keep your purchase receipt as proof of purchase for any warranty claims.

