
1. Introduction
The iPower Digital Heat Mat Thermostat Controller is designed to provide precise temperature control for various applications, including seed germination, reptile habitats, brewing, and greenhouse environments. This device ensures your heat mat maintains a stable and optimal temperature within the range of 40-108°F (5-42°C), promoting healthy growth and consistent results. Its user-friendly interface allows for easy temperature setting and monitoring.
2. Safety Information
- Do not immerse the controller unit or the temperature probe into water or any other liquid.
- Ensure the total wattage of connected devices does not exceed 1000W (8.3A). Overloading can cause damage or fire.
- Use only with a grounded 120VAC 60Hz power outlet.
- Keep the device away from children and pets.
- Do not operate the controller if it appears damaged or if the cords are frayed.
- Ensure adequate ventilation around the controller and heat mat to prevent overheating.
3. Package Contents
Your iPower Digital Heat Mat Thermostat Controller package includes:
- 1 x Digital Heat Mat Thermostat Controller
- 1 x Temperature Probe with Suction Cup
4. Product Overview
Familiarize yourself with the components of your thermostat controller:

This image shows the front panel of the iPower Digital Heat Mat Thermostat Controller, highlighting its key components. These include the digital display for temperature readings in Fahrenheit and Celsius, the 'SET' button for configuration, 'UP' and 'DOWN' buttons for adjustment, and LED indicators for 'HEATING' and 'POWER' status. The bottom of the unit features the power outlet for connecting a heat mat and the input for the temperature probe.
- Digital Display: Shows current and set temperatures in Fahrenheit or Celsius.
- SET Button: Used to enter and confirm temperature settings.
- UP Button: Increases temperature setting; also used to switch display to Fahrenheit.
- DOWN Button: Decreases temperature setting; also used to switch display to Celsius.
- HEATING Indicator (Red LED): Illuminates when the heat mat is actively heating.
- POWER Indicator (Green LED): Illuminates when the controller is powered on.
- Temperature Probe Input: Connects the temperature probe to the controller.
- Power Outlet: Connects to your heat mat or other heating device.
5. Setup Instructions
- Connect Heat Mat: Plug your heat mat or heating device into the grounded outlet located on the bottom of the thermostat controller. Ensure the device's wattage does not exceed 1000W.
- Position Temperature Probe: Place the temperature probe in the area where you want to measure and control the temperature. For seed germination, place the probe directly into the soil of a seed tray. For reptile enclosures, secure it near the heat source but away from direct contact with the animal. The included suction cup can help secure the probe.
- Connect to Power: Plug the controller's three-prong grounded plug into a standard 120VAC 60Hz wall outlet. The green POWER LED will illuminate.

This image illustrates the temperature probe with its suction cup being placed into a seed tray. The probe is designed to monitor the temperature of the environment where the heat mat is used, such as soil for seed germination. The suction cup allows for secure and adjustable placement.

This image shows the three-prong grounded plug of the iPower Digital Heat Mat Thermostat Controller being inserted into a power outlet. It highlights the design that prevents cord tangling and confirms support for up to a 1000W load.
6. Operating Instructions
6.1 Setting the Desired Temperature
- Press and hold the SET button for approximately 3 seconds until the display begins to flash. This indicates you are in temperature selection mode.
- Use the UP or DOWN buttons to adjust the temperature to your desired setting. The temperature range is 40-108°F (5-42°C).
- Press the SET button again to confirm your selection. The display will stop flashing and return to showing the current probe temperature.

This image demonstrates the steps to adjust the temperature setting on the iPower Digital Heat Mat Thermostat Controller. It shows pressing and holding the 'SET' button, then using the 'UP' and 'DOWN' buttons to select the desired temperature, and finally pressing 'SET' again to confirm the setting.
Note: The controller is designed with a 2-3 degree Fahrenheit (1-2°C) buffering zone. This means the heat mat will activate when the temperature drops 2-3 degrees below your set point and deactivate when it reaches the set point, preventing constant on/off cycling.
6.2 Switching Temperature Units (Fahrenheit/Celsius)
- To display the temperature in Fahrenheit (°F), press and hold the UP button for approximately 3 seconds.
- To display the temperature in Celsius (°C), press and hold the DOWN button for approximately 3 seconds.
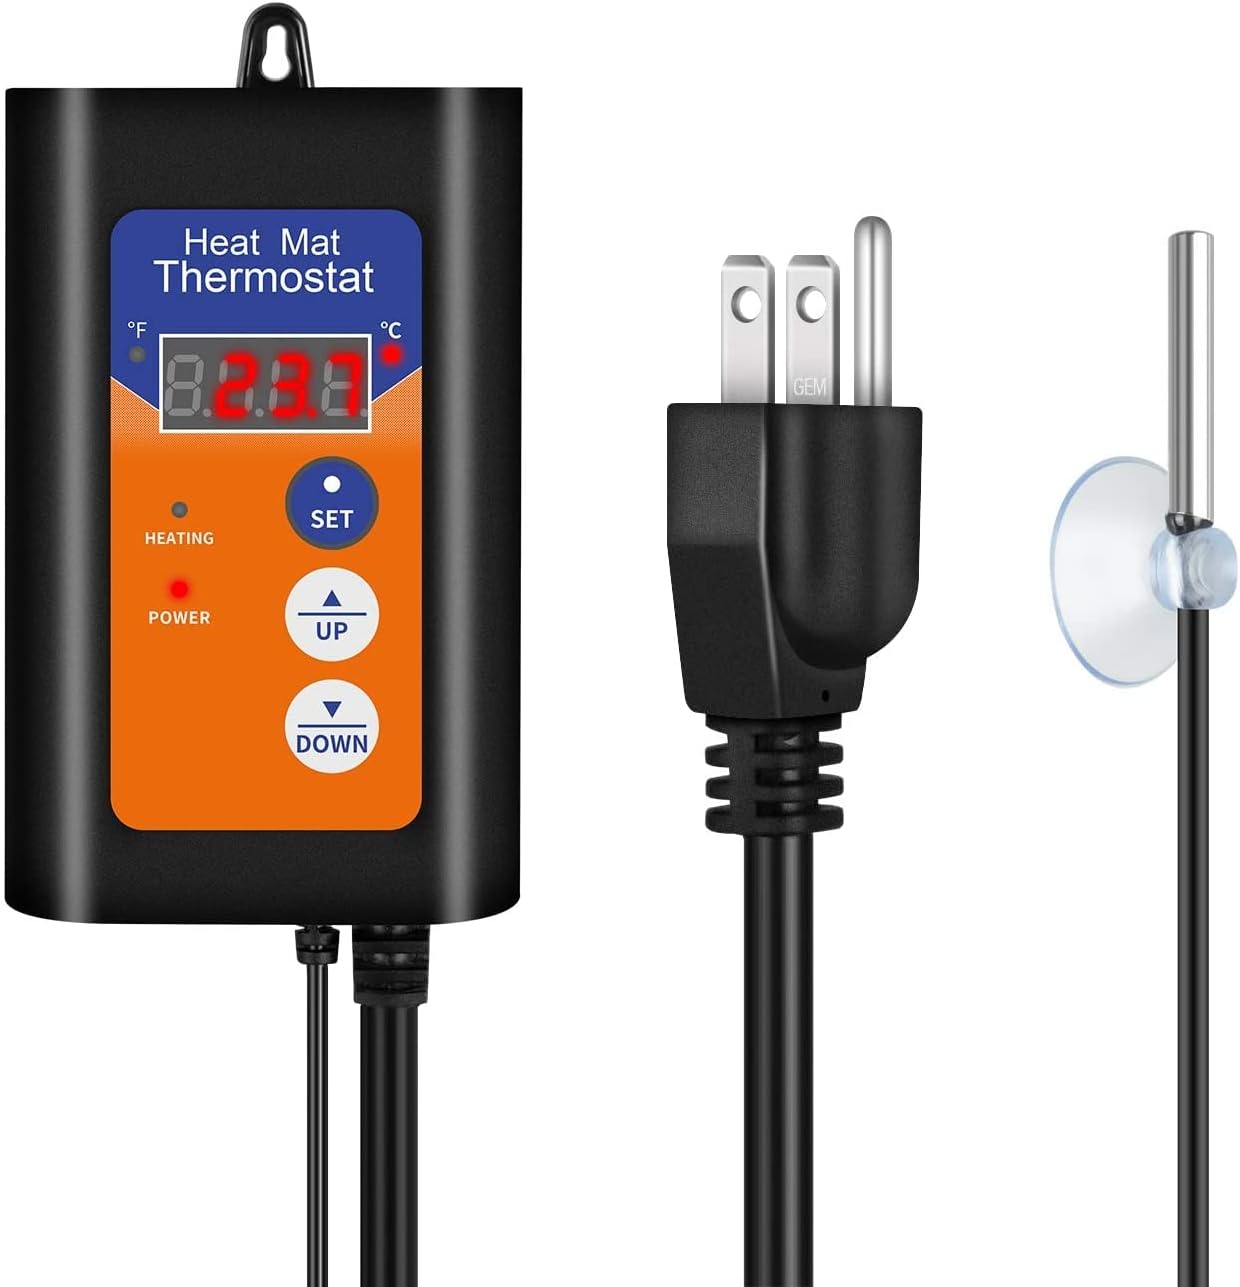
This image displays the iPower Digital Heat Mat Thermostat Controller's digital screen, showing both Fahrenheit and Celsius indicators. It illustrates how to switch between temperature units by pressing and holding the 'UP' or 'DOWN' buttons.
6.3 Video Guide: Product Overview and Setup
This video provides a general overview of the iPower Digital Heat Mat Thermostat Controller and demonstrates its basic setup and operation. It can be helpful for visual learners to understand the initial steps and features of the device.
7. Applications
The iPower Digital Heat Mat Thermostat Controller is versatile and suitable for a range of temperature-sensitive applications:
- Seed Germination: Provides consistent warmth to soil, promoting faster and more successful seed sprouting.
- Reptile Habitats: Maintains stable and appropriate temperatures for terrariums, crucial for the health and well-being of reptiles.
- Brewing and Fermentation: Ensures precise temperature control for homebrewing beer, kombucha, or other fermented products, leading to optimal results.
- Greenhouse Environments: Helps regulate ambient temperatures for delicate plants, especially during colder periods.

This composite image showcases various applications of the iPower Digital Heat Mat Thermostat Controller. It depicts its use in a germination kit for seedlings, as a reptile warmer for terrariums with tortoises, and as a fermentation helper for brewing, demonstrating its versatility in maintaining ideal temperatures across different environments.
8. Maintenance
- Cleaning: Wipe the controller's exterior with a soft, damp cloth. Do not use abrasive cleaners or immerse the unit in water.
- Probe Care: Keep the temperature probe clean and free from debris. Avoid bending or damaging the probe cable.
- Inspection: Periodically inspect the power cord, probe cable, and controller housing for any signs of damage or wear. Discontinue use if damage is found.
- Storage: When not in use, store the controller in a cool, dry place, away from direct sunlight and extreme temperatures.
9. Troubleshooting
| Problem | Possible Cause | Solution |
|---|---|---|
| Controller display is off / No power | Not plugged in; Power outlet malfunction; Damaged cord. | Ensure controller is securely plugged into a working 120VAC 60Hz outlet. Check the power cord for damage. |
| Heat mat not heating | Heat mat not plugged into controller; Controller set temperature is too low; Heat mat malfunction. | Verify the heat mat is correctly plugged into the controller's outlet. Check the set temperature and ensure it is above the current probe temperature. Test the heat mat separately if possible. |
| Inaccurate temperature reading | Probe improperly placed; Probe damaged. | Ensure the probe is correctly positioned in the desired environment and not immersed in water. Check the probe cable for damage. |
| Controller cycles on/off too frequently | Normal operation due to buffering zone. | This is expected behavior. The controller has a 2-3°F (1-2°C) buffering zone to prevent rapid cycling and maintain stable temperatures. |
10. Specifications
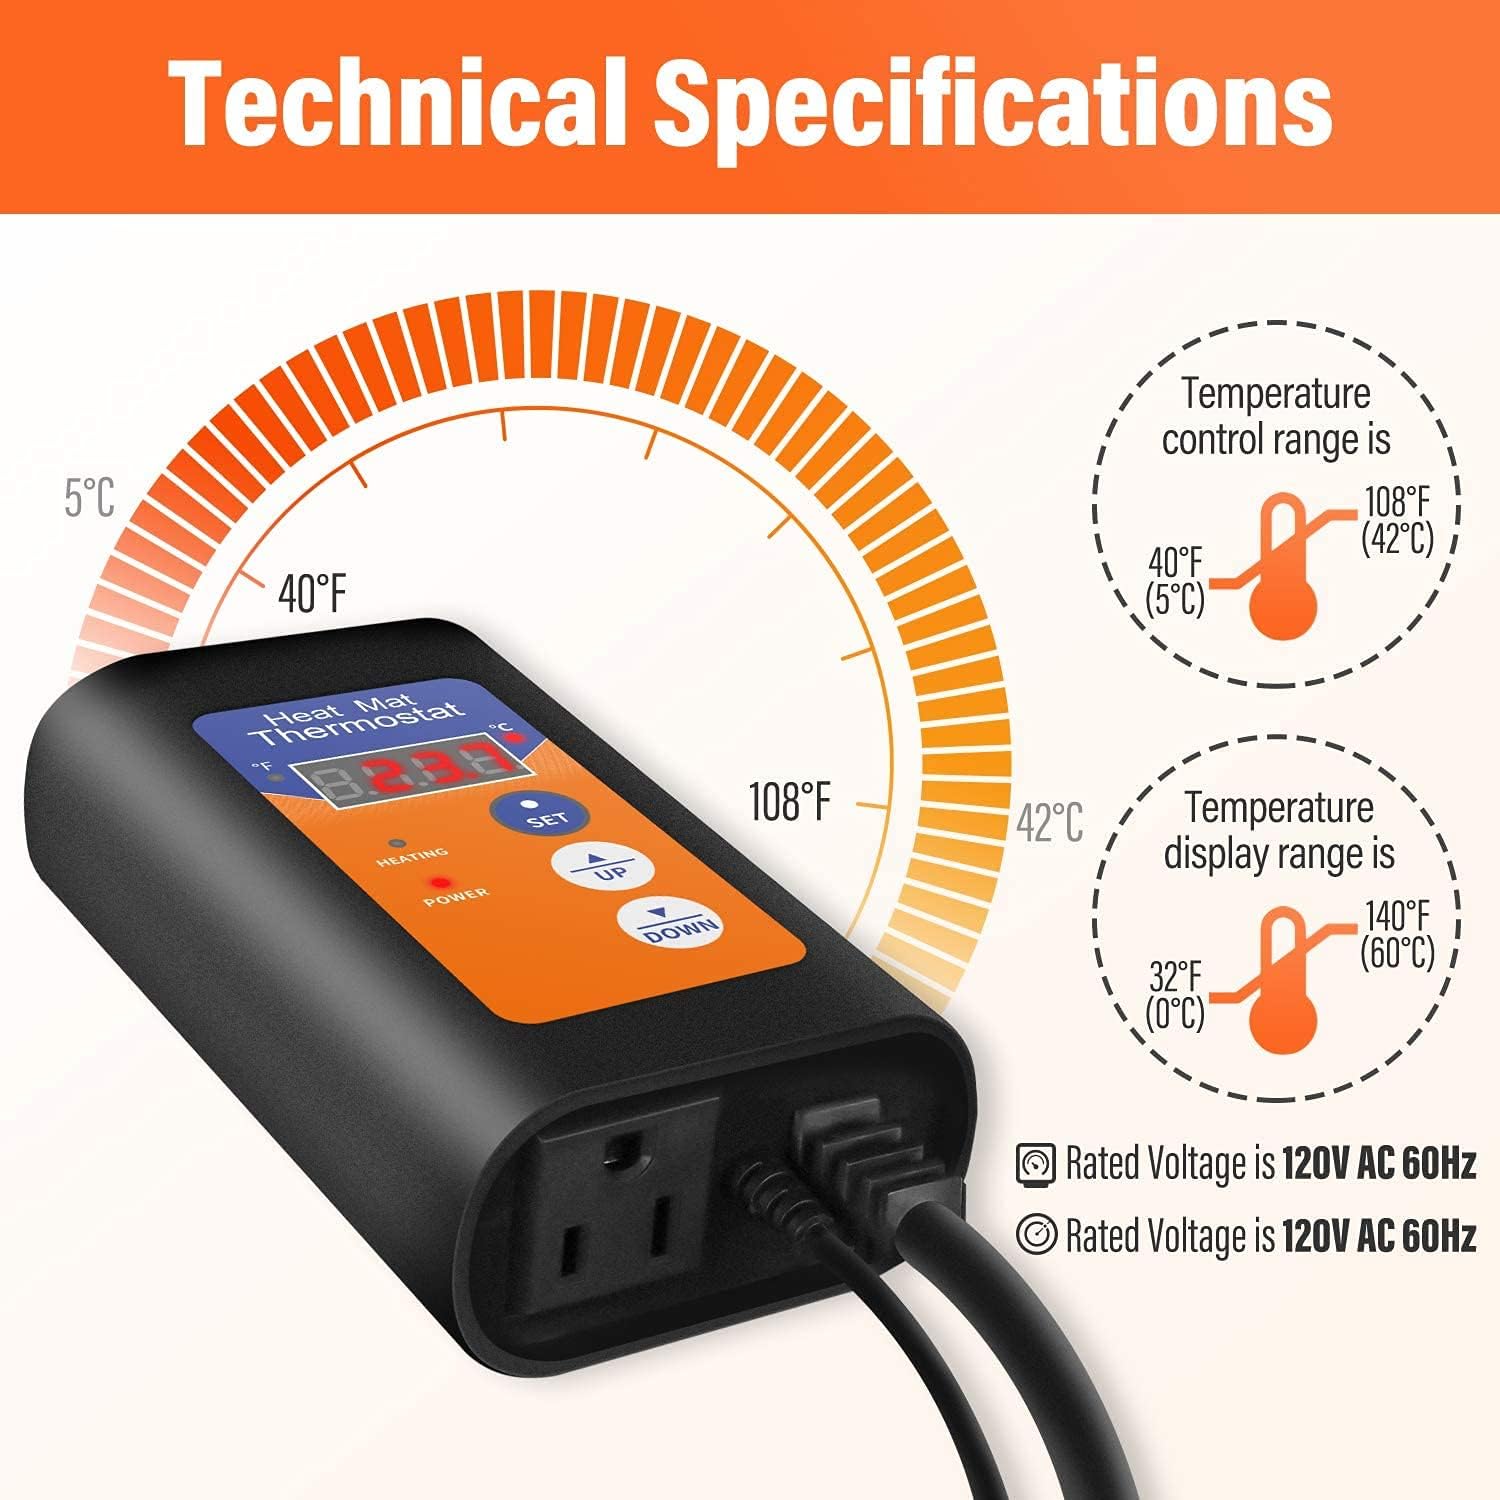
This image provides a visual summary of the iPower Digital Heat Mat Thermostat Controller's technical specifications, including its temperature control range (40-108°F / 5-42°C), temperature display range (32-140°F / 0-60°C), rated voltage (120V AC 60Hz), and maximum load (8.3A 1000W).
- Temperature Control Range: 40-108°F (5-42°C)
- Temperature Display Range: 32-140°F (0-60°C)
- Rated Voltage: 120VAC 60Hz
- Max Loading: 8.3A 1000W
- Product Dimensions: 3.94 x 3.94 x 7.87 inches
- Item Weight: 14.4 ounces
- Material: Plastic
- Display Type: LED
11. Warranty and Support
For detailed warranty information, please refer to the documentation included with your product or visit the official iPower website. For technical support, troubleshooting assistance, or to inquire about replacement parts, please contact iPower customer service. You can find contact information on the official iPower website or through the retailer where you purchased the product.
Visit the iPower Store for more products and information.