1. Introduction
This manual provides essential instructions for the safe and efficient operation, maintenance, and troubleshooting of your KRUPS Nescafé Dolce Gusto Mini Mi KP123B41 single serve capsule coffee machine. Please read this manual thoroughly before first use and retain it for future reference.
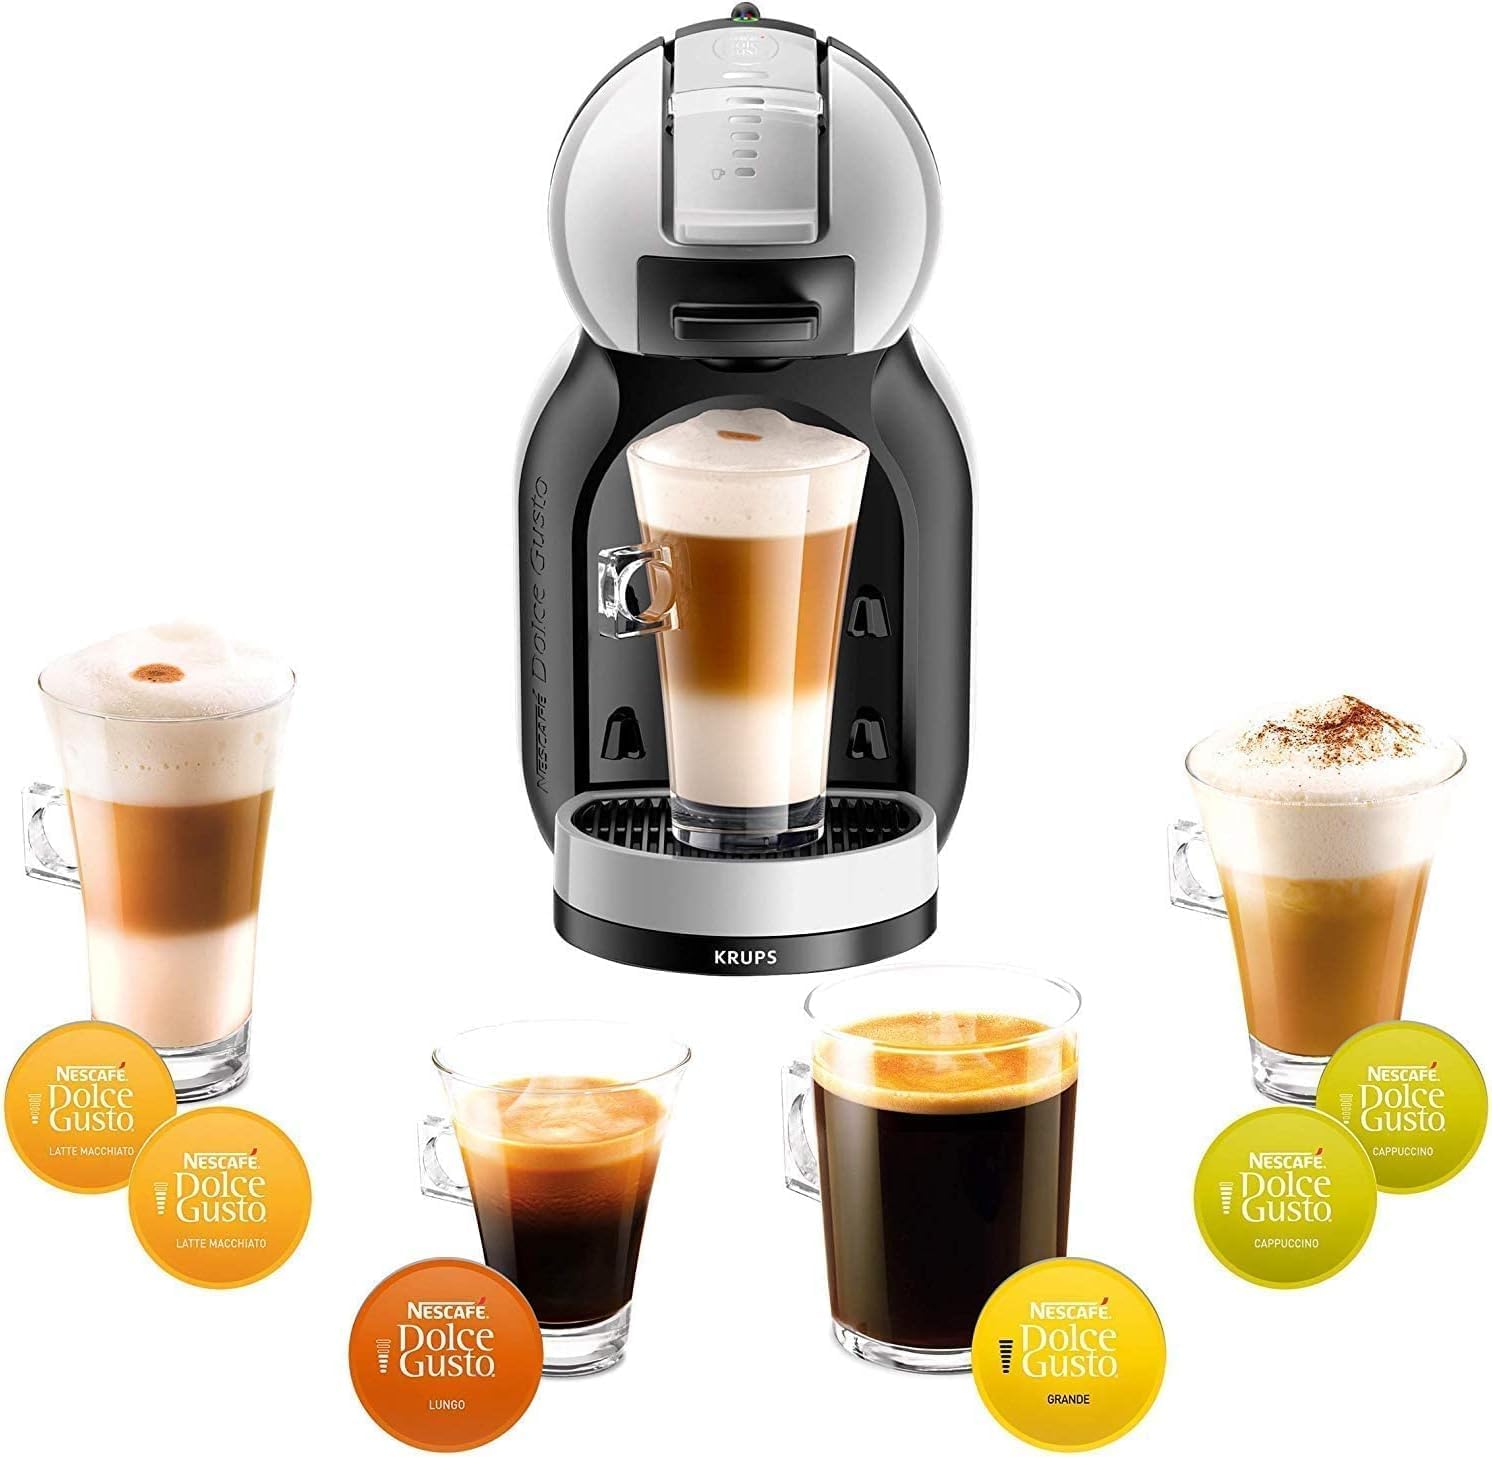
Figure 1: KRUPS Nescafé Dolce Gusto Mini Mi coffee machine with a selection of beverages.
2. Important Safety Instructions
- Read all instructions before using the appliance.
- Do not immerse the appliance, power cord, or plug in water or other liquids.
- Keep the appliance out of reach of children.
- Always unplug the appliance from the power outlet when not in use and before cleaning.
- Do not operate any appliance with a damaged cord or plug, or after the appliance malfunctions or has been damaged in any manner.
- Use only Nescafé Dolce Gusto capsules with this machine.
- Avoid contact with hot surfaces.
- Do not open the capsule holder during brewing.
3. Setup and First Use
3.1 Unpacking
Carefully remove all packaging materials from the coffee machine. Ensure all components are present: machine, water tank, drip tray, and capsule holder.
3.2 Initial Cleaning
- Wash the water tank, drip tray, and capsule holder with warm water and a mild detergent. Rinse thoroughly.
- Wipe the exterior of the machine with a damp cloth.
3.3 Filling the Water Tank
- Remove the water tank from the back of the machine.
- Fill the tank with fresh, potable water up to the MAX level indicator.
- Replace the water tank securely onto the machine.

Figure 2: Side view of the machine highlighting the water tank.
3.4 Priming the Machine (First Use)
- Plug the machine into a grounded power outlet. The power button will flash red.
- Press the power button. It will turn solid red, then flash green while heating up, and finally turn solid green when ready.
- Place an empty cup on the drip tray.
- Without a capsule inserted, move the lever to the cold position (blue indicator) and let water flow for approximately 30 seconds.
- Move the lever back to the center.
- Move the lever to the hot position (red indicator) and let water flow for approximately 30 seconds.
- Move the lever back to the center. The machine is now primed and ready for use.
4. Operating Instructions
4.1 Powering On/Off
- To turn on: Press the power button. It will flash green during heating and turn solid green when ready.
- To turn off: Press the power button again. The machine will enter standby mode after 5 minutes of inactivity.

Figure 3: Power button and hot/cold selection lever.
4.2 Preparing a Beverage
- Ensure the water tank is filled and the machine is powered on and ready (solid green light).
- Lift the locking handle and pull out the capsule holder.
- Insert a Nescafé Dolce Gusto capsule into the holder.
- Push the capsule holder back into the machine and lower the locking handle until it clicks.
- Place a cup on the drip tray. Adjust the drip tray height if necessary for your cup size.
- Select the desired water temperature by moving the lever: red for hot beverages, blue for cold beverages.
- The machine will begin brewing. The flow will stop automatically when the desired volume is reached (this model is manual, so the user controls the flow). Move the lever back to the center position to stop the flow.
- Once brewing is complete, lift the locking handle and remove the used capsule. Dispose of the capsule responsibly.
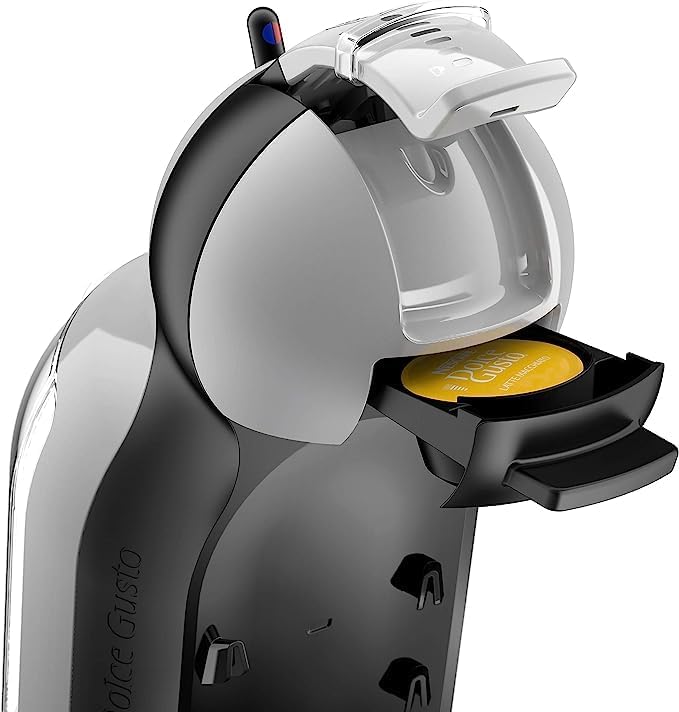
Figure 4: Inserting a Nescafé Dolce Gusto capsule.
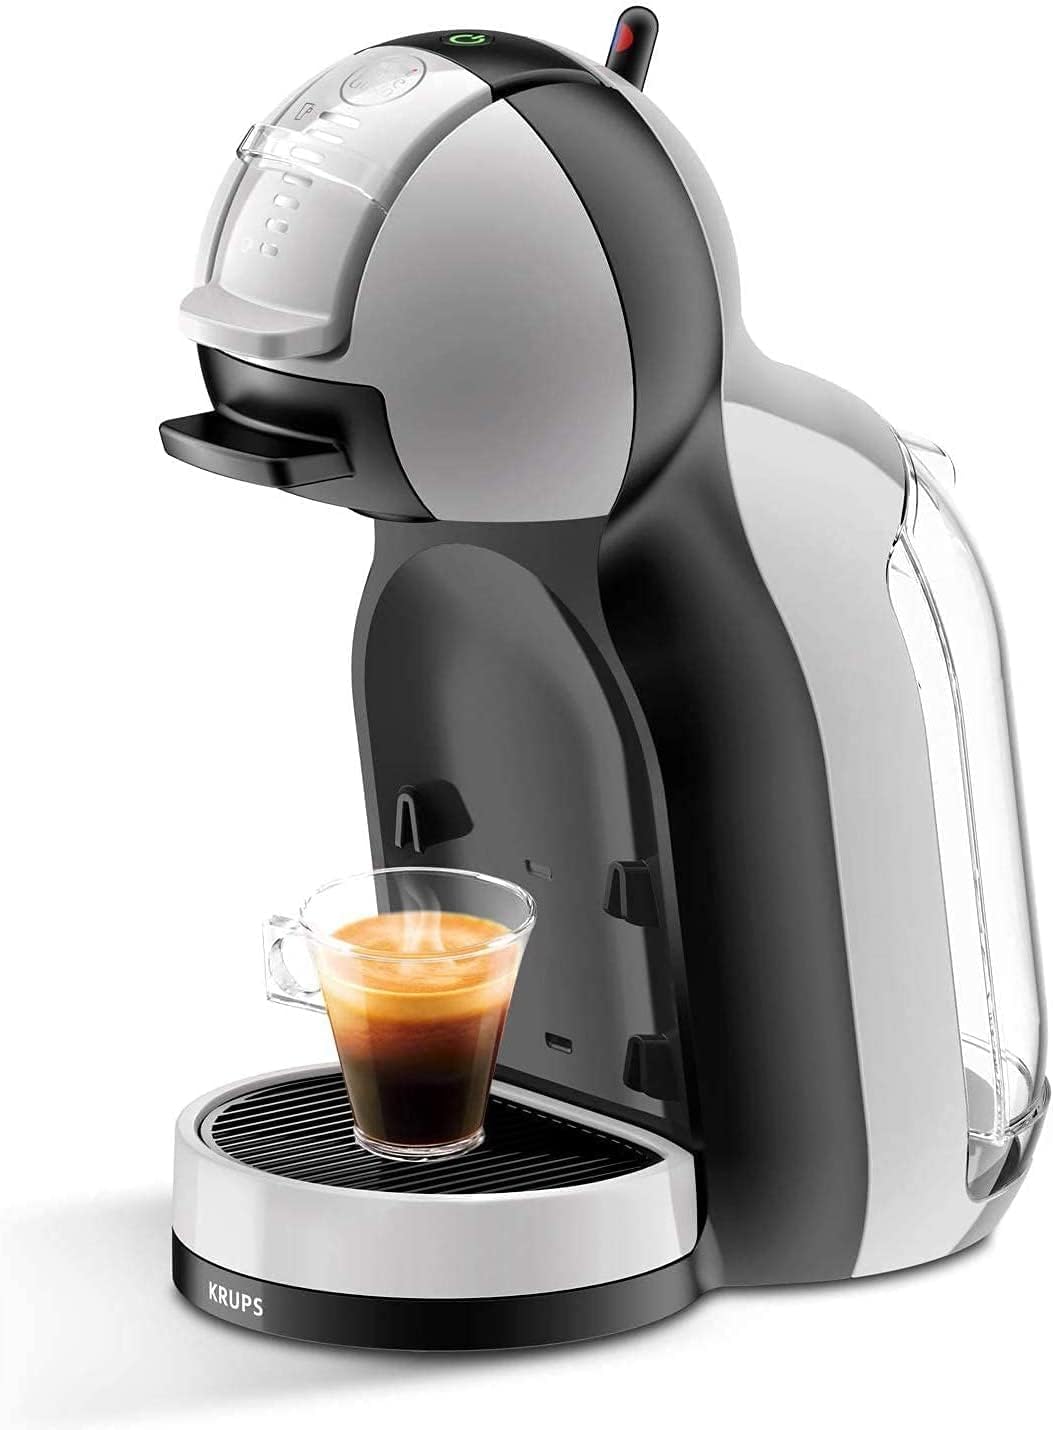
Figure 5: Machine in operation, brewing a beverage.
5. Maintenance
5.1 Cleaning the Machine
Regular cleaning ensures optimal performance and beverage quality.
- Daily Cleaning:
- Empty and rinse the drip tray and capsule holder after each use.
- Wipe the exterior of the machine with a soft, damp cloth.
- Water Tank Cleaning:
- Remove the water tank and wash it with warm water and mild detergent. Rinse thoroughly.
- Do not use abrasive cleaners or scouring pads.
5.2 Descaling
Descaling is crucial to remove mineral deposits and maintain machine efficiency. The frequency depends on water hardness and usage. It is recommended to descale every 3-6 months.
- Consult the Nescafé Dolce Gusto descaling kit instructions for specific steps.
- Always use a descaling solution specifically designed for coffee machines.
- Follow the instructions provided with the descaling product carefully.
- After descaling, run several cycles with fresh water to rinse the machine thoroughly.
6. Troubleshooting
| Problem | Possible Cause | Solution |
|---|---|---|
| Machine does not turn on. | Not plugged in; power outlet fault. | Check power cord connection; try a different outlet. |
| No water flow. | Empty water tank; air bubble in system; machine not primed; clogged needle. | Fill water tank; re-prime the machine; descale the machine; clean the needle (refer to descaling instructions). |
| Coffee is cold or not hot enough. | Machine not fully heated; descaling needed. | Wait for the green light to be solid; descale the machine. |
| Water leaks from machine. | Water tank not correctly seated; drip tray full. | Ensure water tank is securely in place; empty and re-seat drip tray. |
| Capsule holder difficult to close. | Capsule not correctly inserted. | Ensure capsule is seated flat in the holder. Do not force. |
If the problem persists after attempting these solutions, please contact customer support.
7. Specifications
- Model: KP123B41
- Brand: KRUPS / Nescafé Dolce Gusto
- Dimensions (D x W x H): 24 x 16 x 31 cm (approximately)
- Weight: 2.96 kg
- Water Tank Capacity: 0.8 Liters
- Pump Pressure: Up to 15 bars
- Operation Mode: Semi-Automatic
- Color: Arctic Grey and Black
8. Warranty and Support
8.1 International Warranty
This KRUPS Nescafé Dolce Gusto Mini Mi machine comes with an International Warranty. Please refer to the warranty card included in your product packaging for specific terms, conditions, and duration of coverage in your region. Retain your proof of purchase for warranty claims.
8.2 Customer Support
For technical assistance, spare parts, or further information, please contact KRUPS or Nescafé Dolce Gusto customer service in your country. Contact details can typically be found on the official brand websites or in the documentation provided with your machine.


