
1. Introduction and Overview
This manual provides essential information for the proper installation, operation, and maintenance of your MAXXAIR SKYMAXX Skylight Manual Lift Lid. This skylight is designed to provide natural light and ventilation for recreational vehicles (RVs), offering a manual lift lid with three distinct open positions and an integrated pleated screen and shade system.
The MAXXAIR SKYMAXX Skylight is engineered for durability and ease of use, enhancing your RV experience by allowing control over light and airflow. Please read this manual thoroughly before installation and use to ensure safe and optimal performance.

Image 1.1: MAXXAIR SKYMAXX Skylight with its lid partially open, showcasing the clear dome and white interior frame.
2. Safety Information
Always prioritize safety during installation and operation. Failure to follow these instructions may result in property damage, injury, or voiding of the warranty.
- Professional Installation Recommended: Installation of this skylight requires working on an RV roof and handling sealants. If you are not experienced with RV modifications, professional installation is strongly recommended.
- Wear Protective Gear: Always wear appropriate safety glasses, gloves, and other protective equipment during installation.
- Secure Work Area: Ensure your work area on the RV roof is stable and secure. Use appropriate fall protection if necessary.
- Electrical Safety: If your installation involves any electrical components (not applicable to this manual lift model, but general caution), disconnect all power sources before beginning work.
- Sealant Application: Use only RV-approved sealants and follow manufacturer instructions for proper application to prevent leaks.
- Avoid Over-tightening: Do not over-tighten screws or fasteners, as this can damage the skylight components or the RV roof.
- Child Safety: Keep children away from the skylight during operation to prevent pinching or injury.
3. Package Contents
Verify that all components are present and undamaged before beginning installation. If any parts are missing or damaged, contact your retailer or Maxx Air customer support.
- MAXXAIR SKYMAXX Skylight Unit (with clear dome and white interior frame)
- Integrated Pleated Screen and Shade Assembly
- Mounting Hardware (screws, clips, etc. - specific types may vary)
- Instruction Manual (this document)
4. Installation and Setup
Proper installation is crucial for the performance and longevity of your skylight. This section provides general guidelines. Always refer to the detailed installation instructions provided with your specific unit for precise steps.
4.1 Pre-Installation Checks
- Roof Opening: Ensure your RV roof has an existing opening or can accommodate a new opening of 15.75" x 15.75" (400mm x 400mm).
- Roof Thickness: This skylight is designed to mount on roof thicknesses between 0.90" to 2.36" (23mm to 60mm). Verify your RV's roof thickness falls within this range.
- Clearance: Check for adequate clearance both inside and outside the RV for the skylight unit and its operation.
- Tools and Materials: Gather all necessary tools (e.g., drill, screwdriver, sealant gun, measuring tape) and materials (e.g., RV-grade sealant, cleaning supplies).
4.2 General Installation Steps (Summary)
- Prepare the roof opening, ensuring it is clean, dry, and free of debris.
- Apply a bead of approved RV sealant around the perimeter of the roof opening.
- Carefully place the exterior frame of the skylight into the opening, pressing firmly into the sealant.
- From the interior, install the interior trim ring and secure it with the provided fasteners, ensuring a tight, even seal.
- Apply additional sealant around the exterior flange of the skylight to ensure a watertight seal.
- Allow sealant to cure according to the manufacturer's instructions before moving the RV.

Image 4.1: Side view of the MAXXAIR SKYMAXX Skylight, illustrating the manual lift mechanism and the lid in an open position.
5. Operating Instructions
The MAXXAIR SKYMAXX Skylight features a manual lift lid and an integrated pleated screen and shade system for versatile control over light and ventilation.
5.1 Manual Lift Lid Operation
The skylight lid can be manually opened to three distinct positions to control airflow and ventilation. To open, gently push up on the lid from the interior. The support arms will lock into place at the desired position. To close, gently push up slightly to disengage the lock, then pull the lid down until it is fully closed and latched.

Image 5.1: Graphic highlighting the 'Manual Lift Lid' feature of the skylight.
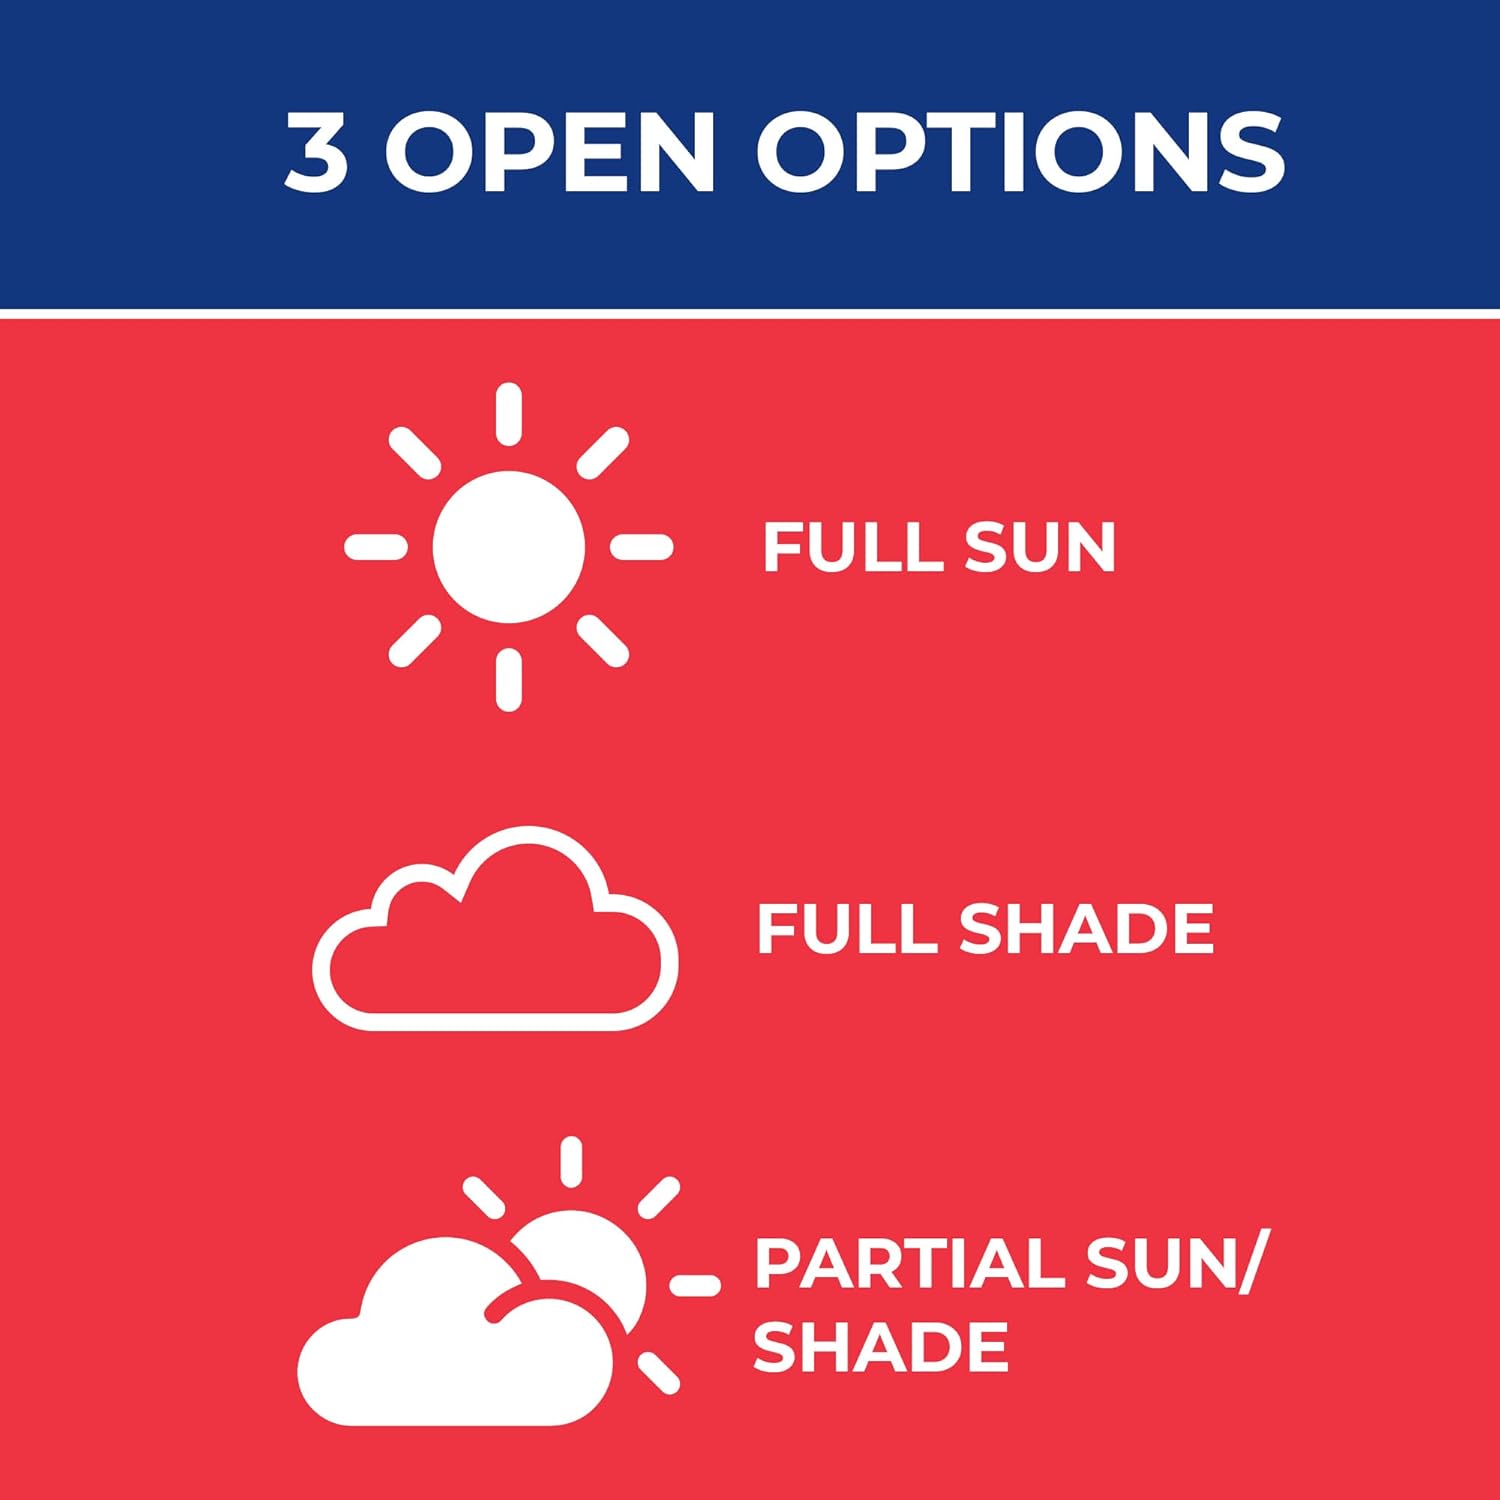
Image 5.2: Graphic illustrating the three open options for the skylight: Full Sun, Full Shade, and Partial Sun/Shade, indicating versatility in light and privacy control.
5.2 Pleated Screen and Shade Operation
The integrated pleated screen and shade system offers options for full sun, full shade, or a partial sun/shade combination. The screen and shade operate independently or together, allowing you to customize light and privacy.
- To open for full light: Retract both the screen and the shade fully.
- To engage screen: Pull the screen panel across the opening. This allows airflow while keeping insects out.
- To engage shade: Pull the shade panel across the opening. This blocks light for privacy or to reduce heat.
- Partial settings: The screen and shade can be positioned at any point along their tracks to achieve desired light and privacy levels.

Image 5.3: Three interior views of the skylight demonstrating the different positions of the integrated screen and shade: fully open, with the screen engaged, and fully closed with the shade engaged.
6. Maintenance
Regular maintenance will help ensure the long-term performance and appearance of your MAXXAIR SKYMAXX Skylight.
- Cleaning the Dome: Clean the exterior dome with a mild soap and water solution and a soft cloth. Avoid abrasive cleaners or brushes that could scratch the surface. Rinse thoroughly with clean water.
- Cleaning the Interior Frame: Wipe the interior frame with a damp cloth. For stubborn dirt, use a mild household cleaner.
- Screen and Shade: Gently vacuum or wipe the pleated screen and shade with a damp cloth to remove dust and debris. Avoid harsh chemicals.
- Inspect Seals: Periodically inspect the exterior sealant around the skylight for cracks or deterioration. Reapply RV-approved sealant as needed to prevent leaks.
- Lubrication: If the manual lift mechanism becomes stiff, apply a small amount of silicone-based lubricant to the moving parts. Do not use petroleum-based lubricants.
7. Troubleshooting
This section addresses common issues you might encounter with your skylight. For problems not listed here, contact customer support.
| Problem | Possible Cause | Solution |
|---|---|---|
| Water Leakage | Compromised exterior sealant; improper installation. | Inspect exterior sealant for cracks or gaps. Clean and reapply RV-approved sealant as necessary. Ensure all mounting screws are properly tightened. |
| Lid difficult to open/close | Dirt/debris in mechanism; lack of lubrication; damaged support arm. | Clean the lift mechanism. Apply silicone-based lubricant to moving parts. Inspect support arms for damage; replace if necessary. |
| Screen/Shade not retracting smoothly | Debris in tracks; damaged spring mechanism. | Clean tracks thoroughly. Ensure no obstructions. If mechanism is damaged, contact customer support for replacement parts. |
| Excessive condensation | High humidity inside RV; insufficient ventilation. | Increase ventilation by opening the skylight lid or other vents. Use a dehumidifier if necessary. |
8. Specifications
- Model Number: 00-97500I
- Brand: Maxx Air
- Manufacturer: MAXXAIR
- Product Dimensions: 20.32 x 57.15 x 54.61 cm (8 x 22.5 x 21.5 inches)
- Item Weight: 6.01 kg (13.25 lbs)
- Roof Opening Size: 15.75" x 15.75" (400mm x 400mm)
- Roof Thickness Compatibility: 0.90" to 2.36" (23mm to 60mm)
- Lid Positions: 3 manual open positions
- Interior Frame Color: White
- Features: Manual lift lid, pleated screen, pleated shade
9. Warranty Information
The MAXXAIR SKYMAXX Skylight (Model 00-97500I) comes with a 2 Year Limited Warranty from the date of purchase. This warranty covers defects in materials and workmanship under normal use and service. It does not cover damage resulting from improper installation, misuse, abuse, accident, unauthorized repairs, or normal wear and tear.
To make a warranty claim, please retain your proof of purchase and contact Maxx Air customer support. The manufacturer reserves the right to repair or replace the defective product at its discretion.
10. Customer Support
For technical assistance, warranty inquiries, or to order replacement parts, please contact Maxx Air customer support. Have your model number (00-97500I) and date of purchase ready when contacting support.
Manufacturer: MAXXAIR
Website: www.maxxair.com (Please check the official website for the most current contact information.)