
1. Introduction
The AsperX AX160 Portable Tire Inflator is a versatile and essential tool for maintaining optimal tire pressure for various vehicles and inflatable items. Designed for convenience and efficiency, this cordless air compressor features a digital pressure gauge, multiple inflation modes, and additional functionalities like a power bank and LED light for emergency situations.

Image: The AsperX AX160 Portable Tire Inflator shown with its accessories and examples of items it can inflate, including car tires, motorcycle tires, bicycle tires, and balls.
2. Safety Information
Please read all instructions carefully before using the AsperX AX160 Portable Tire Inflator. Failure to follow these instructions may result in product damage, property damage, or personal injury.
- Keep out of reach of children.
- Do not operate the inflator in wet conditions or immerse it in water.
- Avoid over-inflating tires or other items. Always refer to the manufacturer's recommended pressure.
- Do not leave the inflator unattended while in operation.
- Ensure the air hose is securely connected to the tire valve before starting inflation.
- Allow the device to cool down if it becomes hot during prolonged use.
- Store the inflator in a cool, dry place when not in use.
3. Package Contents
Verify that all items are present in the package:
- 1 x AsperX AX160 Digital Air Compressor
- 1 x Air Hose
- 1 x Extension Hose Coupling
- 1 x Air Nozzle Cones (various adapters for different inflatables)
- 1 x USB Type-C Charging Cable
- 1 x Carrying Bag
- 1 x User Manual (PDF version available via link below)

Image: A visual representation of all items included in the AsperX AX160 product package.
4. Product Overview
The AsperX AX160 features an intuitive design with a clear LCD digital display and easy-to-use controls.
4.1 Key Features
- 160PSI Max Pressure: Capable of inflating various items from car tires to sports balls.
- 4X Faster Inflation: Efficient inflation rate of 32 liters per minute.
- 4+N Smart Modes: Pre-set modes for SUV, car, bicycle, and ball, plus a customizable manual mode.
- Rechargeable Battery: Built-in large-capacity battery for cordless operation and portability.
- LCD Digital Display: Shows real-time and preset pressure values with ±1% accuracy.
- Power Bank Function: USB output port (10W) to charge electronic devices.
- LED Light: Integrated LED light for illumination in low-light conditions or emergencies.
4.2 Controls and Display

Image: The digital display of the AsperX AX160, highlighting the real-time pressure and the preset target pressure.
- Power Button: Press and hold the Power button (Ⓞ) for 2-3 seconds to turn on the inflator.
- Mode Button: Short press to cycle through preset inflation modes (Car, Motorcycle, Bike, Ball, Custom).
- +/- Buttons: Adjust preset pressure values in manual mode.
- Light Button: Short press to turn the LED light on/off.
- Display: Shows battery level, current pressure, preset pressure, and selected mode.
5. Setup
5.1 Initial Charging
Before first use, fully charge the AsperX AX160. Connect the provided USB Type-C charging cable to the inflator's Type-C input port and a compatible 5V/2A power adapter (not included). The battery indicator on the LCD display will show charging progress.
5.2 Attaching the Air Hose
Screw the air hose securely into the inflation port at the top of the inflator. Ensure a tight connection to prevent air leakage during operation.
6. Operating Instructions
6.1 Basic Inflation Steps
- Power On: Press and hold the Power button (Ⓞ) for 2-3 seconds to turn on the inflator.
- Connect Hose: Connect the air hose to the tire valve or the appropriate nozzle for your inflatable item. Ensure the connection is secure.
- Select Mode: Short press the Mode button (↻) to cycle through the preset inflation modes (Car, Motorcycle, Bike, Ball). The corresponding icon will light up on the display.
- Set Pressure (Optional): If using the manual mode or adjusting a preset, use the Plus (+) and Minus (-) buttons to set your desired pressure.
- Start Inflation: Short press the Power button (Ⓞ) to begin inflation. The real-time pressure will be displayed.
- Auto-Stop: The inflator will automatically stop once the preset pressure is reached.
- Disconnect: Carefully disconnect the air hose from the valve.

Image: A step-by-step visual guide demonstrating the ease of use for the AsperX AX160.
6.2 Inflation Modes and Recommended Pressures
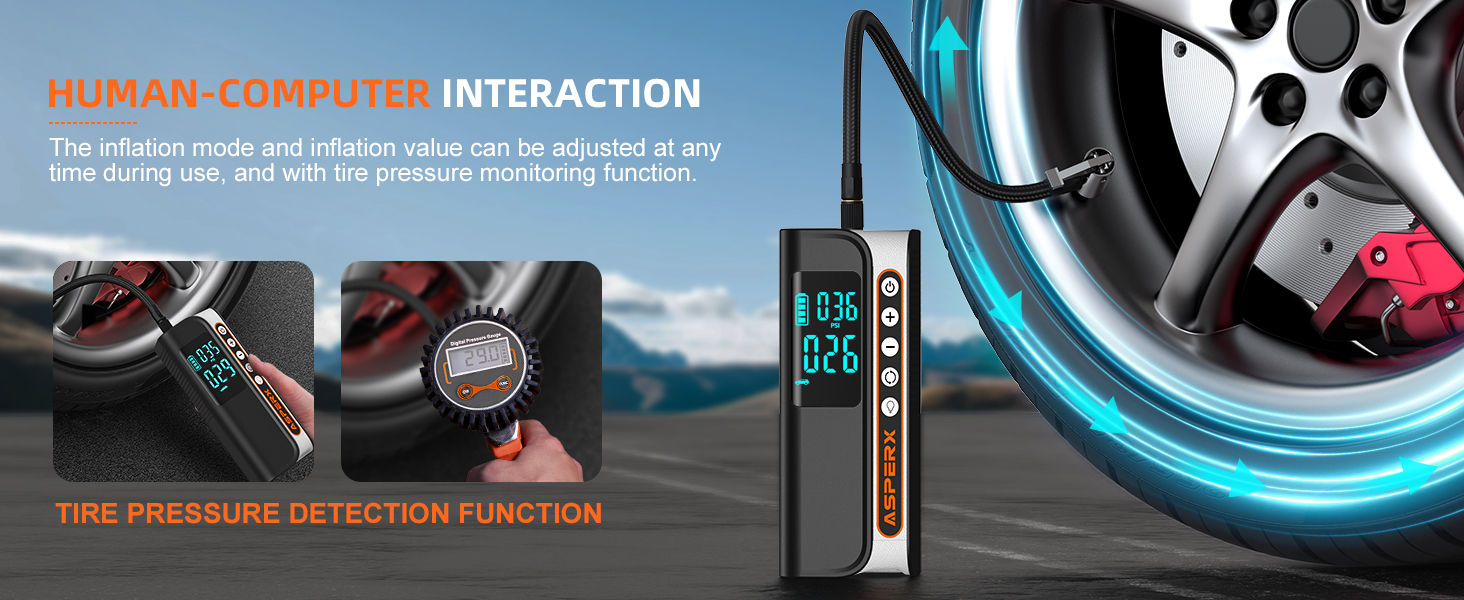
Image: An illustration of the various inflation modes available on the AsperX AX160, including recommended pressure ranges for different items.
| Mode | Recommended PSI Range |
|---|---|
| SUV | 28-40 PSI |
| Car | 25-45 PSI |
| Motorcycle | 25-50 PSI |
| Bike | 30-45 PSI |
| Ball | 4-16 PSI |
| Custom Mode | 4-160 PSI (Adjustable) |
Note: Always check the specific pressure recommendations for your vehicle or inflatable item, usually found on the tire sidewall, vehicle door jamb, or item's manual.
6.3 How to Use Video
Video: A demonstration of how to use the AsperX AX160 Portable Tire Inflator, including connecting the hose, selecting modes, and starting inflation.
7. Charging the Device
The AsperX AX160 is equipped with a large-capacity rechargeable battery. To charge, connect the provided USB Type-C cable to the inflator's input port and a suitable USB power source (e.g., wall adapter, car charger, computer USB port). The battery icon on the display will indicate charging status. A full charge allows for continuous operation for up to 35 minutes.

Image: The AsperX AX160 demonstrating its multi-functionality, including charging a smartphone via its USB output port.
8. Power Bank Function
The inflator can also serve as a portable power bank. Connect your electronic device (e.g., smartphone, tablet) to the USB output port (10W) on the inflator using your device's charging cable. This feature is particularly useful for emergencies or when on the go.
9. LED Light Function
The built-in LED light provides illumination for nighttime use or emergency situations. Short press the Light button (💡) to cycle through different light modes: constant on, SOS flashing, and strobe. This can be vital for visibility during roadside tire changes or other low-light tasks.

Image: The AsperX AX160's emergency LED flashlight being used to illuminate a car engine bay at night.
10. Maintenance
- Cleaning: Wipe the exterior of the inflator with a soft, damp cloth. Do not use harsh chemicals or abrasive cleaners.
- Storage: Store the inflator and its accessories in the provided carrying bag in a cool, dry place, away from direct sunlight and extreme temperatures.
- Battery Care: To prolong battery life, charge the device at least once every 3 months if not in regular use.
11. Troubleshooting
| Problem | Possible Cause | Solution |
|---|---|---|
| Inflator does not turn on. | Low battery. | Charge the device fully. |
| Inflator does not inflate. | Air hose not securely connected. Incorrect pressure setting. | Ensure hose is tightly screwed in. Adjust preset pressure to a value higher than current pressure. |
| Slow inflation. | Low battery. Air hose leakage. | Recharge the device. Check hose connections for tightness. |
| Inaccurate pressure reading. | Improper connection. | Ensure the air hose is fully and securely connected to the valve. |
12. Specifications
| Feature | Detail |
|---|---|
| Brand | AsperX |
| Model Name | AX160 |
| Max Pressure | 160 PSI |
| Air Flow Capacity | 32 LPM (Liters Per Minute) |
| Power Source | Battery Powered (1 Lithium Polymer battery included) |
| Voltage | 12 Volts |
| Noise Level | 65 dB |
| Item Weight | 2.66 Pounds |
| Product Dimensions | 2.8"L x 2.72"W x 7.32"H |
| Hose Length | 15 Inches |
| Special Features | Portable, Cordless, Digital, LED Light, Power Bank |
13. Warranty and Support
The AsperX AX160 Portable Tire Inflator comes with a 24-month warranty from the date of purchase. For warranty claims, technical support, or any inquiries, please refer to the contact information provided in your original purchase documentation or visit the official AsperX website.
14. Additional Resources
For a comprehensive guide and detailed illustrations, please download the official User Manual (PDF):


