
GHJGAGE cce1ed9a-fb4e-460a-aa0a-a8ab28a0f232
GHJGAGE 2.5 Cubic Large Home Safe User Manual
Model: cce1ed9a-fb4e-460a-aa0a-a8ab28a0f232
1. Product Overview
The GHJGAGE 2.5 Cubic Large Home Safe is designed to protect your valuables from theft and fire. It features a digital numeric keypad, emergency key access, and a robust alloy steel construction. This manual provides instructions for initial setup, daily operation, maintenance, and troubleshooting.
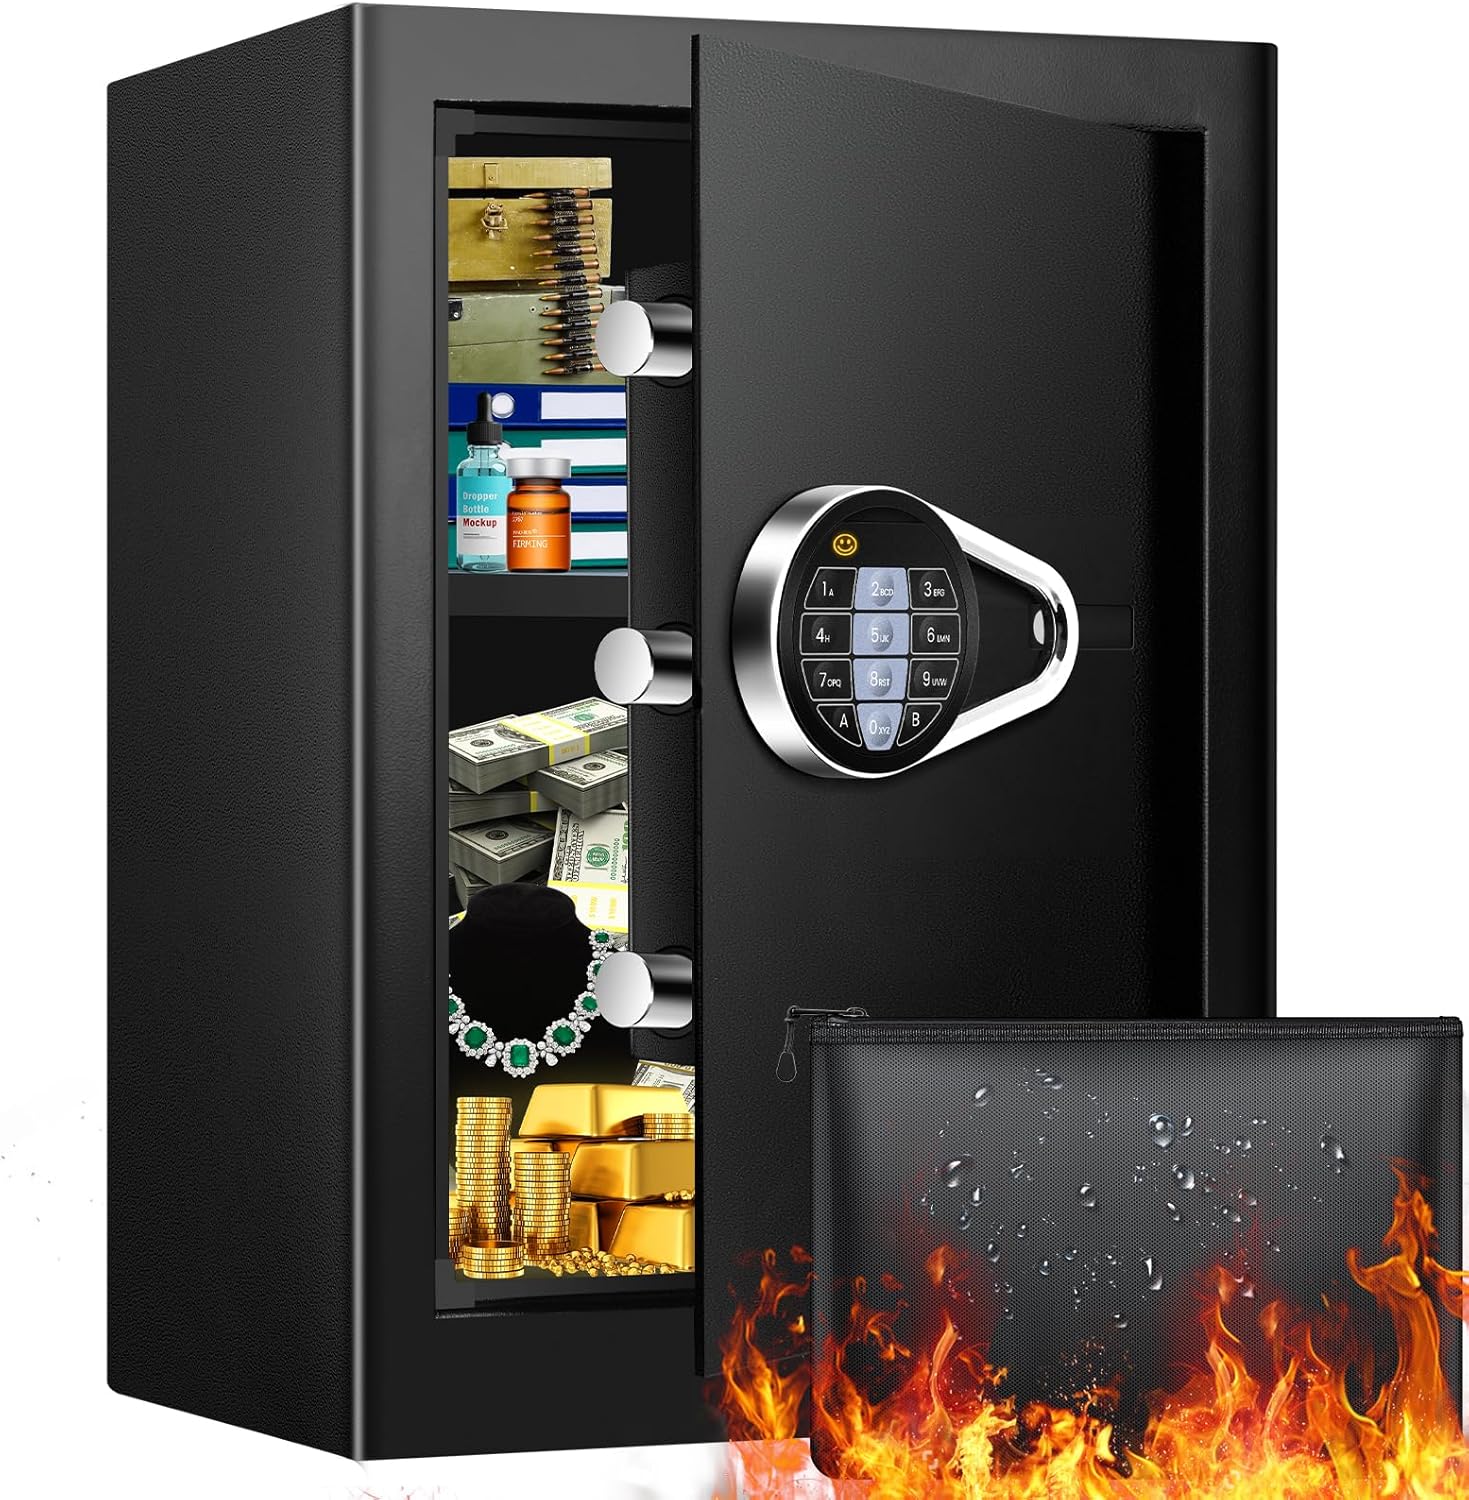

2. Setup and Installation
2.1 Initial Opening and Battery Installation
Upon receiving your safe, it will be locked. You will need to use the emergency keys to open it for the first time and install the batteries for the digital keypad.
- Locate the emergency keyhole, usually hidden behind a small cover near the digital keypad.
- Insert the emergency key and turn it to unlock the safe.
- Open the safe door.
- Inside the door, locate the battery compartment. It typically requires 4 AA batteries (not included).
- Insert the batteries, ensuring correct polarity.
- Close the battery compartment.
2.2 Mounting the Safe
For enhanced security, it is recommended to anchor the safe to a wall or floor. The safe features pre-drilled holes for this purpose.
- Choose a suitable location for the safe, preferably a discreet and secure spot.
- Mark the drilling points on the wall or floor using the pre-drilled holes on the back or bottom of the safe as a template.
- Drill holes at the marked points.
- Align the safe with the drilled holes and secure it using the provided expansion screws or appropriate mounting hardware.
- Ensure the safe is firmly attached and cannot be easily moved.

3. Operating Instructions
3.1 Setting/Changing the Digital Passcode
The safe allows you to set a 3-8 digit numeric passcode for secure access.
- With the safe door open, press the red reset button located on the inside of the door (usually near the hinge). A beep will sound, and the yellow light on the keypad will flash.
- Enter your new 3-8 digit passcode on the keypad.
- Confirm the passcode by pressing the "A/B" button. A successful setting will be indicated by a green light and a beep. If an error occurs, the yellow light will flash, and you will need to repeat the process.
- Test the new passcode with the door open before closing it.
3.2 Opening the Safe
There are three primary ways to open your GHJGAGE safe:
Method 1: Using the Digital Passcode
- Enter your 3-8 digit passcode on the numeric keypad.
- Press the "A/B" button to confirm.
- If the code is correct, the green light will illuminate. Turn the knob clockwise within 5 seconds to open the safe.
Method 2: Using the Emergency Key
This method is useful for the first-time opening, if you forget your passcode, or if the batteries are dead.
- Locate the emergency keyhole (often concealed).
- Insert the emergency key and turn it.
- Turn the knob clockwise to open the safe.
Method 3: Using External Battery Box (Emergency Power)
If the internal batteries are dead and you don't have the emergency key readily available, you can use an external battery box (if provided) to power the keypad temporarily.
- Connect the external battery box to the emergency power port on the safe (usually near the keypad).
- Enter your 3-8 digit passcode on the numeric keypad.
- Press the "A/B" button to confirm.
- If the code is correct, the green light will illuminate. Turn the knob clockwise within 5 seconds to open the safe.

3.3 Removable Shelf
The safe includes a removable shelf to help organize your items. You can adjust its position or remove it entirely to accommodate larger objects.

4. Maintenance
4.1 Battery Replacement
When the batteries are low, the keypad may emit a warning sound or the lights may dim. Replace all batteries promptly to ensure continuous operation.
- Open the safe door.
- Locate the battery compartment on the inside of the door.
- Remove the old batteries and dispose of them responsibly.
- Insert new AA batteries, ensuring correct polarity.
- Close the battery compartment.
4.2 General Care
- Clean the exterior of the safe with a soft, damp cloth. Avoid abrasive cleaners or solvents.
- Do not expose the safe to extreme temperatures or humidity.
- Regularly check the locking bolts and hinges for any signs of wear or damage.
- Keep the emergency keys in a secure location outside the safe.
5. Troubleshooting
5.1 Intrusion Alert Locking System
The safe is equipped with an alarm system that activates after multiple incorrect code attempts.
- If 3 incorrect codes are entered consecutively, the keypad will be disabled for 20 seconds, and an audible alarm will sound for 20 seconds.
- Wait for the alarm to stop and the keypad to reset before attempting to enter the code again.

5.2 Forgotten Passcode
If you forget your digital passcode, you can open the safe using the emergency keys. Once opened, you can reset the passcode following the instructions in Section 3.1.
5.3 Dead Batteries
If the batteries are completely drained, the digital keypad will not respond. Use the emergency keys or an external battery box (if applicable) to open the safe and replace the batteries as described in Section 4.1.
6. Specifications
| Feature | Detail |
|---|---|
| Brand | GHJGAGE |
| Product Dimensions | 12.2"D x 14.96"W x 19.68"H |
| Lock Type | Digital Combination Lock |
| Color | Black |
| Capacity | 2.5 Cubic Feet (35 Pounds) |
| Material | Alloy Steel |
| Special Features | Alarm System, Fireproof, Waterproof |
| Mounting Type | Floor Mount, Wall Mount |
| Control Type | Combination Lock and Key |
| Included Components | Bolts, Keys |
| Item Weight | 35 Pounds |
| Chamber Depth | 11 Inches |
| Chamber Width | 14.57 Inches |
| Model Number | cce1ed9a-fb4e-460a-aa0a-a8ab28a0f232 |

Ask a question about this manual
Ask about setup, troubleshooting, compatibility, parts, safety, or missing instructions. Manuals+ will review the question and use this page’s manual context to help answer it.