
Introduction
This manual provides detailed instructions for the safe and effective use of your Zostuic DC101LAF-4K 4K Digital Camera. Please read this manual thoroughly before operating the camera and retain it for future reference. This camera is designed for capturing high-quality photos and 4K videos, featuring a 48MP sensor, autofocus, and a 3-inch flip screen, making it suitable for photography and vlogging.
Safety Information
- Do not expose the camera to water or moisture.
- Avoid dropping the camera or subjecting it to strong impacts.
- Keep the camera away from direct sunlight and high temperatures.
- Use only specified batteries and chargers.
- Do not attempt to disassemble or modify the camera.
- Keep out of reach of children.
Package Contents
Verify that all items are present in the package:
- 1x Zostuic DC101LAF-4K Digital Camera
- 1x 32GB Memory Card
- 2x Rechargeable Batteries
- 1x Battery Charger
- 1x Charger (Power Adapter)
- 1x USB Cable
- 1x HDMI Cable
- 1x Lens Cap
- 1x Lens Film
- 1x Cleaning Cloth
- 1x Carrying Case
- 1x Long Lanyard
- 1x User Manual (this document)
Camera Overview
Familiarize yourself with the main components of your camera.

Figure 1: Front view of the Zostuic DC101LAF-4K Digital Camera, showing the lens, flash, and overall compact design.
The camera features a compact body, a powerful flash, and a lens with autofocus capabilities. The rear includes a 3-inch flip screen for versatile viewing angles.
Setup
1. Charging the Battery
- Insert one of the provided rechargeable batteries into the battery charger.
- Connect the battery charger to the power adapter using the USB cable, then plug the adapter into a power outlet.
- The indicator light on the charger will show the charging status. Charge until fully charged.
- A fully charged battery ensures optimal camera performance.
2. Inserting the Battery
- Open the battery compartment cover on the bottom of the camera.
- Insert a charged battery, ensuring the correct orientation as indicated inside the compartment.
- Close the battery compartment cover securely.
3. Inserting the SD Card
- Locate the SD card slot, usually near the battery compartment.
- Insert the provided 32GB SD card with the metal contacts facing the correct direction until it clicks into place.
- Important: Before first use, format the memory card within the camera's settings menu to ensure compatibility and optimal performance. Refer to the "Operating" section for menu navigation.
4. Powering On/Off
Press and hold the Power button (location varies, typically on top or side) to turn the camera on or off.
Operating Instructions
Basic Photography
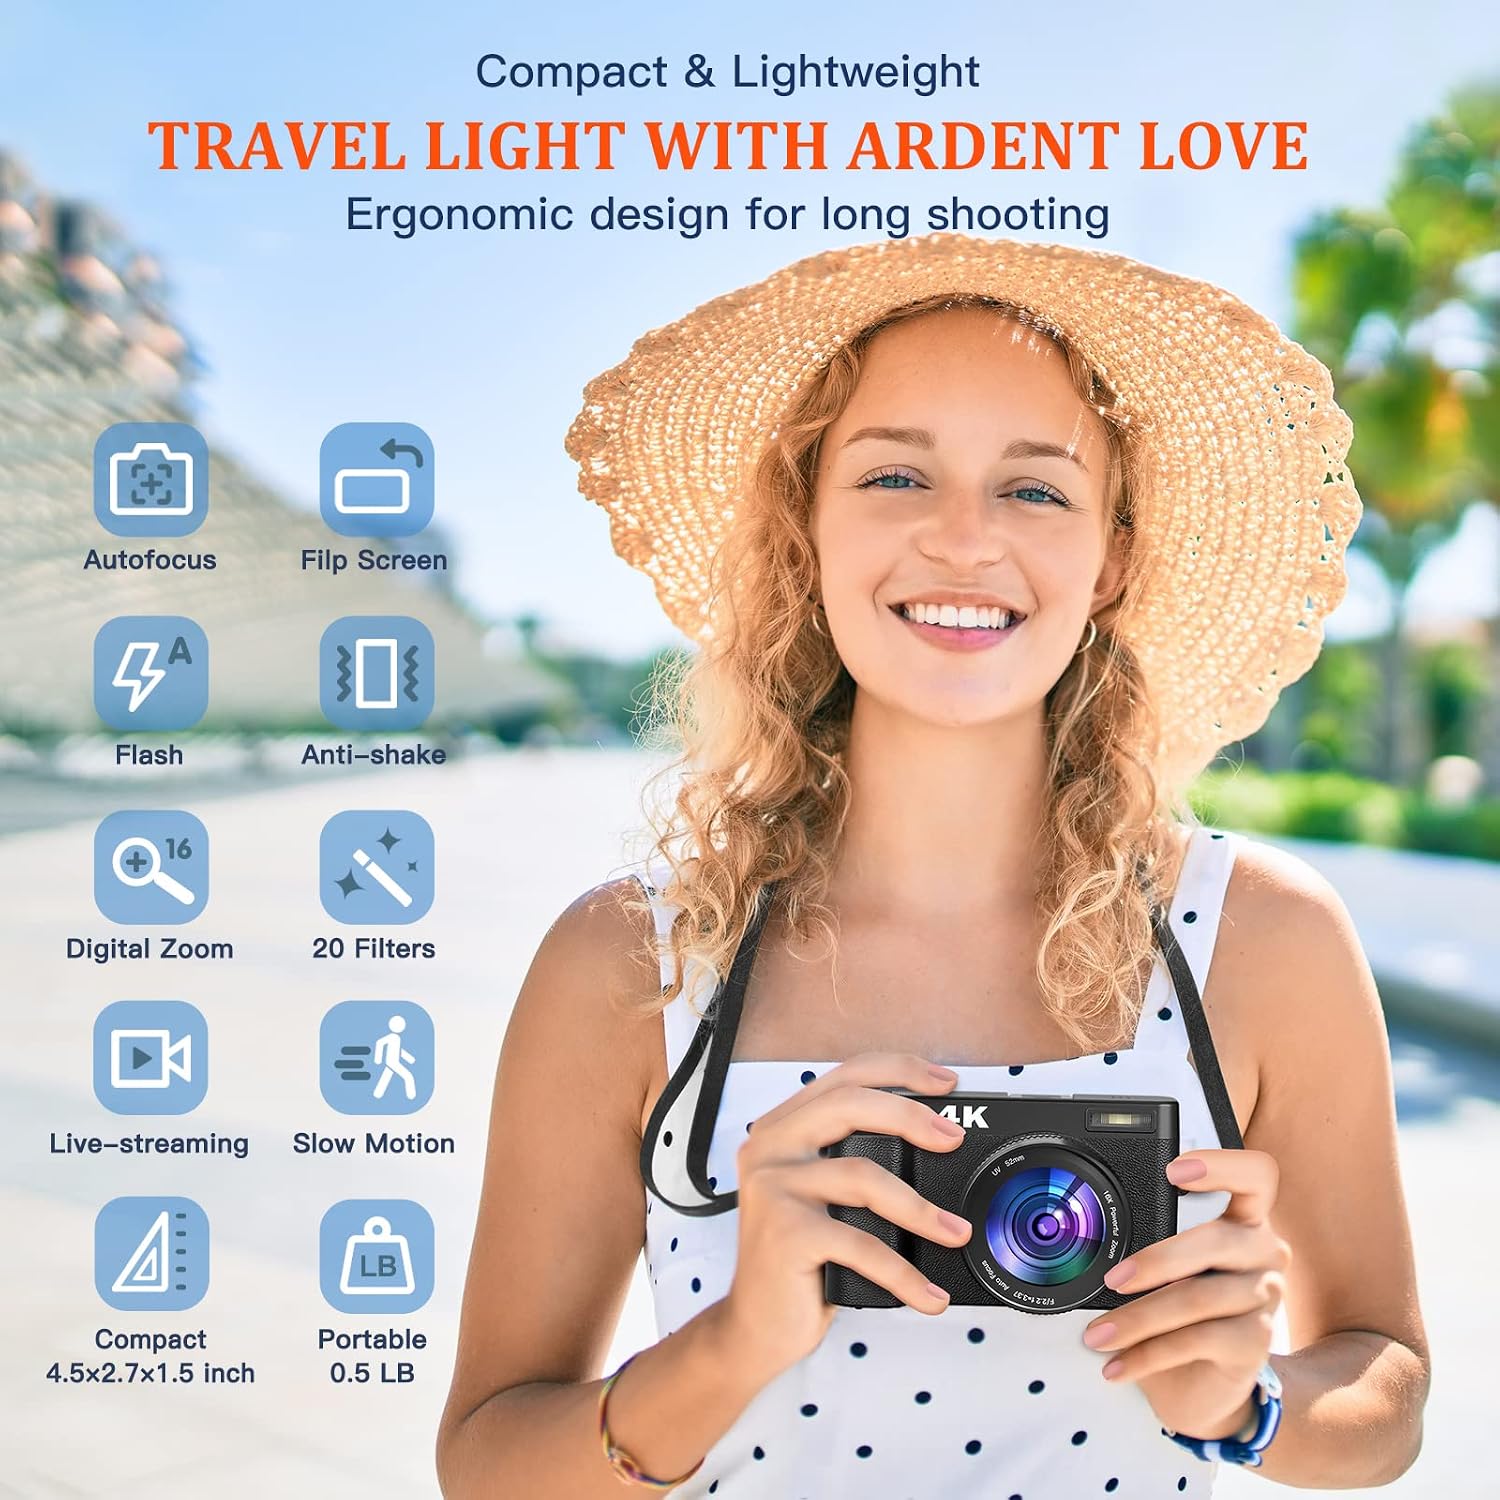
Figure 2: The camera's autofocus system highlights details, suitable for macro shots and clear portraits, leveraging its CMOS sensor for natural skin tones.
- Power On: Turn on the camera.
- Framing: Use the 3-inch flip screen to compose your shot.
- Autofocus: Gently press the shutter button halfway down. The camera will automatically focus on the subject. A green frame typically indicates successful focus.
- Capture: Press the shutter button fully down to take a 48MP photo.
- Digital Zoom: Use the zoom lever (if present) to adjust the 16x digital zoom. Note that digital zoom can reduce image quality compared to optical zoom.
- Anti-Shake: The camera features anti-shake technology to help reduce blur from camera movement.
Video Recording (4K)

Figure 3: The camera is capable of recording 4K video and capturing 48MP images, with a pause function for convenient editing.
- Switch to Video Mode: Select video mode from the camera's menu or dedicated button.
- Start Recording: Press the Record button (often marked with a red dot) to begin 4K video capture.
- Pause Function: During recording, you can pause and resume the video without creating a new file, which can simplify editing.
- Stop Recording: Press the Record button again to stop.
Using the 3-inch Flip Screen

Figure 4: The 3-inch 180° flip screen allows for easy self-recording, vlogging, and live-streaming, providing clear monitoring of your shots.
The camera features a 3-inch screen that can flip 180 degrees. This is particularly useful for:
- Selfies: Easily compose self-portraits.
- Vlogging: Monitor your video while recording yourself.
- Low/High Angle Shots: Adjust the screen for comfortable viewing from various perspectives.
Using the Flash

Figure 5: The camera's powerful built-in flash provides brighter illumination in low-light conditions compared to standard LED fill lights, enhancing image clarity.
The camera is equipped with a strong flash for improved illumination in dimly lit environments. Access flash settings through the camera menu to select modes such as Auto Flash, Fill Flash, Red-eye Reduction, or Flash Off.
Advanced Features

Figure 6: Overview of the camera's key features including autofocus, flip screen, flash, anti-shake, 16x digital zoom, 20 filters, live-streaming, and slow motion, all within a compact and lightweight design.
- Self-Timer: Set a delay (e.g., 2s, 5s, 10s) before a photo is taken, useful for group shots or self-portraits.
- Filters & Scene Modes: Experiment with 20 built-in filters and 9 scene modes to enhance your photos.
- Slow Motion: Record videos in slow motion for dramatic effects.
- Continuous Shooting: Capture a rapid sequence of photos by holding down the shutter button.
- White Balance: Adjust white balance settings (Auto, Daylight, Cloudy, Tungsten, Fluorescent) to ensure accurate color reproduction under different lighting conditions.
- Hot Shoe: The camera features a hot shoe for attaching external accessories like a professional microphone (not included) for enhanced audio in videos.
Connecting to a Computer (USB)
Use the provided USB cable to connect the camera to your computer. The camera will typically appear as a removable disk, allowing you to transfer photos and videos.
Connecting to a TV (HDMI)
Use the provided HDMI cable to connect the camera to an HDMI-compatible television to view your photos and videos on a larger screen.
Maintenance
Cleaning the Camera and Lens
- Use the provided cleaning cloth to gently wipe the camera body and screen.
- For the lens, use a lens brush or a specialized lens cleaning solution and cloth. Avoid touching the lens surface with your fingers.
- Do not use harsh chemicals or abrasive materials.
Battery Care
- Store batteries in a cool, dry place when not in use.
- Do not expose batteries to extreme temperatures.
- If the camera will not be used for an extended period, remove the battery.
Storage
When not in use, store the camera in its carrying case in a dry, dust-free environment.
Troubleshooting
| Problem | Possible Cause / Solution |
|---|---|
| Camera does not power on. |
|
| Cannot take photos/videos. |
|
| Images are blurry. |
|
| Flash is not firing. |
|
Specifications
| Feature | Detail |
|---|---|
| Brand | Zostuic |
| Model Number | DC101LAF-4K |
| Effective Still Resolution | 48 MP |
| Video Capture Resolution | 4320p (4K) |
| Photo Sensor Technology | CMOS |
| Screen Size | 3 Inches (180° Flip Screen) |
| Optical Zoom | 16x (Digital Zoom) |
| Focus Type | Autofocus |
| Image Stabilization | Digital |
| Flash Memory Type | Normal SD Card (32GB included) |
| Connectivity Technology | HDMI, USB |
| Special Features | Autofocus, Flip Screen, Strong Flash, Anti-shake, 16x Digital Zoom, Self-timer, 20 Filters, 9 Scene Modes, Slow Motion, Continuous Shooting, White Balance, Hot Shoe |
| Color | Black |
| Power Source | Rechargeable Batteries (2 included) |
Warranty Information
Your Zostuic DC101LAF-4K Digital Camera is covered by a standard manufacturer's warranty. Please refer to the warranty card included in your package for specific terms, conditions, and duration. Retain your proof of purchase for warranty claims.
Customer Support
For technical assistance, troubleshooting not covered in this manual, or warranty inquiries, please contact Zostuic customer support. Contact details can typically be found on the product packaging or the official Zostuic website.

