
1. Introduction
This manual provides essential information for the safe and efficient operation of your CROWN Automatic Voltage Regulator, Model CT34054. This device is designed to protect your electronic equipment from voltage fluctuations by providing a stable output voltage within a specified range. Please read this manual thoroughly before installation and use, and retain it for future reference.
2. Safety Instructions
Always follow these safety precautions to prevent electric shock, fire, or damage to the unit and connected devices:
- Ensure the voltage regulator is connected to a properly grounded power outlet.
- Do not open the casing of the voltage regulator. There are no user-serviceable parts inside. Refer all servicing to qualified personnel.
- Avoid placing the unit in direct sunlight, near heat sources, or in areas with high humidity or excessive dust.
- Ensure adequate ventilation around the unit. Do not block ventilation openings.
- Do not overload the voltage regulator beyond its specified maximum power capacity (1500W).
- Keep the unit away from children and pets.
- If the unit emits smoke, unusual odors, or makes strange noises, immediately disconnect it from the power supply and contact support.
3. Product Overview
The CROWN Automatic Voltage Regulator CT34054 is designed for ease of use and reliable performance. Below are key components and their functions.
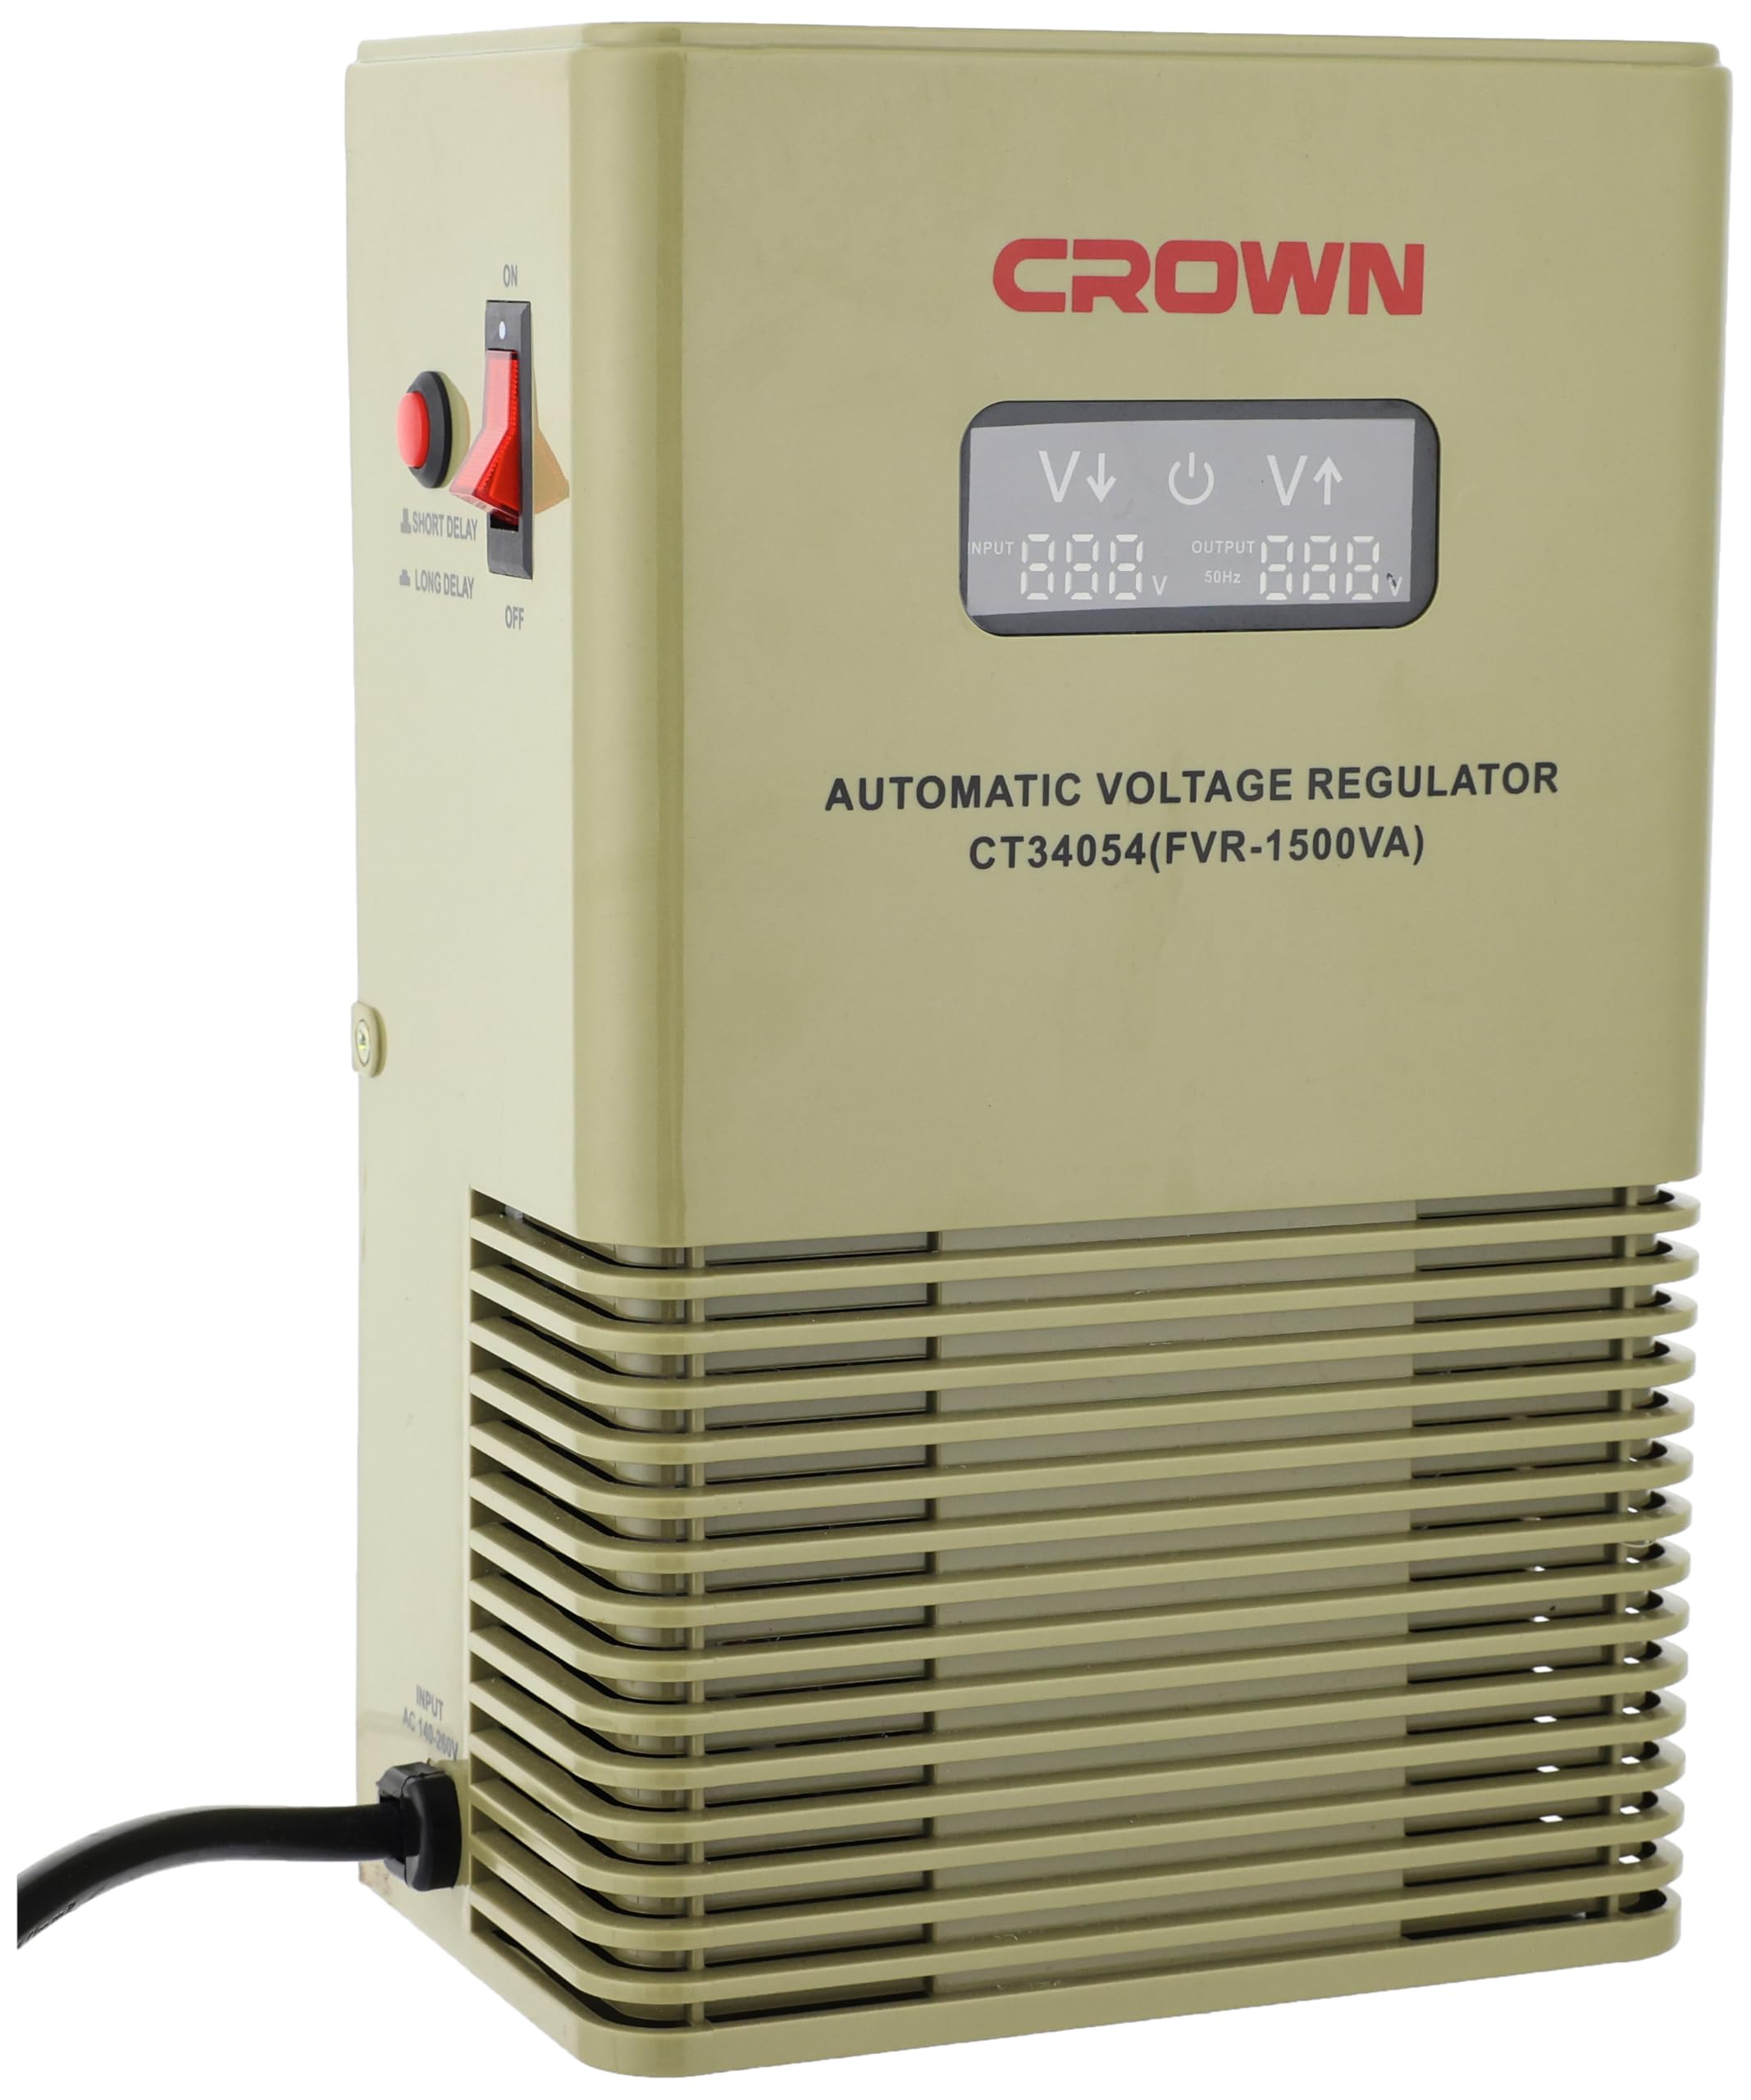
Figure 1: Front view of the CROWN Automatic Voltage Regulator CT34054. This image displays the digital screen indicating input and output voltage, the CROWN brand logo, the model designation 'AUTOMATIC VOLTAGE REGULATOR CT34054 (FVR-1500VA)', a 15A fuse, and a universal output socket labeled 'OUTPUT:220V'.

Figure 2: Close-up view of the output section of the CROWN Automatic Voltage Regulator. This image highlights the 15A fuse with a red reset button, the multi-standard output socket, and the 'OUTPUT:220V' label, indicating the regulated output voltage.
Front Panel:
- Digital Display: Shows real-time input and output voltage.
- Power Switch: Controls the main power to the unit.
- Output Socket: Connect your appliances here. Rated for 220V output.
- Fuse (15A): Provides overcurrent protection.
4. Setup
Follow these steps to set up your voltage regulator:
- Unpacking: Carefully remove the voltage regulator from its packaging. Inspect for any signs of damage.
- Placement: Place the unit on a stable, flat surface in a well-ventilated area. Ensure there is sufficient space around the unit for air circulation.
- Power Connection: Connect the power cord of the voltage regulator to a standard 220-240V AC wall outlet.
- Appliance Connection: Plug your electronic devices into the output socket(s) of the voltage regulator. Ensure the total power consumption of all connected devices does not exceed 1500W.
- Power On: Turn on the power switch on the front panel of the voltage regulator. The digital display will illuminate, showing the input and output voltages.
5. Operating Instructions
Once set up, the CROWN Automatic Voltage Regulator operates automatically:
- Automatic Regulation: The unit will automatically detect fluctuations in the input voltage (within the 140-260V range) and adjust the output to a stable 220V.
- Digital Display: Monitor the input voltage (V↓) and output voltage (V↑) on the digital display. This provides real-time information on the power conditions.
- Overload Protection: If the connected load exceeds 1500W, or in case of a short circuit, the 15A fuse will trip to protect the unit and connected devices. If the fuse trips, disconnect all devices, press the red fuse reset button, and then reconnect devices ensuring the total load is within limits.
- Power Off: To turn off the unit, simply switch off the power button on the front panel.
6. Maintenance
To ensure the longevity and optimal performance of your voltage regulator, follow these simple maintenance guidelines:
- Cleaning: Regularly wipe the exterior of the unit with a soft, dry cloth. Do not use liquid cleaners or solvents.
- Ventilation: Ensure that the ventilation openings are free from dust and obstructions. Use a soft brush or compressed air to clean them if necessary.
- Storage: If storing the unit for an extended period, disconnect it from the power supply and store it in a cool, dry place away from direct sunlight and extreme temperatures.
- Inspection: Periodically check the power cord and plugs for any signs of damage. Do not use the unit if any part is damaged.
7. Troubleshooting
If you encounter issues with your CROWN Automatic Voltage Regulator, refer to the following common problems and solutions:
| Problem | Possible Cause | Solution |
|---|---|---|
| Unit does not power on. | No power from wall outlet; Power switch off; Blown fuse. | Check wall outlet with another device; Ensure power switch is ON; Check and reset the fuse. |
| Output voltage is unstable or incorrect. | Input voltage outside operating range (140-260V); Overloaded unit. | Verify input voltage is within specified range; Reduce the total load connected to the regulator. |
| Fuse trips frequently. | Overloaded unit; Short circuit in connected appliance. | Disconnect some appliances to reduce load; Check connected appliances for faults. |
| Unit makes unusual noise. | Internal component issue. | Immediately disconnect from power. Do not attempt to repair. Contact support. |
If the problem persists after trying these solutions, please contact customer support.
8. Specifications
Detailed technical specifications for the CROWN Automatic Voltage Regulator CT34054:

Figure 3: Dimensions of the CROWN Automatic Voltage Regulator. The image indicates a height of approximately 10 inches (24 cm) for the unit.
| Feature | Detail |
|---|---|
| Brand | CROWN |
| Model Number | CT34054 |
| Manufacturer | Taj |
| Input Voltage Range | 140 - 260 Volts AC |
| Output Voltage | 220 Volts AC |
| Power Capacity | 1500 Watts |
| Power Source Type | AC |
| Item Weight | 58 Kilograms |
| Shipping Dimensions | 28.8 x 21.8 x 13.9 cm |
| Included Components | Tools |
| Batteries Required | No |
| ASIN | B0BX42D7QH |
| First Available Date | February 28, 2023 |
9. Warranty and Support
For warranty information and technical support, please refer to the documentation provided with your purchase or contact the retailer where the product was acquired. Keep your proof of purchase for warranty claims.