
Ingco PLM6001
INGCO Laminate Trimmer 600W (PLM6001) User Manual
Model: PLM6001
1. Introduction
This manual provides essential information for the safe operation, maintenance, and troubleshooting of your INGCO Laminate Trimmer 600W, model PLM6001. Please read these instructions carefully before using the tool to ensure proper function and to prevent injury or damage.
2. Safety Instructions
Always follow basic safety precautions to reduce the risk of fire, electric shock, and personal injury.
- Work Area Safety: Keep the work area clean and well-lit. Cluttered or dark areas invite accidents.
- Electrical Safety: Do not expose power tools to rain or wet conditions. Avoid body contact with earthed or grounded surfaces.
- Personal Safety: Always wear eye protection, hearing protection, and a dust mask. Dress properly; avoid loose clothing or jewelry.
- Tool Use and Care: Do not force the power tool. Use the correct power tool for your application. Disconnect the plug from the power source before making any adjustments, changing accessories, or storing power tools.
3. Package Contents
Verify that all items listed below are present in your package. If any parts are missing or damaged, contact your retailer.
- INGCO Laminate Trimmer (PLM6001)
- Straight Guide
- Trimmer Guide Assembly
- Wrenches (2 pcs)
- Instruction Manual

Figure 1: INGCO Laminate Trimmer PLM6001 and included accessories. This image displays the main trimmer unit along with its various attachments, including guides and wrenches, laid out on a white background.
4. Component Identification
Familiarize yourself with the main parts of your laminate trimmer.
- Motor Housing
- Base Plate / Transparent Base
- Collet Nut
- Depth Adjustment Lever
- Power Switch
- Power Cord

Figure 2: Close-up view of the trimmer's transparent base plate and collet nut. This image highlights the clear base, allowing visibility of the cutting area, and the central collet where the bit is secured.
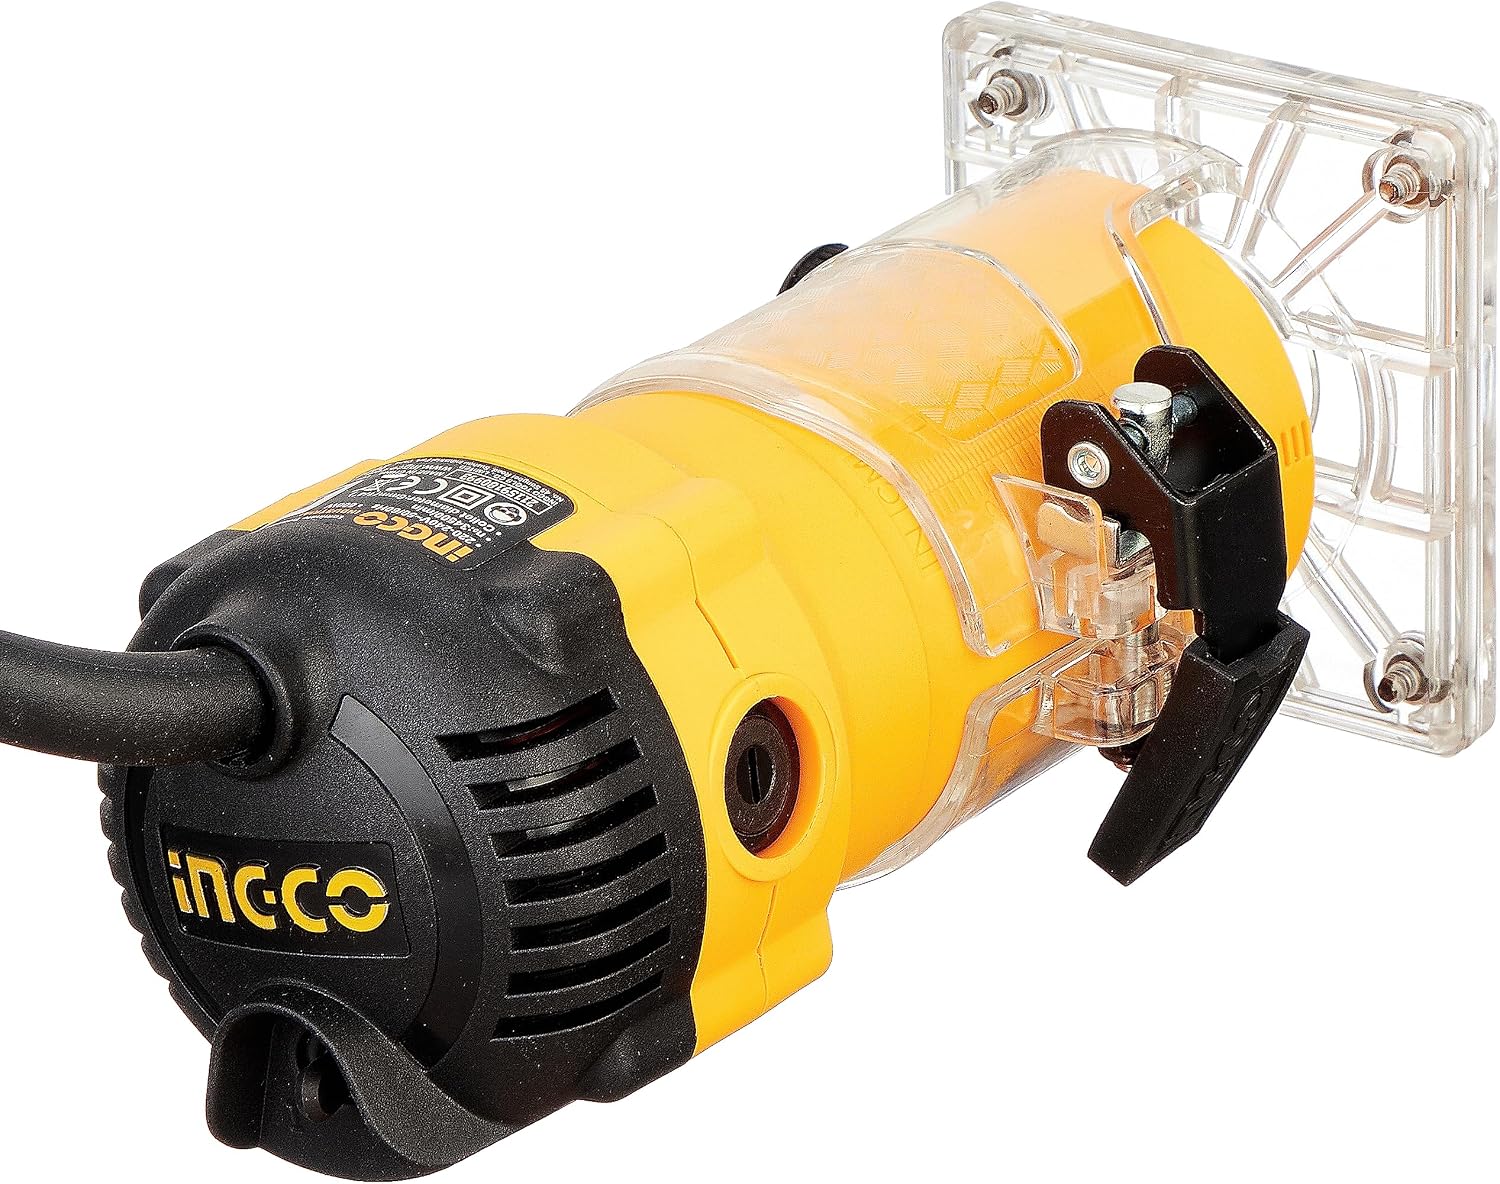
Figure 3: Side view of the INGCO Laminate Trimmer, showcasing the motor housing and the INGCO brand logo. This perspective provides a clear view of the tool's body and power switch area.

Figure 4: Detailed view of the trimmer's base plate from below, showing the bit opening and mounting screws. This image focuses on the underside of the tool, where the cutting bit emerges and the base is attached.
5. Setup and Assembly
5.1 Installing/Removing Trimmer Bit
- Ensure the trimmer is unplugged from the power source.
- Loosen the collet nut using the provided wrenches.
- Insert the desired trimmer bit into the collet, ensuring it is fully seated.
- Tighten the collet nut firmly with the wrenches. Do not overtighten.
5.2 Adjusting Cutting Depth
- With the trimmer bit installed, place the trimmer on a flat surface.
- Loosen the depth adjustment lever.
- Lower or raise the motor housing until the bit extends to the desired cutting depth.
- Securely tighten the depth adjustment lever.
5.3 Attaching Guides
Attach the straight guide or trimmer guide assembly as needed for specific trimming tasks. Refer to the guide's specific instructions for proper attachment and adjustment.
6. Operating Instructions
6.1 Before Starting
- Ensure the workpiece is securely clamped.
- Verify the bit is correctly installed and the depth is set.
- Wear appropriate personal protective equipment (PPE).
6.2 Powering On/Off
- To turn on, press the power switch to the "ON" position.
- To turn off, press the power switch to the "OFF" position.
6.3 Trimming Techniques
- Always start the trimmer before contacting the workpiece.
- Move the trimmer smoothly and consistently along the edge of the workpiece.
- Avoid applying excessive pressure, let the tool do the work.
- For best results, make multiple shallow passes rather than one deep pass.
7. Maintenance
7.1 Cleaning
- Disconnect the tool from the power supply before cleaning.
- Regularly clean the ventilation openings and the motor housing with a soft brush or compressed air.
- Wipe the transparent base with a clean, damp cloth.
7.2 Bit Care
- Keep trimmer bits sharp and clean for optimal performance.
- Replace dull or damaged bits immediately.
7.3 Storage
- Store the tool in a dry, secure place out of reach of children.
- Protect the power cord from damage.
8. Troubleshooting
| Problem | Possible Cause | Solution |
|---|---|---|
| Trimmer does not start | No power supply; Faulty switch; Damaged cord | Check power connection; Test outlet; Inspect cord for damage; Contact service center |
| Excessive vibration | Loose bit; Damaged bit; Bent shaft | Tighten collet nut; Replace bit; Contact service center |
| Poor cutting quality | Dull bit; Incorrect depth setting; Too fast feed rate | Replace/sharpen bit; Adjust depth; Reduce feed rate |
9. Technical Specifications
| Model: | PLM6001 |
| Rated Power: | 600W |
| Power Source: | AC |
| Item Weight: | 209 g |
| Product Dimensions: | 10 x 20 x 37 cm |
| Manufacturer: | Ingco |
| Country of Origin: | China |

Figure 5: Diagram illustrating the approximate dimensions of the INGCO Laminate Trimmer PLM6001, showing a height of 10 inches (26 cm).
10. Customer Support
For technical assistance, warranty information, or service inquiries, please contact your local INGCO service center or authorized dealer. Please have your model number (PLM6001) and purchase date available when contacting support.
Related documentsPLM6001


Ask a question about this manual
Ask about setup, troubleshooting, compatibility, parts, safety, or missing instructions. Manuals+ will review the question and use this page’s manual context to help answer it.