
1. Introduction
Thank you for purchasing the Andoer Digital Camera. This manual provides detailed instructions on how to set up, operate, and maintain your camera to ensure optimal performance and longevity. Please read this manual thoroughly before using the camera and keep it for future reference.
This compact and lightweight digital camera is designed to capture high-quality photos and videos, featuring 2.7K video resolution, 48MP picture resolution, 16X digital zoom, and a 2.88-inch IPS screen. It includes various functions such as anti-shake, face detection, smile capture, and a built-in LED fill light.
2. Safety Information
- Do not expose the camera to extreme temperatures, direct sunlight, or high humidity.
- Avoid dropping or subjecting the camera to strong impacts.
- Keep the camera away from water and other liquids.
- Do not attempt to disassemble or modify the camera. Repairs should only be performed by qualified personnel.
- Use only the specified battery and charging cable provided with the camera.
- Keep batteries out of reach of children.
- Clean the camera lens and screen with a soft, lint-free cloth.
3. Package Contents
Please check the package contents upon unboxing to ensure all items are present:
- 1 x Andoer Digital Camera
- 2 x Lithium Batteries (3.7V 700mAh)
- 1 x USB Charge Cable
- 1 x Wrist Strap
- 1 x Carry Bag
- 1 x Users' Manual (English)
4. Product Overview
The Andoer Digital Camera is designed for ease of use, featuring a compact body and intuitive controls.

Figure 4.1: Front and back view of the Andoer Digital Camera, showing the lens, screen, and control buttons. Two rechargeable batteries are also shown.

Figure 4.2: The compact size of the Andoer Digital Camera, with dimensions of 9.4cm (length), 5.6cm (height), and 1.9cm (thickness) indicated.
The camera features a 2.88-inch IPS screen for clear viewing and playback, a powerful 16X digital zoom lens, and an integrated LED fill light for low-light conditions.
5. Setup
5.1. Battery Installation
- Locate the battery compartment cover on the bottom or side of the camera.
- Slide the cover open.
- Insert the provided lithium battery (3.7V 700mAh) into the compartment, ensuring the correct polarity as indicated inside.
- Close the battery compartment cover securely.

Figure 5.1: The camera with its battery compartment open, showing the removable 700mAh rechargeable lithium battery.
5.2. Charging the Battery
The camera is powered by a rechargeable lithium battery. To charge:
- Connect the USB charge cable to the camera's USB port.
- Connect the other end of the USB cable to a USB power adapter (not included) or a computer's USB port.
- The charging indicator light will illuminate. It will turn off or change color once charging is complete.
5.3. Inserting a Memory Card
The camera requires an external memory card (not included) to store photos and videos. It supports Class-10 external memory cards up to 128GB.
- Locate the memory card slot, usually near the battery compartment.
- Insert the memory card with the metal contacts facing the correct direction (refer to the diagram near the slot).
- Push the card in until it clicks into place. To remove, push it in again until it springs out.
6. Operating Instructions
6.1. Powering On/Off
- To power on: Press and hold the Power button (usually marked with a power symbol) until the screen illuminates.
- To power off: Press and hold the Power button again until the screen turns off.
- The camera also features an Auto Power Off function (1min/3min/5min) to conserve battery.
6.2. Basic Photo and Video Capture
After powering on, the camera typically defaults to photo mode.
- Taking Photos: Frame your shot using the IPS screen. Press the Shutter button (usually on top of the camera) halfway down to focus, then press fully to capture the image.
- Recording Videos: Press the Mode button to switch to video recording mode. Press the Shutter button to start recording, and press it again to stop.

Figure 6.1: The 2.88-inch IPS screen of the camera displaying a scene, highlighting its size and clarity for viewing.
6.3. Using Digital Zoom
The camera supports 16X digital zoom.
- Use the 'W' (Wide) and 'T' (Telephoto) buttons, typically located near the shutter button or on the directional pad, to zoom out and zoom in, respectively.

Figure 6.2: A visual representation of the camera's 16X digital zoom, showing progressive magnification of a subject.
6.4. Connecting to a Computer
You can connect the camera to a computer to transfer photos and videos.
- Connect the camera to your computer using the provided USB cable.
- The camera should appear as a removable disk drive.
- Supported Operating Systems: Windows XP/ Vista/ 7/ 8/ 10, Mac 10.2 and above.
7. Functions and Modes
The Andoer Digital Camera offers a variety of functions and shooting modes to enhance your photography experience.
7.1. Shooting Modes
The camera includes various scene modes to optimize settings for different environments:
- Auto: Standard mode for general shooting.
- Portrait: Optimizes for capturing people.
- Night: For low-light conditions.
- Landscape: Ideal for wide outdoor scenes.
- Backlight: Adjusts for subjects with strong light behind them.
- Party: For indoor events with mixed lighting.
- Beach: For bright, reflective environments.
- Sports: For capturing fast-moving subjects.
7.2. Special Functions
- Anti-Shake: Helps reduce blur caused by camera movement, especially in low light or with zoom.
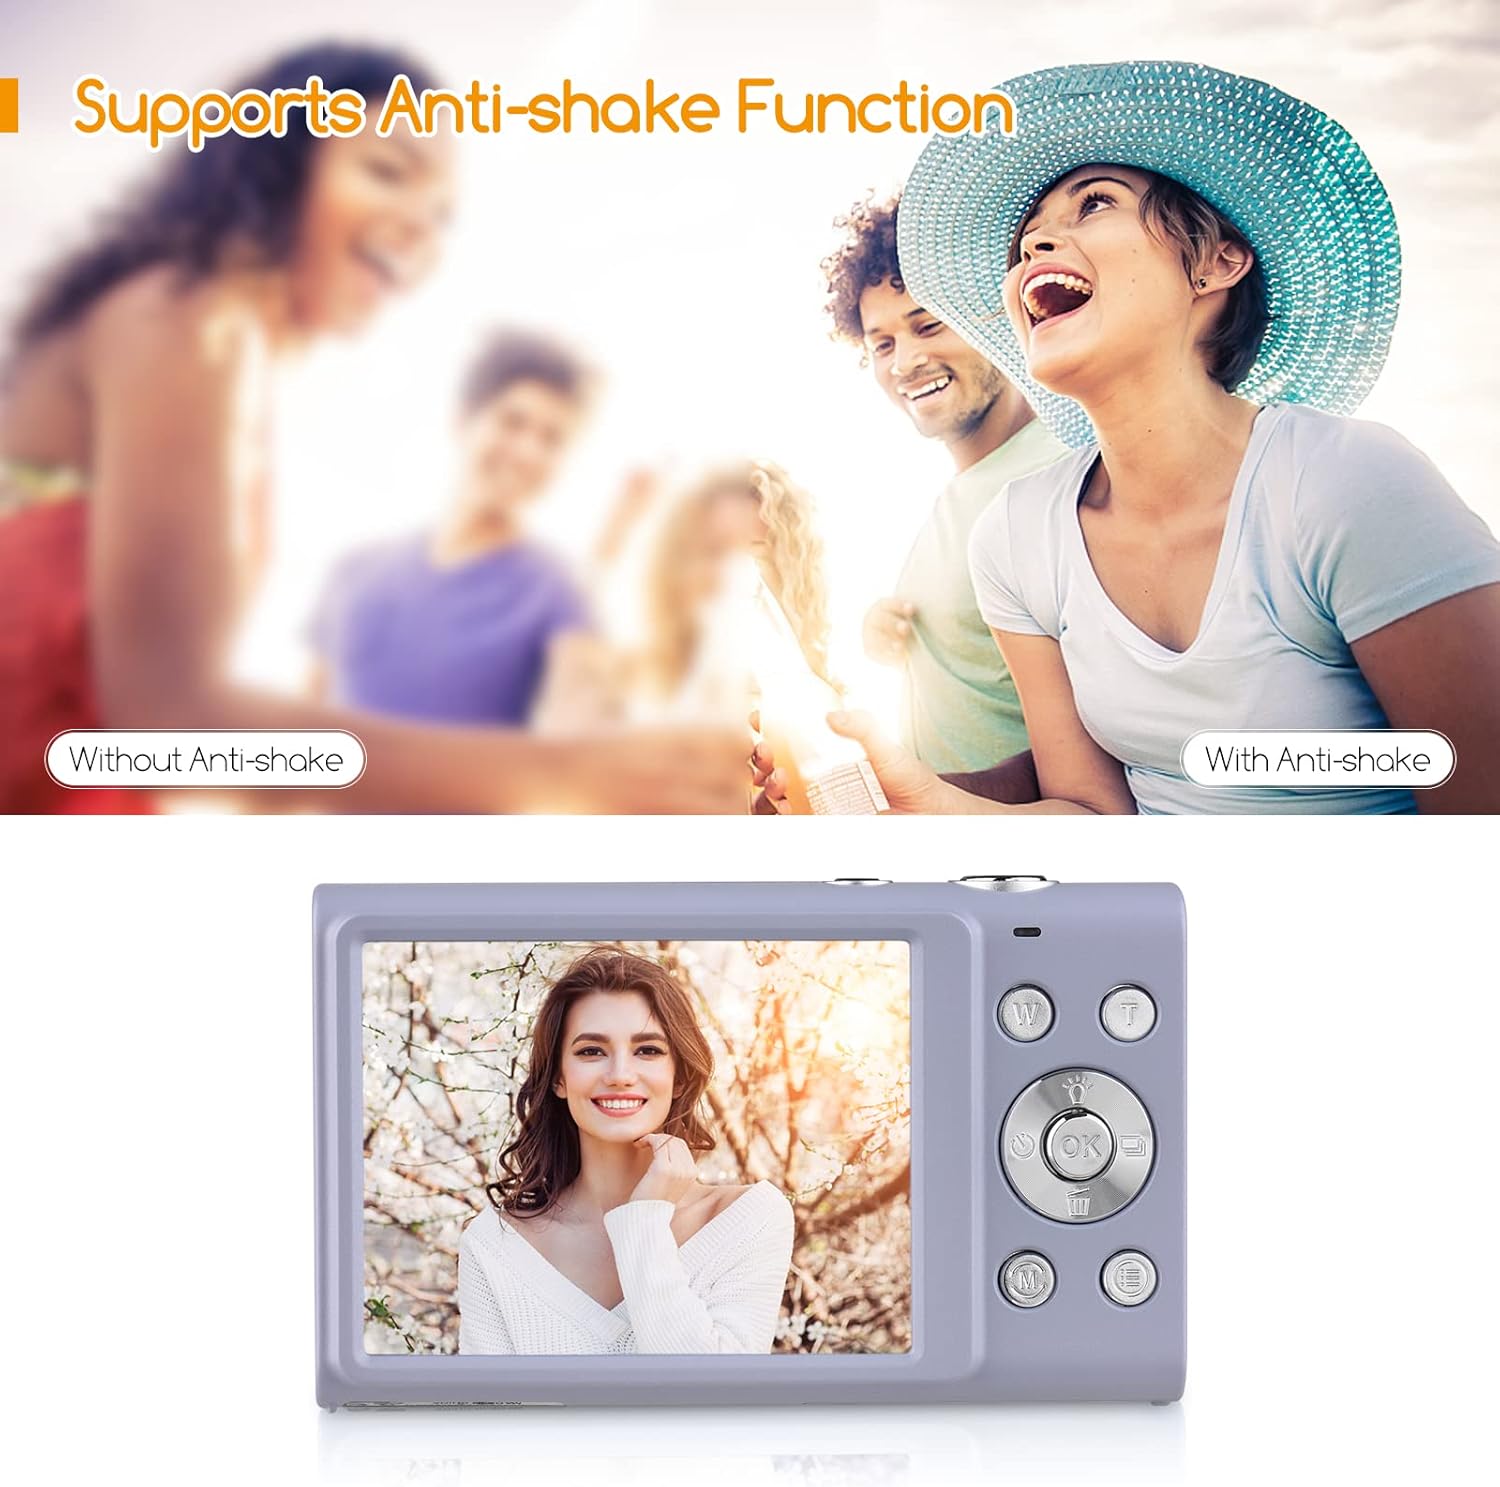
Figure 7.1: A visual comparison demonstrating the effectiveness of the anti-shake function, showing a blurry image without it and a clear image with it enabled.
- Face Detect & Smile Capture: Automatically detects faces and can trigger the shutter when a smile is detected.
- Beauty Face: Enhances facial features for more flattering portraits.

Figure 7.2: Icons representing key camera features: Face Detection, Smile Capture, Beauty Face, and Auto Focus, indicating their availability.
- Continuous Photography: Captures a series of photos in quick succession.
- Self-Timer: Allows for a delay before the shutter fires (Off/ 2 sec/ 5 sec/ 10 sec).
- Built-in LED Fill Light: Provides additional illumination for photos in dark conditions.

Figure 7.3: A collage illustrating various camera functions: Self-Timer options (2s, 5s, 10s), Continuous Shooting, the effect of the LED Fill Light in low light, and Face Detection & Smile Capture in action.
8. Maintenance and Care
- Cleaning: Use a soft, dry, lint-free cloth to clean the camera body. For the lens and screen, use a specialized lens cleaning cloth and solution if necessary. Avoid abrasive materials.
- Battery Care: Store batteries in a cool, dry place. If not using the camera for an extended period, remove the battery. Do not expose batteries to high temperatures or dispose of them in fire.
- Storage: When not in use, store the camera in its carry bag or a protective case to prevent dust and scratches. Avoid storing in areas with extreme temperature fluctuations or high humidity.
9. Troubleshooting
If you encounter issues with your camera, please refer to the following common problems and solutions:
| Problem | Possible Cause | Solution |
|---|---|---|
| Camera does not turn on. | Battery is low or not inserted correctly. | Charge the battery fully. Ensure the battery is inserted with correct polarity. |
| Cannot take photos/videos. | Memory card is full, not inserted, or corrupted. | Insert a memory card. Delete unnecessary files or format the card (this will erase all data). Try a different memory card. |
| Images are blurry. | Camera shake, dirty lens, or out of focus. | Hold the camera steady. Clean the lens. Ensure the camera has focused before pressing the shutter fully. Use Anti-Shake function. |
| Screen is blank or frozen. | System error. | Remove and reinsert the battery to reset the camera. |
10. Specifications
Detailed technical specifications for the Andoer Digital Camera:
| Feature | Specification |
|---|---|
| Model Number | PKZ8856093261786YD |
| Color Options | Pink/ Black/ Purple/ Green (optional) |
| Image Sensor | CMOS Sensor |
| Focal Length | f=7.36mm |
| Aperture | F/3.2 |
| Display | 2.88 Inch IPS Screen |
| File Format | JPG (Picture) / AVI (Video) |
| Picture Resolution | 48MP/ 44MP/ 36MP/ 24MP/ 20MP/ 16MP/ 12MP/ 10MP, etc. |
| Video Resolution | 2.7K (2688x1520), 1080P (1920x1080), 720P (1280x720), VGA (640x480) |
| Shooting Modes | Auto/ Portrait/ Night/ Landscape/ Backlight/ Party/ Beach/ Sports |
| Self-Timer | Off/ 2 sec/ 5 sec/ 10 sec |
| Digital Zoom | 16X digital zoom |
| Auto Power Off | 1min/ 3min/ 5min |
| Exposure | EV-3 to EV+3 |
| Operating System Requirement | Windows XP/ Vista/ 7/ 8/ 10, Mac 10.2 |
| Power Supply | 1 * Lithium battery (3.7V 700mAh) |
| Item Size | 9.4 * 5.6 * 1.9cm / 3.7 * 2.2 * 0.7in |
| Item Weight | 115g / 4.1oz (with battery) |
| Universal Mount | 1/4" Screw Hole at the Bottom |

Figure 10.1: The camera's bottom view, highlighting the universal 1/4" screw hole for tripod compatibility.
11. Warranty and Support
Warranty Information: Specific warranty terms and conditions are typically provided with your purchase documentation. Please refer to the warranty card or contact your retailer for details regarding coverage and duration.
Customer Support: For technical assistance, troubleshooting beyond this manual, or warranty claims, please contact Andoer customer support through the official website or the contact information provided with your product packaging.

