
1. Introduction
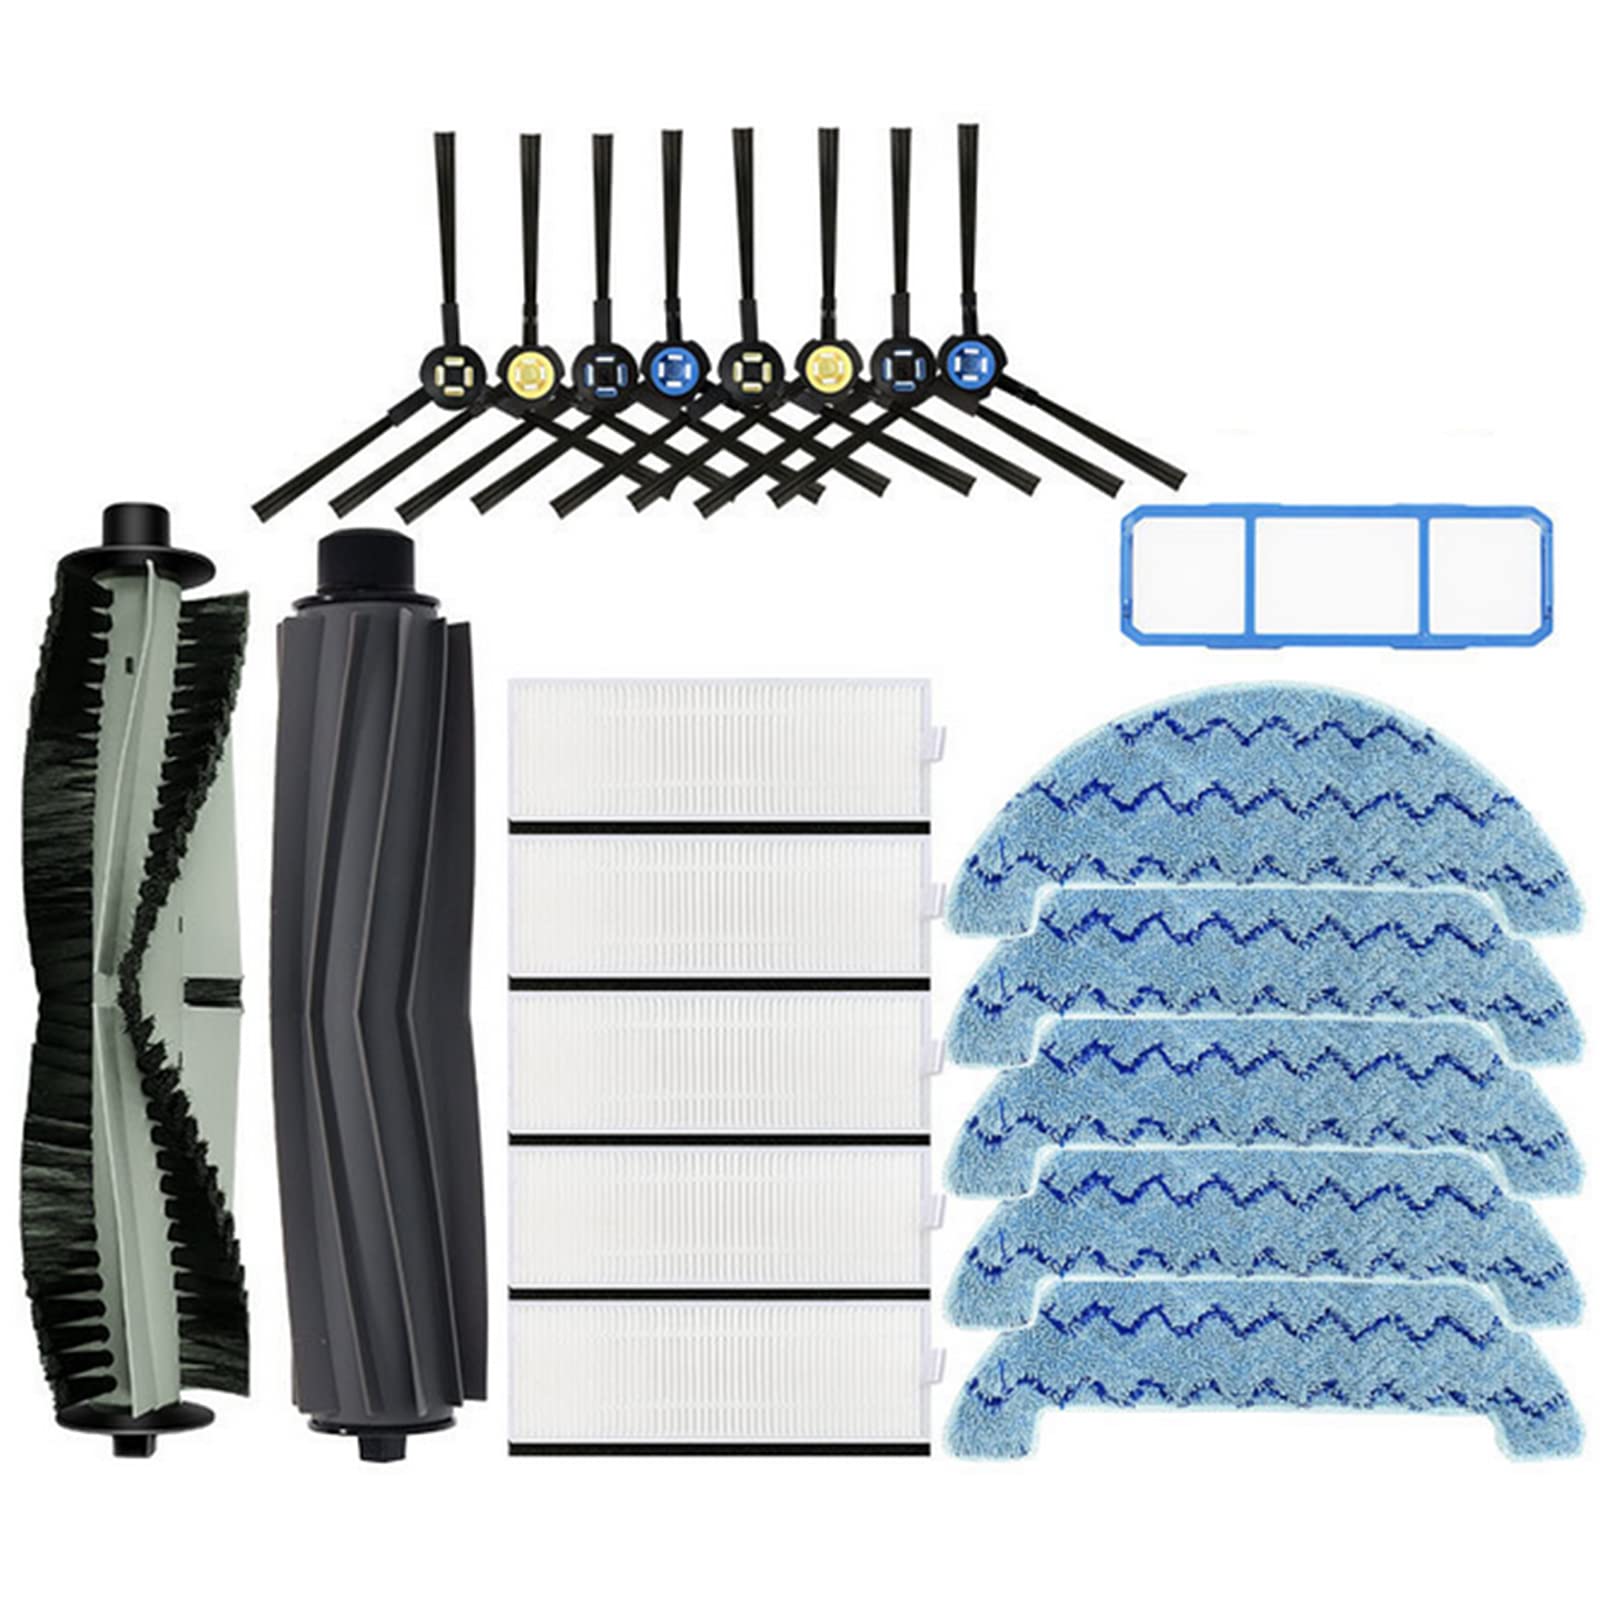
This manual provides instructions for the installation and maintenance of HMHAMA replacement parts designed for ILIFE A7, A9S, X785, X750, and X800 robot vacuum cleaners. These accessories are intended to help maintain the optimal cleaning performance of your vacuum.
Package Contents:
- 2 x Main Roller Brushes
- 4 Pairs (8 pieces) x Side Brushes
- 5 x HEPA Filters
- 5 x Mop Pads
- 1 x Pre-filter
2. Setup and Installation
Follow these steps to correctly install the replacement parts into your ILIFE robot vacuum cleaner.
2.1 Main Roller Brush Installation
- Turn your robot vacuum cleaner upside down on a flat surface.
- Locate the main brush cover on the underside of the vacuum. Press the release tabs to open and remove the cover.
- Remove the old main roller brush from its compartment.
- Insert the new main roller brush into the compartment, ensuring the ends align with the slots. It should fit snugly.
- Replace the main brush cover and press firmly until it clicks into place.
2.2 Side Brush Installation
- Turn the robot vacuum cleaner upside down.
- Locate the side brushes. Use a screwdriver to remove the screw holding the old side brush in place.
- Remove the old side brush.
- Align the new side brush with the post and press it down firmly until it clicks into place. Secure it with the screw.
- Repeat for the other side brush if replacing both.

2.3 Filter Installation
- Open the dustbin compartment on your robot vacuum and remove the dustbin.
- Open the dustbin cover to access the filter assembly.
- Remove the old HEPA filter and pre-filter from the dustbin.
- Insert the new pre-filter first, followed by the new HEPA filter, ensuring they are seated correctly.
- Close the dustbin cover and reinsert the dustbin into the vacuum.


2.4 Mop Pad Installation
- Locate the mop pad holder on your robot vacuum.
- Remove the old mop pad from the holder.
- Attach the new mop pad to the mop pad holder, ensuring it is securely fastened, typically using hook-and-loop fasteners.
- Slide the mop pad holder with the new pad back into the vacuum until it locks into place.

3. Maintenance
Regular cleaning and timely replacement of these parts are crucial for maintaining your robot vacuum's cleaning efficiency and extending its lifespan.
3.1 Filter Cleaning
Clean the filters frequently to prevent clogging and maintain optimal suction power. Gently tap out dust and debris from the HEPA filter. Use a small brush to clean the pre-filter. Do not wash HEPA filters with water unless specified by the vacuum manufacturer.
3.2 Replacement Schedule
It is recommended to replace brushes and filters every 2-3 months. This schedule may need to be adjusted based on usage frequency, the presence of pets, and the overall cleanliness of your environment. Worn or damaged parts should be replaced immediately.
4. Troubleshooting
If you experience issues after replacing parts, consider the following:
- Reduced Suction: Check and clean the main brush and filters. Ensure filters are correctly installed and not heavily clogged. Replace if worn or damaged.
- Vacuum Not Picking Up Debris: Inspect side brushes for tangles or damage. Ensure they are securely attached and rotating freely. Replace if necessary.
- Mop Pad Not Cleaning Effectively: Ensure the mop pad is clean and properly attached to its holder. Replace if the pad is worn or no longer absorbing effectively.
- Compatibility Issues: Verify that the replacement parts match your specific ILIFE model (A7, A9S, X785, X750, X800). Incorrect parts may not fit or function properly.
5. Specifications
Compatibility:
ILIFE A7, A9S, X785, X750, X800 Robot Vacuum Cleaners.
Included Components:
- 2 x Main Roller Brushes
- 4 Pairs (8 pieces) x Side Brushes
- 5 x HEPA Filters
- 5 x Mop Pads
- 1 x Pre-filter
6. Warranty and Support
For warranty information or technical support regarding these replacement parts, please refer to the original product documentation provided with your purchase or contact the manufacturer directly through their official channels. Keep your purchase receipt for any warranty claims.