
XENOCAM B0BW9G64TD
XENOCAM AHD TVI CVI Analog Mini Dome Security Camera
User Manual
1. Product Overview
The XENOCAM AHD TVI CVI Analog Mini Dome Security Camera is a versatile 2MP 1080P camera designed for various surveillance applications. It features a 2.8mm lens, infrared night vision, and a weatherproof IP66 rating, making it suitable for both indoor and outdoor use. This camera supports multiple video formats (AHD, TVI, CVI, CVBS) for broad compatibility with existing DVR systems.
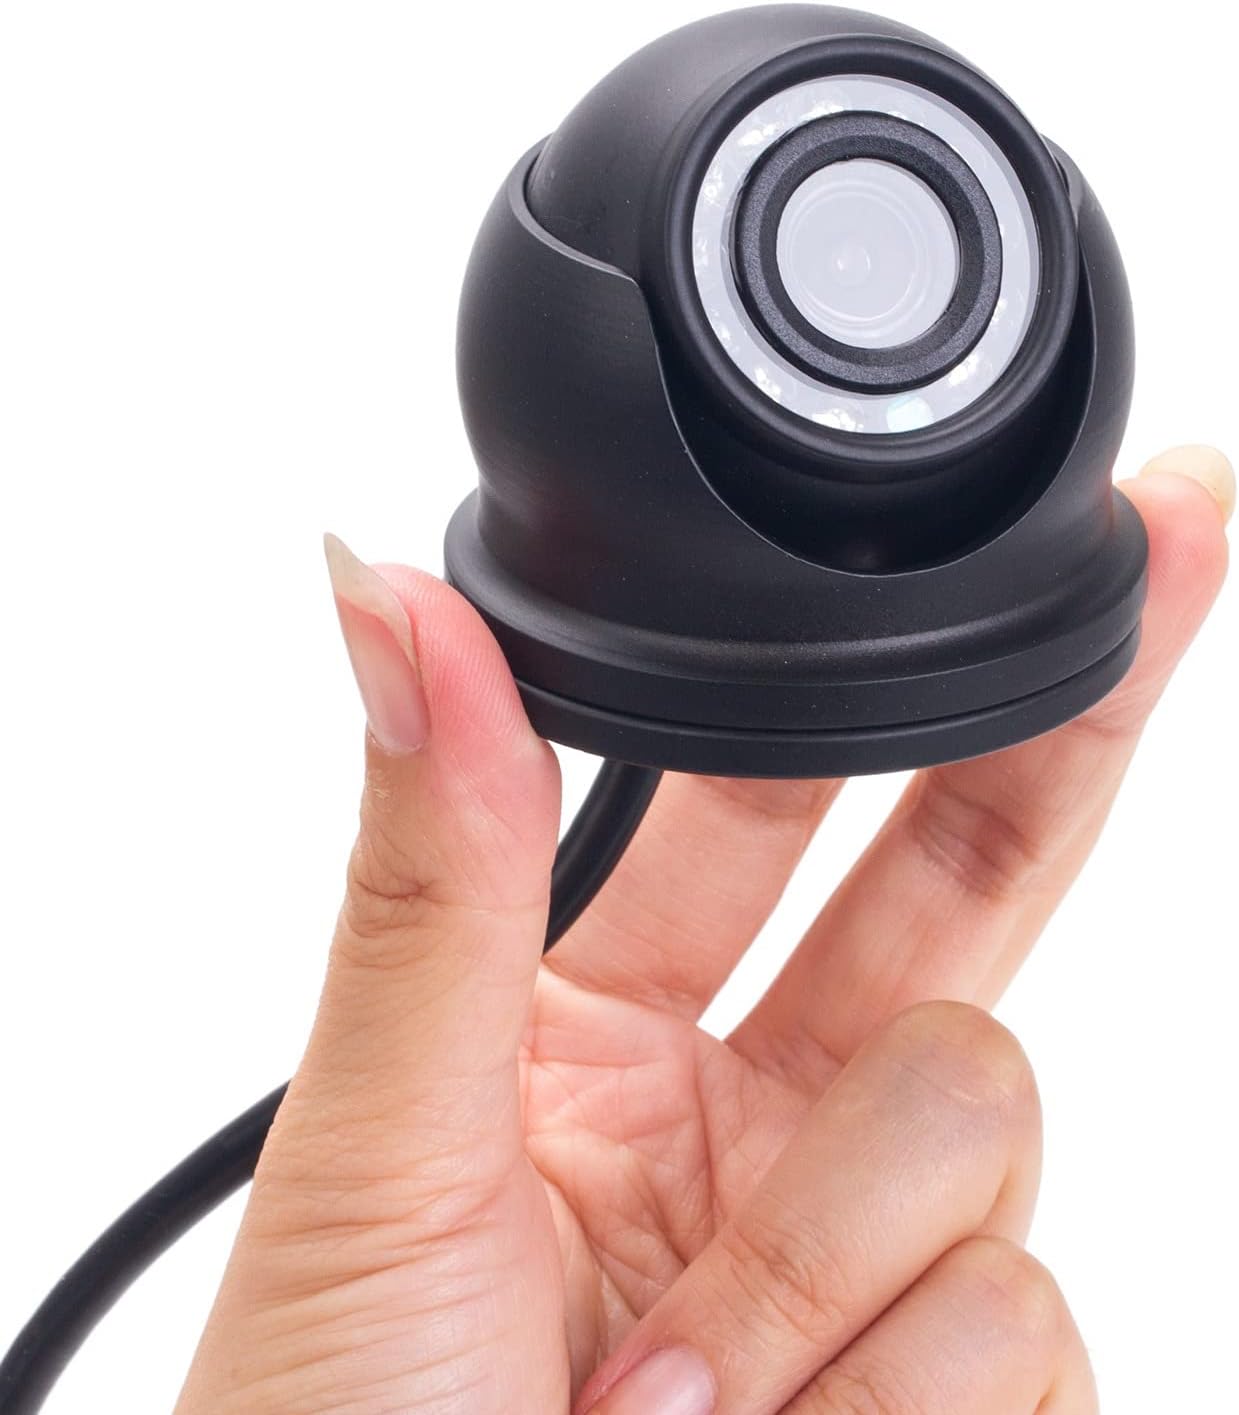
Figure 1: XENOCAM Mini Dome Security Camera
Key Features:
- High Performance: Compact size with 1080p 2MP video quality.
- 4-in-1 Hybrid Compatibility: Works with TVI, CVI, AHD, and Analog DVRs. Video technology can be switched via a toggle switch on the pigtail cable.
- Full HD Video: Delivers crisp 1080p video with HD Over Coax technologies (TVI, CVI, AHD). Outputs D1/960H for older analog DVRs.
- Weatherproof Design: IP66 rated, heavy-duty metal, and vandal-proof construction for reliable outdoor use.
- Wide Angle Viewing: Equipped with a 2.8mm lens for an 80-degree field of view.
- Infrared Night Vision: 12pcs IR LEDs provide night vision up to 33ft (10m).
2. What's in the Box
Verify that all items are present in your package:
- 1x 1080P Camera
- 1x User Manual
- 1x Mounting Screws Bag (includes 1 Piece × Installation Accessories)

Figure 2: Package Contents
3. Specifications
| Feature | Specification |
|---|---|
| Image Sensor | 1/3" CMOS with IR-Cut |
| Active Pixels | 1920(H) × 1080(V) |
| Lens | 2.8mm |
| Viewing Angle | 80 degrees |
| IR LEDs Amount | 12 pcs LEDs |
| IR Distance | Up to 33ft (10m) |
| Weather Resistance | IP66 Rated |
| Signal Modes | TVI / AHD / CVI / CVBS 960H |
| Power Supply | DC12V (Adapter not included) |
| Material | Heavy Duty Metal |
| Color | Black |

Figure 3: Camera Dimensions
4. Setup and Installation
Follow these steps to set up your XENOCAM security camera:
- Mounting the Camera:
- Choose a suitable location for installation, ensuring optimal viewing angle and coverage.
- Use the provided mounting screws and anchors to securely attach the camera base to the desired surface.
- Adjust the camera's dome to achieve the desired field of view.

Figure 4: Camera Mounting Base
- Connecting to a DVR:
- Connect the camera's BNC video output cable to an available video input port on your DVR.
- Connect the camera's power input cable to a DC12V power adapter (not included).
- Ensure your DVR is powered on and connected to a monitor.
- Switching Video Modes (AHD/TVI/CVI/CVBS):
The camera's default mode is AHD. If your DVR system uses HD-TVI or HD-CVI, you must switch the camera to the corresponding mode. This is done using the toggle switch on the camera's pigtail cable.
- Locate the small yellow label on the pigtail cable, which indicates the video mode switch.
- Press and hold the switch for approximately 5 seconds to cycle through the available video modes (AHD, TVI, CVI, CVBS).
- Release the switch when the desired mode is selected. The camera will automatically adjust.
- If no picture is displayed or image quality is poor, ensure the camera mode matches your DVR system.
- Accessing Camera Menu via DVR (OSD Control):
To adjust advanced camera settings such as brightness, contrast, saturation, mirror, or flip, you can access the camera's On-Screen Display (OSD) menu through your XENOCAM DVR.
- Connect the camera to your XENOCAM DVR and ensure it is displaying video.
- Access your DVR's camera menu or OSD control interface. (Refer to your DVR's manual for specific instructions).
- Navigate through the menu options to adjust settings like 'MIRROR' (to flip the image horizontally) or 'FLIP' (to flip vertically).
- Save and exit the menu after making adjustments.
Video 1: Demonstrates unboxing, connecting the camera to a DVR, and navigating the camera's OSD menu to adjust settings like mirror and flip. This video is provided by the seller, WORKERS INC.
5. Operating the Camera
Once installed and connected to a compatible DVR, the XENOCAM camera operates continuously, providing surveillance footage. The camera automatically switches to infrared night vision in low-light conditions, ensuring 24/7 monitoring.
- Continuous Recording: The camera will record based on the settings configured in your connected DVR.
- Night Vision: The integrated IR LEDs activate automatically in low light, providing clear black and white video up to 33 feet.
- Mode Switching: Remember to set the camera to the correct video mode (AHD, TVI, CVI, or CVBS) to match your DVR for optimal performance.
6. Maintenance
Proper maintenance ensures the longevity and optimal performance of your security camera:
- Cleaning: Periodically clean the camera lens with a soft, dry cloth to remove dust or smudges that may affect image clarity. Avoid abrasive cleaners.
- Weather Protection: Although the camera is IP66 weatherproof, ensure it is installed in a location that minimizes direct exposure to extreme weather conditions (e.g., heavy snow, direct prolonged sunlight) to extend its lifespan.
- Cable Inspection: Regularly check all cables for any signs of wear, damage, or loose connections.
7. Troubleshooting
If you encounter issues with your XENOCAM security camera, refer to the following common troubleshooting steps:
- No Picture or Poor Image Quality:
- Verify that the camera is receiving power (DC12V).
- Ensure the video cable is securely connected to both the camera and the DVR.
- Check if the camera's video mode (AHD, TVI, CVI, CVBS) matches the input channel setting on your DVR. Adjust using the pigtail switch if necessary.
- If the image is distorted or flickering, try restoring the camera to factory settings via the DVR's OSD menu.
- Night Vision Not Working:
- Ensure there is sufficient power to the camera.
- Check for any obstructions blocking the IR LEDs.
- Verify that the camera's day/night settings in the OSD menu are configured correctly for automatic switching.
- Image is Mirrored or Flipped:
- Access the camera's OSD menu through your DVR and adjust the 'MIRROR' or 'FLIP' settings as needed.
If these steps do not resolve the issue, please contact XENOCAM customer support for further assistance.
8. Warranty and Support
For warranty information or technical support, please refer to the contact details provided with your purchase or visit the official XENOCAM website. Keep your purchase receipt as proof of purchase for warranty claims.
Manufacturer: XENOCAM
Model Number: B0BW9G64TD
UPC: 723722196959
Ask a question about this manual
Ask about setup, troubleshooting, compatibility, parts, safety, or missing instructions. Manuals+ will review the question and use this page’s manual context to help answer it.