
1. Introduction
Thank you for choosing the SHARP 7.5 kg Fully Automatic Top Load Washing Machine. This manual provides essential information for the safe and efficient operation, installation, and maintenance of your appliance. Please read it thoroughly before using the washing machine and retain it for future reference.
2. Safety Information
Observe the following safety precautions to prevent injury or damage to the appliance.
- Ensure the washing machine is connected to a grounded power outlet.
- Do not operate the machine with a damaged power cord or plug.
- Keep children and pets away from the appliance during operation.
- Do not wash items that are soiled with flammable substances.
- Always unplug the machine before cleaning or performing any maintenance.
- Do not open the lid during a wash cycle, especially during the spin phase.
- Ensure water inlet and drain hoses are securely connected to prevent leaks.
3. Product Overview
Familiarize yourself with the components and key features of your SHARP washing machine.
3.1 Key Features
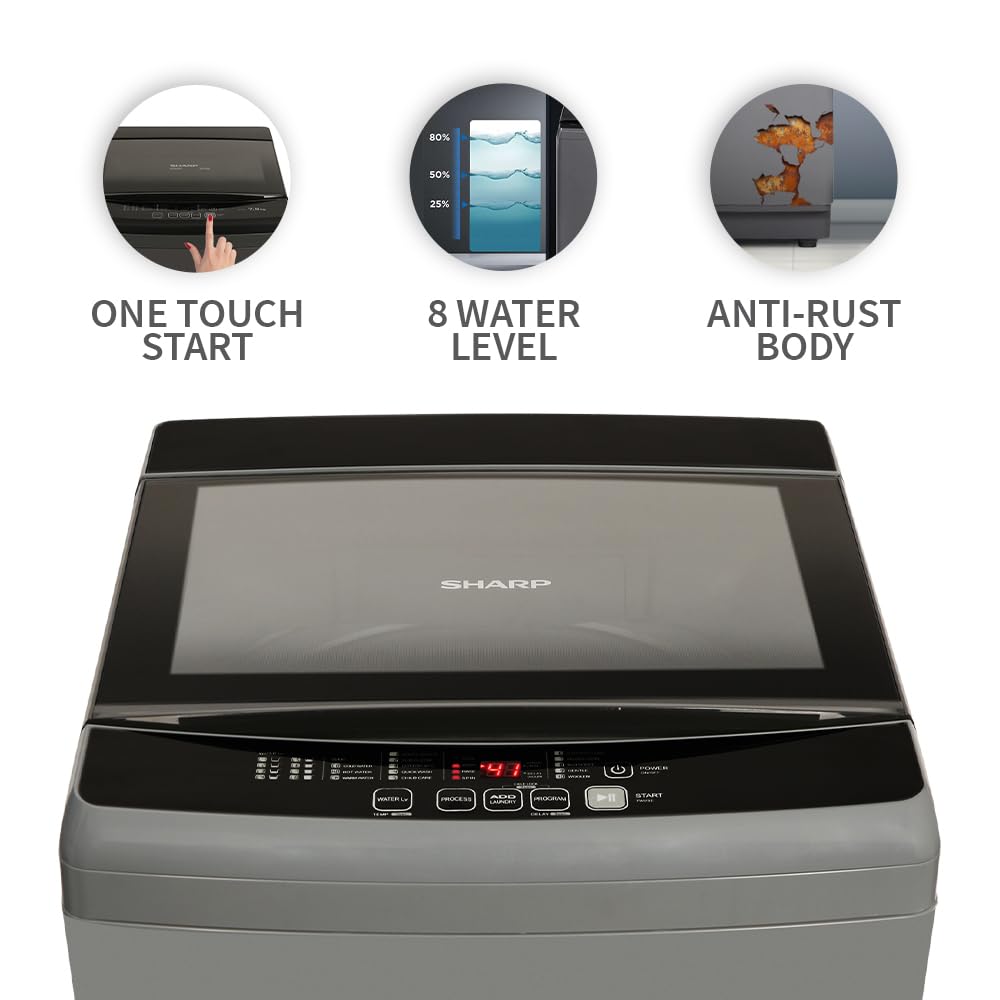
- Capacity: 7.5 kg, suitable for medium to large households.
- Energy Rating: 5 Star for optimal energy efficiency.
- Wash Programs: 10 intelligent wash programs for various fabric types and soil levels.
- Hot & Cold Water Dual Inlet: Allows for washing with both hot and cold water.
- Soft Close Lid: Ensures quiet and safe closing of the top lid.
- Add Laundry Function: Pause the cycle to add forgotten items.
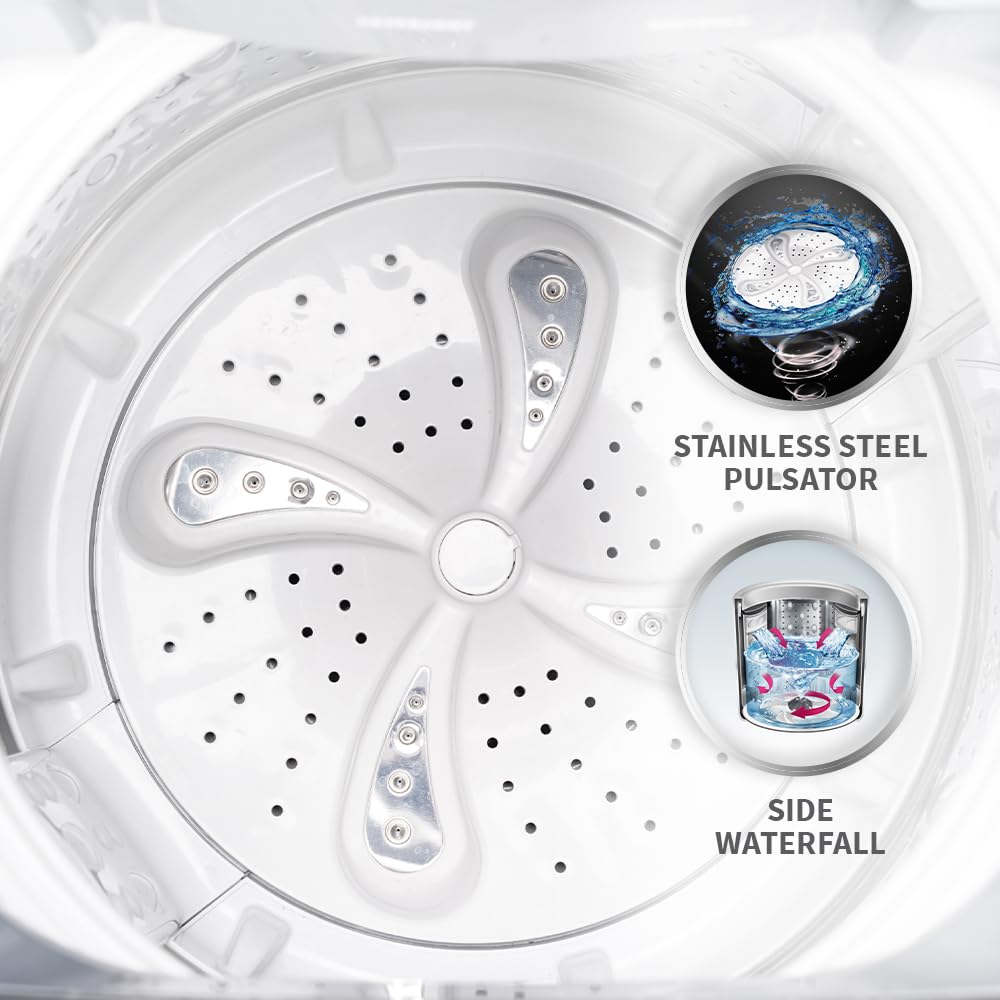
- Stainless Steel Insert Pulsator: Durable and effective for thorough cleaning.
- Waterfall Wash: Provides even water spray for enhanced cleaning and rinsing.
- One-Touch Start: Simplifies operation for quick use.
- Anti-Rust Body: Designed for durability and longevity.
- Japan 7 Shields: Incorporates multiple quality checks for enhanced reliability.
3.2 Components



4. Installation & Setup
Proper installation is crucial for the performance and longevity of your washing machine. It is recommended to have professional installation.
4.1 Unpacking
- Carefully remove all packaging materials.
- Check for any damage during transit. Contact your dealer immediately if damage is found.
- Ensure all included accessories (drain hose, user manual, warranty card) are present.
4.2 Location Requirements
- Place the machine on a firm, level surface to minimize vibration and noise.
- Ensure adequate space around the machine for ventilation and maintenance.
- Avoid direct sunlight or extreme temperatures.
- The location must have access to hot and cold water supply, a drain, and a grounded electrical outlet.
4.3 Connecting Water Hoses
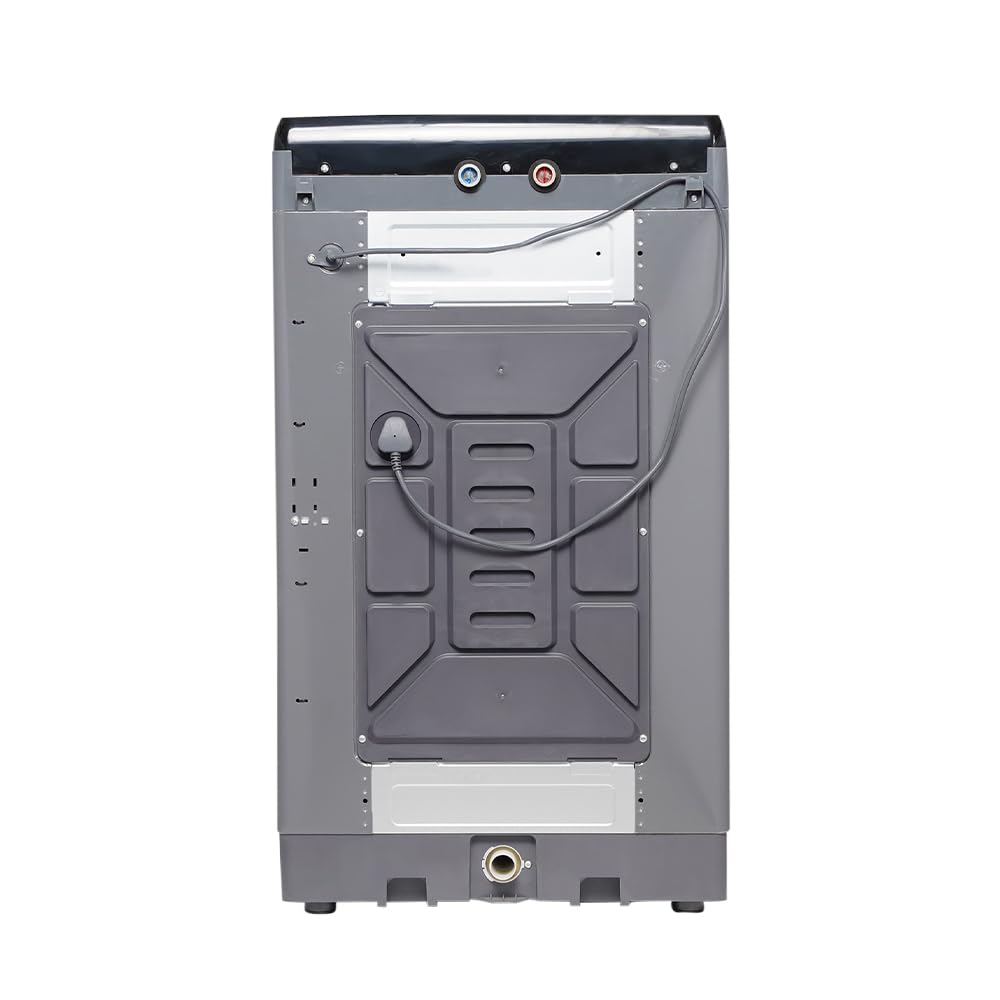
- Connect the hot water inlet hose to the hot water tap and the corresponding inlet on the machine (usually marked red).
- Connect the cold water inlet hose to the cold water tap and the corresponding inlet on the machine (usually marked blue).
- Ensure all connections are tight to prevent leaks.
4.4 Connecting Drain Hose
- Securely attach the drain hose to the drain outlet at the back of the machine.
- Position the other end of the drain hose into a standpipe or sink, ensuring it is properly secured to prevent dislodging during drainage. The height of the drain should be between 60 cm and 90 cm from the floor.
4.5 Power Connection
- Plug the power cord into a dedicated, grounded 230V AC electrical outlet.
- Do not use extension cords or adapters.
4.6 Leveling the Machine
- Use a spirit level to check if the machine is perfectly level.
- Adjust the leveling feet at the bottom of the machine by turning them clockwise or counter-clockwise until the machine is stable and level.
5. Operating Instructions
Follow these steps for effective and safe operation of your washing machine.
5.1 Control Panel Overview
5.2 Loading Laundry
- Sort laundry by fabric type, color, and soil level.
- Open the lid and place clothes loosely into the drum, ensuring not to overload.
- Close the lid gently.
5.3 Adding Detergent and Softener
- Add the appropriate amount of detergent to the detergent dispenser.
- If using fabric softener, add it to the designated softener compartment.
5.4 Selecting a Wash Program
Your machine offers 10 wash programs:
- Smart Select: Automatically detects load and selects optimal settings.
- Tub Clean: For cleaning the washing machine drum.
- Cotton 30°C: Standard wash for cotton items at 30°C.
- Quick Wash: For lightly soiled items requiring a fast cycle.
- Child Care: Gentle wash suitable for baby clothes.
- Synthetic/Saree: For synthetic fabrics and delicate sarees.
- Air Dry/Spin: Spin-only cycle for faster drying.
- Bed Sheet: Optimized for washing bed linens.
- Gentle: For delicate garments.
- Woollen: Specific program for wool items.
Press the 'Program' button repeatedly to cycle through the available wash programs until your desired program is selected.
5.5 Adjusting Settings
- Water Level: Press the 'Water Lv' button to manually adjust the water level if not using Smart Select.
- Temperature: Use the 'Temp' button to select between Cold Water, Hot Water, or Warm Water (if available for the selected program).
- Process: Customize wash, rinse, or spin cycles.
5.6 Starting a Wash Cycle
- After selecting the program and adjusting settings, press the 'Start/Pause' button to begin the wash cycle.
- The machine will automatically proceed through the selected stages.
5.7 Add Laundry Function
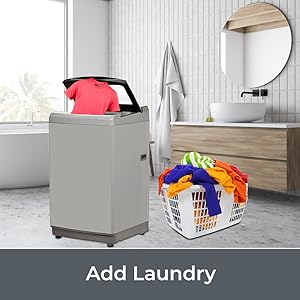
- If you need to add forgotten items during a wash cycle, press the 'Add Laundry' button.
- The machine will pause, and the lid will unlock (if safe to do so).
- Add the items, close the lid, and press 'Start/Pause' to resume the cycle.
5.8 Child Lock
- To activate Child Lock, press and hold the designated buttons (refer to control panel markings, usually a combination of two buttons) for a few seconds until the indicator lights up.
- This prevents accidental changes to settings or interruption of the cycle by children.
- To deactivate, repeat the same action.
5.9 Delay Start
- Use the 'Delay' button to set a delayed start time for your wash cycle.
- This allows you to program the machine to start at a later time, for example, to take advantage of off-peak electricity rates.
6. Maintenance
Regular maintenance ensures optimal performance and extends the lifespan of your washing machine.
6.1 Cleaning the Exterior
- Wipe the exterior with a soft, damp cloth.
- Do not use abrasive cleaners, solvents, or harsh chemicals.
6.2 Cleaning the Detergent Dispenser
- Remove the detergent dispenser drawer and rinse it under running water to remove any residue.
- Clean the dispenser housing with a brush if necessary.
6.3 Tub Clean Program
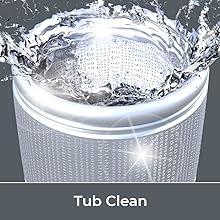
- Regularly use the 'Tub Clean' program to clean the inner drum and prevent mold and odor buildup.
- Follow the instructions for the Tub Clean cycle, which may involve adding a specialized washing machine cleaner.
6.4 Cleaning the Lint Filter
- Locate the lint filter (usually inside the drum or near the top rim).
- Remove the filter, clean out any accumulated lint and debris, and rinse it under water.
- Reinsert the filter securely.
7. Troubleshooting
Before contacting customer service, refer to the following table for common issues and their solutions.
| Problem | Possible Cause | Solution |
|---|---|---|
| Machine does not start | Power cord unplugged; Lid not closed properly; 'Start/Pause' not pressed; Child Lock active. | Check power connection; Ensure lid is fully closed; Press 'Start/Pause'; Deactivate Child Lock. |
| Water not filling | Water taps closed; Water inlet hoses kinked or blocked; Water pressure too low. | Open water taps; Straighten hoses; Check water supply pressure. |
| Water not draining | Drain hose kinked or blocked; Drain filter clogged. | Straighten drain hose; Clean drain filter. |
| Excessive vibration/noise | Machine not level; Shipping bolts not removed; Uneven load. | Adjust leveling feet; Ensure shipping bolts are removed (if applicable); Redistribute laundry evenly. |
| Poor washing results | Overloading; Insufficient detergent; Incorrect program selection. | Reduce load size; Use correct amount of detergent; Select appropriate wash program. |
8. Specifications
Technical details for the SHARP ES-T75N-GY washing machine.

| Feature | Detail |
|---|---|
| Brand | SHARP |
| Model | ES-T75N-GY |
| Capacity | 7.5 Kilograms |
| Energy Efficiency | 5 Star Rated |
| Maximum Rotational Speed | 700 RPM |
| Installation Type | Freestanding |
| Control Console | Push Button |
| Number of Wash Programs | 10 |
| Access Location | Top Load |
| Voltage | 230 Volts (AC) |
| Wattage | 580 Watts |
| Material | Stainless Steel (Drum/Pulsator) |
| Item Weight | 41.5 kg |
| Product Dimensions (LxWxH) | 54.2 x 55.2 x 95 Centimeters |
| Included Components | Drain Hose, User Manual, Warranty Card |
9. Warranty & Support
9.1 Warranty Information
- Comprehensive Warranty: 2 Years from the date of purchase.
- Motor Warranty: 10 Years from the date of purchase.
- Please retain your purchase receipt and warranty card for any warranty claims.
9.2 Customer Support
For service, technical assistance, or warranty inquiries, please contact SHARP customer support:
- Toll-Free: 1800-419-4322
- E-Mail: support@sharp-oa.com
- Manufacturer: Sharp Business Systems (India) Private Limited.
- Address: Plot No. 51, First Floor, Okhla Industrial Estate, Phase-III, New Delhi- 110020, India.


